-
CALL US:
- (866) 952-3456
The difference between a smooth, satisfying project and a frustrating afternoon often boils down to what you do before even opening the box. When you're putting together a bed frame, thinking like a pro means prepping your workspace first. This isn't just about clearing a spot on the floor; it's about creating an efficient and safe area that prevents common headaches like lost screws or a sore back.
Your first move should be to clear out way more space than you think you'll need, ideally in the same room where the bed will live. A good rule of thumb is to have at least two to three feet of open area around the entire footprint of the finished bed frame. This gives you plenty of room to maneuver big pieces like the headboard and side rails without bumping into walls or other furniture. Trust me, it also saves you from the awkward shuffle of trying to carry a fully built, heavy frame from one room to another.
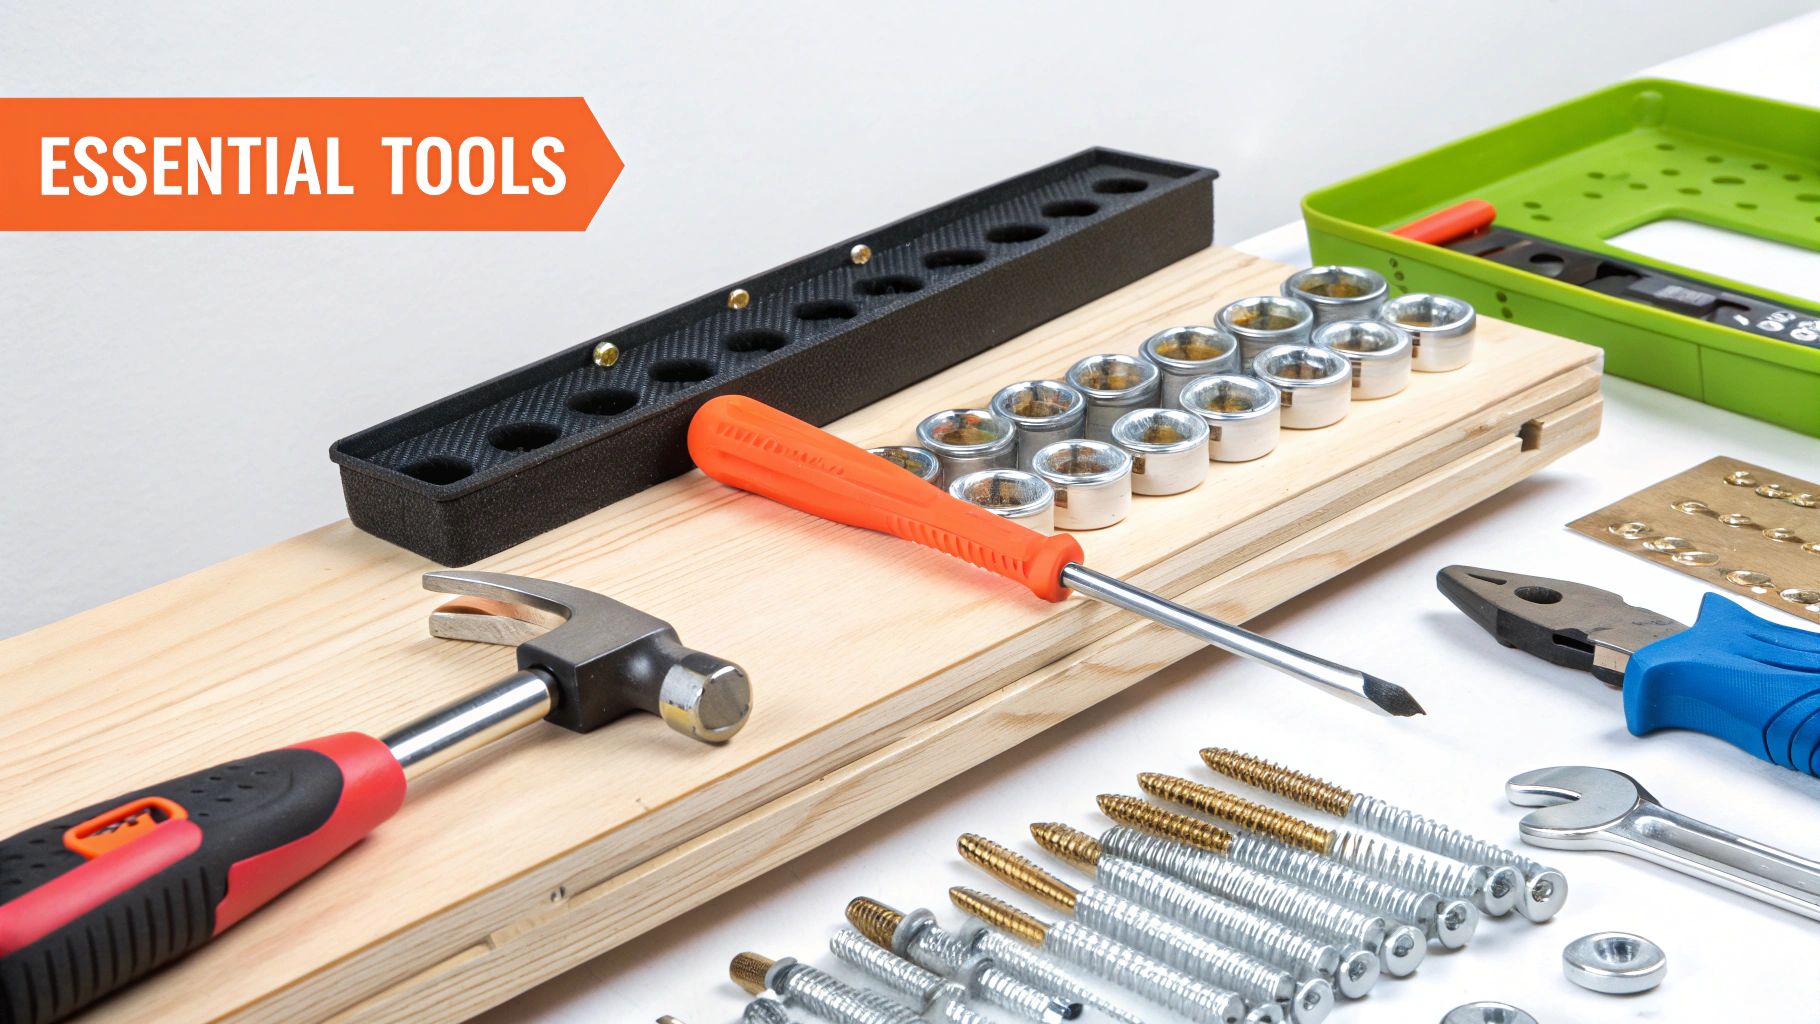
While most kits come with a tiny Allen key, relying solely on it is a recipe for raw knuckles and wasted time. A quality ratcheting screwdriver with interchangeable hex bits can seriously cut down your assembly time, maybe even by more than half. Another lifesaver is a rubber mallet, which is perfect for gently tapping snug-fitting joints into place without damaging the finish—something a regular hammer would definitely do. A small tray or a few magnetic bowls for all the hardware is also a non-negotiable part of a smart setup. This simple trick puts an end to the frantic search for that one specific bolt that inevitably rolls under the dresser.
To give you a better idea of what tools are truly necessary and which are just nice to have, here’s a quick breakdown.
A comprehensive comparison of must-have versus nice-to-have tools for different bed frame types.
| Tool | Essential Level | Frame Types | Alternatives |
|---|---|---|---|
| Ratcheting Screwdriver w/ Hex Bits | Highly Recommended | All types, especially complex ones | The included Allen key (slower, more effort) |
| Rubber Mallet | Highly Recommended | Wood, upholstered, and any frame with tight-fitting joints | A regular hammer wrapped in a thick towel (risky) |
| Magnetic Parts Tray/Bowls | Essential | All types, especially those with lots of small hardware | The original packaging, empty cups (less organized) |
| Power Drill with Clutch | Nice to Have | Metal, platform, and simple wood frames | Manual screwdriver |
| Utility Knife/Box Cutter | Essential | All types | Scissors, keys (less safe and effective) |
| Tape Measure | Nice to Have | All types | Eyeballing it (not recommended for alignment) |
Having the right tools on hand from the start makes the entire process feel less like a chore and more like a satisfying project. A small investment in a few key items pays off in time and frustration saved.
To help you visualize the core workflow, this simple chart breaks down the main phases of putting together bed frames.
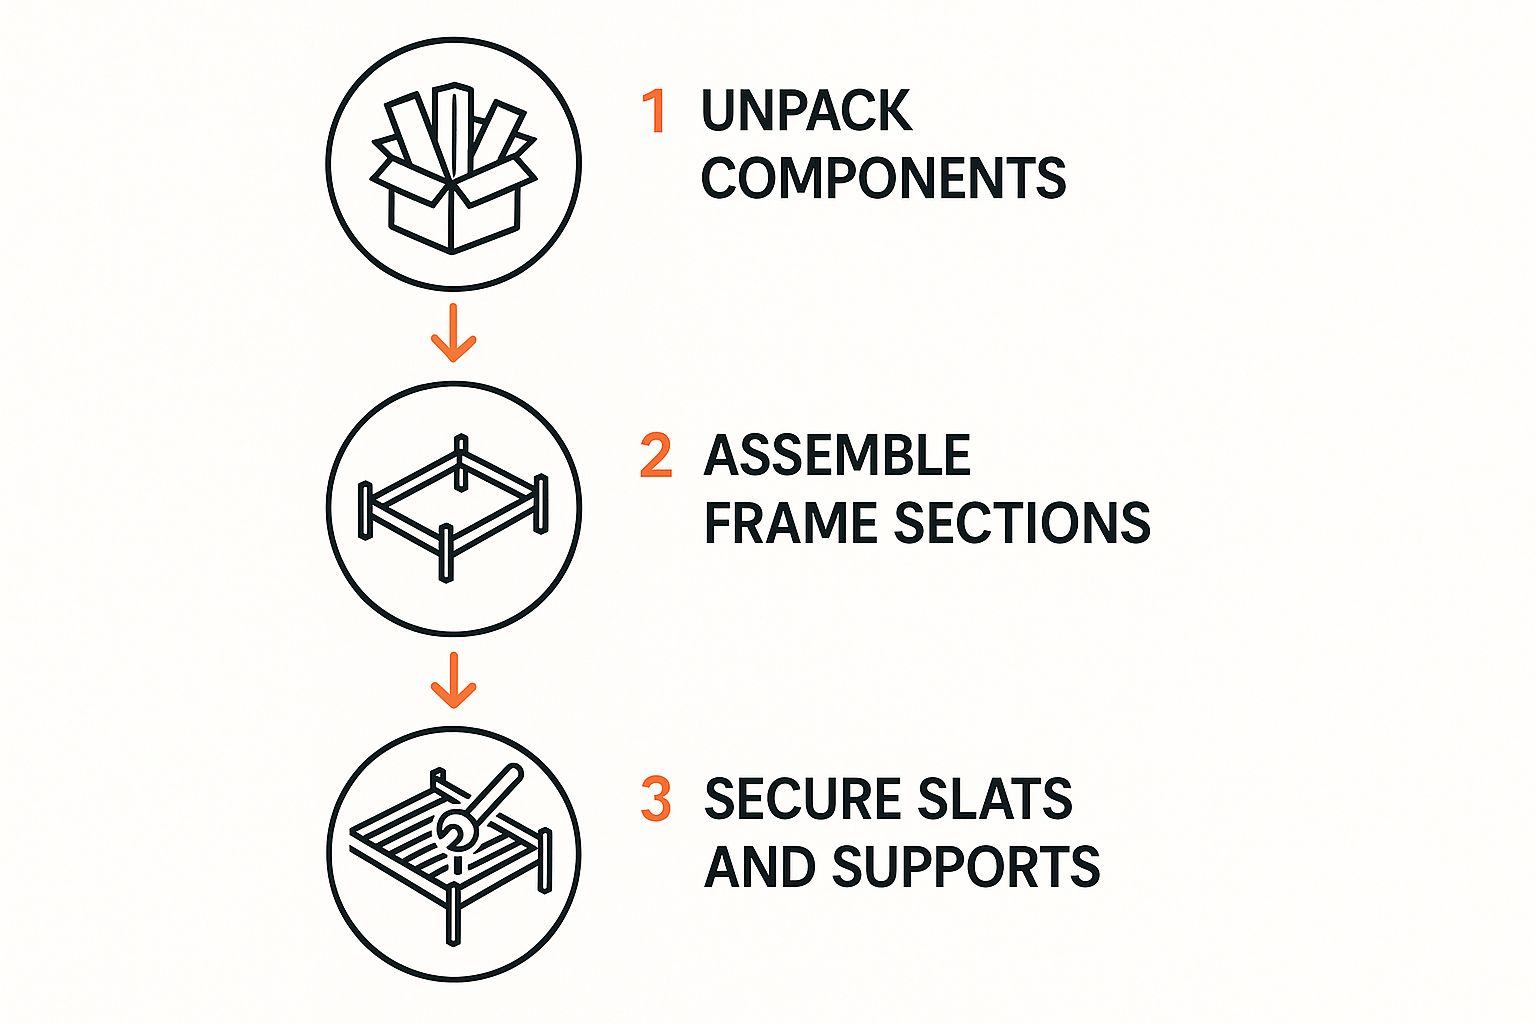
As the infographic shows, success depends on a logical progression: first organizing your components, then building the main structure, and finally adding the supportive elements.
Finally, be honest with yourself about whether this is a one-person job. While many simple metal or platform frames can be assembled solo, anything with a large, heavy headboard, storage drawers, or complex mechanisms is much safer and easier with a partner. An extra set of hands to hold a side rail steady while you align bolts is more than a convenience; it prevents stripped screws and misaligned parts that can compromise the frame's stability later on. For more in-depth guidance, you can learn more about how to prepare for your furniture assembly project, which offers even more professional tips.
If you think all bed frames are built the same, you're in for a surprise. This is a classic rookie mistake that can turn a simple afternoon project into a full-blown headache. Every frame has its own personality, from the easy-going metal platform frame to the more demanding and complex storage bed. Knowing what you're getting into before you even slice open the box will save you a ton of frustration.
The variety in bed frame design is a big deal in the furniture world. The global market for bed frames was valued at roughly USD 22.5 billion in 2023 and is on the rise. This isn't just because people need a place to sleep; they want style, comfort, and function. You can dive deeper into these trends and find some interesting bed frame market insights on businessresearchinsights.com. This variety means your assembly experience can change drastically from one purchase to the next.
Let's break down what you can realistically expect from the most common frame types out there.
The Straightforward Friend: Basic Metal & Platform Frames
The Deceptive One: Traditional Frames with Box Springs
The Puzzle Box: Storage Beds
The Tech Guru: Adjustable & Smart Frames
As you consider these different frames, remember to think about how your mattress will work with them. For a little more guidance, you might find it helpful to read up on choosing the best mattress for your needs.
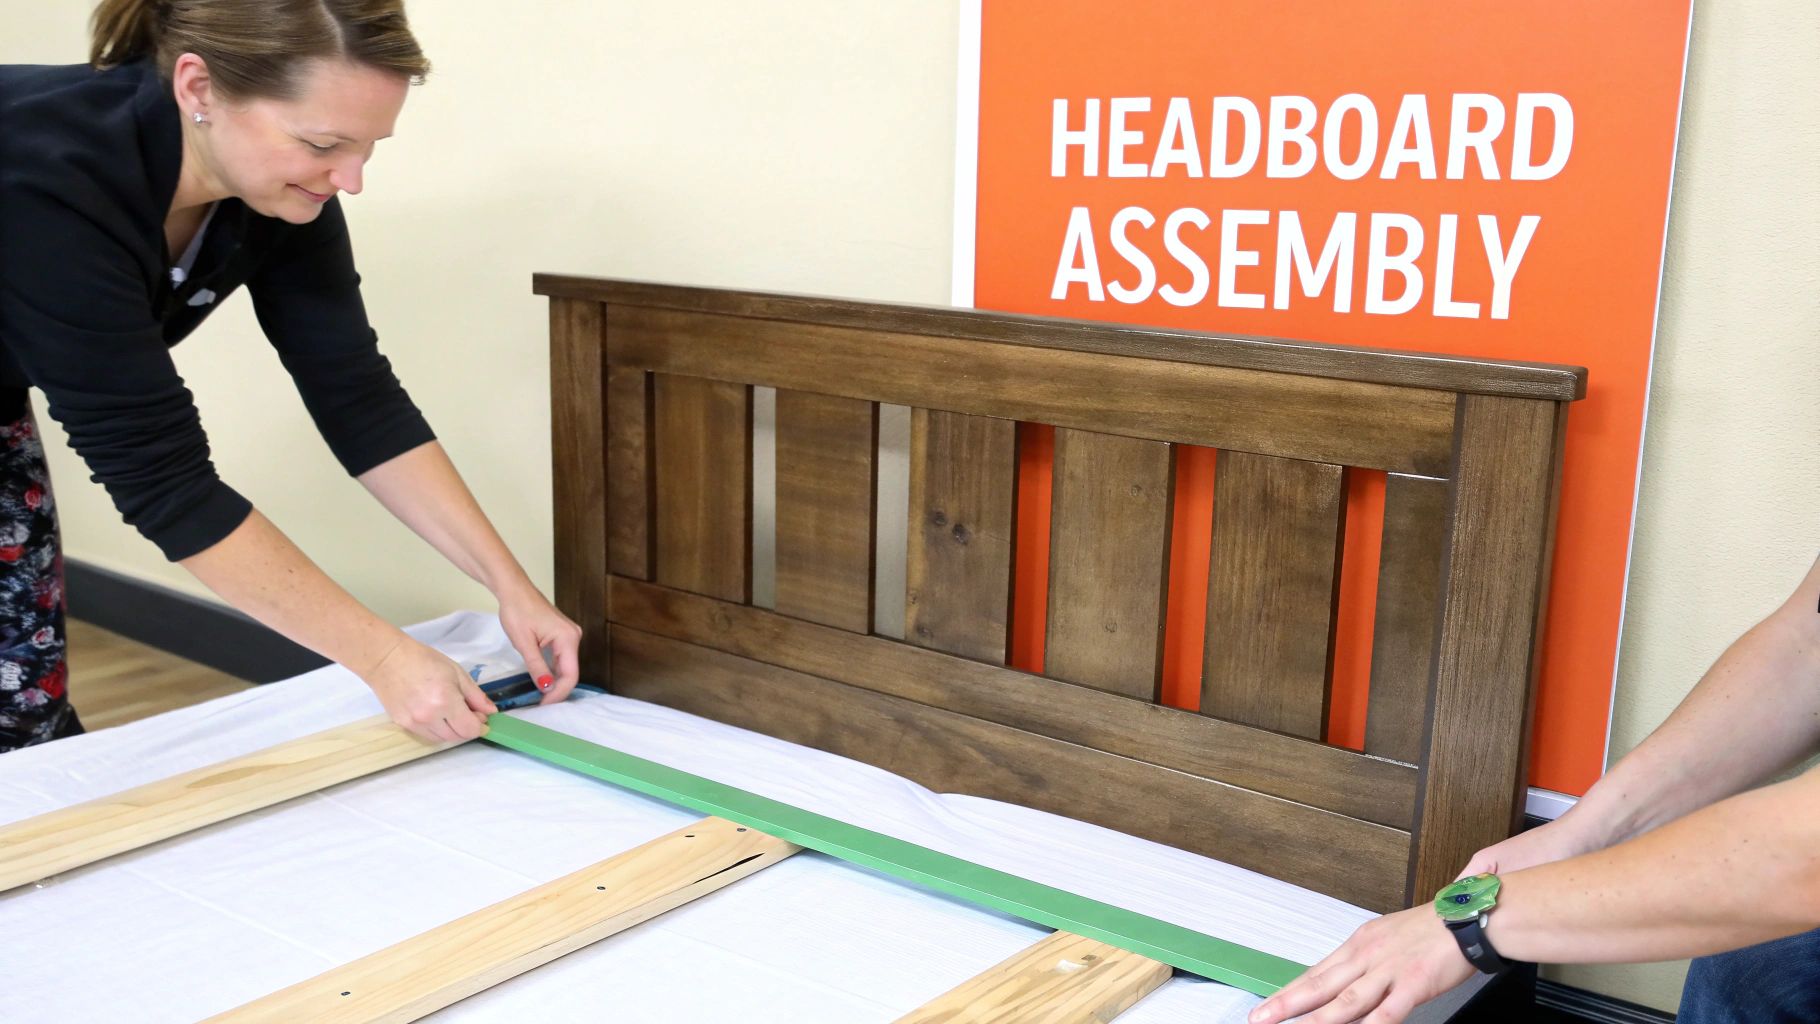
The foundation is where a bed frame really proves its worth. It’s what separates a rock-solid, silent sleep sanctuary from a wobbly, creaky mess that broadcasts every toss and turn. This is the part of the assembly where spending a few extra minutes to get things right pays off for years to come. It all kicks off with connecting the big pieces: the side rails, headboard, and footboard.
Think of attaching the side rails like setting the corners for a house's foundation. If they aren't perfectly square and level, everything you build on top will be slightly off. When you connect a rail to the headboard, don't crank the bolts down all the way just yet. Leave them loose enough for a bit of wiggle room. Do the same for the other side rail and the headboard, then connect both rails to the footboard. You should now have a complete, but slightly loose, rectangle.
Now, grab a helper and gently nudge the frame until all the corners form a perfect 90-degree angle. Your eyes are a surprisingly good tool here. Does it look like a true rectangle? Once you're happy with the shape, start tightening the bolts in a star or "X" pattern, just like you would with lug nuts on a car tire. Tighten a bolt on the headboard, then move to the diagonally opposite one on the footboard. This technique distributes the tension evenly across the frame, pulling it into a truly square shape and acting as your best defense against future squeaks.
Let’s talk about the part that instruction manuals often gloss over: the slats. Whether you have individual wooden planks or a pre-connected roll, their placement is absolutely vital. Proper mattress support directly impacts sleep posture and spinal health, and your slats are the first line of defense. The sweet spot for spacing is no more than 2.5 to 3 inches apart. Any wider, and you risk your mattress sagging into the gaps, which can void its warranty and definitely won't do your back any favors.
Here are a couple of pro tips I've learned for installing slats:
Finally, never, ever underestimate the center support beam, especially for queen and king-sized beds. This is not an optional part; it's what stops the slats from bowing in the middle. Make sure its support legs are adjusted to make firm, level contact with the floor. A simple test is to try sliding a piece of paper under the support foot—if it glides through without any resistance, you need to adjust the leg lower until it’s perfectly snug.
Once your bed's foundation is laid out, you're faced with the next puzzle: that little sea of hardware. Those bags filled with bolts, screws, and weird-looking cam locks are where many assemblies go off the rails. Understanding what each piece does is crucial for building a bed frame that feels solid, not just for a night, but for years to come without constant retightening.
A classic mistake is to wrench down on every screw right from the start. This can easily strip the screw head or even crack the wood, making a truly secure fit impossible. A much better way is to hand-tighten everything first. Get all the pieces connected, but leave them with just a tiny bit of wiggle room. After that, you can go back and give everything a final, firm tightening. Work in a crisscross pattern across the frame to spread the pressure out evenly. This simple technique makes a world of difference in the final sturdiness.
So, what happens when a pre-drilled hole stubbornly refuses to line up? Before you get too frustrated, try loosening the bolts on the connecting parts. This usually gives you just enough slack to coax the difficult piece into place. For those intimidating cam locks and barrel nuts that are so common in flat-pack furniture, the secret is all in the alignment. Make sure the barrel nut is positioned so the bolt can thread into it properly. When you turn the cam lock, only go until it feels snug—usually about a quarter-turn is all it needs. Forcing it will just break the lock. If you find yourself battling these connections, our guide on IKEA furniture assembly has specific tips that work for many flat-pack brands.
It’s also worth mentioning that hardware quality can be a mixed bag. The boom in DIY-friendly furniture means you'll find both great and subpar components. In fact, one of the biggest market trends is the demand for easier assembly, as people look for more practical uses of their living space. You can read more about how market dynamics are shaping bed frame design on cognitivemarketresearch.com. If the screws that came in the box feel soft or start stripping right away, don't hesitate to take a quick trip to the hardware store for better-quality replacements. Spending a few extra dollars on stronger fasteners is a cheap and effective way to boost your bed frame's long-term stability.
Putting together a bed with extra features like drawers, motors, or sensors can feel like a whole different ballgame. When you're dealing with these more advanced elements, you've moved past a simple build and into a more technical setup. A bit of extra patience and a keen eye for detail are your best friends here, especially since instruction manuals often get vague right when you need them most.
Storage beds are a fantastic way to reclaim space, but a drawer that sticks, scrapes, or sits crooked is a special kind of frustrating. The secret to a smooth, perfect fit almost always comes down to the drawer slides. Here’s a little trick that has saved me from pulling my hair out: attach the slides loosely at first.
Once they're on but not fully tightened, slide the drawer into the frame. How does it move? Does it close flush with the frame? Does it glide without catching? You'll probably need to make tiny adjustments, nudging a slide up or down by just a millimeter before you lock down the screws for good.
Another common pitfall is installing the slides on the wrong side or even upside down. Before you pick up a single tool, lay all the slide pieces out and match them to the diagram. Test their gliding motion by hand. This quick check can save you from having to take half the bed frame apart later. For more ideas on organization, you can find some great inspiration by learning about smart under bed storage solutions.
When electronics get involved, the game changes. For adjustable frames, the single most important tip is to connect the motor and test it before you even think about putting the mattress on top. Make sure the remote syncs up properly and the frame moves through its full range of motion. Listen for any grinding or weird noises. Also, be mindful of cable management—you don’t want any wires getting pinched or severed by the moving parts.
Smart beds introduce another layer of technology. This is a rapidly growing area; the smart bed market was valued at around $3.19 billion in 2024 and is expected to climb to $4.77 billion by 2029. This boom is driven by features like sleep tracking and climate control, but getting them to work right can be a puzzle.
Often, the sensors require precise placement, and the bed needs a solid connection to your home’s Wi-Fi network. It's a good idea to download the bed's companion app and try to sync everything before calling the job done. If you run into connectivity problems, try the classic tech-support two-step: restart your router and unplug the bed's power supply before spending time on the phone with customer service. Taking a few extra minutes to test these features thoroughly during assembly ensures you’ll actually enjoy the advanced comfort you paid for. You can find more data about the growing smart furniture market on statista.com.

Even when you follow the instructions to the letter, you can still hit a snag during assembly. It’s a completely normal part of putting together bed frames, but how you handle it makes all the difference. Instead of getting frustrated, it helps to approach these moments like a puzzle. One of the most common issues is a wobbly frame—it can feel like a huge failure, but it’s almost always fixable.
Before you start tightening every bolt in sight, take a moment to play detective and find the true cause of the wobble.
You're sure you've followed the instructions perfectly, but a dowel just won't slide into its hole, or a panel seems a millimeter too wide. This is a critical moment where you decide between a little gentle persuasion and a full stop. If a joint is just a bit snug, a few light taps with a rubber mallet can often coax it into place. Never use a metal hammer, as you’ll almost certainly dent or crack the material.
If you feel like you need to use any real force, stop immediately. That's a clear signal that something isn't aligned correctly. Backtrack one or two steps in the manual. Is a piece on backward? Did you accidentally use the wrong type of screw? Many assembly headaches come from a small mistake made earlier on. Taking a minute to double-check your work can save you from damaging the frame. If you're working with flat-pack furniture, you might find some useful workarounds in these 12 helpful tips for assembling IKEA furniture, as the core ideas apply to many different brands.
Discovering missing or damaged hardware can feel like a project-ending disaster, but don't panic. Your first move should always be to contact the manufacturer’s customer support. Be prepared with your model number, the specific part number from the manual, and your proof of purchase. They can usually ship out replacements quickly. It's tempting to try and substitute with hardware you have lying around, but this can lead to an unstable and unsafe bed frame.
You're in the home stretch, but these final moments are what really make the difference between a project that's just "done" and one that’s done right. Before you even think about throwing the mattress on, it's time for a final stability check. Give the headboard and corners a good, firm wiggle. Is there any movement? Even a tiny wobble now can turn into a major, sleep-disrupting squeak down the road. This is your last chance to go around and tighten any bolts that might have loosened up a bit as everything settled into place.
Once you're satisfied that your new frame is rock-solid, let's talk about where it will live. You'll want to aim for at least two feet of clear space on the sides you get in and out of. It’s also a smart idea to leave a couple of inches between the headboard and the wall to save your paint from scuff marks. Here's a pro tip I've learned the hard way: if you have hardwood or laminate floors, stick some felt pads under each leg before you slide the bed into its final position. Your floors will thank you.
Next up is the "paperwork" part, which is just as important.
Finally, step back and take a moment to admire what you’ve accomplished. Assembling a bed frame is no small task. You’ve just built the centerpiece of your bedroom sanctuary—now it’s time to enjoy the fruits of your labor.
Feeling good about your work but not so great about the time it took? For your next furniture project, let the pros at Assembly Smart take care of the Allen keys and confusing diagrams. Get your free estimate today and rest easy knowing it's built perfectly.
