-
CALL US:
- (866) 952-3456
Jumping into a swing set installation project feels like a great weekend plan—a chance to build something amazing for your kids with your own two hands. But as many parents discover, the reality can be a bit more complicated than the picture on the box. The difference between a smooth build and a frustrating weekend often comes down to the little things, the kind of insights you only get after the project is done. We've gathered wisdom from countless parents to help you sidestep common problems from the very start.
One of the biggest lessons learned is about timing. This isn’t just about clearing a weekend on your calendar. Think about the season. Trying to dig post holes into hard, sun-baked summer clay is a completely different battle than working with damp spring soil. A professional installer knows that ground conditions can make or break a project timeline. Planning your swing set installation for a milder season, like spring or fall, can save you hours of back-breaking work.
Before you even think about unboxing all that hardware, take a long, honest look at your yard. Every outdoor space has its own personality, complete with quirks and potential challenges. That gentle slope might not seem like a big deal, but it can create serious stability issues for a swing set if you don't address it properly.
You don't need fancy equipment to figure out your yard's challenges. Here are a few practical tips from experienced parents:
Deciding whether to tackle the project yourself or hire a professional is a big first step. Going the DIY route gives you a great sense of accomplishment and can save on labor costs. However, it's a major time commitment, often taking two adults a full weekend or even longer. For some perspective, the global swing set market was valued at around $0.38 billion in 2024, fueled by a growing focus on outdoor play. This trend shows just how many families are taking on this exact project. You can find more details on this market growth from Business Research Insights.
On the other hand, hiring professionals guarantees expertise and efficiency. They come with the right tools, have experience with confusing instructions, and can often get the job done in a single day. If you’re short on time, don't have experience with large-scale assembly, or if your yard has challenges like a significant slope, investing in a professional swing set installation provides incredible peace of mind, ensuring it’s built safely and correctly from day one.
The picture in the instruction manual is always perfect: a giant, perfectly flat lawn with the swing set sitting pretty. But your yard probably has its own personality—maybe a slight slope, a favorite old tree right in the middle, or it's just a bit cozier than what the brochure shows. That’s perfectly normal. A successful swing set installation is all about finding the best spot in the yard you actually have, not the one in the catalog.
The first thing to hunt for is level ground. Even a small incline can throw off the swing set’s stability and make it unsafe. A good personal test is if you can easily see the slope with your own eyes, it’s likely too steep to just build on. For a minor grade, you might get away with digging into the high side and building up the low side to create a level pad. Just remember, this adds a good chunk of time and effort to your project. And before you dig anywhere, call your local utility service to mark underground lines. It’s a simple call that prevents a very bad day.
Next, think about the sun. You don't need to be an astronomer; just use your smartphone. Take a quick photo of your potential spots in the morning, around noon, and again in the late afternoon. This simple trick shows you which areas get baked in the hot sun all day. A metal slide can get dangerously hot, so finding a location that gets some afternoon shade is a huge win for both comfort and safety.
Finally, where can you see it from? Can you glance out the kitchen window or back door and have a clear view of the playset? Putting the swing set where you can easily see it makes supervision feel less like a chore and more like a natural part of your day. It’s about giving your kids freedom while still being close enough to help if needed.
Your "perfect spot" also needs to work for you in the long run and keep the peace with your neighbors. How easy will it be to mow the lawn around the swing set? Can you get in close for maintenance, like tightening bolts or re-staining the wood in a few years? Cramming it into a tight corner might seem efficient now, but it can turn into a real pain later.
A happy swing set installation is also one that doesn’t become a point of contention next door. Here are a few things to keep in mind:
Thinking through these real-world details helps you create a play area that your family will love and that fits seamlessly into your home for years to come.
Before you even think about starting your swing set installation, it's easy to get overwhelmed by the tool list in the manual. Manufacturers often include everything but the kitchen sink, but based on real-world experience, you don't need all of it. A successful build isn't about having a professional workshop; it’s about having the right core tools and a smart plan for organizing the inevitable chaos of parts and hardware.
Forget those giant, pre-packaged toolkits. For most wooden or metal swing sets, your success really comes down to a handful of key items. Having these ready will save you from making multiple trips to the hardware store and prevent a ton of frustration.
To make it even clearer, let's break down which tools are must-haves versus nice-to-haves. Your needs can change slightly depending on whether you're building on grass, dirt, or a prepared pad.
| Tool | Essential/Optional | Swing Set Type | Alternative Options | Estimated Cost |
|---|---|---|---|---|
| Socket Set | Essential | All Types | Adjustable Wrench (slow, not recommended) | $40 – $100 |
| Impact Driver | Optional | All Types (esp. wood) | Ratchet or Hand Wrench | $100 – $200 |
| Cordless Drill | Essential | All Types | Manual Screwdriver & Hand Drill | $50 – $150 |
| 4-Foot Level | Essential | All Types | String Level (less accurate) | $20 – $40 |
| Tape Measure | Essential | All Types | None | $10 – $25 |
| Rubber Mallet | Essential | Wood | Block of Scrap Wood & Hammer | $10 – $20 |
| Step Ladder | Essential | All Types | A sturdy chair (unsafe) | $30 – $80 |
| Post Hole Digger | Optional | Ground Anchoring | Shovel (more effort) | $30 – $60 |
The main takeaway here is that while you can get by with the bare essentials, investing in tools like an impact driver can dramatically reduce your assembly time and physical effort.
A smooth swing set installation is just as much about organization as it is about the tools you use. Projects that take more than a day can quickly turn your yard into a messy obstacle course of lumber and hardware. Use muffin tins, magnetic trays, or even just plastic cups to sort bolts, washers, and nuts according to the step number in the manual. This one small action prevents the frustrating "hardware hunt" that can stop your progress in its tracks.
A few unexpected items always prove their worth:
Getting your workspace and tools in order is a key principle for any large assembly. For more great ideas on this, check out our guide on how to prepare for your furniture assembly project—the same logic applies here and can save you a ton of time.
This is the make-or-break phase of your entire swing set installation. A perfectly put-together frame on a lumpy, uneven lawn is a recipe for trouble. The point here isn’t just to clear out some grass; it's to build a stable, level foundation that protects both your kids and your investment. This isn't about fancy, expensive equipment—it’s about using smart, practical methods for a typical backyard.
You can forget the idea that you need complex surveying gear. Your most valuable tools will be a simple string level, a few wooden stakes, and a tape measure. Start by finding what looks like the highest point of your chosen area and hammer a stake in. Tie a string to it, stretch it across to another stake at the lowest point, and clip on the string level. Once you pull the string taut and perfectly level, you can measure the distance from the string down to the ground in different spots. This will show you exactly how much soil you need to remove from the high areas.
The most important rule is to always dig down, never build up. It might seem easier to just toss some dirt into the low spots, but that creates a base of loose soil. Over time, it will compact and shift, making your swing set unstable. Take the time to dig out the high side until the whole area is flat. It’s a bit more effort upfront, but it’s the only way to guarantee the set stays level for years to come.
Let's be honest, yards are rarely perfect. You might be digging and hit a thick tree root right where a support post needs to go. Instead of moving your whole project, you can often handle it with a reciprocating saw (using a pruning blade) or a sharp axe to cut the root out. If you run into a patch of rocky soil that your shovel just bounces off of, a digging bar—a long, heavy steel bar—gives you the leverage to pry those stubborn rocks loose.
What if you discover the spot you picked gets a little soggy after it rains? Digging a shallow trench around the edges and filling it with gravel can create a simple French drain. This will help channel water away from the play area, preventing it from turning into a mud pit and protecting any wooden parts from rot. For more complex drainage or landscape issues, you might want to look into professional advice for your outdoor playset installation to see how the pros handle it.
The infographic below shows the critical first step of assembling the main frame once your site is perfectly prepped.
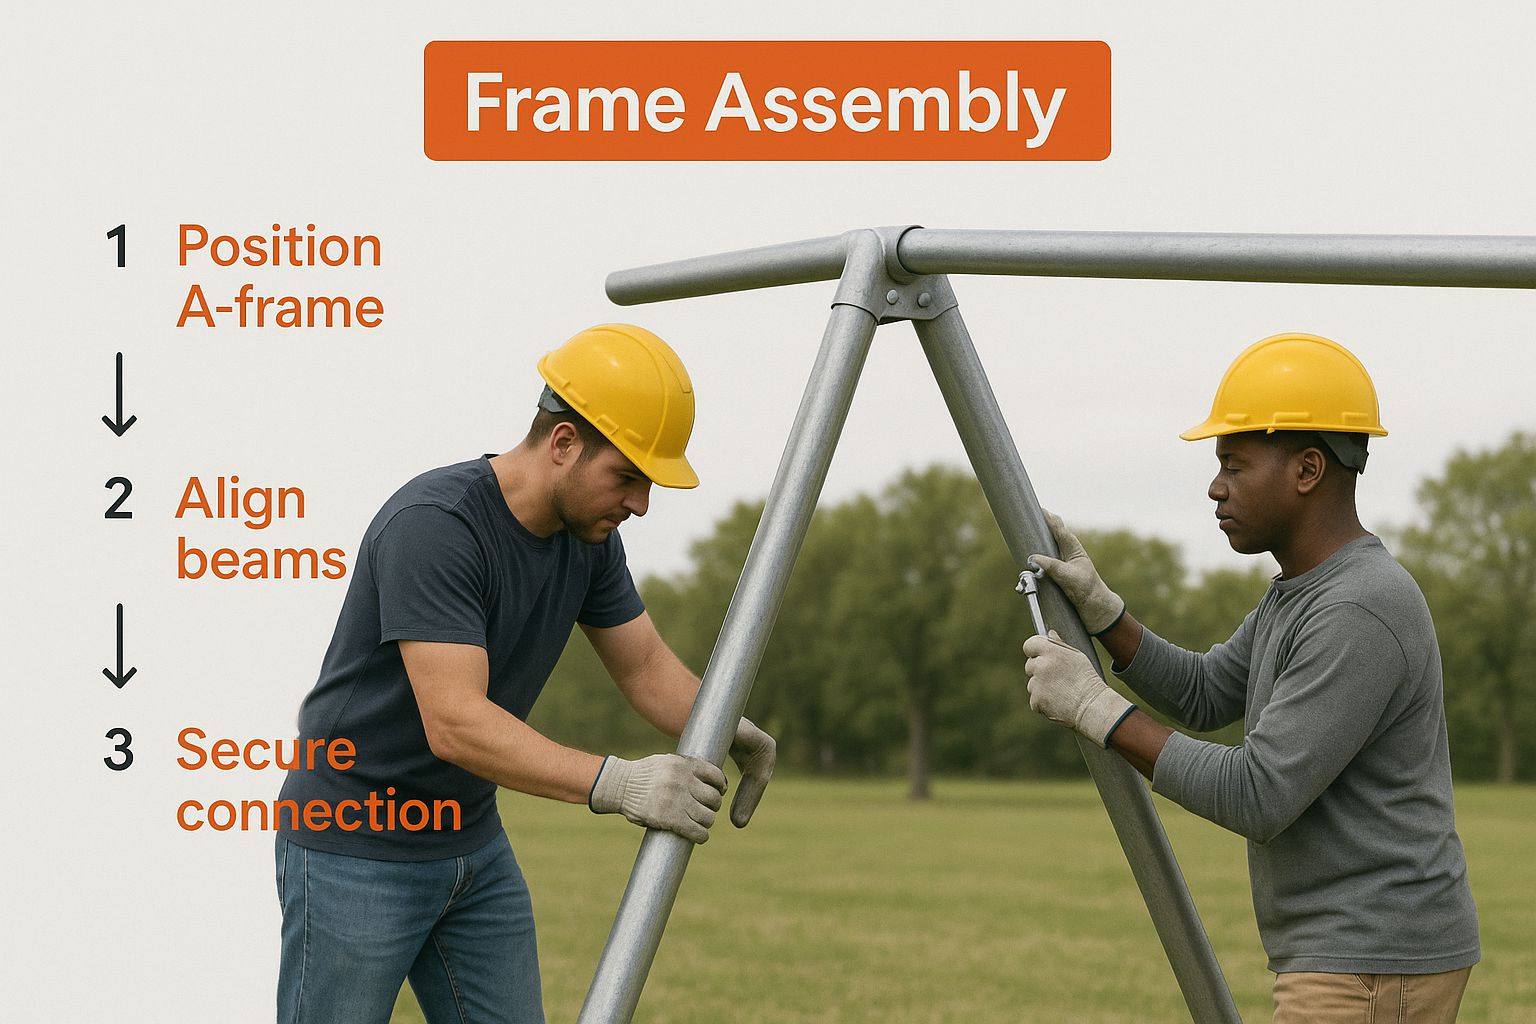
This visual really drives home how important precision is during frame assembly, something that’s only achievable on a properly leveled foundation. The time you spend on site prep directly translates to a safer, more solid playset where every beam aligns perfectly and every bolt fits securely, just like in the diagram.
That moment you open the boxes and see a mountain of wood, plastic, and what feels like 5,000 different screws can be a little much. This is where your swing set installation moves from planning to doing. But don't let it get to you. With a smart approach and the right attitude, you can turn that pile of parts into a solid playground without giving up your whole weekend.
Instead of looking at one huge project, it’s much easier to break the assembly into smaller, more manageable goals. Most instruction manuals are designed this way, and for good reason. Your first objective isn't to build a full swing set; it's just to build the main A-frame. After that, you attach the swing beam. Tackling the build in these focused steps makes the whole thing feel less intimidating.
This is also the perfect time to get your hardware organized. As mentioned before, using muffin tins or magnetic bowls to sort your bolts by step number is a real game-changer. This simple trick prevents the most common and frustrating mistake: having to backtrack. There's nothing worse than getting three steps ahead only to realize a key support bracket is facing the wrong way. By focusing on one section at a time and double-checking your work against the diagrams, you keep things moving forward. For a detailed walkthrough, our complete guide to swing set assembly covers the entire process.
Let’s be real—no installation goes perfectly. You will probably hit a point where two pieces just won’t line up, or a pre-drilled hole seems a bit off. When this happens, take a break. Forcing parts together is how you end up with split wood and stripped hardware. Take a moment to re-read the instructions, loosen the bolts on the connecting parts to create some slack, and then try again. Sometimes, a little jiggling or a gentle tap from a rubber mallet is all it takes.
If you have a friend or family member helping out, give them specific roles. One person can be the "parts manager," responsible for finding and handing over the right pieces and hardware for each step. The other person can do the actual building. This creates a good rhythm and stops people from just standing around. Remember, the goal is to build a playset, not to test your relationships. Celebrating small wins, like finishing a single wall panel, helps keep everyone's spirits up.
The scale of these projects, whether for a backyard or a public park, is impressive. The demand for well-built play areas is on the rise, particularly in the commercial sector, which now represents the largest segment of the playground equipment market. This growth is often connected to new urban developments and public infrastructure investments. You can learn more about these market dynamics and playground equipment trends from recent industry analysis. It just goes to show the value we all place on safe, durable play structures, which all begins with a quality swing set installation.
After all your hard work, the swing set is finally standing tall in your backyard. It's a great feeling, but before you let the kids loose, there's one last, critical task: a thorough safety check. This isn't just a quick glance; it's a methodical inspection to give you confidence that your structure is solid, secure, and ready for countless hours of fun.
Your first move is a hands-on stability test. Don't be shy here. Grab the main support posts and give them a firm shake. You should feel solid resistance with very little give. If you notice significant swaying or rocking, it's a major red flag. Go back and check that every single nut and bolt is tightened down completely. It’s pretty common for some hardware to need a final turn after the structure settles into place.
Next, turn your attention to the swing beam. Apply downward pressure to the center of the beam to make sure it doesn’t bow or flex too much. Then, give it a good push forward and backward. A properly built swing set will feel like one unified structure. A staggering 75% of preventable playground injuries are due to falls, which makes a stable foundation the most important safety feature you can build.
Now it’s time to get up close and personal with the hardware. It's a good idea to wear gloves for this part. Run your hands over all the wooden and metal surfaces to feel for potential hazards.
You're specifically looking for:
This detailed check is all about preventing injuries before they have a chance to happen. To really understand what the pros look for, you can learn more about comprehensive playground safety standards and apply those same principles to your own backyard.
To help you stay organized, here's a detailed checklist you can use for your inspection. It breaks down what to look for on each part of the swing set.
A detailed safety verification table covering all swing set components with specific check points and acceptance criteria.
| Component | Check Points | Safety Standards | Action Required | Frequency |
|---|---|---|---|---|
| Main Frame/Posts | Check for wobbling or swaying. Inspect wood for cracks or splits. Verify all bolts are tight. | Structure must be stable with no movement at the base. Wood must be free of structural defects. | Tighten all hardware. If wood is cracked, contact manufacturer. Anchor if not already done. | Monthly & after heavy use |
| Swing Beam | Apply downward pressure to check for bowing. Push forward/backward to test for movement. | Minimal to no flexing under load. No side-to-side sway. | Re-tighten all beam-to-frame connections. Ensure support braces are secure. | Monthly |
| Swings & Chains | Inspect chain links for wear or rust. Check S-hooks and connectors for secure closure. Ensure swing seats are free of cracks. | Chains should be in good condition. S-hooks must be closed tightly. Seat integrity must be sound. | Replace worn chains or cracked seats. Close any open S-hooks with pliers. | Bi-weekly |
| Slide | Check for cracks or sharp edges. Ensure it is securely attached at the top and bottom. | Smooth sliding surface. No movement or wobbling when pushed. | Sand any rough spots. Tighten all mounting bolts. | Monthly |
| Hardware | Ensure all bolts are flush or capped. Look for any protruding screws or sharp metal edges. | No exposed sharp points or snag hazards for clothing. | Trim or replace long bolts. File down any sharp metal burrs. | Monthly |
| Anchors | Verify anchors are installed deep in the ground. Test the set for any lifting or tipping. | Swing set should not lift off the ground during vigorous play. | Re-install or deepen anchors. Consider concrete footings for loose soil. | Seasonally |
This checklist is your guide to maintaining a safe play environment. By running through these points regularly, you can catch small issues before they become big problems.
Proper anchoring is what physically connects your swing set to the ground, stopping it from lifting or tipping over during enthusiastic play. If your kit included anchors, installing them is not optional—it's absolutely essential for safety.
Once your anchors are installed, go back and do the wiggle test one more time. The difference should be dramatic. The entire structure should feel completely immovable. Taking the time for these final safety checks transforms your project from just a completed swing set into a truly safe and reliable playground for your family.
Getting a new swing set installed is a huge win, but the work isn't totally over. To protect your investment and make sure the playset stays a safe place for fun, a little bit of maintenance is essential. It's less of a chore and more of a seasonal check-in to keep everything in great shape. The best part? It doesn’t have to take over your weekend.
For most families, a simple, seasonal approach to maintenance works best. You don't need a complicated spreadsheet; just tie your tasks to the changing weather. This makes it feel more natural and easier to remember.
Most of these maintenance tasks are easy enough for any homeowner to handle. Tightening bolts, cleaning surfaces, and even applying sealant are pretty straightforward jobs. However, if you find something more serious—like a large crack in a main support beam or deeply rusted structural hardware—it’s smart to get a professional opinion.
A small structural problem can turn into a big safety hazard fast. Don't hesitate to call a pro for an assessment. They can tell you if a repair will do the trick or if a part needs to be replaced entirely, giving you peace of mind that your swing set installation is still safe and sound.
If keeping up with playset maintenance feels like one more thing on a never-ending to-do list, the team at Assembly Smart is here to help. Our experts can handle everything from seasonal tune-ups to full safety inspections, ensuring your equipment is always ready for playtime. Book your professional maintenance service today and keep the fun going, worry-free.
