-
CALL US:
- (866) 952-3456
Congratulations on your new home! The journey from buyer to homeowner is exhilarating, but the first few days and weeks are crucial for establishing security, functionality, and peace of mind. The moment you receive the keys marks the beginning of a new chapter, one that requires a strategic approach to transform an empty structure into a safe, comfortable, and personalized space. This transition involves more than just unpacking boxes; it’s about laying a solid foundation for your life within these new walls.
To help you navigate this exciting time, we've developed the ultimate new homeowner checklist. This guide moves beyond generic advice, offering a detailed, actionable roadmap for the essential tasks you need to tackle immediately after closing. We will provide specific implementation details and practical examples to ensure you feel confident and in control. This comprehensive resource is designed to be your expert companion, helping you manage everything from immediate safety priorities to long-term home management strategies.
Think of this checklist as your first project plan. It systematically covers the most critical steps, such as changing all locks, locating and testing main utility shutoffs, and creating an emergency safety plan. By following these steps, you can proactively address potential issues, prevent future headaches, and start enjoying your investment right away. We will cover the eight critical steps every new homeowner should prioritize to start strong and ensure a smooth, successful transition. Let’s dive in.
The first, non-negotiable task on every new homeowner checklist is securing your property’s primary access points. When you receive the keys at closing, you can't know for certain who else holds a copy. Previous owners, their family members, real estate agents, contractors, or even neighbors might have a key. Changing or rekeying all exterior locks immediately guarantees that you are the sole keyholder, providing essential peace of mind from day one.
You have two main options for this crucial security step. Rekeying involves a locksmith altering the internal mechanism (the tumblers and pins) of your existing locks so they work with a new key. This is often more cost-effective than a full replacement, assuming the existing hardware is high-quality and in good condition.
Replacing the locks means installing entirely new hardware, including deadbolts and doorknobs. This is a great opportunity to upgrade to more secure or convenient technology. For instance, you could install a smart lock like the Kwikset SmartCode or an August Smart Lock Pro, which allow for keyless entry, remote access management via smartphone, and temporary codes for guests or service providers.
Beyond just the front door, a comprehensive approach ensures every entry point is secure.
Securing your home’s perimeter is the first step. Once inside, remember that internal safety is just as important, especially for families with children. As you set up your new space, you can learn more about how to secure large furniture to prevent tip-over accidents.
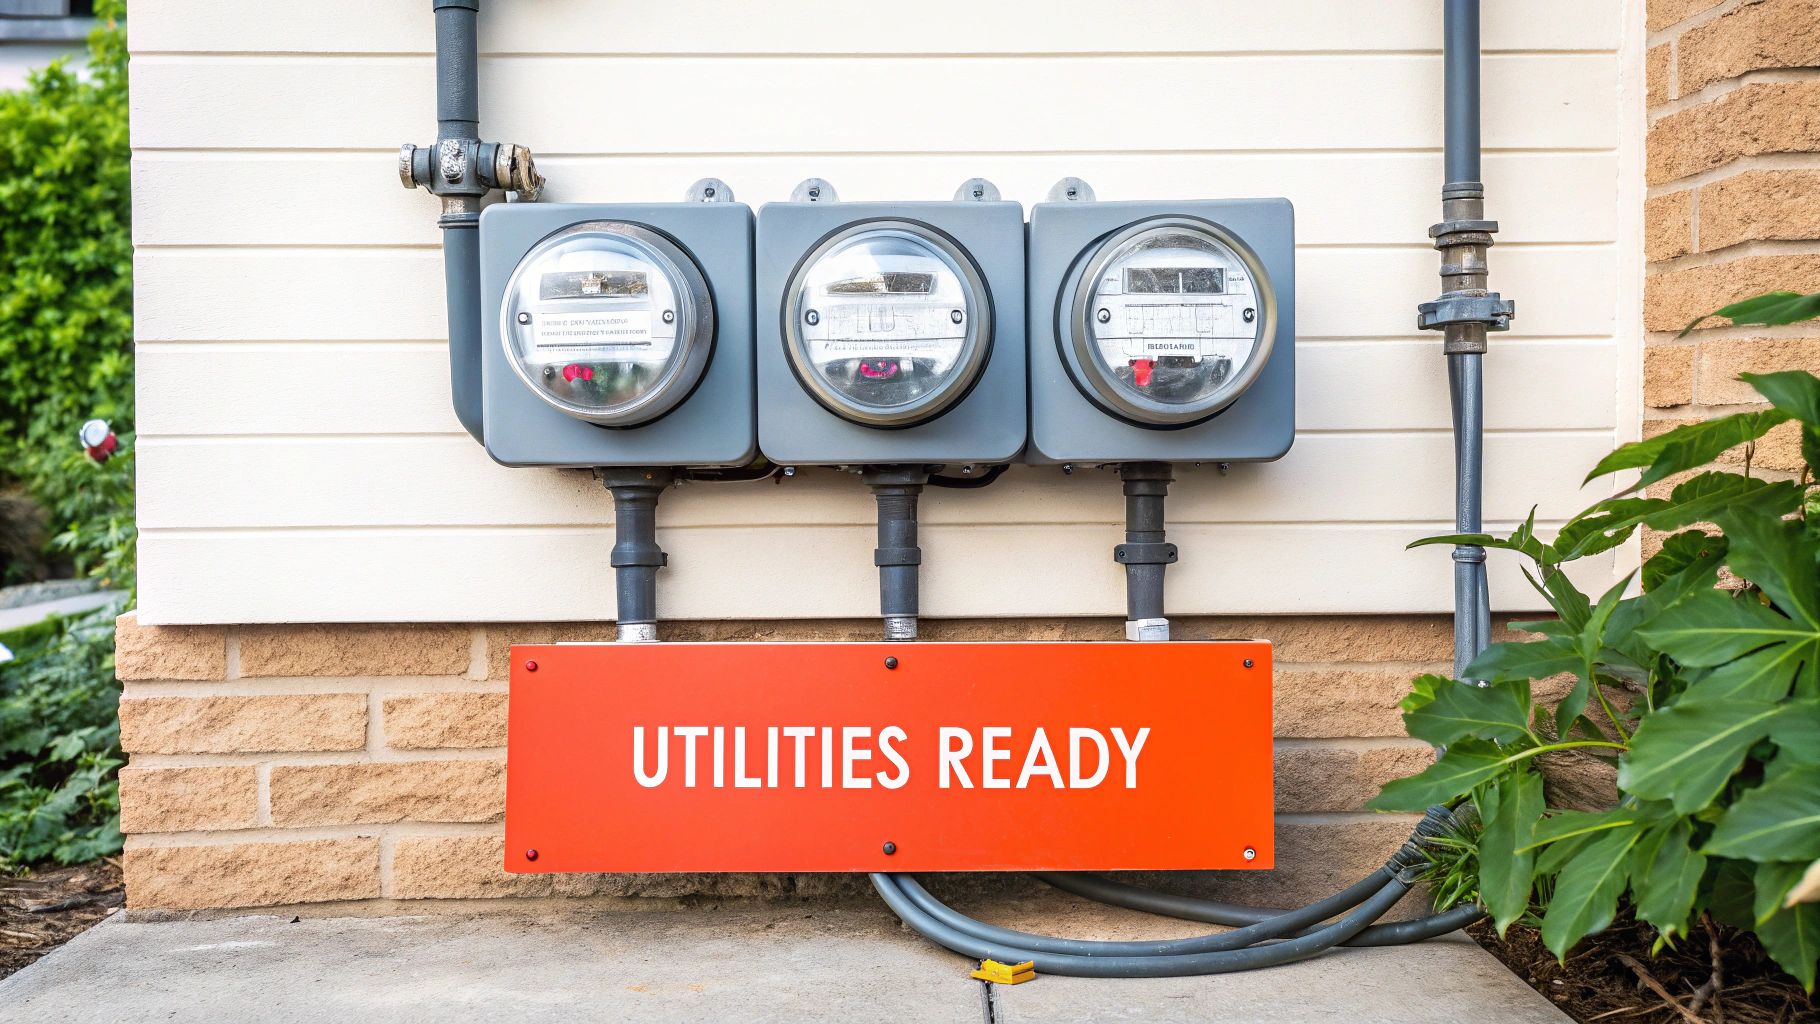
A home without electricity, water, or internet is just a building. Transforming it into a functional living space requires setting up essential utilities. This step is a critical part of any new homeowner checklist because it ensures your home is comfortable and connected from the moment you move in. The process involves contacting multiple providers to establish or transfer services, and it’s a task that requires advance planning to avoid any service gaps.
Depending on your situation, you will either transfer existing accounts or set up entirely new ones. Transferring service is common if you are moving within the same service area of providers like ConEd or PG&E. This is often a straightforward process that can be handled online or with a single phone call.
Establishing new service is necessary when moving to a new region or switching providers. This gives you the opportunity to research and compare options. You might find better rates or services, such as upgrading to high-speed internet with Google Fiber or bundling internet, TV, and security with a provider like Comcast Xfinity for potential savings.
To ensure a smooth transition, start the process well before your move-in date. A proactive approach prevents the stress of arriving at a dark, unconnected house.
Knowing how to control your home's essential utilities is a critical part of any new homeowner checklist. In an emergency, such as a burst pipe or an electrical short, the ability to quickly shut off the water, gas, or power can prevent catastrophic damage and ensure your family's safety. Taking the time to locate, identify, and test these systems right after you move in will give you control and confidence when it matters most.
Your home's main shutoff valves and electrical panel are its nerve centers, and their locations can vary. The main water shutoff valve is often found in the basement, crawl space, or utility closet, typically near where the main water line enters the house from the street. The main electrical panel, or circuit breaker box, is commonly located in a garage, basement, or a dedicated utility room. For homes with natural gas, the gas shutoff valve is usually situated outside near the gas meter.
Once you've located these critical components, your next step is to ensure they are accessible and functional. A little preparation now can save you from a major headache later.
Even if you had an inspection before purchasing, a second, more detailed professional inspection after you move in is a critical part of any new homeowner checklist. The pre-purchase inspection is often done under pressure and time constraints. A post-move-in inspection allows you to establish a comprehensive maintenance baseline and catch issues that may have developed or been overlooked during the sale process. This proactive step helps you prioritize repairs and prevent minor problems from becoming costly emergencies.
This inspection is less about negotiating with a seller and more about understanding your new property intimately. A certified inspector from an organization like ASHI or InterNACHI can assess key systems without the rush of a real estate transaction. This gives you a clear, unbiased snapshot of your home's current condition and a roadmap for future maintenance.
For example, a post-move-in HVAC tune-up might reveal the need for a simple filter change or more significant duct cleaning. An appliance check can uncover warranty registration deadlines you need to meet. Similarly, a roof inspection could identify minor shingle damage that is easy to fix now but could cause major leaks during the next storm.
To get the most value from this process, plan your inspection strategically. This will empower you to create a prioritized repair list and budget effectively for your home's upkeep.
Once the keys are in hand, one of the most critical administrative tasks on your new homeowner checklist is updating your address across all personal, financial, and governmental accounts. Failing to do this can lead to missed bills, lost packages, and delays in receiving important documents. Systematically updating your information not only ensures continuity but also formally establishes your residency in your new community.
The sheer number of places your address is stored can be overwhelming. The most effective approach is to create a master checklist before you even begin the process. Start with the most critical services and work your way down.
Financial and Governmental institutions should be your top priority. This includes notifying your bank, credit card companies, investment firms, and loan providers. It's also crucial to update your information with the IRS, Social Security Administration, and the Department of Motor Vehicles (DMV) to ensure tax documents and identification are sent to the correct location.
Services and Subscriptions come next. Think about your monthly subscriptions like Amazon Prime, Netflix, and any magazines or subscription boxes. Also, don't forget to update your address with online retailers, loyalty programs, and your employer's human resources department for payroll purposes.
To execute this efficiently, break it down into manageable steps and track your progress.
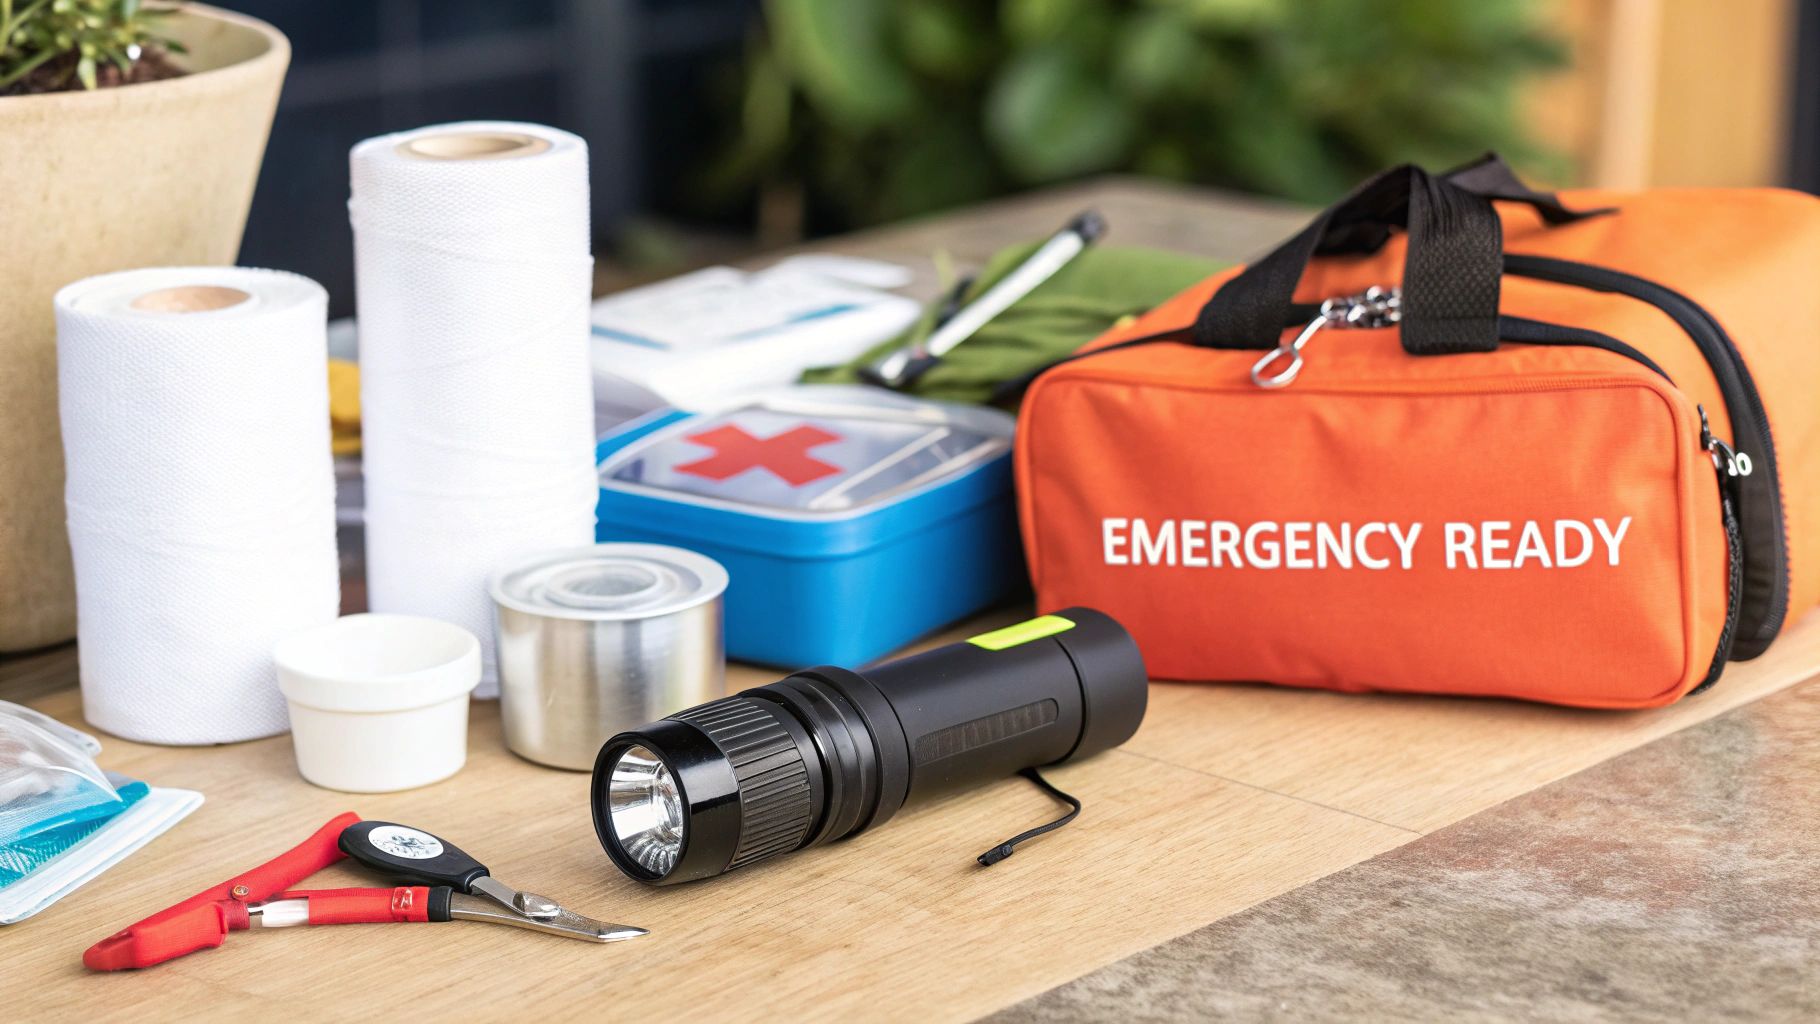
Moving into a new home means adapting to a new environment, which includes understanding and preparing for its specific safety risks. A critical part of any new homeowner checklist is creating a comprehensive emergency kit and a clear family safety plan. This preparedness ensures you can handle unexpected events like severe weather, prolonged power outages, or other emergencies, providing security beyond just your locks and alarms.
A one-size-fits-all approach to emergency preparedness is ineffective. Your kit must be tailored to the potential hazards specific to your geographical location. The supplies you need will vary greatly depending on whether your primary risk is a hurricane, an earthquake, a winter blizzard, or a wildfire. Start by researching your area's history and common alerts.
For example, homeowners in coastal Florida should prioritize a hurricane kit with items like a generator, plywood, sandbags, and a two-week supply of water. In contrast, a family in California would build an earthquake kit that includes a wrench to shut off gas lines, heavy-duty gloves, and dust masks. Those in colder climates should focus on a winter storm kit with backup heating sources, thermal blankets, and non-perishable food that requires no cooking.
Assembling your kit and plan takes diligence. The goal is to have everything ready before an emergency strikes, when stress is high and supplies are scarce.
One of the most proactive steps you can take as a new homeowner is to build a list of trusted local contractors before you need them. When a pipe bursts or your air conditioner fails on the hottest day of the year, the last thing you want is to be scrambling to find a reputable professional. Establishing these relationships early ensures you have reliable, vetted help ready for routine maintenance and unexpected emergencies.
Finding a reliable contractor can feel overwhelming, but several resources can simplify the search. Combining digital research with community recommendations is often the most effective strategy. Platforms like Angi (formerly Angie's List) and HomeAdvisor offer extensive databases of pre-screened professionals complete with customer reviews and ratings, which is a great starting point.
For more personal recommendations, turn to your new community. Ask your neighbors directly for referrals or join local neighborhood social media groups like Nextdoor. These hyper-local sources often provide honest, firsthand accounts of working with specific plumbers, electricians, or HVAC technicians. Don’t overlook your local hardware store, as their staff can often refer you to trusted professionals who are well-regarded in the area.
Compiling a list is just the first step; proper vetting is crucial to avoid costly mistakes. This process ensures the professionals you hire are qualified, insured, and reliable.
Building this network is a key part of any new homeowner checklist. For a more detailed guide on selecting the right professionals, you can learn more about our contractor hiring checklist.
Finalizing your home purchase required securing a homeowner's insurance policy, but that initial step is just the beginning. Now that you're officially the owner, it's crucial to comprehensively review that policy to ensure it adequately protects your new, significant asset. The coverage you secured to satisfy your lender might not fully align with your personal needs, property value, and specific regional risks, making this review an essential part of any new homeowner checklist.
A standard homeowner's policy covers the structure, personal belongings, and liability, but often has limitations and exclusions. You need to assess whether your property requires supplemental coverage for risks specific to your location. This is your chance to close potential gaps before you ever need to file a claim.
Consider specialized policies such as flood insurance, which is typically administered through the National Flood Insurance Program (NFIP) and is not included in standard coverage. Similarly, if you live in a seismically active area like California, earthquake insurance is a separate but vital addition. For added liability protection that extends beyond your home and auto policy limits, an umbrella policy is a smart, often affordable, upgrade.
Take these proactive steps to ensure your financial safety net is secure and appropriately configured for your new life.
| Item | Implementation Complexity 🔄 | Resource Requirements ⚡ | Expected Outcomes 📊 | Ideal Use Cases 💡 | Key Advantages ⭐ |
|---|---|---|---|---|---|
| Change All Locks and Secure Entry Points | Moderate: requires locksmith or DIY setup | Low to moderate cost; possible professional help | High security; peace of mind immediate | New home ownership; security upgrade | Prevents unauthorized access; upgrade options |
| Set Up Essential Utilities and Services | High: coordination with multiple providers | Time-intensive; possible setup fees and deposits | Full home functionality from move-in day | Moving into new home; utility transfer | Ensures basic services; potential cost savings |
| Locate and Test Main Shutoff Valves and Electrical Panel | Low to moderate: basic knowledge or professional help | Minimal cost, possible professional assistance | Emergency preparedness; damage prevention | Emergency readiness; maintenance facilitation | Critical for quick shutoff; reduces emergency damage |
| Schedule Professional Home Inspection and Address Issues | Moderate: scheduling and attending inspection | Costly ($300-600); professional service | Identifies hidden issues; maintenance planning | Post-move-in maintenance; warranty establishment | Early problem detection; repair prioritization |
| Update Address and Register for Local Services | Low to moderate: multiple updates required | Time-consuming; mostly online or phone-based | Continued service delivery; legal compliance | New residency; official record updates | Avoids missed mail; enables civic participation |
| Create Emergency Kit and Safety Plan | Moderate: gathering supplies and planning | Moderate cost ($200-500); storage space needed | Preparedness for disasters; peace of mind | Areas prone to natural disasters or outages | Life-saving readiness; stress reduction |
| Establish Relationship with Local Contractors and Service Providers | Moderate to high: research and vetting effort | Time-intensive; possible small project costs | Reliable service access; emergency repair support | Home maintenance; emergency repairs | Quality work; priority scheduling; cost savings |
| Review and Update Insurance Coverage | Moderate: policy review and possible changes | Ongoing premium expense; time for shopping quotes | Financial protection; legal compliance | New property ownership; risk management | Protection from loss; liability coverage |
Completing this comprehensive new homeowner checklist is a monumental achievement. You have moved beyond the paperwork of closing and are now firmly in control of your new property. By systematically addressing security, setting up utilities, understanding your home's core systems, and handling crucial administrative tasks, you have constructed a robust foundation for a secure and comfortable life in your new space. This initial diligence is not just about ticking boxes; it is about establishing a baseline of safety, functionality, and peace of mind that will serve you for years to come.
The journey, however, has just begun. The foundational tasks are complete, and now the truly personal and exciting chapter of homeownership starts: transforming this house into your home. This is the phase where your personality, style, and lifestyle priorities come to the forefront. As you transition from securing the perimeter to curating the interior, the challenges shift from logistical to creative, but the need for a methodical approach remains.
Your initial walkthrough helped you locate main shutoff valves and the electrical panel, but true home mastery involves proactive, ongoing maintenance. Owning a home is a marathon, not a sprint. The systems you've just familiarized yourself with require regular attention to prevent costly emergencies down the road.
A great way to stay ahead is by creating seasonal and annual maintenance schedules. For instance, just as you've checked your smoke detectors now, plan to test them semi-annually. Similarly, the relationship you establish with an HVAC technician should involve yearly service calls, typically before the peak of summer or winter. To ensure your home remains in top condition beyond these initial steps, consider implementing a comprehensive yearly plumbing checklist. This proactive habit prevents minor issues from escalating into major disasters, protecting your investment and your daily comfort.
Key Takeaway: The initial new homeowner checklist is your starting point. Evolve it into a recurring home maintenance plan to preserve your home’s value and functionality long-term.
Now comes the fun part: filling your home with furniture, decor, and the equipment that supports your lifestyle. Whether it's a crib for a new nursery, a complex home gym for your fitness goals, or a sprawling patio set for summer barbecues, you will likely find yourself surrounded by flat-pack boxes and cryptic instruction manuals. This is a universal homeowner experience, but it doesn't have to be a frustrating one.
The process of assembling new items is often more time-consuming and complicated than anticipated. For busy professionals, working parents, or anyone not inclined towards DIY projects, this can become a significant source of stress, delaying the enjoyment of your new purchases. Remember that your time is a valuable resource. Spending an entire weekend deciphering diagrams and searching for missing screws is time you could be spending with family, settling in, or simply relaxing in your new environment. Acknowledging when to call for professional help is a smart homeowner's move. This is where you can leverage specialists to handle the heavy lifting, ensuring your new possessions are assembled safely, correctly, and efficiently. By outsourcing these tasks, you reclaim your time and energy, allowing you to focus on the bigger picture of creating a beautiful and functional living space.
Ready to turn those boxes into a beautiful, functional home without the headache? Let Assembly Smart handle the complex instructions and tiny hardware. From furniture and fitness equipment to playsets and patio gear, our experts ensure every item is built right, so you can start enjoying your new home faster. Visit Assembly Smart to book your service today!
