-
CALL US:
- (866) 952-3456
A well-organized workspace isn't just about aesthetics; it's the foundation of efficiency, safety, and productivity. Whether you're a DIY enthusiast, a professional craftsperson, or just trying to manage your home's tools and fasteners, the constant battle against clutter is real. Scattered screws, misplaced wrenches, and tangled cords can turn a simple five-minute task into a frustrating treasure hunt, draining both your time and motivation.
This article cuts through the noise with actionable and creative hardware organization ideas designed to transform your workshop, garage, or utility closet. We'll move beyond generic advice and dive into specific, scalable systems that you can implement immediately. From versatile pegboards and modular drawers to advanced French cleat walls, each solution is detailed to help you reclaim your space.
The principles of systematic organization extend beyond the workshop walls; for those who need to keep their gear secure while mobile, a similar mindset applies. Extending these concepts, you can explore effective truck bed cargo management strategies to maintain order on the go. By the end of this guide, you'll have a clear roadmap to implement a storage solution that not only fits your space but also enhances your workflow.
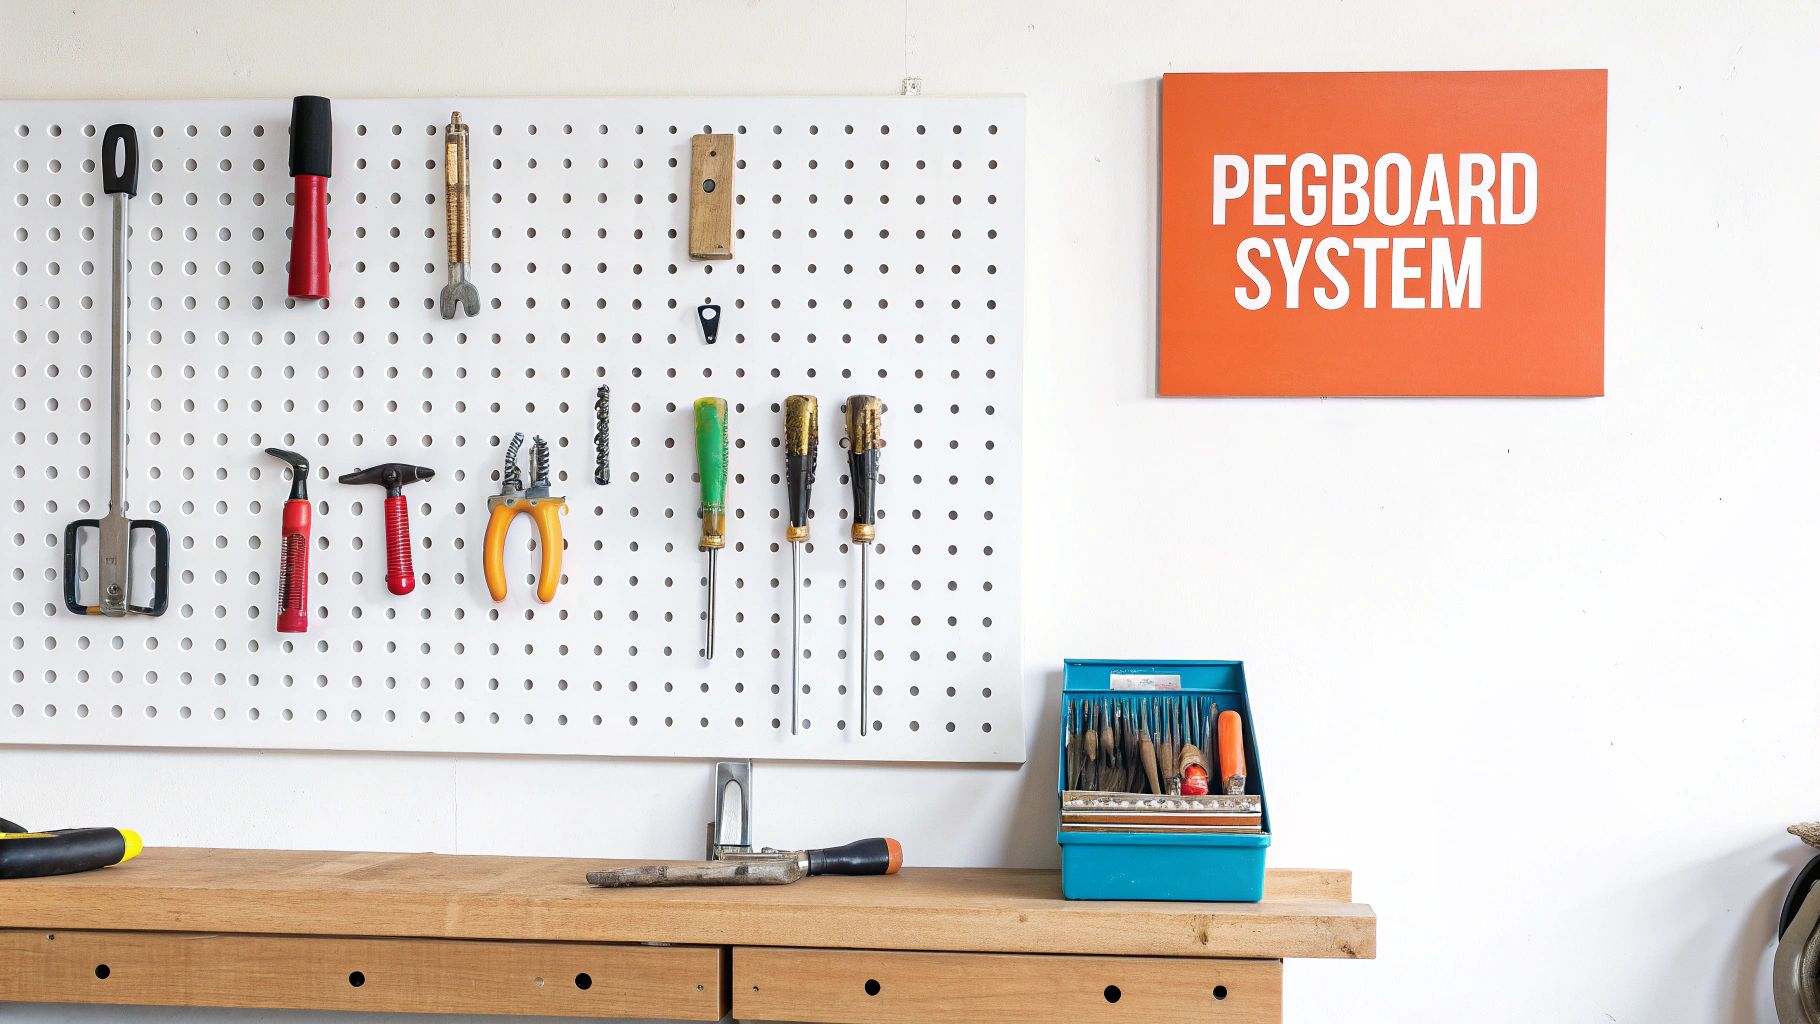
A pegboard wall system is a cornerstone of classic workshop organization for a reason: its unparalleled versatility. This system consists of a perforated hardboard or metal panel mounted to a wall, featuring a grid of standardized holes. This grid accepts a vast array of hooks, bins, shelves, and specialized holders, allowing you to create a completely customized layout for your tools and supplies. It's one of the most effective hardware organization ideas because it transforms unused vertical wall space into a highly efficient and visible storage area.

This modular approach is ideal for anyone whose tool collection is constantly evolving. From professional auto shops displaying wrenches and sockets to craft rooms organizing scissors and spools of thread, the applications are nearly endless. You can find robust pegboard systems from brands like Wall Control and Gladiator that use metal panels and locking accessories for heavy-duty use.
To get the most out of your pegboard, move beyond simply hanging tools randomly. Strategic placement is key.
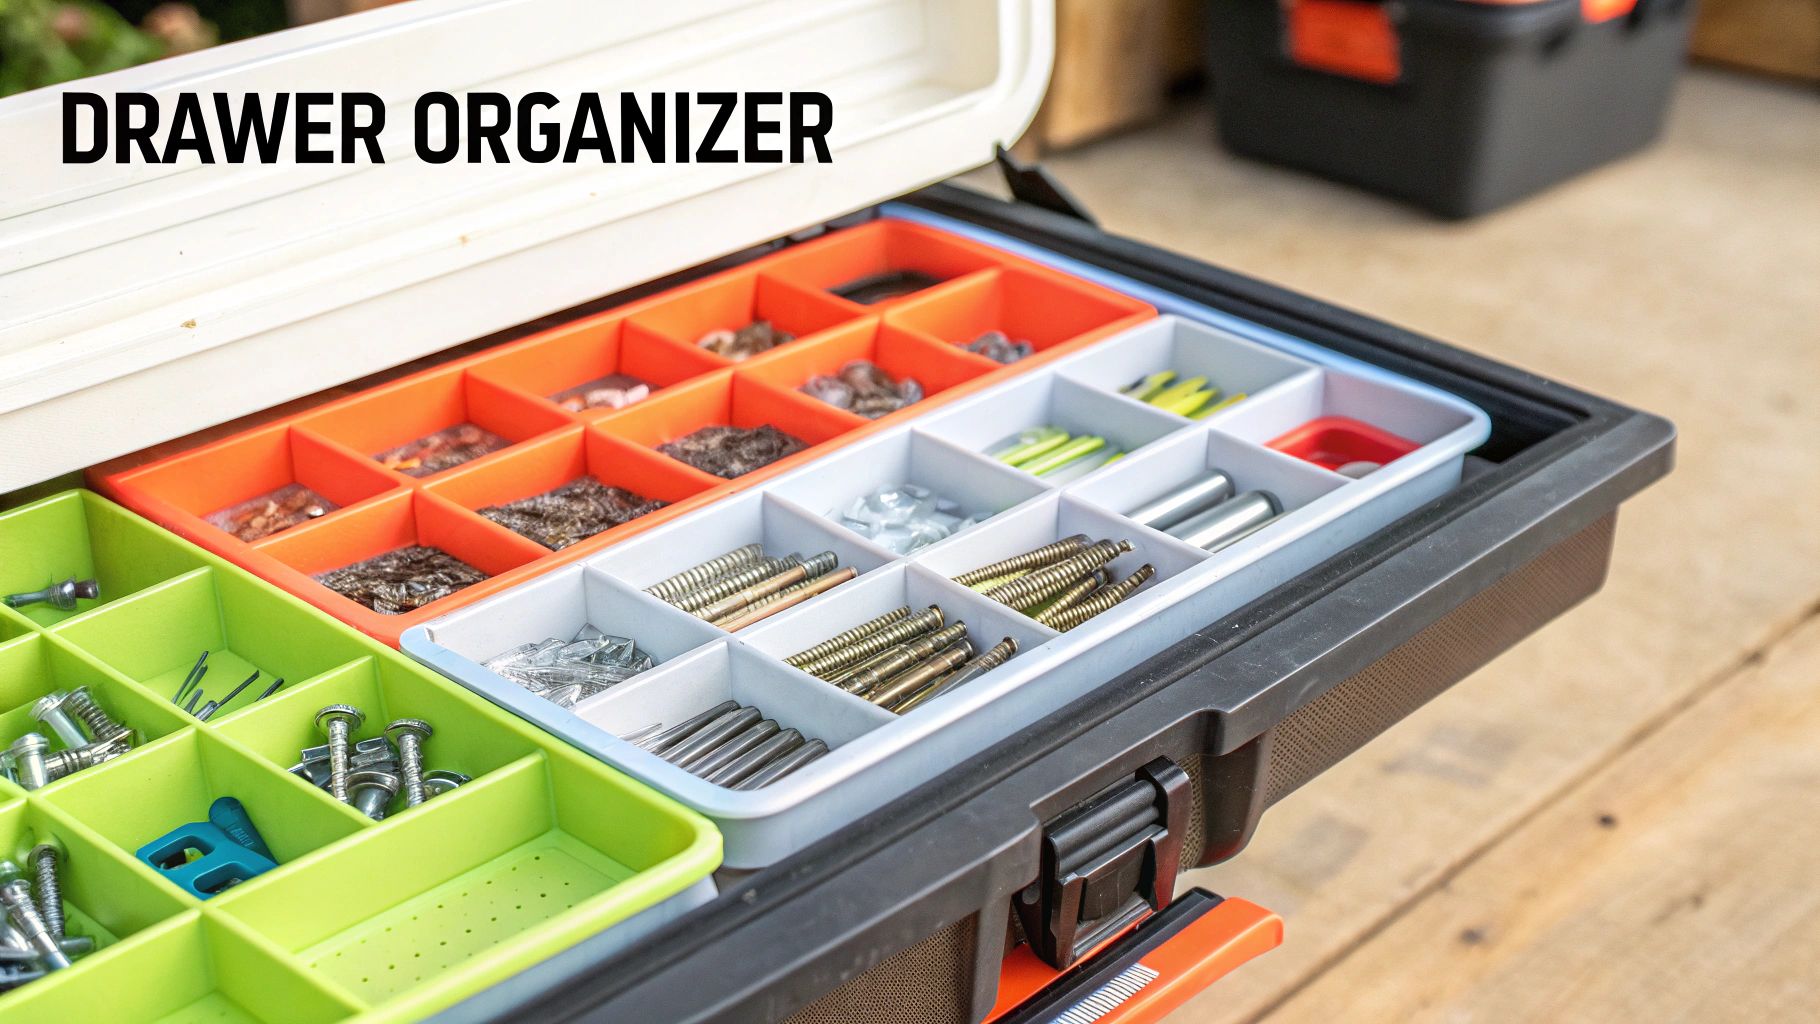
While wall space is premium, drawer space is often an underutilized and chaotic frontier. A modular drawer organizer system brings order to this chaos, using a collection of adjustable dividers, bins, and interlocking trays to create bespoke compartments for all your small parts and hand tools. It's one of the most satisfying hardware organization ideas because it turns a jumbled "junk drawer" into a high-density, perfectly arranged grid where every screw, bolt, and socket has its own dedicated home.

This method is perfect for tool chests, workshop cabinets, and even kitchen drawers repurposed for hardware. The beauty lies in its reconfigurability; as your collection of fasteners or small tools grows, you can easily rearrange the bins and dividers. Systems from brands like Ernst Manufacturing offer specific organizers for sockets and wrenches, while others provide general-purpose bins that can be adapted for anything from electrical connectors to furniture assembly hardware. Speaking of which, having your essential hardware organized like this is a huge time-saver; for more on the right tools for putting together furniture, check out these essential furniture assembly tools.
To maximize the efficiency of your drawer organizers, a little planning goes a long way. Think beyond just dropping items into bins.
A mobile tool cart brings your workshop directly to your project, eliminating the need to walk back and forth for every tool. This system, built around a wheeled cabinet or cart, combines storage and mobility into one efficient package. Featuring multiple drawers, shelves, and a durable top work surface, it allows you to keep an entire project's worth of hardware and tools organized and within arm's reach. This is one of the most dynamic hardware organization ideas, perfect for large garages, professional shops, or any space where you work in multiple locations.

This method is famously used in automotive shops, with brands like Husky and US General providing robust, multi-drawer solutions. However, the concept is highly adaptable; it's seen in medical equipment carts, mobile maker carts in schools, and even kitchen prep carts repurposed for craft supplies. The key benefit is consolidating everything you need for a specific task, saving significant time and effort. For guidance on putting one together, you can learn more about utility cart assembly on assemblysmart.com.
To maximize the efficiency of a mobile cart, thoughtful organization is crucial. It’s more than just a box on wheels; it's a portable command center.
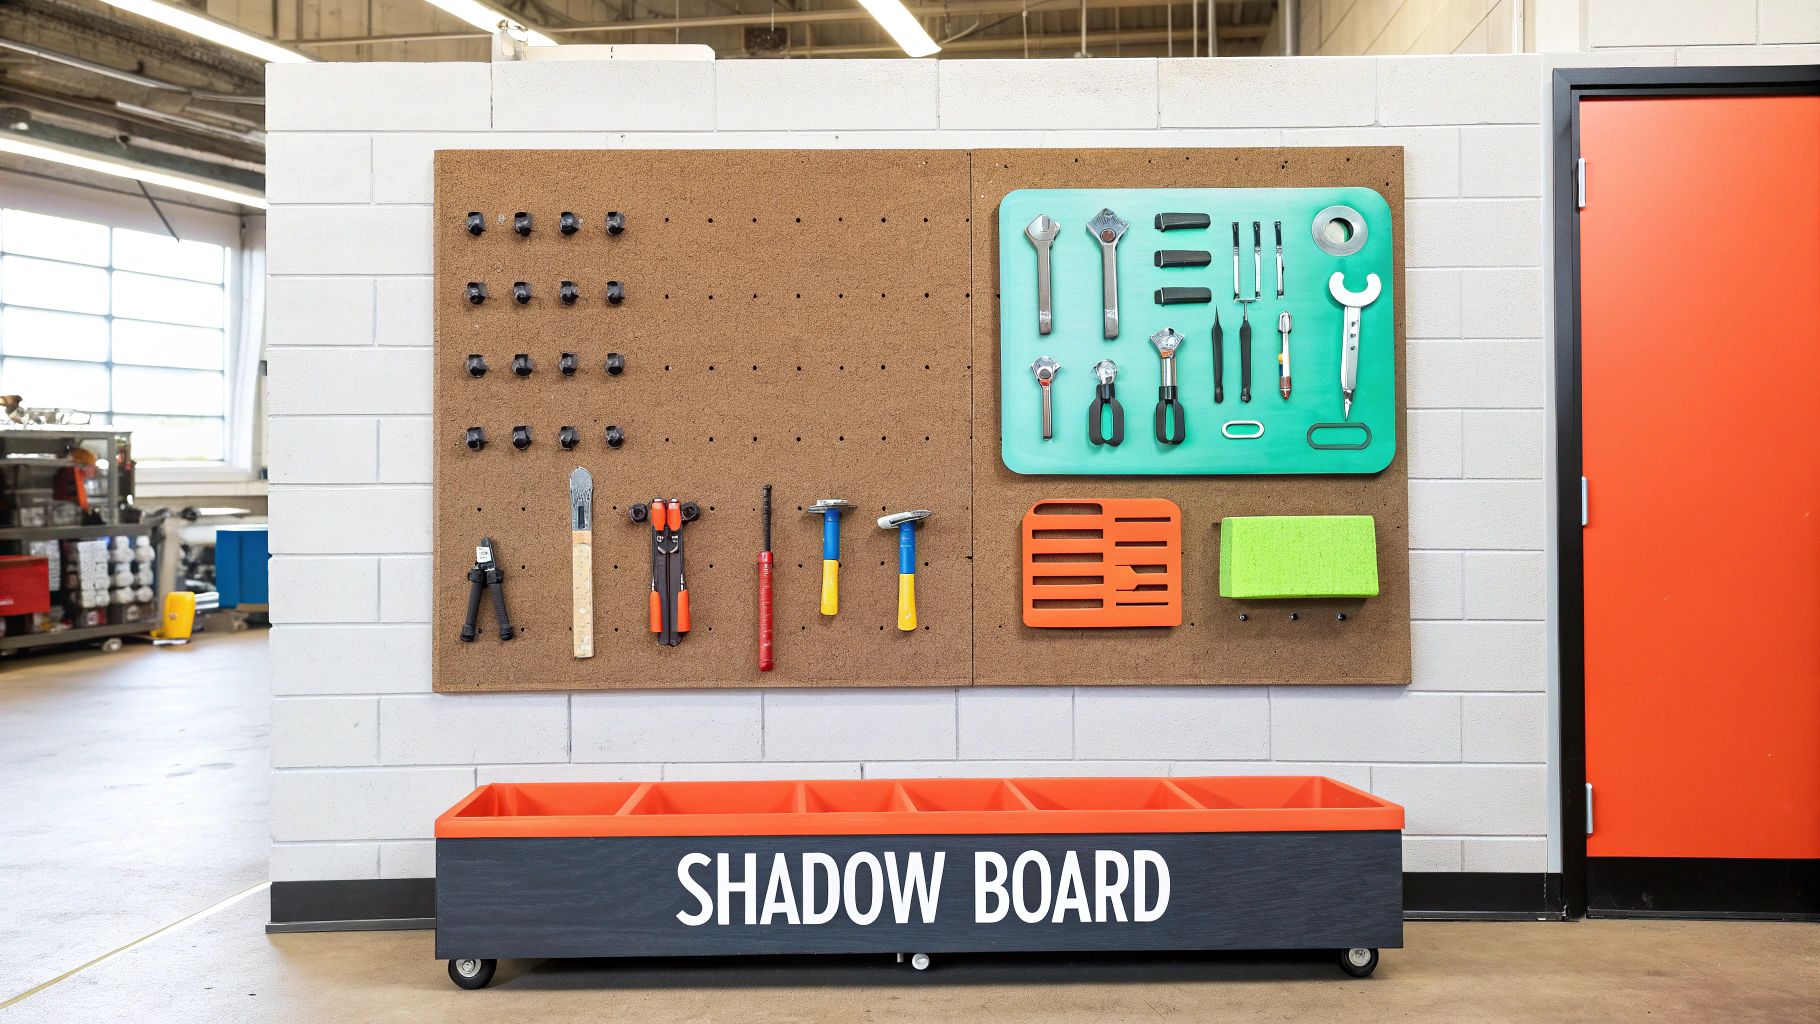
A shadow board system elevates tool storage from simple placement to a high-level visual management method. Popularized by the Toyota Production System's 5S methodology, this technique involves placing tools against a board and tracing their outlines. This creates a "shadow" for each specific item, making it instantly clear where everything belongs and, more importantly, when something is missing. It's a powerful hardware organization idea that enforces discipline and accountability.

This method is crucial in environments where tool control is paramount, such as aircraft maintenance hangars and automotive service centers. However, it's just as effective in a home workshop for keeping track of expensive or specialized tools. You can create your own with paint or markers, or use specialized products like Kaizen Foam, which allows you to cut precise outlines for tools within a drawer or on a board, providing both a shadow and a secure fit.
A successful shadow board is about more than just tracing tools. Careful planning ensures maximum efficiency and visual clarity.
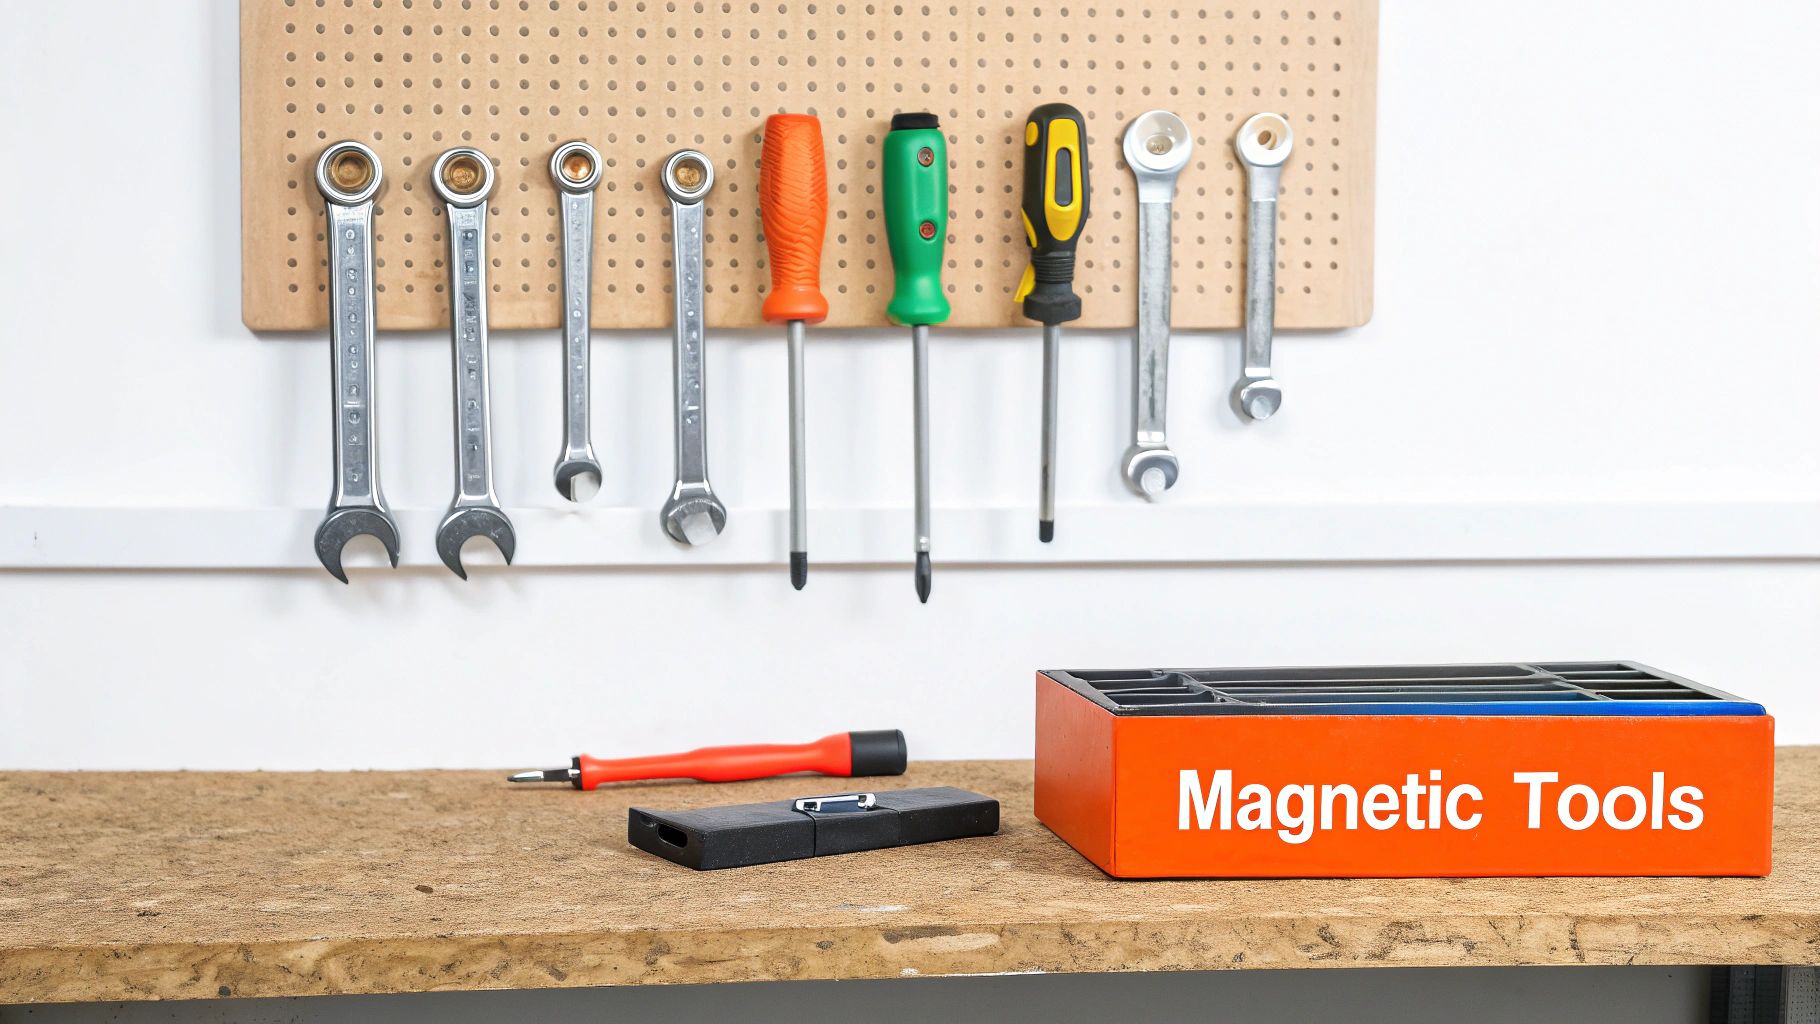
Magnetic tool organization leverages the power of high-strength magnets to create an incredibly accessible and efficient storage system. This method involves mounting magnetic bars, strips, or panels to walls, the sides of tool cabinets, or even directly onto workbenches. It stands out among hardware organization ideas because it offers an immediate grab-and-go solution for frequently used metal tools like wrenches, screwdrivers, pliers, and drill bits, keeping them visible and within arm's reach.
This approach is extremely popular in automotive shops for holding tools on rolling carts and in professional kitchens for organizing knives, but its application is universal. Machinists use magnetic trays to keep small parts from getting lost, while electronics repair technicians rely on magnetic mats to organize tiny screws during disassembly. Brands like Master Magnetics and Grip Magnetic offer a range of products, from simple bars to powerful blocks. For an in-depth look at implementing this, you might explore resources on specialized hanging magnets.
To maximize the effectiveness and safety of a magnetic setup, a few best practices should be followed. Careful planning ensures your tools are secure and your workflow is enhanced.
A vertical storage bin system is an incredibly dense and scalable solution for taming the chaos of small parts. This method utilizes rows of stackable or wall-mounted bins to transform a flat wall into a high-capacity storage center for fasteners, fittings, and components. Its power lies in compartmentalization, giving every nut, bolt, screw, and washer its own designated home. This is one of the most effective hardware organization ideas for anyone dealing with a high volume of small, individual items.
This approach is the standard for industrial parts rooms, hardware store fastener aisles, and electronics repair shops for good reason. The bins, often featuring open-angled fronts, provide quick, one-handed access. You can find robust systems from brands like Akro-Mils and Stanley that offer wall-mountable panels (louvered panels) and durable polypropylene bins in various sizes, allowing you to build a system perfectly tailored to your inventory.
To maximize the efficiency of a bin system, you need a smart organizational strategy beyond just filling them up.
For those seeking a blend of strength, flexibility, and custom craftsmanship, the French cleat system is a superior hardware organization idea. This elegant system uses interlocking 45-degree angled cleats. One long cleat is mounted securely to the wall, while smaller, matching cleats are attached to the back of every shelf, cabinet, or tool holder. This creates a gravity-assisted, incredibly strong connection that allows you to lift and reposition storage components anywhere along the wall cleat without needing tools.
This approach is highly favored in professional woodworking shops and custom garages because it offers unlimited reconfigurability. You aren't limited to pre-made accessories; you can build custom holders perfectly suited to your specific tools. The ability to create and hang heavy cabinets or intricate tool holders makes it one of the most robust wall-mounted solutions available. YouTubers like Steve Ramsey and Jay Bates have popularized this method, showing its power for both large shops and small-scale DIY spaces.
A French cleat system's effectiveness depends entirely on its construction and installation. Precision is paramount for a secure and functional setup.
A rotating storage carousel is a highly efficient, space-saving system designed for dense storage of small parts and hardware. This solution, often seen in industrial settings and pharmacies, features stacked bins or shelves on a central rotating axis. By spinning the unit, you can quickly bring any stored item to the front for easy access, making it an excellent hardware organization idea for workshops with limited floor or counter space. It condenses a large number of small items into a very compact footprint.
These systems are perfect for organizing vast collections of fasteners like screws, nuts, bolts, and washers, or small electronic components. They keep everything sorted, visible, and within arm's reach without forcing you to dig through drawers or stacked containers. You can find pre-built units from industrial suppliers like Stanley Vidmar, or you can construct DIY versions using lazy Susan bearings for a benchtop solution. The core principle of rotational access is also a key feature in many creative storage solutions for small spaces.
To maximize the effectiveness and safety of a rotating carousel, proper setup and maintenance are crucial.
When floor and wall space are fully utilized, the only place left to go is up. An overhead storage system is a game-changing hardware organization idea that reclaims the vast, unused space on your garage or workshop ceiling. These systems typically consist of heavy-duty racks, shelves, or platforms suspended from the ceiling joists, creating a robust "attic" for storing items you don't need to access daily. It's the ultimate solution for stowing bulky or seasonal equipment out of the way.
This approach is perfect for storing things like seasonal decorations, camping gear, lumber, or large tool cases that would otherwise consume valuable floor space. For even greater convenience, some systems feature pulley or hoist mechanisms for lifting heavy items like bicycles or rooftop cargo carriers. Brands like HyLoft and SafeRacks specialize in adjustable-height steel grid racks that can be configured to fit nearly any garage ceiling.
Proper installation and planning are critical for a safe and effective overhead system. These are not just shelves; they are load-bearing structures.
| Storage System | Implementation Complexity 🔄 | Resource Requirements ⚡ | Expected Outcomes 📊 | Ideal Use Cases 💡 | Key Advantages ⭐ |
|---|---|---|---|---|---|
| Pegboard Wall System | Low to Medium 🔄 | Low ⚡ | Flexible, visual tool organization 📊 | Light tools, garages, hobby rooms 💡 | Vertical space saving, easy access ⭐ |
| Modular Drawer Organizer | Medium 🔄 | Medium ⚡ | Efficient small-item storage 📊 | Drawers for small hardware, labs 💡 | Prevents mixing, customizable layout ⭐ |
| Mobile Tool Cart Organization | Medium 🔄 | Medium to High ⚡ | Mobility and accessibility 📊 | Workshops needing tool mobility 💡 | Tools travel with user, added workspace ⭐ |
| Shadow Board System | High 🔄 | Medium ⚡ | Instant visual inventory 📊 | Professional/industrial shops 💡 | Missing tools visible immediately, enforces order ⭐ |
| Magnetic Tool Organization | Low 🔄 | Low ⚡ | Quick, compact tool access 📊 | Metal tools, tight spaces 💡 | No hooks needed, easy repositioning ⭐ |
| Vertical Storage Bin System | Medium 🔄 | Medium ⚡ | High-density small parts storage 📊 | Small components, parts inventory 💡 | Space-efficient, dust protection ⭐ |
| French Cleat Storage System | Medium to High 🔄 | Medium ⚡ | Strong, flexible mounting 📊 | Heavy tools, custom workshops 💡 | Supports heavy tools, reconfigurable ⭐ |
| Rotating Storage Carousel | High 🔄 | High ⚡ | Compact, easy access storage 📊 | Small parts, compact spaces 💡 | Maximizes density, reduces bending ⭐ |
| Overhead Storage System | High 🔄 | Medium to High ⚡ | Utilizes unused overhead space 📊 | Seasonal/rarely used items 💡 | Frees floor/wall space, handles bulky loads ⭐ |
Wrangling a chaotic collection of tools, fasteners, and miscellaneous parts into a functional system can feel like an insurmountable challenge. Yet, as we've explored, the solution isn't about finding one magical cure-all. Instead, the most effective hardware organization ideas empower you to build a personalized, layered system that adapts to your unique space, collection, and workflow. From the visual accessibility of a Pegboard Wall to the high-density efficiency of a Vertical Storage Bin System, each approach offers a distinct advantage.
The true breakthrough comes when you begin combining these strategies. Imagine a French Cleat System for your heavy-hitting power tools, complemented by Modular Drawer Organizers for every screw, nut, and bolt. Add a Mobile Tool Cart to bring essential items directly to your project, and you've suddenly transformed your workspace from a source of frustration into a hub of productivity. The goal is to create a dynamic environment where finding what you need is effortless, not an archaeological dig.
The journey to an organized workshop begins with a single step. Don't feel pressured to implement everything at once. A gradual, intentional approach is far more sustainable and effective.
Ultimately, mastering hardware organization is about more than just a tidy space. It’s about reclaiming your time, reducing project-related stress, and empowering your creativity. When your tools and materials are exactly where they need to be, you can focus your mental energy on the task at hand, whether it’s a simple home repair or an ambitious new build. This systematic approach fosters a safer, more efficient, and profoundly more enjoyable environment for any creator, builder, or DIY enthusiast.
Feeling inspired by these hardware organization ideas but overwhelmed by the thought of assembling complex shelving, cabinets, or workbenches? Let the experts at Assembly Smart handle the setup, so you can focus on the fun part. Visit Assembly Smart to get professional, reliable help building the foundation of your perfectly organized workspace.