-
CALL US:
- (866) 952-3456
That heavy box is more than just a delivery; it's the gateway to your fitness goals. But before you can get that first workout in, you have to build the machine. Trust me, successfully assembling your new fitness equipment has less to do with brute force and everything to do with smart preparation. A little planning now ensures you end up with a safe, sturdy machine that’ll last for years.
Before a single bolt gets turned, your success is really determined by what you do the moment that big, intimidating box lands on your doorstep. I know the temptation is to tear it open and dive right in, but taking a breath and running a few preliminary checks can save you from a world of frustration later.
Think of it like laying the foundation for a house—if you don't get that part right, the whole structure is at risk. The exact same principle applies when you're putting together a treadmill or a weight rack.
Your very first move, before you even think about cutting the tape, should be to give that box a thorough once-over. Are there any big punctures? Crushed corners? Any signs it took a beating in transit?
If you see anything that looks like serious damage, pull out your phone and take photos immediately. That documentation is your best friend if you open it up and find a cracked frame or a bent part. You'll need it to file a claim with the seller or the shipping company.
Okay, the box looks good. Now, don't just start pulling parts out in the middle of the living room. From my experience, a dedicated workspace isn't just a nice-to-have; it's essential for your safety and sanity.
Preparing for a big assembly job follows a similar logic, whether it's a new elliptical or a massive bookcase. For a deeper dive into setting up your area for success, check out our comprehensive guide on how to prepare for your furniture assembly project.
This is the one step everyone is tempted to skip, and it's also the one that causes the most rage-inducing problems. Before you even look at a wrench, open the manual to the parts list. Carefully, and I mean carefully, check off every single bolt, nut, and panel against that list.
This simple audit prevents that soul-crushing moment when you realize a critical piece is missing—usually when the machine is half-built and taking over your entire room. It's so much easier to call customer service for a missing M8 bolt now than it is later.
To make this crystal clear, here’s a quick checklist to run through before you start building.
This quick table sums up the critical actions to take before you even pick up a tool. Getting this right from the start is the key to a smooth, efficient, and safe assembly.
| Action Item | Why It's Important | Pro Tip |
|---|---|---|
| Inspect the Box | Catches shipping damage early, which is crucial for returns or claims. | Take photos of any significant dents or punctures on your phone before opening it. |
| Clear a Large Workspace | Provides room to work safely and organize parts without tripping or losing them. | Aim for a space at least 2x the machine's final footprint. It's always bigger than you think! |
| Protect Your Flooring | Prevents scratches, scuffs, or tears from heavy, sharp metal components. | Flattened cardboard from the packaging works great in a pinch if you don't have a mat. |
| Perform a Full Inventory | Ensures all parts are present before you're halfway through the build. | Use a small container or magnetic tray to hold all the small screws and bolts so they don't roll away. |
| Review the Manual | Familiarizes you with the overall process and helps you spot potentially tricky steps ahead of time. | Read through the entire manual once, like a book, to get the big picture. Don't just look at the first step. |
Taking these few extra minutes for a methodical pre-check is the true mark of a successful project. It’s what gets you off the floor and onto your new machine faster and with far fewer headaches.
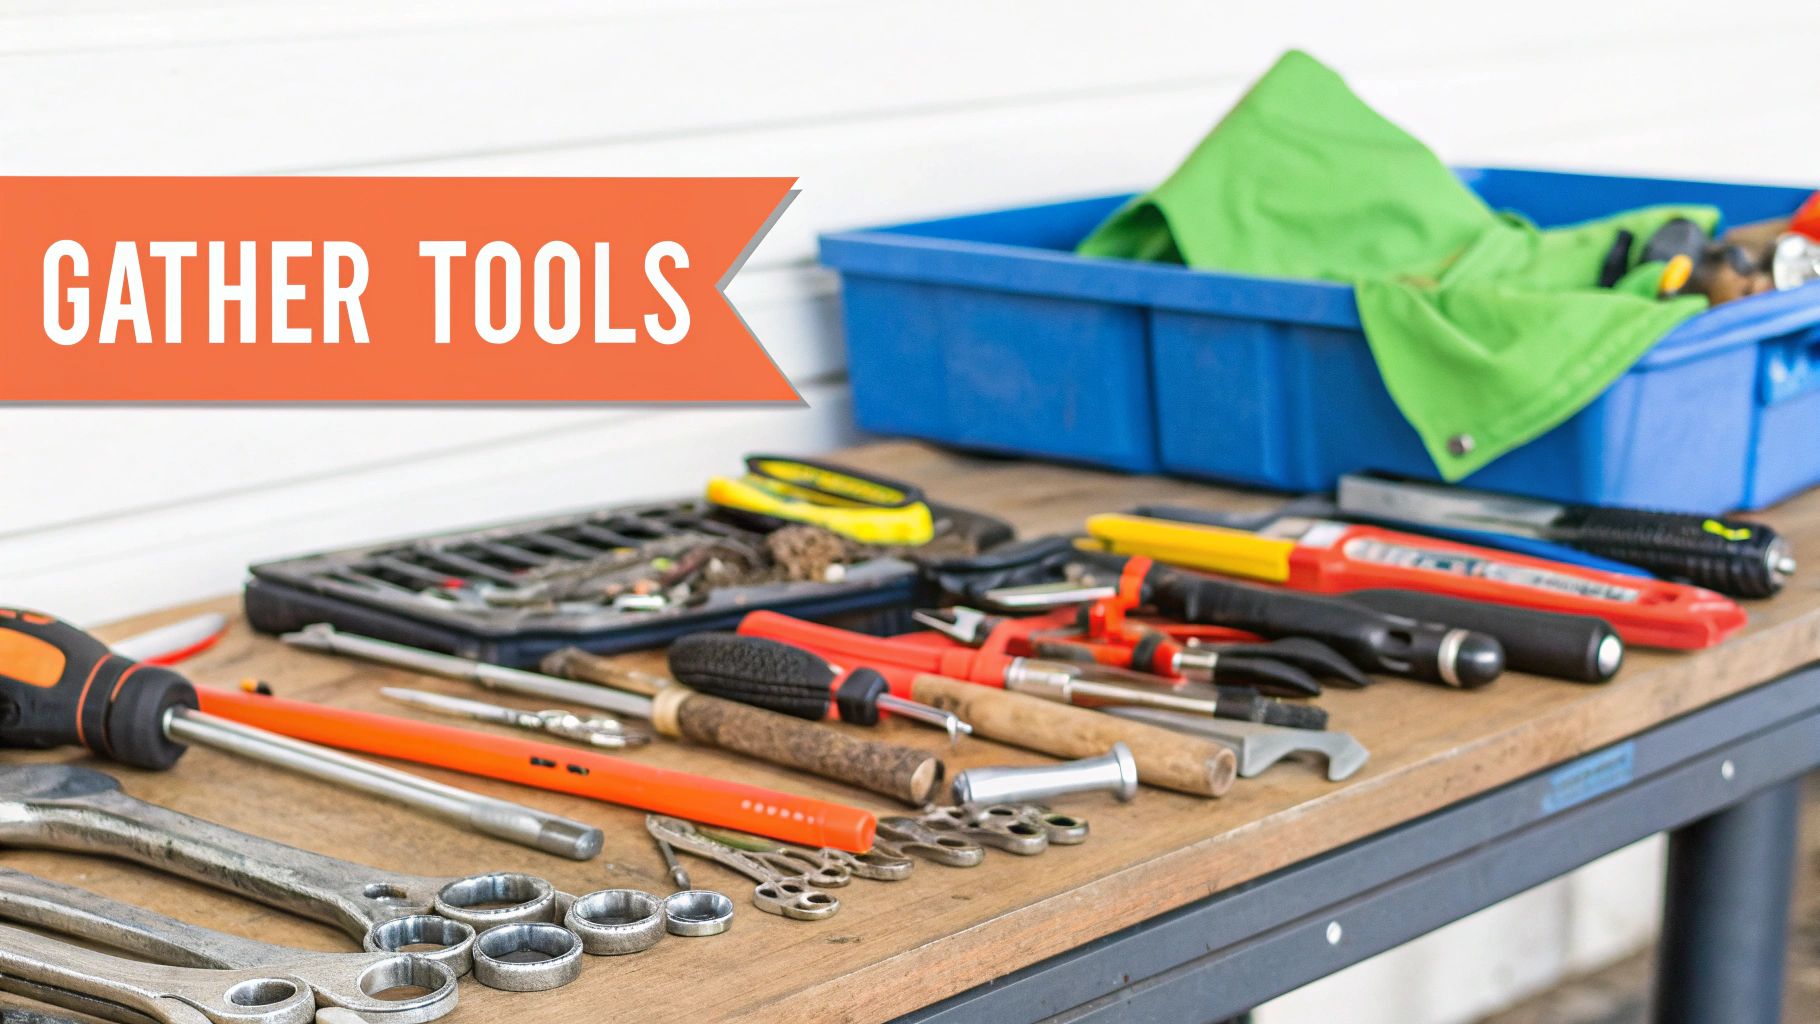
Let's be honest. That tiny, stamped-metal wrench the manufacturer includes in the box? It's practically a joke. If you try to build a serious piece of fitness equipment with only the tools they give you, you're setting yourself up for sore knuckles, stripped bolts, and a whole lot of frustration. The real secret to a smooth assembly isn't brute force; it's having the right tools ready to go before you even open the box.
Forget the "required tools" list in the manual for a moment. We're going to build a proper toolkit that makes the job faster, easier, and safer. Think of these tools not as an expense, but as an investment that turns a dreaded chore into a surprisingly satisfying project.
These are the core items that will get you through over 90% of any fitness equipment build you'll ever tackle. Trust me, investing in a decent version of each will pay for itself on the very first project.
Once you've got the basics covered, a few extra items can make a huge difference, especially if you're assembling a larger machine like a power rack or functional trainer. These aren't strictly necessary, but they can easily cut your assembly time in half.
The biggest game-changer is a power drill with an adjustable clutch. This tool is all about speed, but you have to use it with care. Always start with the clutch on a low torque setting. This feature stops the drill from turning once the bolt is snug, which is crucial for preventing you from over-tightening and stripping the threads. You'll still want to do the final quarter-turn by hand with your ratchet for that perfect tightness.
Other fantastic additions are a good level—because a wobbly, unstable machine is both annoying and unsafe—and a simple pair of work gloves to save your hands from grease and unexpected sharp metal edges.
Real-World Impact: The 30-Minute Socket
I once spent the better part of half an hour trying to tighten a single nut on a new weight bench. It was tucked deep inside the frame where the standard wrench couldn't get a decent grip. Beyond frustrated, I walked over to my toolbox and grabbed a 14mm deep socket with an extension bar. The nut was perfectly tight in less than 60 seconds. That one specific tool saved me 30 minutes of knuckle-busting agony.
Picture this: you're assembling a new power rack. You're looking at dozens of identical, heavy-duty bolts.
Using the included wrench, each bolt takes a minute or more of tedious, short, frustrating turns. But with a ratchet and the right socket? You can have each one snug in about 15 seconds flat. If you have 40 bolts to get through, that’s the difference between 40 minutes of grueling work and just 10 minutes. That's a half-hour you can now spend admiring your new setup instead of fighting with it.
Let's be honest: fitness equipment manuals can feel like they were written in another language. They're packed with technical diagrams and engineer-speak that can make your head spin before you’ve even unboxed the first part. The trick is to create a clear plan before you pick up a single wrench. Don't try to digest the whole booklet at once.
Instead, just focus on the first two or three steps. Take a good, long look at the diagrams for those initial actions. You’re looking for tiny details that show you which way a part faces—things like the number of holes on a bracket or the specific angle of a support tube. I’ve found these visual cues are often far more helpful than the written instructions themselves.
One of the biggest things that kills momentum during an assembly project is digging through a mountain of nuts, bolts, and washers. Tossing all that hardware into one big pile is a classic rookie mistake, and it’s a recipe for pure frustration. This is where my favorite organizational trick saves the day.
Go grab a muffin tin. Seriously. If you don't have one, a few small bowls or even an egg carton will do the trick. Before you start building, go through the manual page by page and sort the hardware for each step into its own compartment.
This little bit of prep work might take 15 minutes upfront, but it pays off big time. It stops you from wasting time hunting for parts and, more importantly, prevents you from using the wrong bolt, which can strip threads or damage the frame. We use this method for almost every job, and it’s a core principle that works for all kinds of projects, as we discuss in our guide to reading furniture assembly instructions.
A recent survey showed that nearly 40% of DIY assemblers say confusing instructions and disorganized parts are their biggest headaches. A simple system like this completely removes that roadblock.
Sometimes, the manual is just plain wrong or confusing. The diagrams are too small, the perspective is weird, or a critical step is glossed over. Don't throw your hands up in defeat.
Your best bet is to head online. Open up YouTube and search for the exact make and model of your equipment, followed by the word "assembly." For example, "SOLE F63 Treadmill assembly." I’d bet good money someone has posted a full video walkthrough. Watching someone else successfully navigate a tricky part of the build—like snaking a wire through the frame or connecting a fiddly linkage—can give you that lightbulb moment the manual just couldn't deliver. It turns a show-stopper into a minor speed bump.
Every piece of fitness equipment has its own personality, but after you've built a few, you start to see the patterns. Most machines follow a similar blueprint, and once you get the hang of it, you can tackle just about anything the manufacturer throws at you. Let's walk through the playbook for three of the most common pieces you'll find in a home gym.
This is a skill that's becoming more and more useful. The fitness equipment market is booming—it was valued at USD 17.92 billion in 2024 and is expected to hit USD 30.61 billion by 2034. That's a lot of people investing in home gyms, which means a lot of equipment that needs to be put together correctly.
Treadmills look like the biggest challenge because of their sheer size and weight, but their assembly is surprisingly straightforward. The real headaches usually pop up in two specific places: attaching the heavy console uprights to the base and routing the wiring without damaging it.
You absolutely want a helper when connecting the uprights. It's a classic two-person job. One person needs to hold the heavy vertical beam steady while the other lines it up with the mounting holes on the base frame. Trying to do this alone is a recipe for frustration and scratched paint.
The other tricky part is fishing the data cable from the base up through an upright to the console. You have to be incredibly careful not to pinch or cut this wire when you're bolting everything together. A damaged cable means a dead console. I always make sure the wire is tucked safely in its channel before I even think about tightening the bolts.
With ellipticals, the whole puzzle is in the moving parts. The most common mistake I see is people connecting the swinging arms and foot pedals incorrectly. All these components need to move in perfect harmony, and just one connection that's off can make the entire machine feel jerky, unstable, and noisy.
Pay very close attention to the diagrams showing how the pivot points, bushings, and linkage arms fit together. There are usually a bunch of washers and spacers, and getting their order right is absolutely critical for a smooth, quiet ride.
My Golden Rule for Assembly: Hand-tighten every single bolt first. Get the entire machine loosely built, then go back and do a final, systematic tightening pass. This lets the frame settle correctly and stops you from locking one side down before the other is properly aligned.
This "hand-tighten first" method is a universal truth in assembly. You'll find similar wisdom in other hands-on projects; these DIY tips for installing building hardware share the same core philosophy.
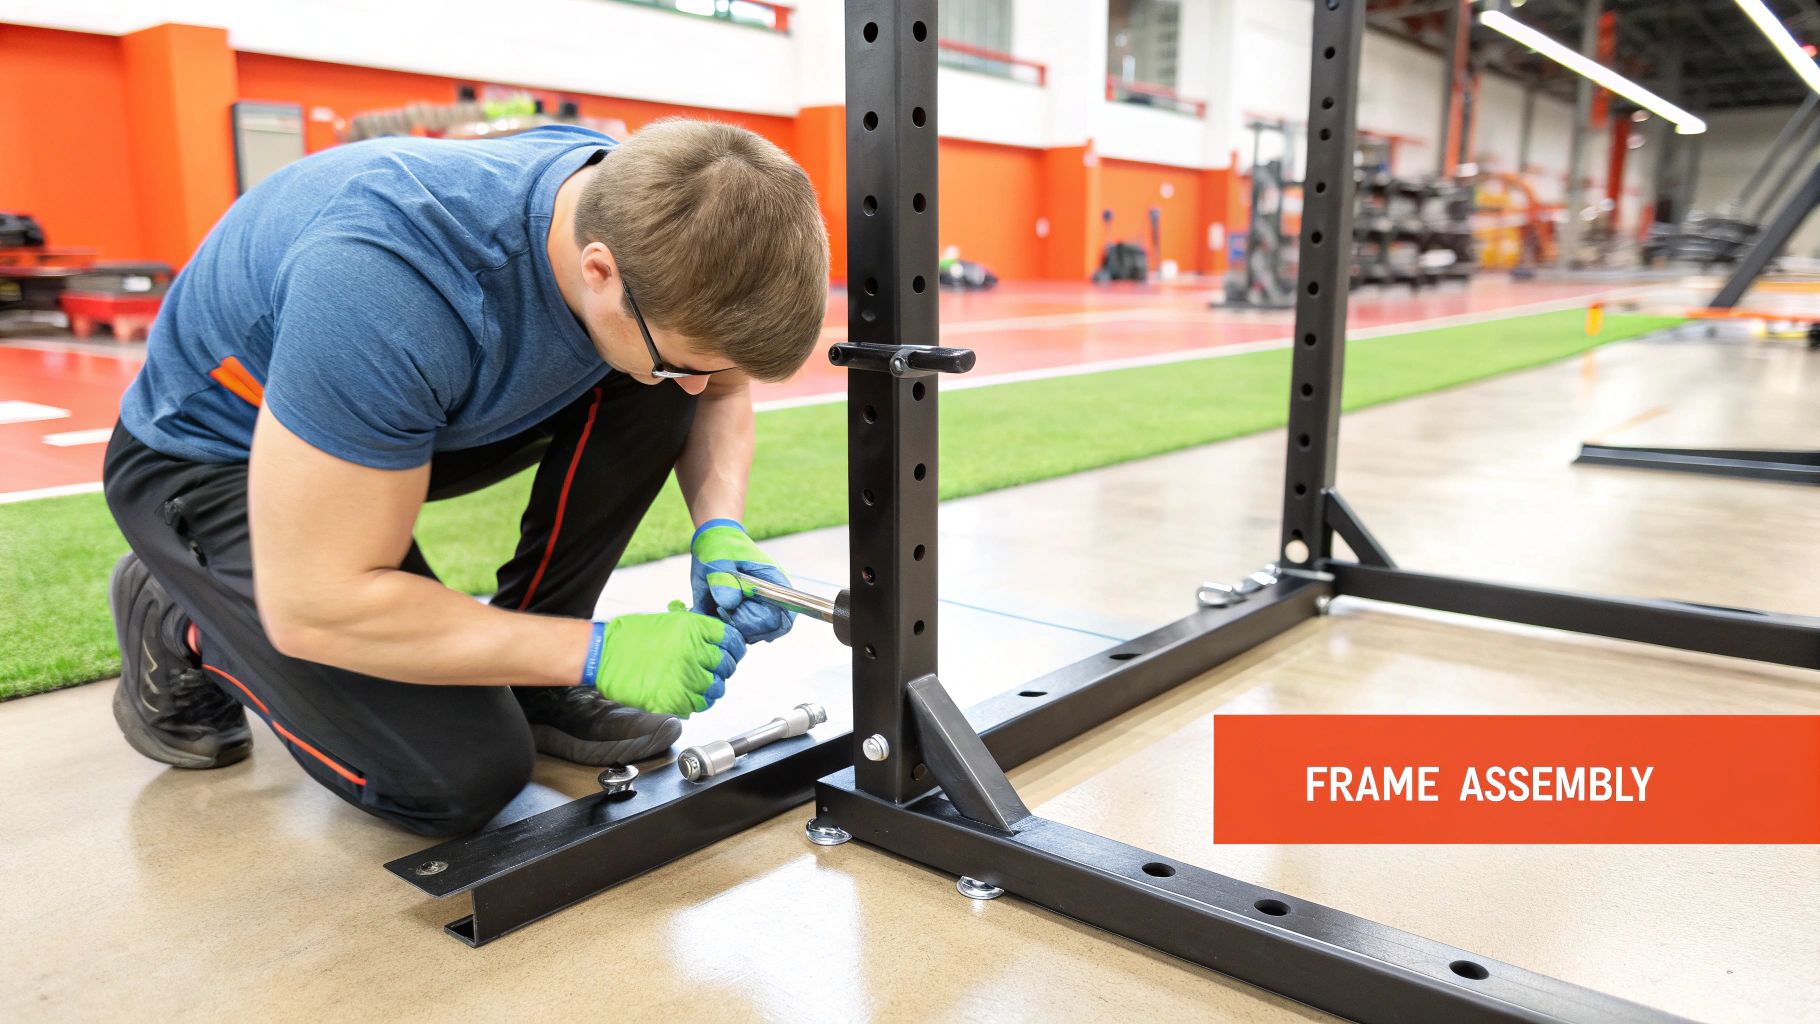
When you're building a power rack or any other frame-based equipment, your number one goal is stability. A wobbly power rack isn't just annoying—it's a serious safety risk. The secret to a rock-solid build is making sure the frame is perfectly level and square before you do the final tightening.
Get out a level and check the main crossbeams and uprights. Most floors aren't perfectly flat, so you might need to slide some shims under the base plates to get it completely stable. Only after the frame is level and the corners are square should you start your final tightening sequence. I recommend a crisscross pattern to spread the tension out evenly. For a closer look at getting this right, check out our dedicated guide on professional workout equipment assembly.
Once the main structure is solid, you'll move on to attaching accessories, which is often the final step.
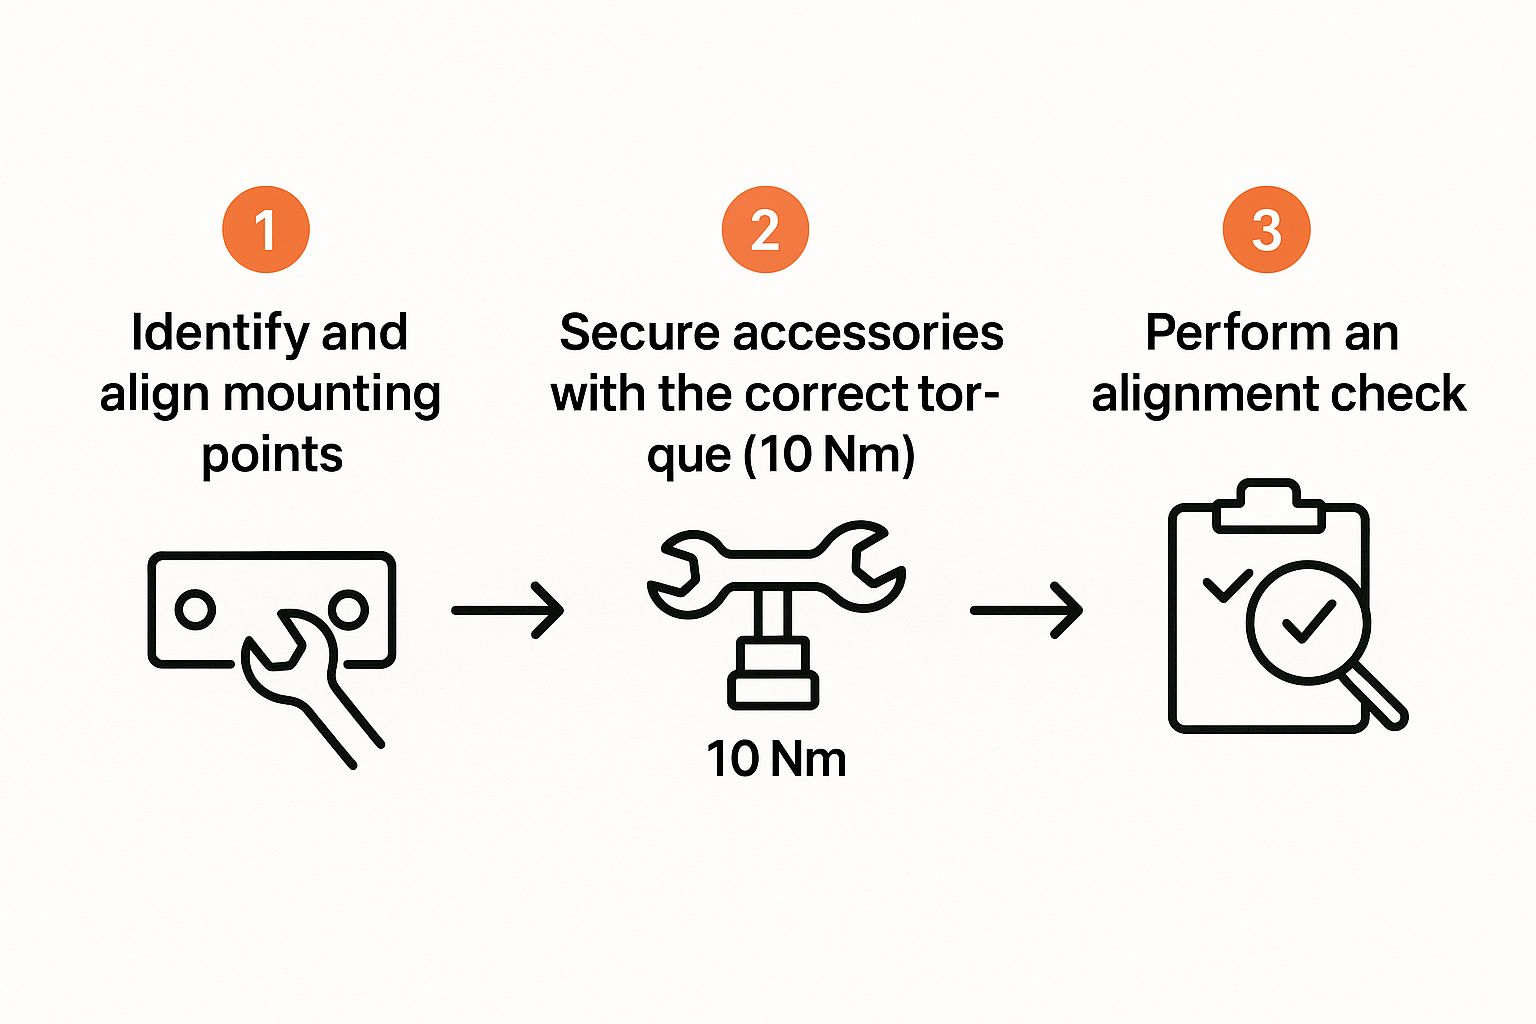
This just reinforces the importance of proper alignment and getting those components secured to the right torque. These final touches are what guarantee both safety and performance for years to come.
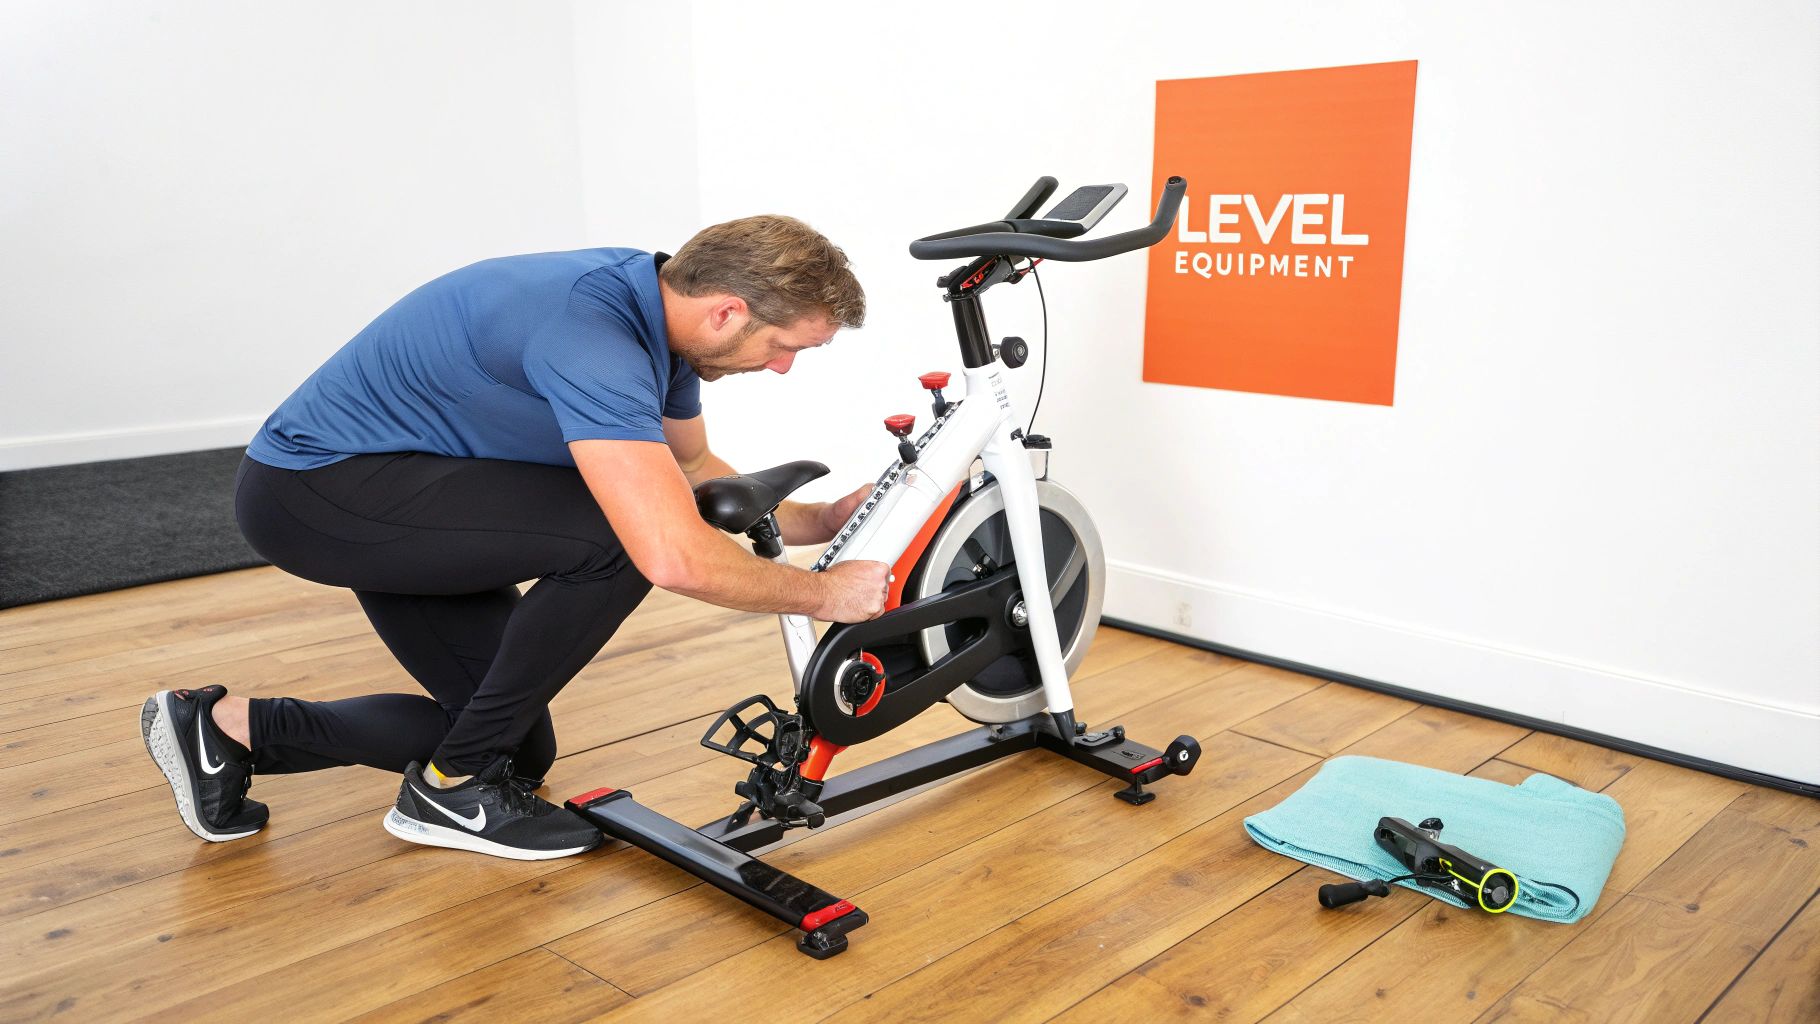
Alright, you've tightened the last bolt, and the machine is standing there looking ready. But hold on. Before you dive into that first workout, you need to do a quick but crucial inspection. Think of it as the final pre-flight check for your fitness journey—it's what makes sure the machine is truly safe and ready for action.
First up, give the whole unit a good shake. Seriously. Push on it from a few different angles. Does it rock, sway, or feel unstable in any way? If you get any movement, it's time to adjust the feet. Most machines have leveling feet for this exact reason. Grab a level and tweak them until the wobble is completely gone.
Next, you'll want to move everything by hand. For an elliptical, slowly push the arms and pedals through their full range of motion. If it's a treadmill, walk the belt through one complete rotation. What you're listening and feeling for are any odd grinding noises, hitches, or sticking points. These are often tell-tale signs of a bolt that's too tight or a part that isn't quite aligned right.
Finally, it's time to plug it in. Power it on and make sure the console lights up properly. Test the buttons and any motorized features, like the incline on a treadmill, to ensure they respond smoothly and correctly.
Putting your equipment together is just the beginning. To protect your investment and keep yourself safe for the long haul, a little ongoing maintenance goes a long way.
After about a week of regular use, do yourself a favor and go back over every single nut and bolt, giving them all a final tighten. It’s normal for parts to settle and loosen up a bit after those first few workouts. This quick check is your best defense against annoying squeaks and wobbles down the road.
You don't need a complicated plan. In my experience, a few consistent checks can prevent over 80% of common equipment failures and add years to your machine's life.
From here on out, just follow a simple schedule. Your manual will have specifics, but a good rule of thumb looks like this:
This proactive mindset is essential, whether you're looking after a single treadmill in your basement or managing a whole gym. The commercial fitness equipment market is already huge and projected to hit USD 9.25 billion in 2025. A lot of that growth, particularly in places like Asia-Pacific, is fueled by a demand for reliable, well-maintained equipment. You can read more about these commercial fitness equipment trends on cognitivemarketresearch.com.
By catching the early warning signs—a frayed cable, a squeaky joint, or a treadmill belt that feels a bit off—you can fix small issues before they snowball into big, expensive, or even dangerous problems. A few minutes of care each month is all it takes to keep your equipment safe and ready for every workout.
Even the most careful person can hit a snag when putting together fitness equipment. It happens. The good news is that most of these problems are pretty common and, more importantly, totally fixable. Think of this as your guide to getting unstuck and finishing the job.
Don't let a small roadblock throw you off course. More often than not, the fix is simpler than you think. A little patience and a methodical approach will almost always get you to the finish line.
The second you think a part is missing or broken, stop what you're doing. Seriously. Before you do anything else, go back through all the packaging one more time. I can't tell you how many times I've found a "missing" bolt tucked away inside a foam block.
If the part is definitely not there or it's damaged, your next step is to find the customer service number in the assembly manual.
Get these details ready before you call them:
It might be tempting to run to the local hardware store for a "close enough" replacement bolt, but don't do it. Using a part that isn't manufacturer-specified can instantly void your warranty. Worse, it could create a major safety risk down the road. It's always, always better to wait for the right part to arrive.
A wobbly or unstable machine is one of the most frequent post-assembly complaints. Usually, the cause is either an uneven floor or bolts that weren't fully tightened. Before panicking, use a level to check the machine and adjust its leveling feet. If it's still wobbly, systematically re-tighten every nut and bolt.
We've all been there. You've got a bolt that just spins or refuses to tighten down. The moment this happens, back it out completely. Take a close look at the threads on both the bolt and the frame. Are they clean? Is there any sign of damage?
Try to thread it again, but this time just by hand. This will help you feel if it’s getting cross-threaded. If it still won't go in smoothly, you might be dealing with a bit of paint overspray or a tiny metal burr inside the threads on the frame.
Gently working the bolt back and forth by hand can sometimes clear it out. Whatever you do, never try to force a stubborn bolt with a power tool—you'll strip the threads and turn a small headache into a huge problem. If it's truly stuck, it could be a manufacturing defect, which means it’s time to call customer support. You can find more advice for troubleshooting issues like this by reading about common assembly problems and how to fix them in greater detail.
Finally, be honest about your own comfort level. Putting together a simple weight bench is one thing, but tackling a complex, high-end treadmill is another beast entirely. If you feel like you're in over your head, hiring a professional is a smart investment in both your safety and your sanity.
Feeling overwhelmed by that box of parts? Don’t risk your safety or your warranty. Let the insured professionals at Assembly Smart handle it for you. We offer fast, reliable, and stress-free assembly for all types of fitness equipment, with next-day appointments available. Get your free estimate and book your service today at https://assemblysmart.com.
