-
CALL US:
- (866) 952-3456
Before you even think about cracking open the box, the single most important thing you can do for a safe and smooth installation is to prepare your space. Honestly, the secret to a perfect setup isn't about having a master's degree in tool usage; it's all about creating the right environment from the get-go. Getting this groundwork right prevents a world of frustration and makes sure your new gear works exactly as it should from day one.
A great home gym begins with a well-thought-out foundation. I've seen it time and time again—people rush this part and end up with wobbly machines, scratched floors, or the classic "uh-oh" moment when they realize they can't do a full rep without hitting a wall. If you treat this prep work with the same attention a professional installer would, you'll be golden.
The core principles here are pretty universal, whether you're building a power rack or a simple desk. For a more general overview, feel free to check out our guide on how to prepare for your furniture assembly project.
It's no surprise that more people are tackling this. The global fitness equipment market is absolutely exploding, with forecasts expecting it to hit USD 18.69 billion by 2032. This huge shift toward home workouts means more of us are carving out our own personal fitness sanctuaries.
First thing's first: grab a tape measure. You need to think beyond the machine's basic footprint and consider its functional space. This is where a lot of people trip up. A rower, for instance, needs a long, clear path for its slide, and a cable machine demands plenty of open space for full arm extensions.
Here are a few rules of thumb from my experience:
A classic rookie mistake is only measuring the machine's dimensions printed on the box. You have to visualize yourself actually using it at full tilt. Otherwise, you risk boxing yourself into a corner, literally.
Now, let's talk about the floor. This is another critical piece of the puzzle. Heavy equipment, especially anything involving dropping weights, will absolutely destroy hardwood, laminate, or tile floors. Investing in high-density rubber or foam equipment mats isn't just a suggestion—it's non-negotiable for protecting your floor and absorbing vibrations.
Even more important is making sure the surface is perfectly level. An uneven floor can cause a treadmill belt to track sideways or, worse, make a squat rack dangerously unstable. Use a carpenter's level to check your chosen spot. If you find a slight slope, don't panic. Most quality machines come with adjustable leveling feet designed specifically to eliminate any wobble and create a stable base.
Finally, think about power. Plan your layout so your cardio machine's cord can easily reach an outlet without becoming a tripwire stretched across the room.

Alright, the moment of truth. You’ve just sliced open that giant box, and now you’re staring at what looks like a chaotic jumble of steel, plastic-wrapped hardware, and a surprisingly thick instruction manual. It’s easy to feel a bit overwhelmed, but don't be. A little method to the madness right now is your secret weapon for a smooth, frustration-free build.
Think of it like a chef preparing their ingredients before they start cooking—it’s called mise en place. The same principle applies here.
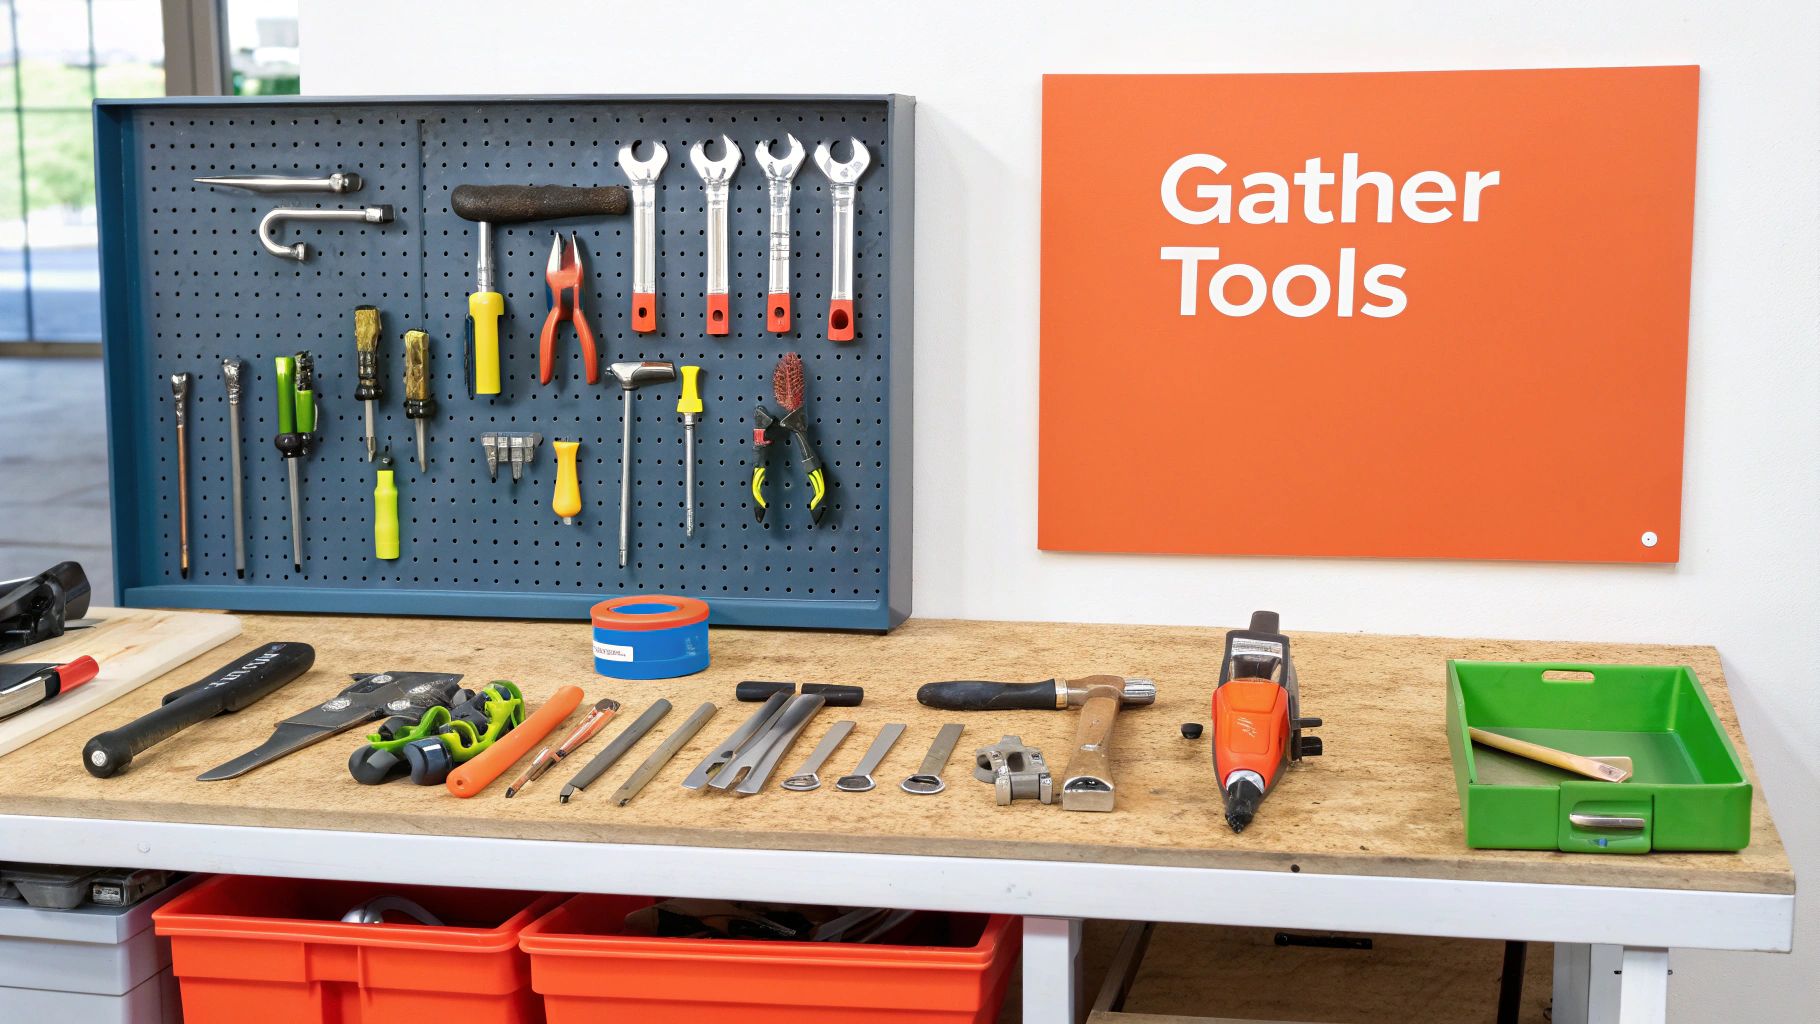
Before you even think about picking up a wrench, your first task is a full inventory check. I can't stress this enough. Carefully lay out every single component and check it off against the parts list in the manual. Discovering you’re missing a critical bolt halfway through the build is a project-killing moment that 10 minutes of work upfront can easily prevent.
Once you’ve confirmed everything is there, it’s time to organize. I know the temptation is to just jump in and start building, but resist. Grouping similar items together will save you a massive amount of time and help you avoid common mistakes, like using a bolt that's just a little too short and stripping the threads.
Here’s a simple system I've used on countless builds:
For keeping all those small bits and pieces from rolling away, using something like divider storage boxes is a game-changer. It turns a cluttered floor into a pro-level workstation and stops the dreaded hunt for that one specific washer.
To help you get started, I've put together a quick checklist. Running through this before you turn the first bolt will set you up for success.
This table is your quick reference guide to ensure you have everything ready before the real work begins.
| Check Item | Why It's Important | Pro Tip |
|---|---|---|
| Inventory Check | Confirms you have all parts before starting, preventing frustrating mid-build stops. | Lay parts on a light-colored sheet or tarp to make small, dark hardware easier to see. |
| Hardware Sort | Prevents using the wrong size bolt/nut, which can damage threads or create an unsafe connection. | Use small cups, bowls, or a muffin tin to separate and hold different hardware types. |
| Tool Check | Ensures you have the required tools on hand. The included "wrenches" are often low quality. | A good socket set and a rubber mallet are your best friends for any fitness equipment assembly. |
| Read Step 1 | Focuses your attention on the immediate task instead of the entire project, reducing overwhelm. | Gather only the parts and hardware for the first step and set them aside. |
This small amount of prep work makes a huge difference.
The goal is to eliminate any friction during the actual assembly. When the instructions call for Part F and two M6 screws, you should be able to grab them instantly without a second thought, not spend five minutes searching through a pile of hardware.
With your parts sorted and your first step prepped, you're ready to go. You've transformed that initial chaos into a logical, organized system. This not only makes the process faster but also leads to a safer, more solid build. Now, you can move on to the actual assembly with confidence.
Okay, you've got all your parts laid out. Now comes the real work: turning that pile of metal and plastic into a functional, safe piece of fitness equipment. This part of the process is less about muscle and more about paying close attention to the details in that assembly manual.
First things first, actually read the manual. Don't just skim the pictures. I can't tell you how many times people install a support bracket backward because it seemed to fit. Then, an hour later, they realize the whole frame is out of alignment and they have to take half of it apart again. It’s one of the most common mistakes I see when people install fitness equipment for the first time.
Those technical diagrams can look like a foreign language, but they’re packed with crucial info. Look for the "exploded views"—the ones that show how all the pieces float together. Pay very close attention to the little callout numbers pointing to the hardware. Those tell you exactly which bolt, washer, or nut to use. Grabbing the wrong one is a recipe for a stripped thread or a weak joint that will fail over time.
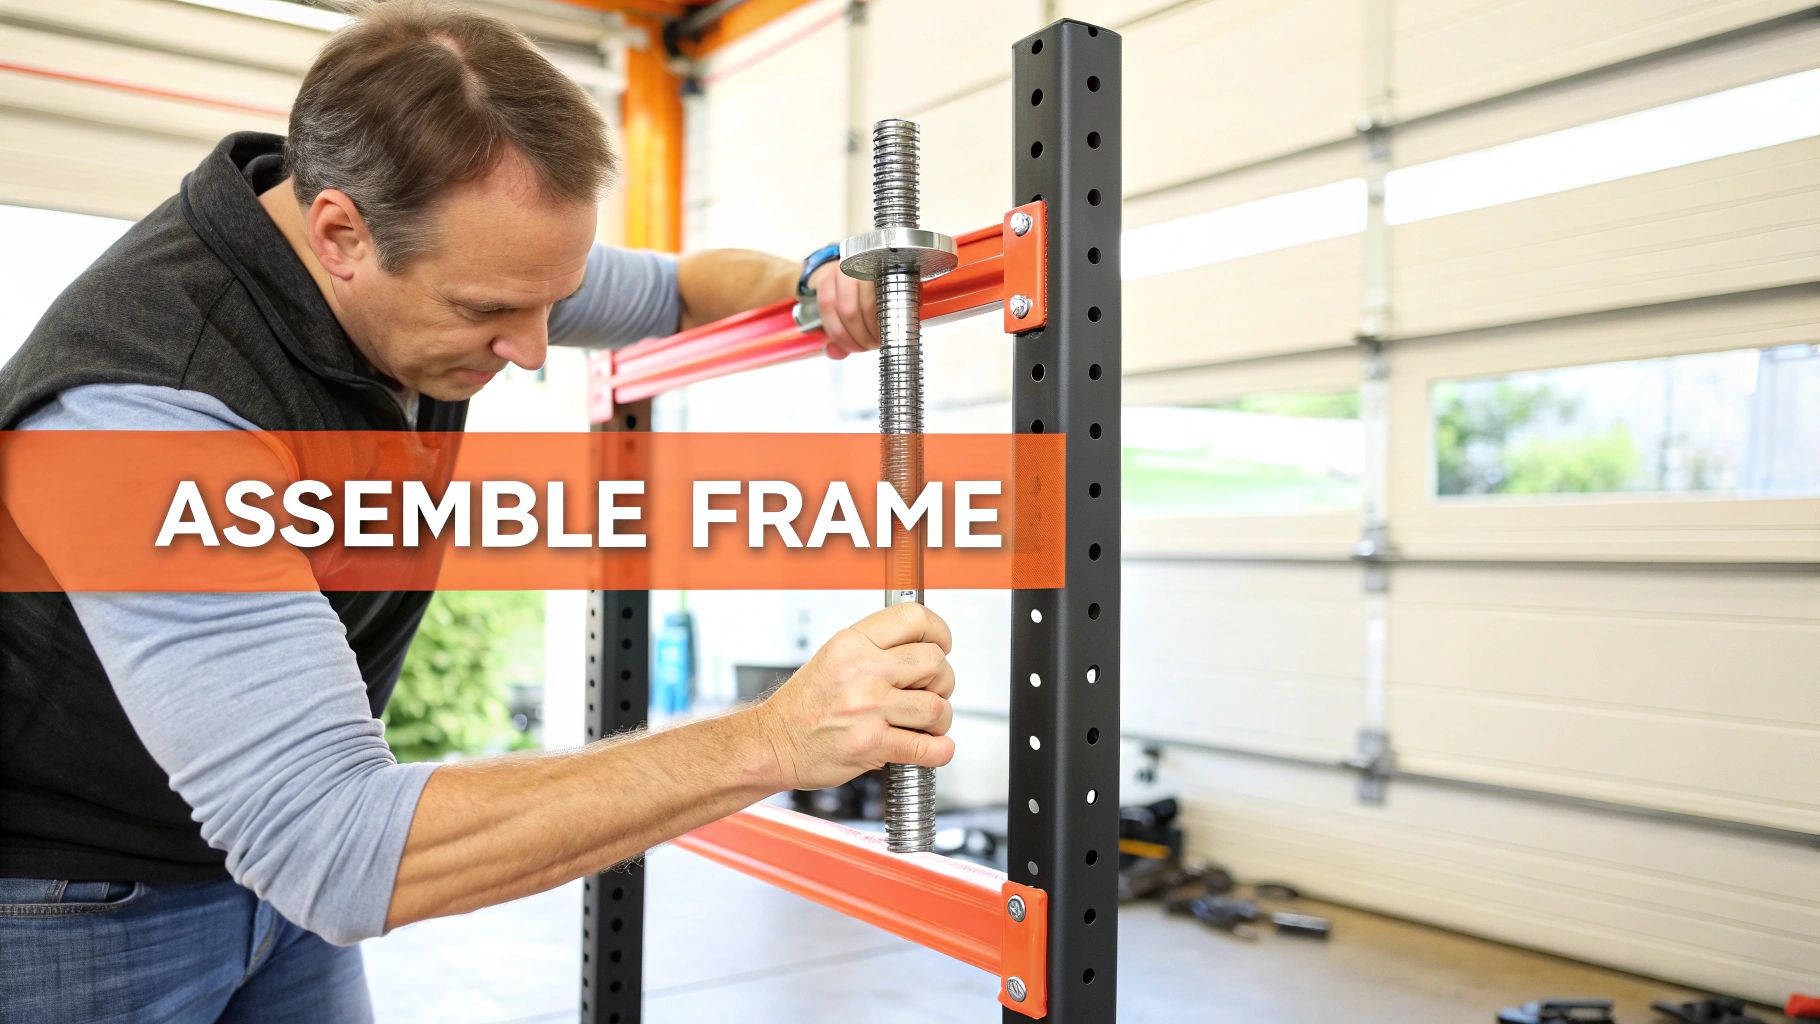
Here's a pro tip that will save you a world of frustration: always hand-tighten bolts first. As you build the main frame, just turn the bolts until they're snug. Don't crank down on them with a wrench yet. This leaves just enough wiggle room to make lining up the next pieces much, much easier.
Once the entire frame is together and all the parts are in place, then you go back and tighten every single bolt with your wrench. Applying full torque from the start is the number one reason equipment ends up wobbly or squeaky.
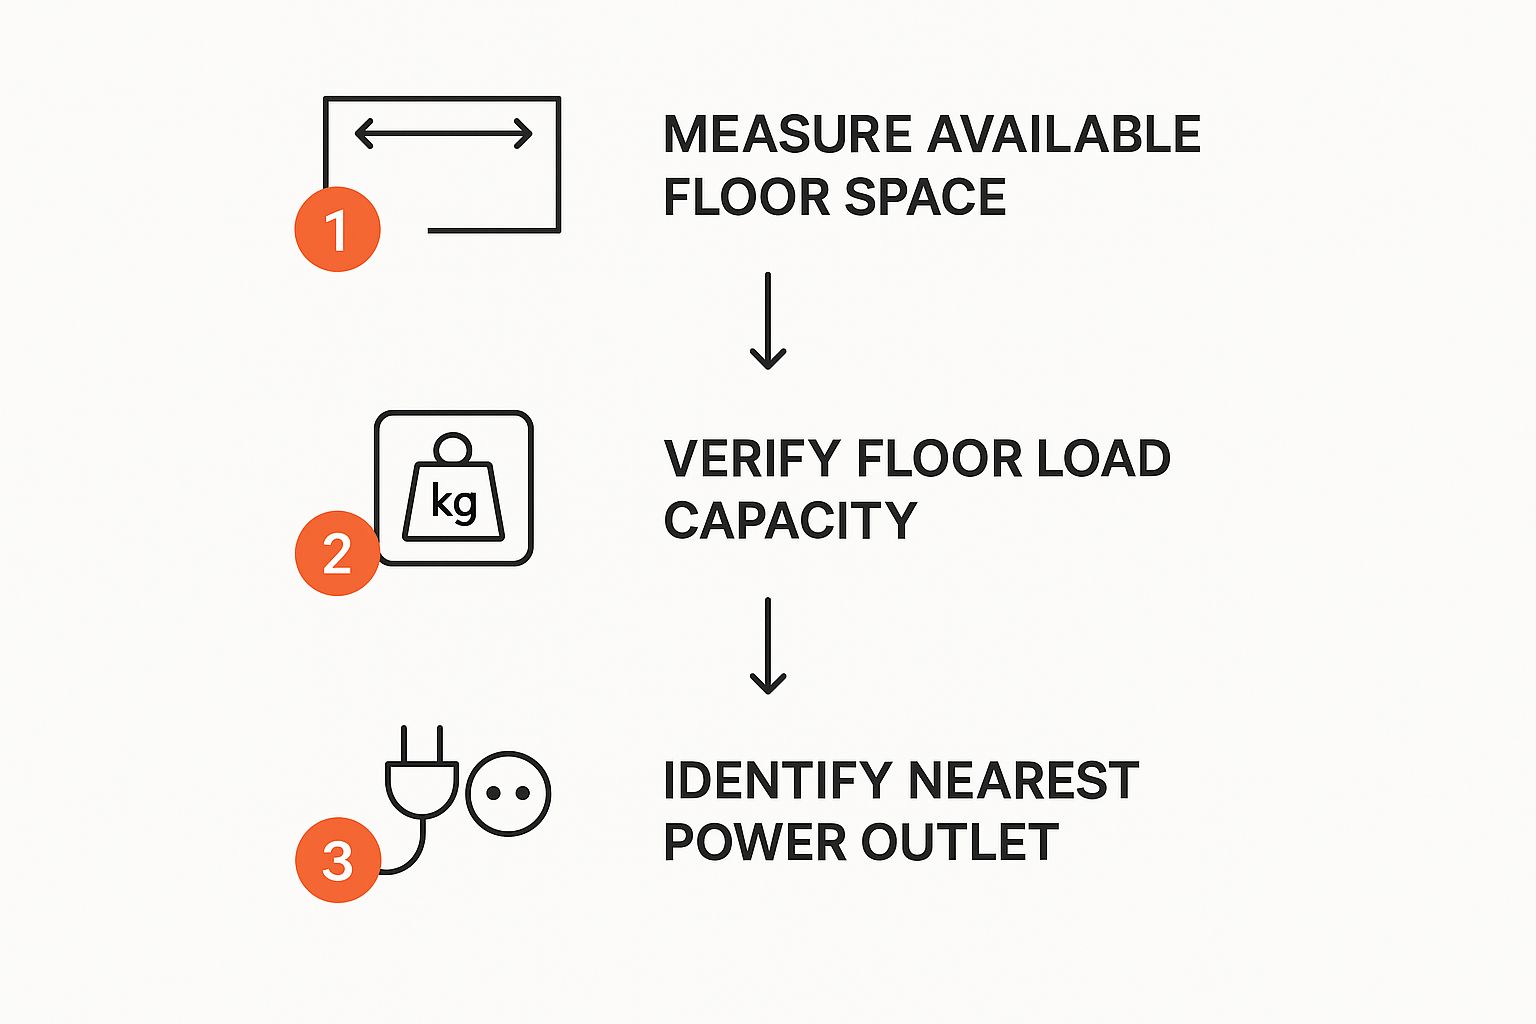
Before you even get to this stage, though, a little prep work goes a long way. This visual guide shows what you should have checked off your list before even opening the box.

As you can see, confirming you have the right space, a strong floor, and any needed power outlets is absolutely essential for a smooth installation.
Most equipment kits throw in a tiny Allen key and a flimsy flat wrench. Honestly, trying to build anything substantial with just those tools can turn a two-hour job into a frustrating four-hour marathon. A small investment in a few real tools will make a night-and-day difference.
Having the right tools on hand doesn't just make the build faster—it makes it safer. You’ll avoid stripped hardware and know for a fact that every connection is secure. If you want to dive deeper into the specifics for different types of machines, you can learn more about the finer points of fitness equipment assembly right here. Building with confidence is all about understanding the plan and having the right gear for the task.

Alright, the heavy lifting is done. You’ve assembled the frame, tightened the last bolt, and now you’re standing in front of a fully built machine. But the job isn't quite finished. This final stage is all about bringing your new gear to life by setting up its digital brain—this is where modern equipment truly shines.
First things first, let's get it online. Think of it like setting up a new laptop or smart TV. Head into the console’s settings menu, find your home Wi-Fi network, and punch in the password. A word of advice from experience: make sure the signal is strong and stable. Nothing kills a workout vibe faster than a buffering screen mid-session.
Once it's connected, you’ll almost certainly see a pop-up for a firmware update. Whatever you do, don't skip this. I've seen it happen—people get excited and jump right in, only to miss out on crucial security patches, bug fixes, and sometimes even brand-new features that have been released since the machine was packaged.
With the technical updates out of the way, you can start personalizing the experience. If you're sharing the equipment with family, setting up individual user profiles is a game-changer. This keeps everyone's workout history, personal bests, and preferences separate and tidy.
This is also the part where you sync everything up and fine-tune the settings.
I always tell people to think of this step like adjusting the driver's seat and mirrors in a new car. It’s that final touch that makes the entire experience feel like it was designed just for you, ensuring every metric is as accurate as possible.
This level of integration is what’s driving the entire home fitness market forward. The ability to track progress and stream content is no longer a niche feature; it's an expectation.
With your profiles created and apps connected, you’re finally ready for the fun part. All that careful assembly work now unlocks a massive world of interactive training. You can jump into live classes with real trainers, compete against users from around the globe in virtual races, or follow structured programs designed to help you hit specific goals.
This connectivity turns what could be a lonely workout in your basement into a genuinely engaging and motivating experience. Seeing your name climb a leaderboard or getting a virtual high-five can be a surprisingly powerful motivator.
Of course, if you found the physical setup to be a bit much and are already dreading your next fitness purchase, remember that professional help is always an option. Our team handles gym machine assembly from start to finish. But for now, take a moment to enjoy the fruits of your labor—a perfectly assembled, fully connected piece of smart fitness equipment.

Alright, the last bolt is in, and your new machine is standing tall. It's tempting to jump right in and start your first workout, but hold on. We're not quite done yet. This next part—the final safety check—is arguably the most important step of the entire process. Think of it like a pilot's pre-flight checklist. Skipping it is just not an option.
First up, go on a “bolt run.” Take your tools and systematically revisit every single nut and bolt you touched. Give each one a final, firm turn to make sure it's torqued down correctly. It’s surprisingly easy to leave a bolt just a little loose during assembly, and that one weak link can put the entire structure's integrity at risk when you start putting it under load.
Once you're confident all the hardware is tight, it’s time to test for stability. And don't be shy about it. Put your weight on the machine from different angles. If it’s a power rack, grab the posts and try to muscle it side-to-side and front-to-back. For a treadmill or elliptical, get on and shift your weight around. What you're looking for is zero wobble or lift.
If you feel any movement, go back and double-check the leveling feet and the main frame bolts. After it passes the stability test, run the machine through its full range of motion without any load. Listen carefully for anything out of the ordinary—clicks, squeaks, or grinding. These sounds are early warnings of a misaligned part or a spot that needs a dab of grease. Catching them now saves you a major headache later.
This initial safety audit is your best defense against premature wear and tear. It transforms a newly assembled machine into a truly safe and reliable piece of equipment, giving you confidence in every single rep.
Your home gym equipment is a serious investment, and just like your car, it needs a little TLC to perform its best and last for years. While you can always get professional help with the initial build from a service like ours (workout equipment assembly), ongoing care is in your hands. Setting up some effective preventive maintenance scheduling is the key to protecting your gear.
Here’s a simple routine to get you started:
Weekly (5-Minute Check):
Monthly (15-Minute Check):
Annually (30-Minute Check):
This isn't overkill; it's exactly what commercial gyms do to keep their equipment running smoothly despite constant, heavy use. It’s a big reason the commercial fitness equipment market is now worth an estimated USD 9.25 billion globally. By bringing a bit of that professional mindset home, you ensure your equipment will support your fitness goals safely for a very long time.
Even with the most careful planning, it's totally normal to hit a few snags or have questions pop up while you're putting together new fitness equipment. It happens to everyone. Let's walk through some of the most common issues people run into so you can feel ready to handle them.
This is a big one. You’ve got the box open, parts are everywhere, and you're wondering if you've bitten off more than you can chew.
Honestly, you should seriously think about calling in an expert if you're dealing with anything especially complex, like a big multi-station cable machine. The same goes for anything that's just incredibly heavy, and you don't have a reliable second person to help lift. Some warranties can also be voided by improper self-assembly, so it’s always a good idea to read the fine print on that before you start.
If you find yourself staring at confusing diagrams or you realize you don't have the right tools, hiring a pro is the smart play. It's a small investment for peace of mind, knowing the equipment is safe and assembled correctly.
I’ve seen a handful of the same mistakes happen time and time again. The single biggest error is skipping the parts inventory at the beginning. You get excited and just dive in, only to realize halfway through that a crucial bolt is missing.
Another classic mistake is tightening all the bolts on the main frame right away. It seems logical, but it leaves you with zero wiggle room to align the other pieces later. It can be a real nightmare to fix. People also frequently install brackets or supports backward—it's an easy slip-up when you're focused.
Finally, a critical oversight is not leaving enough clearance around the machine for you to actually use it safely. Squeezing a treadmill into a tight space can turn your workout zone into a major hazard.
Here's a piece of advice I always give: If you think a part is missing or damaged, stop what you're doing immediately. Don't try to "make it work" with a similar-looking screw from your toolbox unless the manual specifically says you can. It's just not worth risking your safety.
Okay, so you did your inventory and discovered a broken piece or a missing bolt. First, don't panic. Your next step is to get in touch with the manufacturer's customer service department.
Before you call, make sure you have the model number, serial number, and the exact part number from the assembly manual right in front of you. Snapping a quick picture of any damaged parts is also a great way to document the issue. Reputable companies will almost always ship you a replacement part quickly and without any fuss.
Beyond just the setup, figuring out the best way to acquire your gear is another common question. For a great breakdown of the financial side, this guide on Leasing vs. Buying Equipment offers some fantastic insights to help you make that call.
Protecting your floors isn't optional—it's a must. High-density rubber or foam equipment mats are your best friend here. They do more than just prevent scratches; they also absorb vibrations, which means a much quieter workout for you and anyone else in your home.
As for stability, grab a carpenter's level and check the floor where the machine will go before you start building. If it's not perfectly even, that's okay! Almost all modern fitness machines come with adjustable leveling feet. A wobbly machine is not only dangerous, but the uneven stress on its frame will cause it to wear out much faster.
Ready to skip the hassle and get a perfect, professional setup every time? Assembly Smart offers expert in-home assembly for all your fitness equipment, furniture, and recreational products. Let our insured and reliable team handle the hard work so you can start enjoying your new gear without the stress. Book your appointment with Assembly Smart today