-
CALL US:
- (866) 952-3456
That flat cardboard box staring back at you holds the promise of a new piece of furniture, but let’s be honest, it also hints at a bit of potential frustration. This guide is here to walk you through the entire process of assembling put it together furniture, helping you sidestep the common headaches for a smooth build from start to finish.
Before you even think about connecting two panels, the most important work happens. I've seen it time and time again: proper preparation is what separates a wobbly, frustrating mess from a sturdy, professional-looking piece of furniture. Think of this as your pre-build checklist.
This isn't just about clearing a space on the floor. It's about setting up an efficient and safe assembly zone. Investing just a little time here will save you from those classic mistakes, like realizing you've installed a panel backward halfway through or frantically searching for a tiny screw that rolled under the sofa.
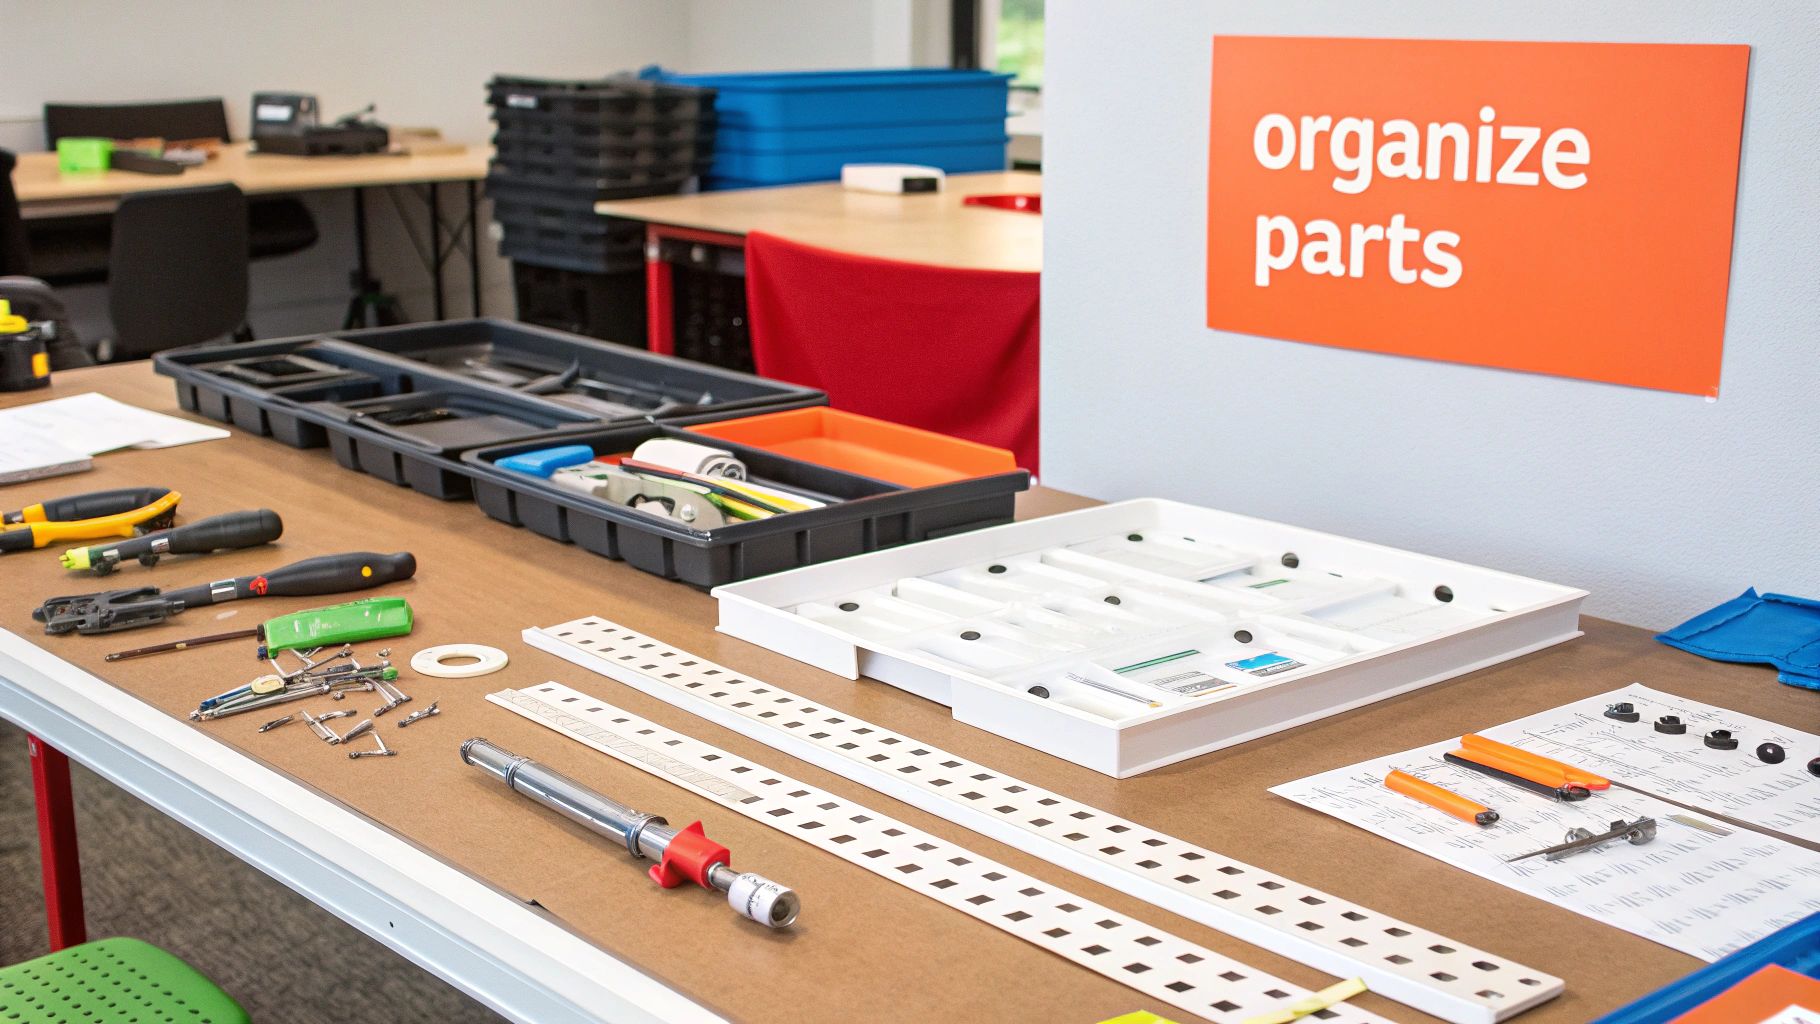
First things first, find a large, well-lit area. You need enough room to lay out all the components without them being piled on top of each other. A living room floor is a popular choice, but do yourself a favor and put down a blanket or the cardboard from the box. It’ll protect both your new furniture and your flooring from scratches.
Also, consider the final destination of the piece. Assembling a heavy bookshelf in the garage means you’ll have to haul it later, which can put a real strain on its newly assembled joints. Whenever possible, build it right in the room where it will live.
The instruction manual will list the required tools, which often include little more than an Allen key (usually provided) and a screwdriver. From my experience, having a few extra items on hand can make the process go a lot smoother.
A common question I get is whether a power drill is a good idea. While it can definitely speed things up, you have to use it with extreme caution. Always set the drill to its lowest torque setting to avoid stripping screws or, even worse, cracking the particleboard. For the final tightening, I always recommend switching to a hand tool for better control.
Before you start any build, getting your tools in order is a critical first step. A guide on the essential tools for TV mounting can offer some great insights into building a reliable toolkit you can use for all sorts of home projects.
For an even more detailed walkthrough of getting your space ready, you should check out our guide on how to prepare for your furniture assembly project.
The popularity of ready-to-assemble furniture is undeniable. In fact, the global market is projected to expand to $29.7 billion by 2032, driven by the high demand for affordable and stylish home solutions.
To make things even simpler, here's a quick checklist to run through before you open the box.
Taking these few steps before you start can make all the difference, turning a potentially frustrating task into a straightforward project.
| Action Item | Why It's Important |
|---|---|
| Clear a Large Workspace | Prevents losing parts and gives you room to work without feeling cramped. |
| Protect Your Floor | Use a blanket or cardboard to avoid scratches on both the floor and the new furniture. |
| Sort All Hardware | Grouping screws, bolts, and dowels by type saves you from searching later. |
| Gather Recommended Tools | Having everything you need within arm's reach prevents interruptions. |
| Review the Instructions | A quick read-through gives you a mental map of the process before you begin. |
Running through this list ensures you're truly ready to build, not just ready to be frustrated. A little prep goes a long way.
The second you cut the tape on that box, your build officially begins. This is a moment so many people rush, and it almost always leads to a headache later on. From my experience, a methodical unboxing and inventory check is the single best way to sidestep the most common assembly mistakes.
Don’t just dump everything onto the floor in a jumbled mess. Think like a pro and create a system. As you pull each piece out, lay it down carefully with the finished side facing up. A great trick is to use the large cardboard flats from the box itself as a protective mat. This keeps your floors safe, prevents scratches on the new furniture, and gives you a clean look at everything you're working with.
Now, let's talk hardware. Those little plastic bags of screws, dowels, and cam locks are notorious for causing confusion. Resist the urge to just rip them all open. Most manufacturers label these bags with letters or numbers that match up with the steps in the instruction manual.
A little secret of the flat-pack world: manufacturers often toss in a few extra of the most common hardware pieces. So if you've done a careful inventory and have one or two tiny screws left over, don't sweat it. However, if a major component like a metal bracket or a whole shelf is missing, stop right there.
Finding a missing or damaged part now is a minor hiccup. Discovering it when your half-finished bookcase is dominating your living room? That's a major problem. Get on the phone with the manufacturer's customer service and have the part number from the manual ready. It's so much easier to get this sorted out before you start building.
This visual guide breaks down the whole assembly process into three simple stages.
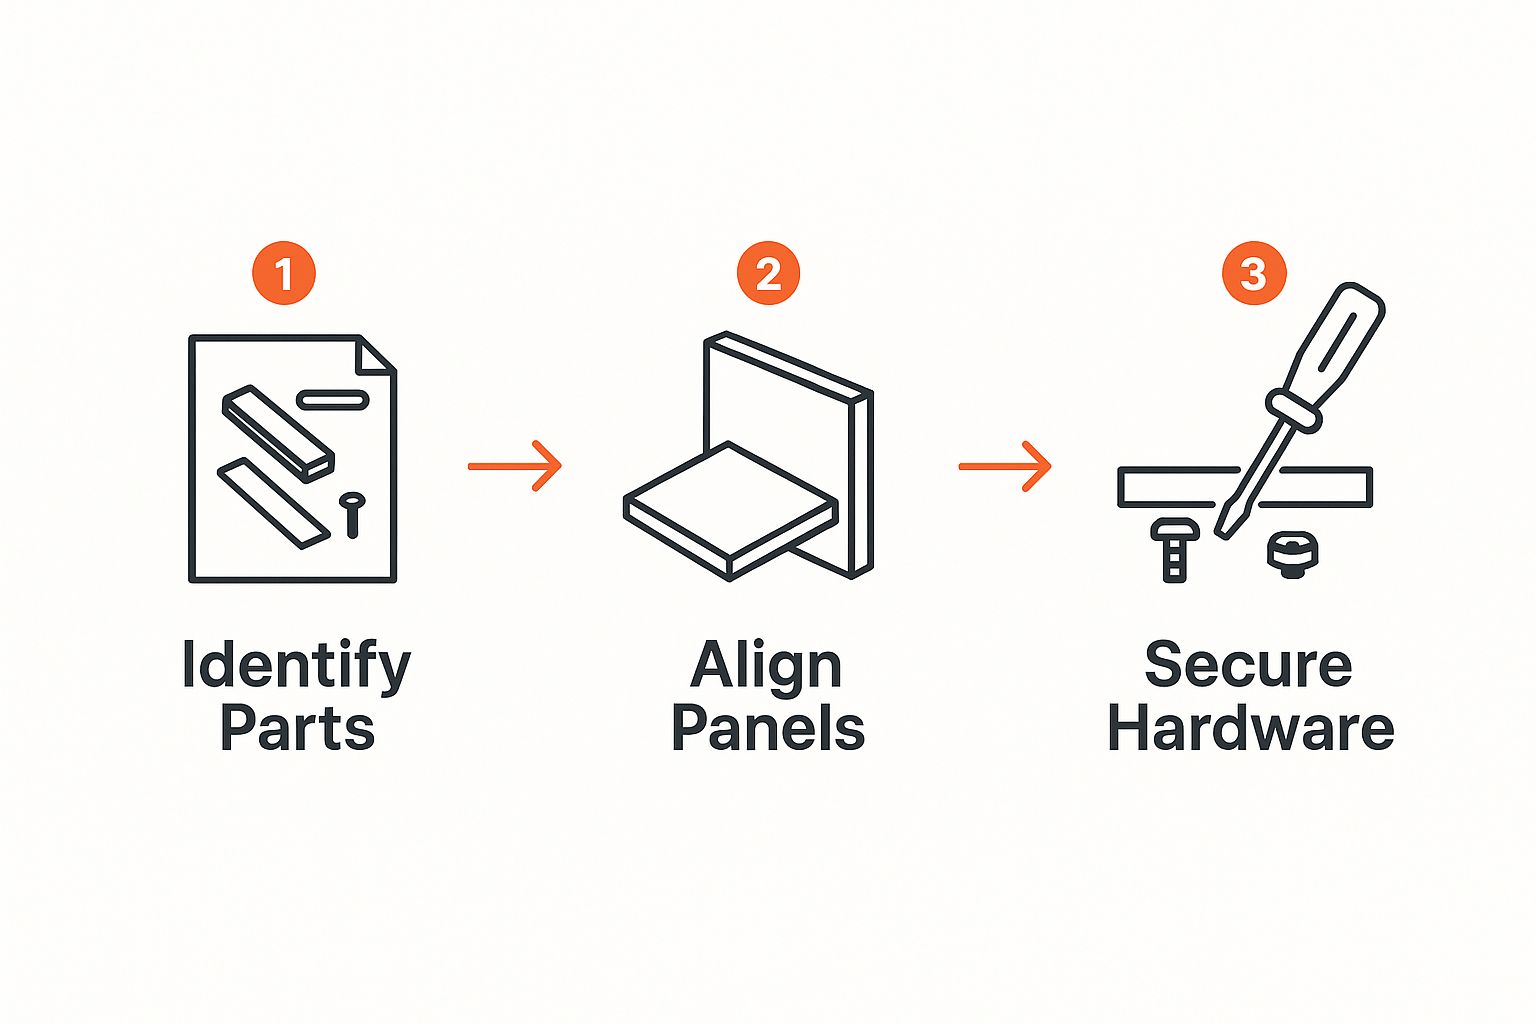
The main takeaway here is that a good build follows a logical order. When you can accurately identify your parts first, getting them aligned is much easier, which then allows for a solid and secure final product.
Once you've got everything counted, try to arrange the large panels in the order you'll need them, if the instructions make that clear. Place the pieces for the first few steps right next to your main work area. This simple move turns the project from a frustrating scavenger hunt into a smooth and efficient build.
This isn't just about counting parts; it's about setting up your entire project for success and keeping the stress levels low. Having put together countless pieces of furniture, I can tell you that this prep work is the single most effective thing you can do to ensure a smooth assembly. You’re not just building furniture; you’re building a better process.
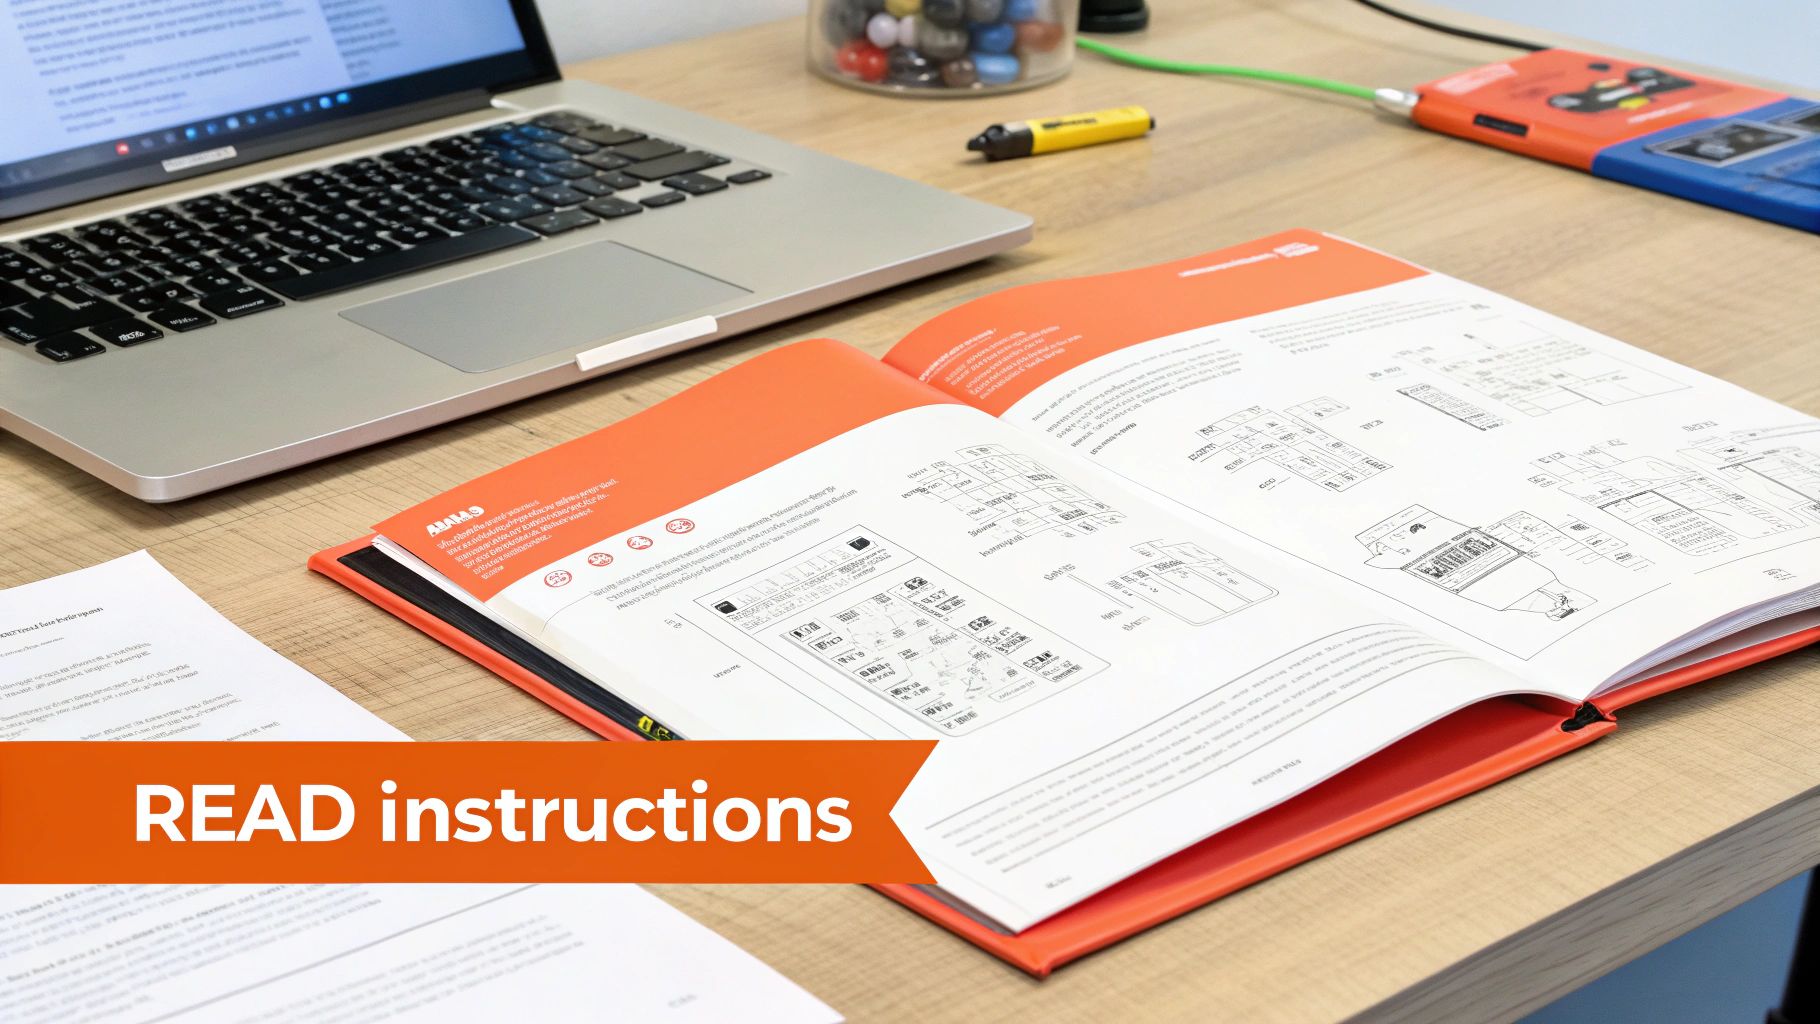
Let's be honest, furniture instructions can feel like you’re trying to crack an ancient code. Those wordless diagrams are designed to be universal, but they often skip over crucial context. Before you even think about grabbing a screwdriver, take a minute to really study that manual. My best advice? Treat it like a roadmap for your put it together furniture project.
Look for the little clues hidden in the drawings. A tiny arrow might show which way a panel should face, or a dotted line could point out a piece that attaches from the back. These details are everything. One of the most common mistakes I see is someone installing a panel backward, only to realize two steps later that the raw, unfinished edge is now staring them in the face.
To keep that from happening, pay close attention to the small, pre-drilled pilot holes shown in the diagrams. Now, compare them to the actual panel in your hands. Do the number and placement of holes in the drawing perfectly match the piece you’re about to use? This is a foolproof way to confirm you’ve got the orientation right.
For instance, when you're assembling a simple nightstand, the side panels might look identical at a glance. But look closer. One will have holes for the drawer slides, and the other won't. The diagram will show this tiny difference, and matching it is the secret to a build that goes off without a hitch.
Key Takeaway: The single most important rule is this: finished sides out, pilot holes in. Find the smooth, laminated edge of a panel—that’s your 'front.' The pre-drilled holes for screws or dowels almost always belong on the 'inside' or 'back' of the piece.
This simple check can prevent a world of frustration and save you from the headache of taking your work apart. For a deeper dive into this, you can check out our 12 helpful tips for assembling IKEA furniture, where we cover common instruction pitfalls.
Every piece of furniture, whether it's a basic coffee table or a huge wardrobe, starts with a foundational frame. This first stage is where you create all the stability. Get this part right, and the rest of the build will feel so much easier. More importantly, your finished furniture will be sturdy and square.
Typically, this means putting together the main box or base. For a bookshelf, you might be attaching the side panels to the bottom shelf. For a desk, it could be getting the legs secured to the tabletop. This is the skeleton of your new piece.
Here’s how to make sure it’s rock-solid:
The market for ready-to-assemble furniture keeps growing, with an expected jump of around 6.2% CAGR in the U.S. from 2025 to 2033. As more households jump on this affordable trend, mastering these basic skills becomes even more valuable. Building a strong foundation isn’t just about following steps; it’s about making sure your investment lasts.
With the frame built, you're on the home stretch. This is where you’ll tackle the finer details that turn a wooden box into a functional piece of furniture. It’s also where a little extra care goes a long way. Let's get those drawers, doors, and back panels installed correctly.
Drawer slides can look confusing, but they’re simpler than they appear. Each slide is actually two pieces—one for the drawer box itself and another for the inside of the furniture's frame. Your number one goal here is to make them perfectly parallel.
If the slides are even slightly off-kilter, the drawer will protest. It'll stick, scrape, or sit crooked. The trick is to use a tape measure and check that both the front and back of each slide are at the exact same height from the bottom edge of the panel.
When it comes to cabinet doors, patience is your best friend. After installing the hinges, don't crank the screws down all the way just yet. Hang the door, take a step back, and give it a good look. Is it level? Are the gaps even all around? Most modern hinges have tiny adjustment screws that let you shift the door up, down, left, or right. It's these micro-adjustments that give you that perfect, factory-finished look.
Over the years, I've seen a few common mistakes trip people up, even those with plenty of builds under their belt. The most frequent culprit is over-tightening screws, especially in particleboard or MDF. This material just doesn't have the same give as solid wood.
When you over-tighten, you can strip the pre-drilled hole, leaving the screw with nothing to grip. Worse, you can actually cause the board to bulge or crack from the pressure. Your goal should always be snug, not strained. The moment you feel solid resistance, stop turning.
Another classic error is putting a large panel on backward. I see this all the time with big wardrobes and media centers. Always take a second to check for finished edges and the location of pilot holes before you secure a major component. It’s a five-second check that can save you an hour of frustrating disassembly. For more brand-specific advice, our guide on IKEA furniture assembly has some great tips.
A Pro Tip From the Field:
Before you insert wooden dowels, add a small dab of wood glue into the holes. This simple step takes seconds but adds tremendous long-term stability. Also, never nail the back panel on until you've confirmed the entire unit is perfectly square. A wobbly frame is almost always caused by an out-of-square back panel.
Even with the best preparation, you might hit a snag. It happens to everyone. From my experience, most issues fall into one of a few categories, and thankfully, they usually have a straightforward fix.
Here's a quick troubleshooting table for the most common headaches you might encounter.
| Common Problem | How to Identify It | How to Fix It |
|---|---|---|
| Drawer Sticks or Rubs | The drawer doesn’t glide smoothly or catches on one side. | Loosen the screws on the cabinet-side runner and slightly adjust its position up or down. Re-tighten and test. |
| Doors are Uneven | One door hangs lower than the other, or the gap between them is crooked. | Use the small adjustment screws on the hinges to move the door left/right or up/down until it's perfectly aligned. |
| Furniture Wobbles | The piece rocks back and forth on a flat floor. | The frame likely isn't square. Loosen the main structural screws, gently push on the corners to square it up, then retighten. |
Knowing what to look for makes these advanced steps feel much less intimidating. When you can anticipate the challenges, you can move through them with confidence and end up with a finished piece that's not just put together, but put together right.

The main construction is done, but don’t put your tools away just yet. These last few steps are what take your project from just “assembled” to truly “finished.” This is the part of the job that ensures your put it together furniture not only looks fantastic but will hold up for years to come.
Go back over every single screw, bolt, and connector you put in. Give each one a final, gentle quarter-turn with your hand tool. You’re not trying to torque it down like you're building a skyscraper; you're just making sure everything is snug now that the piece has settled into its final shape. This little check gets rid of any minor wobbles that might have cropped up during the build.
Now it’s time for what I consider the most important safety check, especially if you’re building something tall. Bookcases, dressers, and storage cabinets can be a serious tipping hazard if they aren’t anchored to the wall. Your kit almost certainly came with an anti-tip bracket and strap. Don't even think about skipping this.
This one simple action makes your furniture so much safer for everyone, especially if you have curious kids or pets running around. I consider it a non-negotiable part of any responsible assembly job.
One of the most common mistakes I see is people forgetting about long-term maintenance. Over time, daily use can cause hardware to loosen up a bit. Get in the habit of doing a quick "tighten-up" check on your furniture every six to twelve months to keep it rock-solid.
Finally, pop on any of the cosmetic finishing touches. This means things like the little plastic screw covers, handle hardware, or any decorative caps that came in the box. These small details do a great job of hiding the hardware and giving your new piece a clean, polished look.
Long-term care is pretty straightforward but makes a huge difference. For most laminate or veneer surfaces, a microfiber cloth just slightly dampened with water is all you need. Stay away from harsh chemical cleaners, as they can eat away at the finish over time. A good tip is to stick some felt pads under lamps or any decor to keep the surface from getting scratched.
This whole idea of building smart, adaptable furniture at home is part of a much bigger trend. In the commercial world, for instance, the furniture market is expected to jump from $167.7 billion in 2025 to $312.9 billion by 2035, a lot of which is driven by the demand for ergonomic and modular office setups. You can read more about this growing market on futuremarketinsights.com. Your weekend project is a small part of a huge shift toward smarter, ready-to-assemble solutions for modern living.
Even the most carefully planned put it together furniture project can hit a snag. Let's be honest, questions and weird situations always seem to pop up. I've been there. So, let's go over some of the most common questions I hear, with real-world answers for those little headaches the instruction manual never mentions.
The second you realize a part is missing or, even worse, cracked, just stop. Seriously. It's a super common problem, but trying to MacGyver a solution with a spare part from your garage is just asking for a wobbly, unsafe piece of furniture.
Your best move is to grab the instruction manual and find the manufacturer's customer service number or website. Before you call, get the product's model number and the specific part number from the inventory list ready. Most companies are actually pretty good about this and will ship a replacement right out to you, usually for free. You have to resist that urge to improvise—it’s the only way to be sure your furniture is built right.
Yes, but I have to give a huge warning with this one. A power drill can be your best friend and save you a ton of time. It can also be your worst enemy if you aren't careful. That compressed wood material used in most flat-pack furniture damages incredibly easily.
If you're going to use a drill, you absolutely must use one with an adjustable clutch. Set that clutch to the lowest possible torque setting. This brilliant feature stops the drill from turning before it has a chance to strip the screw hole or, heaven forbid, crack the panel. For that final turn, I always recommend switching back to the little Allen key or a manual screwdriver. It gives you a much better feel for how tight is tight enough, preventing costly damage.
I get it—finishing a build and seeing that little pile of leftover hardware can cause a mini panic attack. But nine times out of ten, it’s nothing to worry about. Manufacturers often toss in a few extra pieces of the smallest, most common hardware like screws, dowels, and cam locks. They know just how easy it is for those tiny things to roll away and get lost during shipping or assembly.
So, if you've followed the instructions to the letter and you've only got a few small, common bits left over, that's completely normal. Relax. However, if you're staring at a large, unique-looking bracket or an entire panel at the end, it’s time to backtrack. Carefully go over the last few steps in the manual to see where you might have missed something crucial.
For trickier situations or if you're just feeling completely overwhelmed by the whole thing, getting some professional guidance can be a real lifesaver. You can find out more about getting expert furniture assembly help to make sure your project gets done right.
Moving a newly built piece of furniture, even if it's just across the room, takes some care. These items just aren't built to handle the same pushing and pulling as old-school solid wood furniture. Whatever you do, never drag it. Dragging puts a massive amount of stress on the joints, especially the legs, and can easily cause them to weaken or snap off.
The only safe way is to get a friend and lift the furniture completely off the ground. If you’re moving to a new house, your safest bet for bigger items like beds and wardrobes is often to take them apart. For a big move, some companies offer professional packing services that can include carefully disassembling and reassembling your items, which is a great way to protect your investment.
Feeling overwhelmed by that flat-pack box? Let Assembly Smart take the stress out of your next furniture project. Our experienced technicians provide fast, reliable, and professional assembly services for everything from dressers to playsets. Get your free estimate and book your next-day appointment today at https://assemblysmart.com.
