-
CALL US:
- (866) 952-3456
Installing an inground basketball goal is a seriously rewarding project. It's more than just putting a hoop up; you're building a permanent fixture for years of fun. The whole process really boils down to a few key stages: preparing the site, digging the foundation, setting the anchor in concrete, and finally, assembling the hoop itself. Getting this right from the start is the secret to a goal that's safe, stable, and ready for countless games.
Putting an inground basketball hoop in your driveway is a game-changer. It’s an investment in family time, fitness, and honestly, a big upgrade to your home's curb appeal. You’re not the only one thinking this way, either. More and more homeowners are ditching the wobbly portable hoops for the rock-solid stability and pro-level feel of a permanent goal.
The numbers back this up. Thanks to a growing interest in home fitness and outdoor fun, the market for these hoops hit about $1.5 billion. Experts predict it could even climb to $2.7 billion by 2033. That really speaks to their lasting value. If you're curious, you can dig into more of the market data on the rise of in-ground basketball hoops on verifiedmarketreports.com.
Success with this kind of project hinges on knowing the full playbook before you even grab a shovel. Think of it as a series of phases, where each one is crucial for getting that sturdy, professional result we're all after.
Here’s a quick rundown of what you’ll be tackling:
I can't stress this enough: The single most important part of this whole job is letting the concrete cure for at least 72 hours. If you rush this step, you'll compromise the entire installation, no matter how perfectly you did everything else.
To help you get a better handle on the time commitment, we've put together a quick overview of each phase. This should help you plan your project and know exactly what you’re getting into.
Here's a summary of the key phases, what you're trying to accomplish in each, and a realistic look at the time and difficulty involved.
| Installation Phase | Key Objective | Estimated Time | Difficulty Level |
|---|---|---|---|
| Site Prep & Tool Gathering | Select location, call 811, and organize all materials. | 1-2 Hours | Easy |
| Foundation & Anchor | Dig a 4 ft hole and set the anchor kit perfectly level. | 3-5 Hours | Hard |
| Concrete & Curing | Mix and pour concrete, then wait for it to fully cure. | 1-2 Hours (plus 72 hrs) | Moderate |
| Final Assembly | Attach pole, backboard, and rim to the anchor. | 2-4 Hours | Moderate |
With this roadmap, you can confidently plan your installation weekend (and the following days for curing!) to ensure everything goes smoothly.
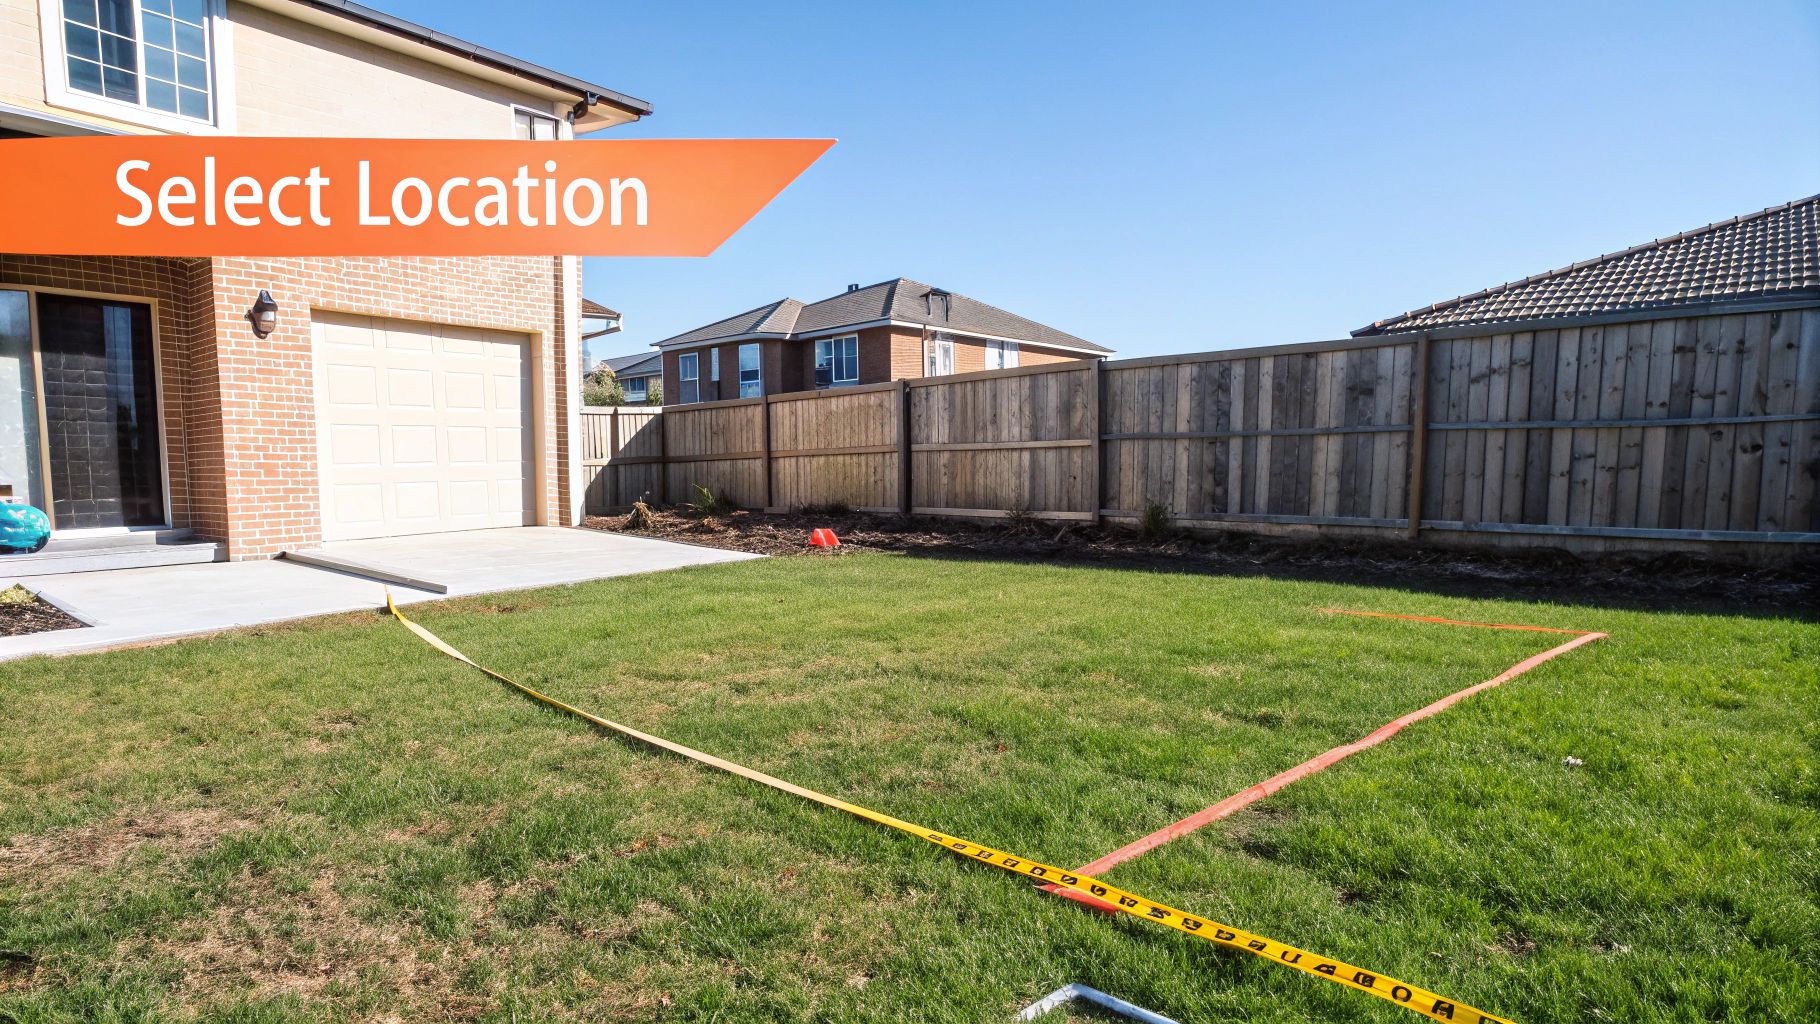
Before you even think about moving a single shovelful of dirt, let's talk prep. Good preparation is what separates a smooth weekend project from a permanent headache you'll have to stare at every day. Picking the perfect spot for your inground hoop isn't just about looks—it's about safety, how the game plays, and protecting your property.
First, scout your potential locations. The driveway is the most common choice, and for good reason, but you need to make sure you have enough space. Think about the "overhang"—that's the distance from the front of the pole to the front of the backboard. You have to set the pole far enough back from the playing surface so the backboard actually hangs over the court, not a few feet inside the baseline. Another pro tip? Check the path of the sun. You don't want to be blinded by the setting sun every time you try to shoot.
Once you've got a general area picked out, you have to take the single most critical safety step of the entire project. Before you dig, you are required to call 811 (in the US) to get underground utility lines marked.
This isn't a suggestion; it's a must-do. Hitting a buried gas, water, or electrical line is incredibly dangerous. It can lead to thousands in repairs and, far worse, serious injury. The service is free and usually takes a few days for the utility companies to come out, so plan ahead for it.
After the utilities have marked their lines with little flags or spray paint, you can lock in your final placement. Make sure your spot is a safe distance from these markings, not to mention your house's foundation, any fences, and overhead power lines.
With your location confirmed, it's time to get your gear in order. Having everything you need laid out and ready to go saves you from those frustrating mid-project runs to the hardware store. It’s a basic principle for any big DIY job. In fact, you can read more about how proper prep work makes everything go smoother in our guide on how to prepare for your furniture assembly project.
Here's a quick checklist of the essentials you'll want on hand:
Laying everything out and double-checking your list puts you in the right headspace. It ensures that when you finally start the real work, your focus is right where it needs to be: on doing the job right.
Alright, this is where the real work begins and your project starts to feel real. The effort you put in right now is what determines whether your hoop will stand strong for a decade or start leaning after the first big storm. Precision is everything in this phase—the entire stability of your goal depends on this concrete foundation you're about to create.
First up is digging the hole. Your manufacturer’s instructions are your guide here, but you’ll find most quality inground goals need a hole that’s 42 to 48 inches deep and about 24 inches across. Don't cut corners on this. That depth is specifically designed to get below the frost line in most areas, creating a massive concrete anchor that counterbalances the pole.
Let's be honest, digging a four-foot hole is no small task, especially if your soil decides to fight back. If you’re lucky enough to have soft, loamy soil, a good post-hole digger will get the job done pretty quickly. But if you hit that hard, dense clay or rocky ground, you’ll need to bring out the heavy hitters: a heavy-duty digging bar to break things up and a sharp shovel to clear out the debris.
This image breaks down the essential process for getting your excavation just right.
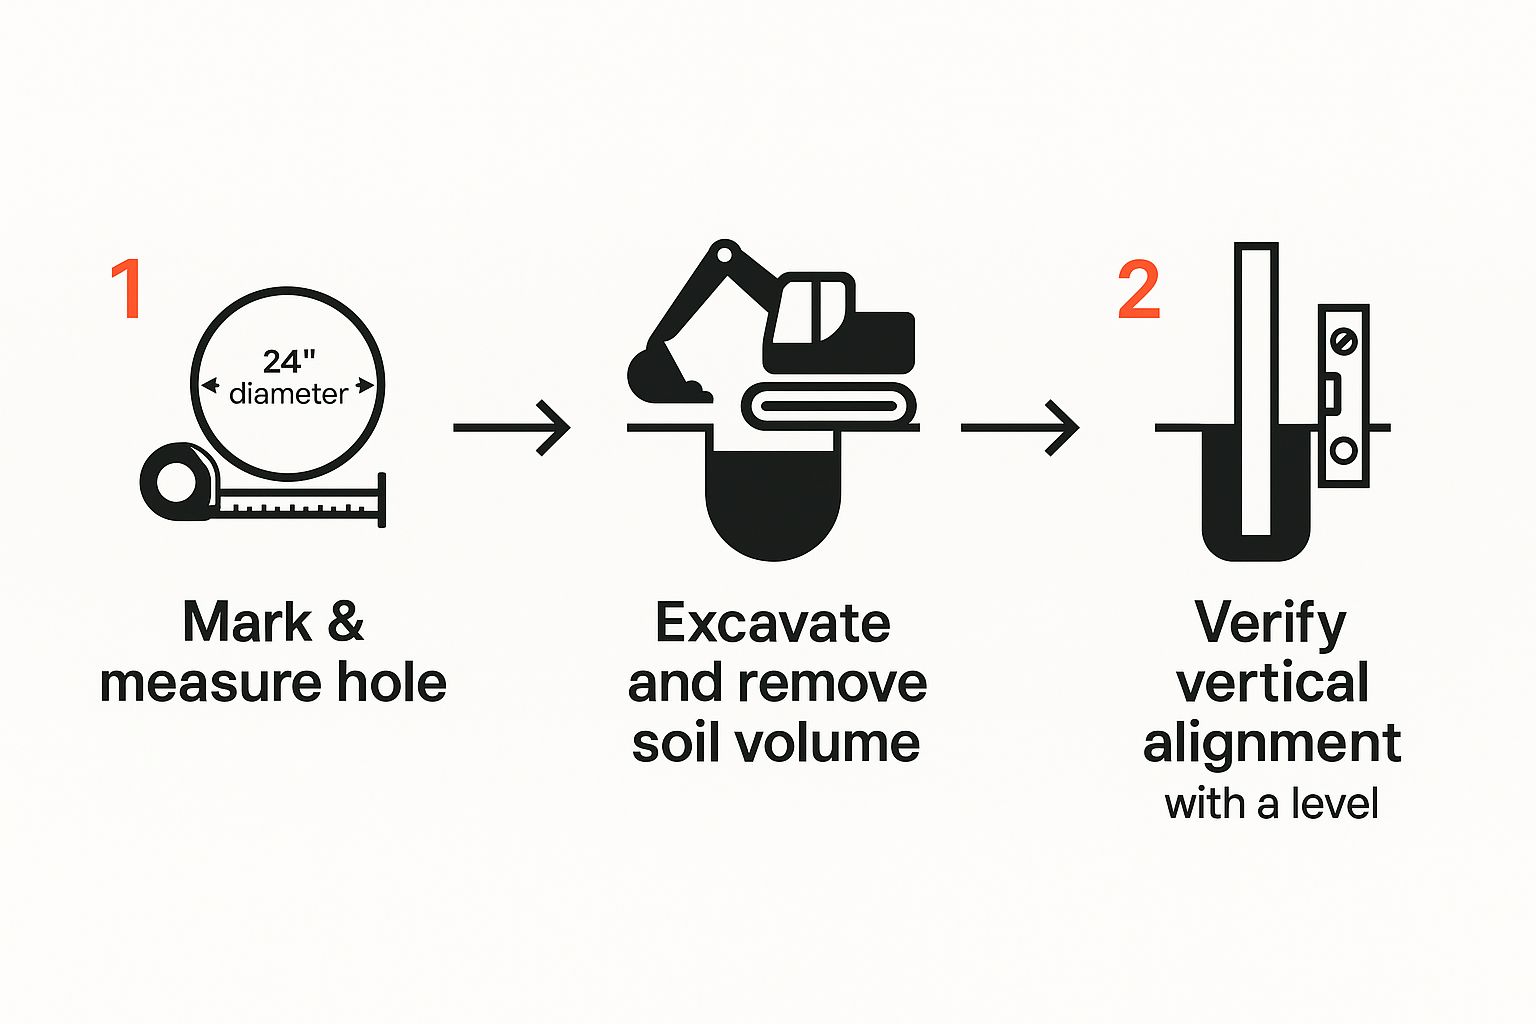
It’s a great visual for the key moments, from taking your first measurement to that final alignment check, making sure you nail the foundation from the start.
Once the hole is dug, your attention shifts to the anchor kit. This is the metal hardware that physically connects the pole to your concrete base. Follow the manufacturer's directions to put together the J-bolts and the template plate. Now, listen up, because this is probably the most important tip I can share.
Use bricks or even some scrap wood to suspend the anchor kit's template plate inside the hole so it sits perfectly level with your driveway's surface. Then, grab your level. Check it north-to-south, east-to-west, and then diagonally. A perfectly level anchor now is your only defense against a permanently crooked pole later.
I can't stress this enough: getting this part perfectly level is non-negotiable. Even a tiny, one-degree mistake at the base will multiply into a glaring, unfixable lean at the top of a 10-foot pole. There are no second chances once that concrete hardens.
This is exactly why inground systems are superior. Their incredible stability comes from these permanent fixtures, anchored deep in a solid block of concrete—typically requiring a hole around 2 feet wide and 3 to 4 feet deep. This kind of robust installation delivers durability against aggressive play and brutal weather that portable hoops just can't match. If you're interested in the market data behind this, you can read more on the value of solid foundations on datainsightsmarket.com.
As soon as you're 100% satisfied that the anchor is perfectly level and sitting at the right height, you're ready for the next step. The prep work is done, and it's time to pour the concrete that will lock in all your careful effort.

This is it. The point of no return. Pouring the concrete sets everything you've done so far in stone—literally. All your careful work hangs on getting this foundation perfect, and that starts with the right materials and a little bit of know-how.
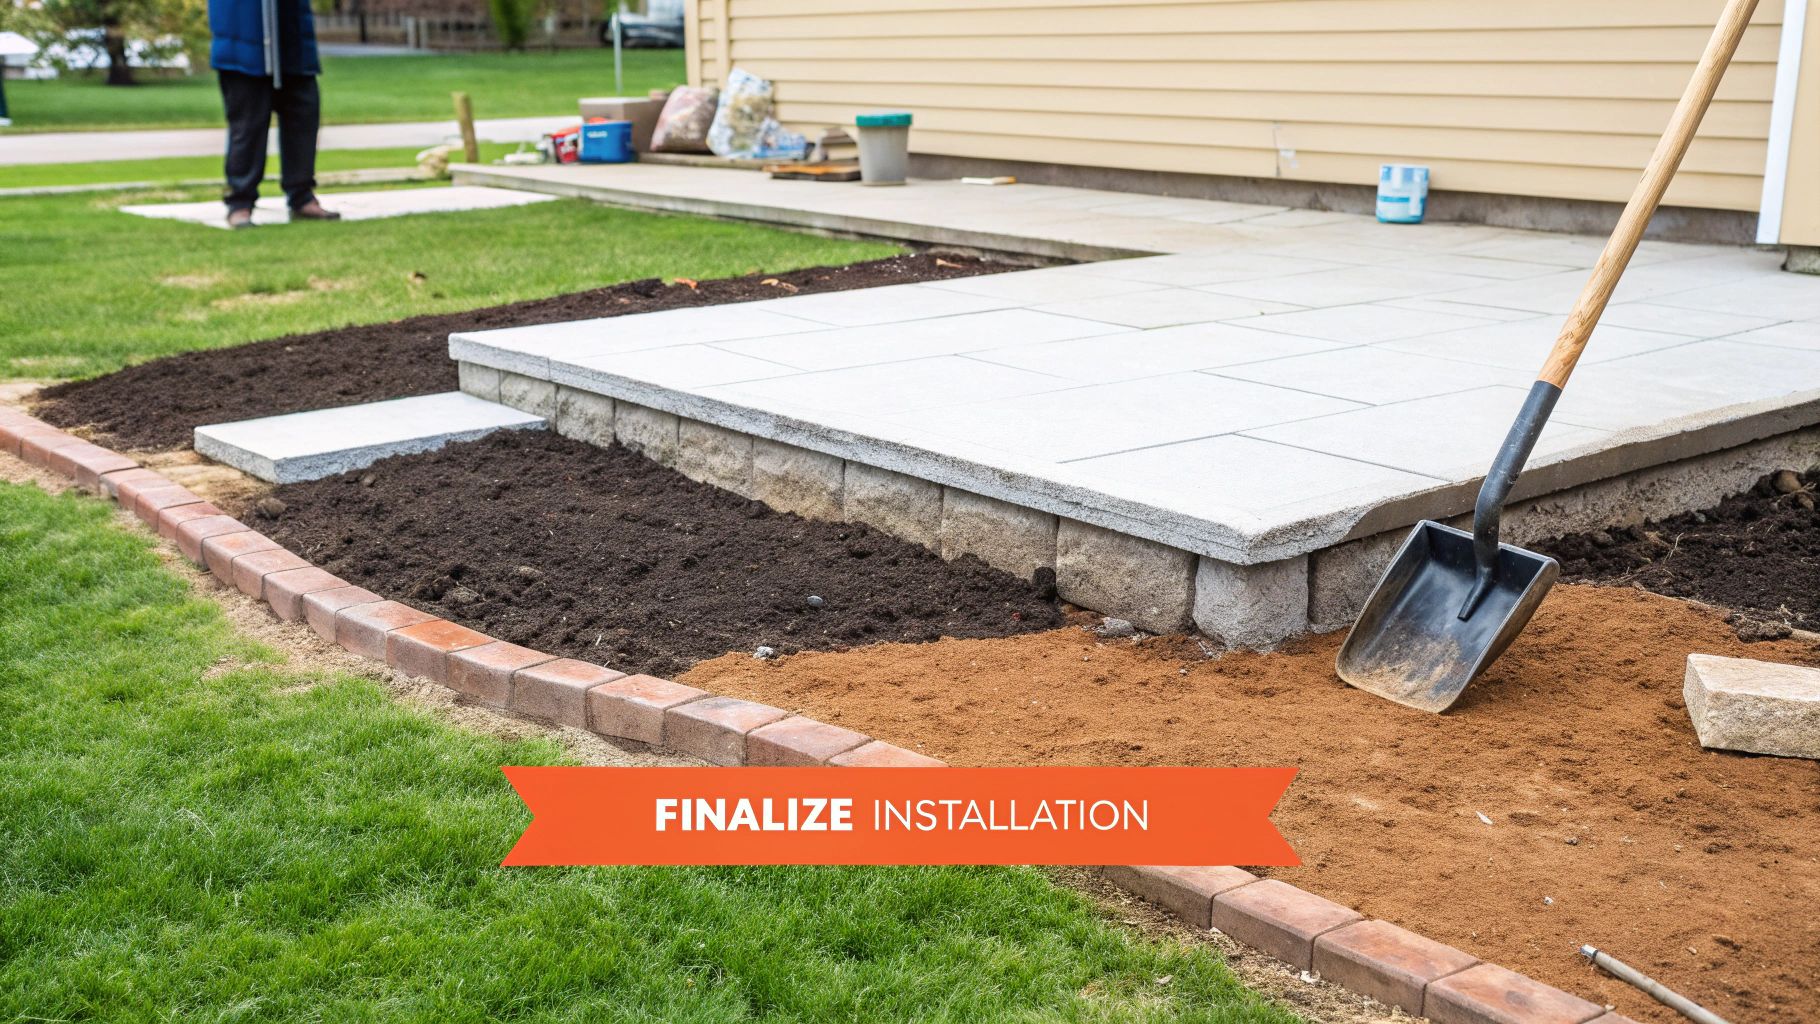
Your hoop's manual will tell you how many bags of concrete to get, but take it from me: buy one extra bag. It’s far better to have a little leftover than to come up short. Make sure you grab a high-strength, crack-resistant concrete mix, something rated for at least 4,000 PSI. This is not the place to pinch pennies. The few extra bucks for a premium mix are the best insurance you can buy for your hoop’s stability. In fact, the foundation work here is surprisingly similar to what pros do for high-end patio and deck installations.
When you're ready to mix, you’re aiming for a consistency like thick brownie batter or oatmeal. If it looks like soup, your concrete will be weak. Too dry, and you'll struggle to pour it and risk leaving hidden air pockets.
Pour the concrete into the hole slowly and in stages, working your way around the anchor kit. The last thing you want is a big, clumsy slosh of wet cement knocking that perfectly leveled template askew.
After you pour a bit, grab a spare piece of rebar or even a sturdy stick and poke it up and down throughout the wet concrete. This is called vibrating, and it’s a crucial step to work out any trapped air bubbles. Those little pockets of air are a foundation's worst enemy, creating weak spots that can cause problems down the road.
The single biggest mistake I see people make at this stage—besides messing up the leveling—is getting impatient. You have to let the concrete cure for the full time listed in the manual, which is usually 72 hours, before you even think about touching it.
I can't stress this enough. Rushing the curing process is the #1 reason for a failed installation. The concrete might feel solid to the touch after a day, but it hasn’t reached its full structural strength. If you attach that heavy pole too soon, the anchor will shift, giving your brand-new hoop a permanent, ugly lean.
Once the hole is full and you've smoothed out the top, grab your level for one last check on the anchor. Make any tiny, final adjustments now, before the concrete starts to set up.
And now, we wait. If there’s rain in the forecast, cover the area. Otherwise, just let chemistry do its thing. This downtime is actually the perfect opportunity to get organized for the final assembly. While the base is curing, you can start unboxing the pole, backboard, and rim. It's also a great time to read through the rest of the instructions and decide if you want to tackle the heavy lifting yourself. Many homeowners find that bringing in a pro for the final steps is a smart call. Our expert basketball goal assembly team can handle that last, crucial stage to make sure it's done safely and correctly.
With your concrete foundation fully cured and rock-solid, the real fun begins. This is the moment you've been working toward—transforming that pile of parts into a pro-quality basketball goal.
Before you even think about starting, I'll share my most important tip: get help. I can't stress this enough. The pole sections, extension arms, and especially that big, heavy backboard are incredibly awkward.
Trying to tackle this solo is a recipe for disaster. You’ll need at least two strong friends to help you safely lift and position everything. Three is even better. This isn't just about making the job easier; it's about preventing a serious injury or a shattered backboard before you ever sink a shot.
Your manufacturer's instruction manual is your bible here, but most of these installations follow a pretty similar, logical sequence. You'll usually start by attaching the main pole to the anchor bolts that are now firmly set in the concrete.
Don't go cranking the nuts down tight just yet. Leave them a little loose for now—this gives you some wiggle room for crucial adjustments later on.
Next, you’ll mount the extension arms to the main pole. These are the heavy steel arms that hold the backboard out over the court. With your helpers supporting the serious weight, carefully bolt them into place exactly as the manual shows.
Now comes the heaviest, and most nerve-wracking, lift of the entire project: raising the backboard.
This is a high-stakes moment where clear communication is everything. Seriously. One person needs to be the leader, calling out clear instructions like "Lift on three," or "Okay, tilt the top forward." This keeps everyone in sync and dramatically reduces the risk of an accident.
Remember those loose nuts on the anchor bolts? Now's their time to shine. The "secret" to getting a perfectly straight, professional-looking pole lies in the leveling nuts on your anchor kit. These sit between the concrete surface and the pole's base plate.
By turning these specific nuts, you can make tiny, precise adjustments to the pole's angle.
Place your carpenter's level flat against the side of the pole. If it’s leaning left, you’ll need to slightly raise the leveling nuts on the right side. If it’s leaning forward, raise the nuts in the back. Make small, slow adjustments, checking the level constantly until that bubble is perfectly centered from every angle.
Once it’s perfectly plumb, you can securely tighten down the main nuts on top of the base plate, locking everything in place for good.
This final attention to detail is what separates a shaky DIY job from a professional installation. And if you need a more detailed breakdown of the tools and steps for this final stage, check out our mastering your basketball hoop assembly guide for even more pro tips.
Even with a detailed guide, a few questions always seem to pop up during an installation. We get it—this is a big project, and you want it done right the first time. Here, we'll tackle the most common concerns we hear from homeowners, giving you the clear, practical answers you need to finish with confidence.
This is probably the number one question we're asked, and the answer really boils down to patience. While the hands-on work might seem manageable, the total project time is dictated by the concrete.
Realistically, you should block out a 4-day window for the entire process.
Trying to rush the curing time is the single fastest way to a failed installation. The concrete needs every bit of that time to reach its full strength and support the immense weight and force of the hoop.
While you can likely handle the site prep, digging, and even mixing the concrete on your own, you should never attempt to raise the pole and backboard by yourself. The individual components, especially glass backboards, are incredibly heavy and dangerously awkward to handle. It's a recipe for disaster.
For your own safety, you absolutely need at least two, and ideally three, adults to help lift, position, and secure the goal. This isn't just about preventing serious personal injury—it's also about avoiding costly damage to your brand-new equipment.
The most frequent—and most critical—error we see is failing to get the anchor kit perfectly level before the concrete sets. A tiny slant at the base becomes a very noticeable lean at the top of a 10-foot pole. Use a quality level on all four sides of the anchor template repeatedly as you pour.
Beyond getting the anchor level, the second biggest mistake is simple impatience. Attaching the pole before that 72-hour curing period is over will compromise the entire foundation you just worked so hard to create. Don't do it.
Finally, remember that installing a permanent structure like this is a significant property enhancement. It's a good idea to check out the 15 life changes to tell your insurance agent about to make sure your new hoop is properly covered.
And if you're on the fence about doing it yourself versus hiring a pro, getting a clear picture of the full cost to install a basketball hoop can help you make an informed decision.
