-
CALL US:
- (866) 952-3456
Here’s the thing about putting furniture together: your success has less to do with skill or brute force and everything to do with what you do before you even pick up a screwdriver. The most critical part of the whole process is that first half-hour of inspecting, organizing, and counting every single piece. Trust me, getting this right from the start is the secret to a smooth, headache-free build.
Before you even think about slicing open that box, give the packaging a once-over. Are there any crushed corners, deep gashes, or suspicious water stains? Those are major red flags. Catching damage to the box now can save you from discovering a cracked panel halfway through the assembly.
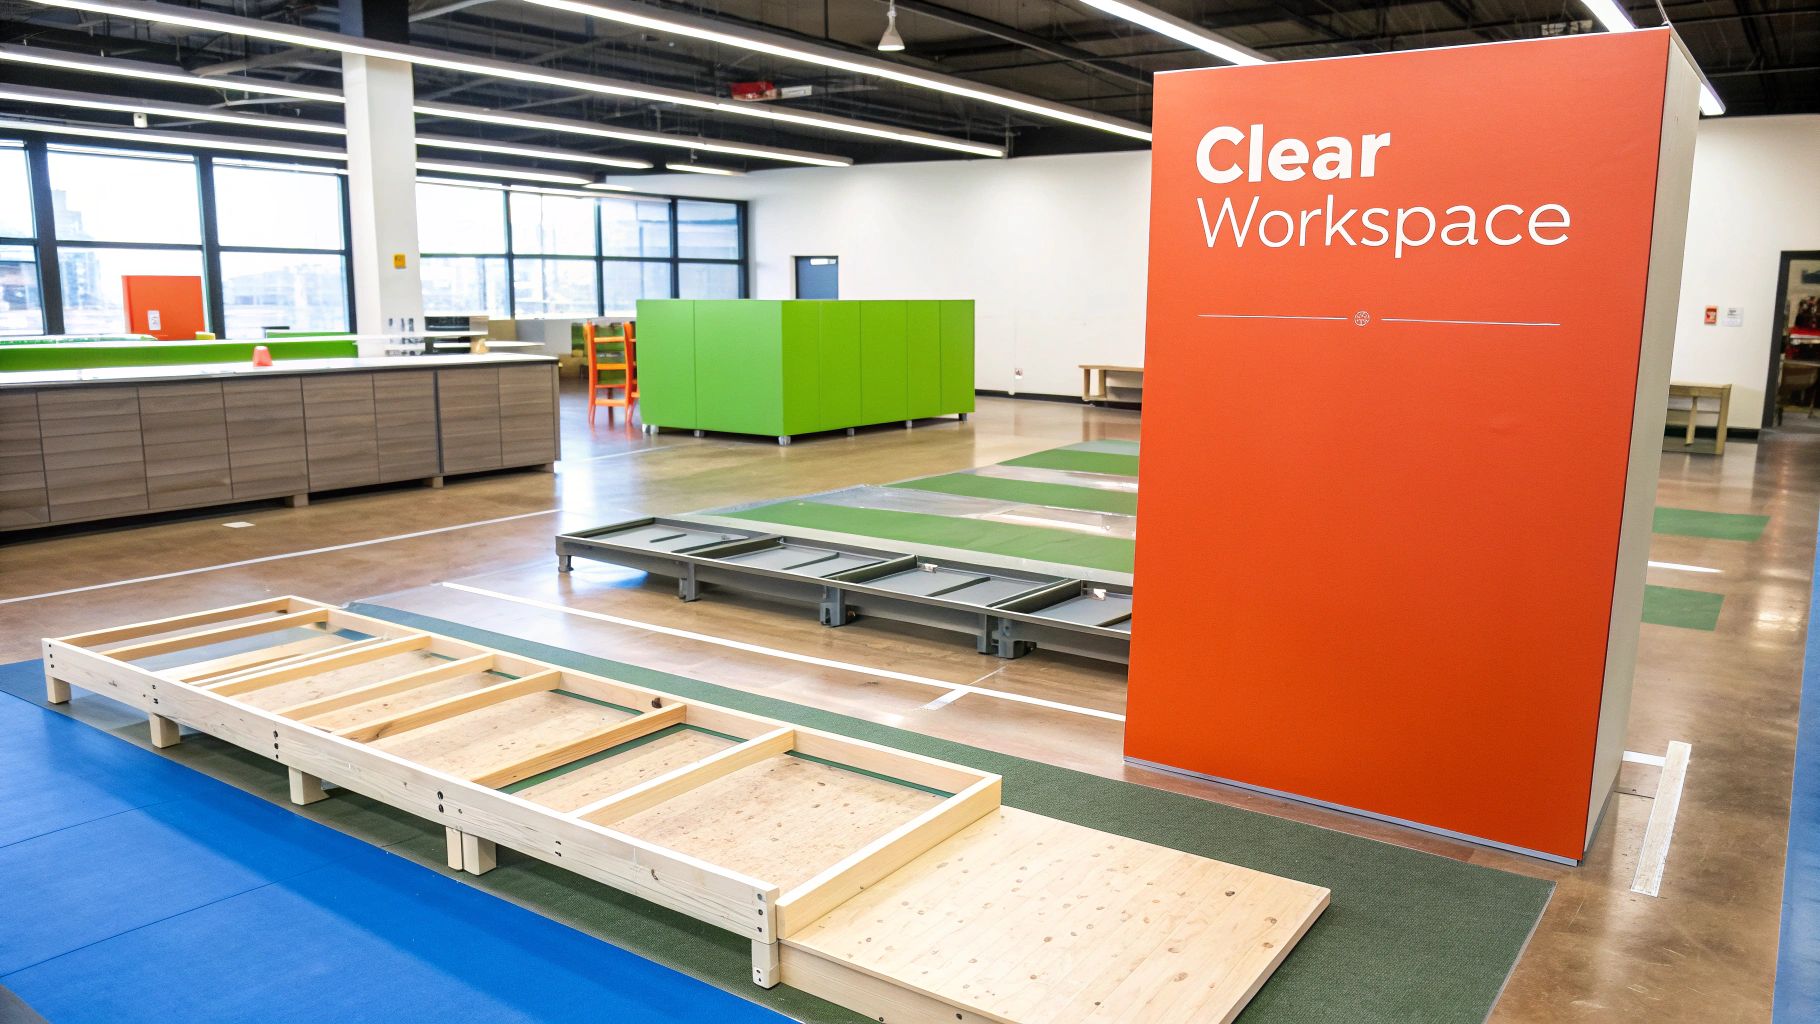
Once you’re sure the box is in good shape, it’s time to find your workspace. Don't even think about building on a hard surface like tile or wood floors—that’s just asking for a scratched-up finish on your brand-new furniture.
Alright, this next bit is the most important part of your prep. Carefully open the box and lay out every single panel, leg, and piece of hardware. Now, grab the instruction manual and flip to the parts list.
The single biggest mistake people make is assuming everything is in the box. Taking ten minutes to count every screw, dowel, and cam lock against the parts list can save you hours of frustration when you realize a critical piece is missing halfway through.
Sort all that hardware into little piles or small containers. It seems tedious, but this simple act of organization means you won't be digging around for the right screw when you're holding two heavy panels together. While you're at it, give each of the big pieces a quick visual inspection for any scratches or dings from the factory. It’s a lot easier to deal with a return or replacement before you've started building. This meticulous approach is the core of how to prepare for your furniture assembly project.
It’s no surprise that with the explosion of ready-to-assemble furniture, the assembly itself has become a huge market. The global furniture assembly services market was valued at around $385 million in 2025 and is only expected to keep growing.
Let's be honest: that tiny Allen key they throw in the box is more of an insult than a tool. It feels designed to strip screws and blister your hands, turning what should be a straightforward project into a test of your patience. I've been there. Real success in furniture assembly isn't about brute force; it's about having the right tool for the job.
You don't need a pro-level workshop to make your life easier. Just a few smart upgrades can completely change the game, making the process faster, safer, and leaving you with a much sturdier piece of furniture in the end. A good multi-bit screwdriver, for instance, lets you match the bit perfectly to the screw head, which is the secret to avoiding those dreaded stripped screws.
Before you even think about tools, though, get your parts in order. This simple workflow can save you a massive headache down the line.
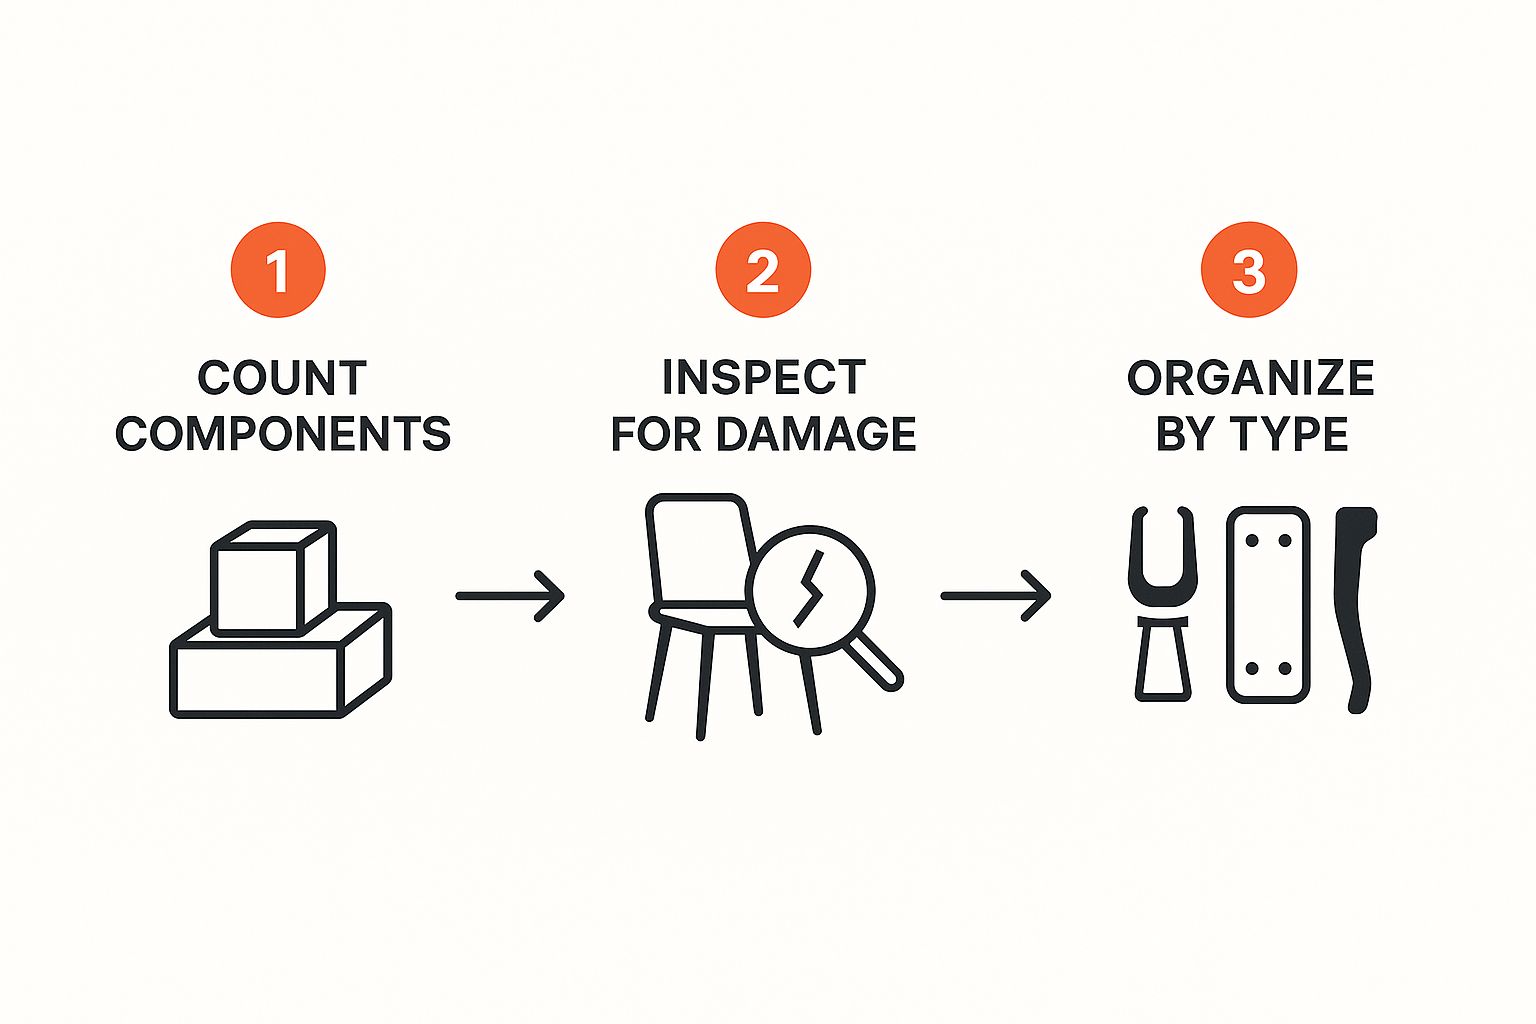
Running through this sequence—counting, inspecting, and organizing—is your insurance against that mid-project panic when you realize a piece is missing or damaged.
A small, dedicated set of tools will pay for itself over and over again. You can start small and build it up as you take on more projects. If you want a deep dive, check out our complete guide to the most important furniture assembly tools.
For now, here are the absolute must-haves I recommend:
To see the difference a few good tools can make, just look at what you're typically given versus what you should actually be using.
| Tool Type | Included in Kit | Recommended Upgrade | Why It's Better |
|---|---|---|---|
| Screwdriver | Flimsy Allen Key / L-Wrench | Ratcheting Multi-Bit Screwdriver | Provides better grip, torque, and the correct bit size to prevent stripping hardware. |
| Hammer | None | Rubber Mallet | Allows you to gently tap pieces into place without damaging the finish or material. |
| Power Tool | None | Cordless Drill with Torque Clutch | Drastically speeds up assembly and drives screws perfectly straight for stronger joints. |
| Measurement | None | 12-ft Measuring Tape | Crucial for ensuring pieces are level and square, preventing wobbly furniture. |
This isn't just about making the job faster; it's about precision and protecting your new purchase.
Having the right equipment is about building it right. A power drill set to the correct torque drives a screw in perfectly straight, creating a much stronger joint than you'll ever get fumbling with a flimsy Allen key.
When you use the right tools, you avoid damaging the hardware and the furniture itself. That means the piece not only looks great when you're done but stays stable and secure for years to come. A little preparation here truly makes all the difference.
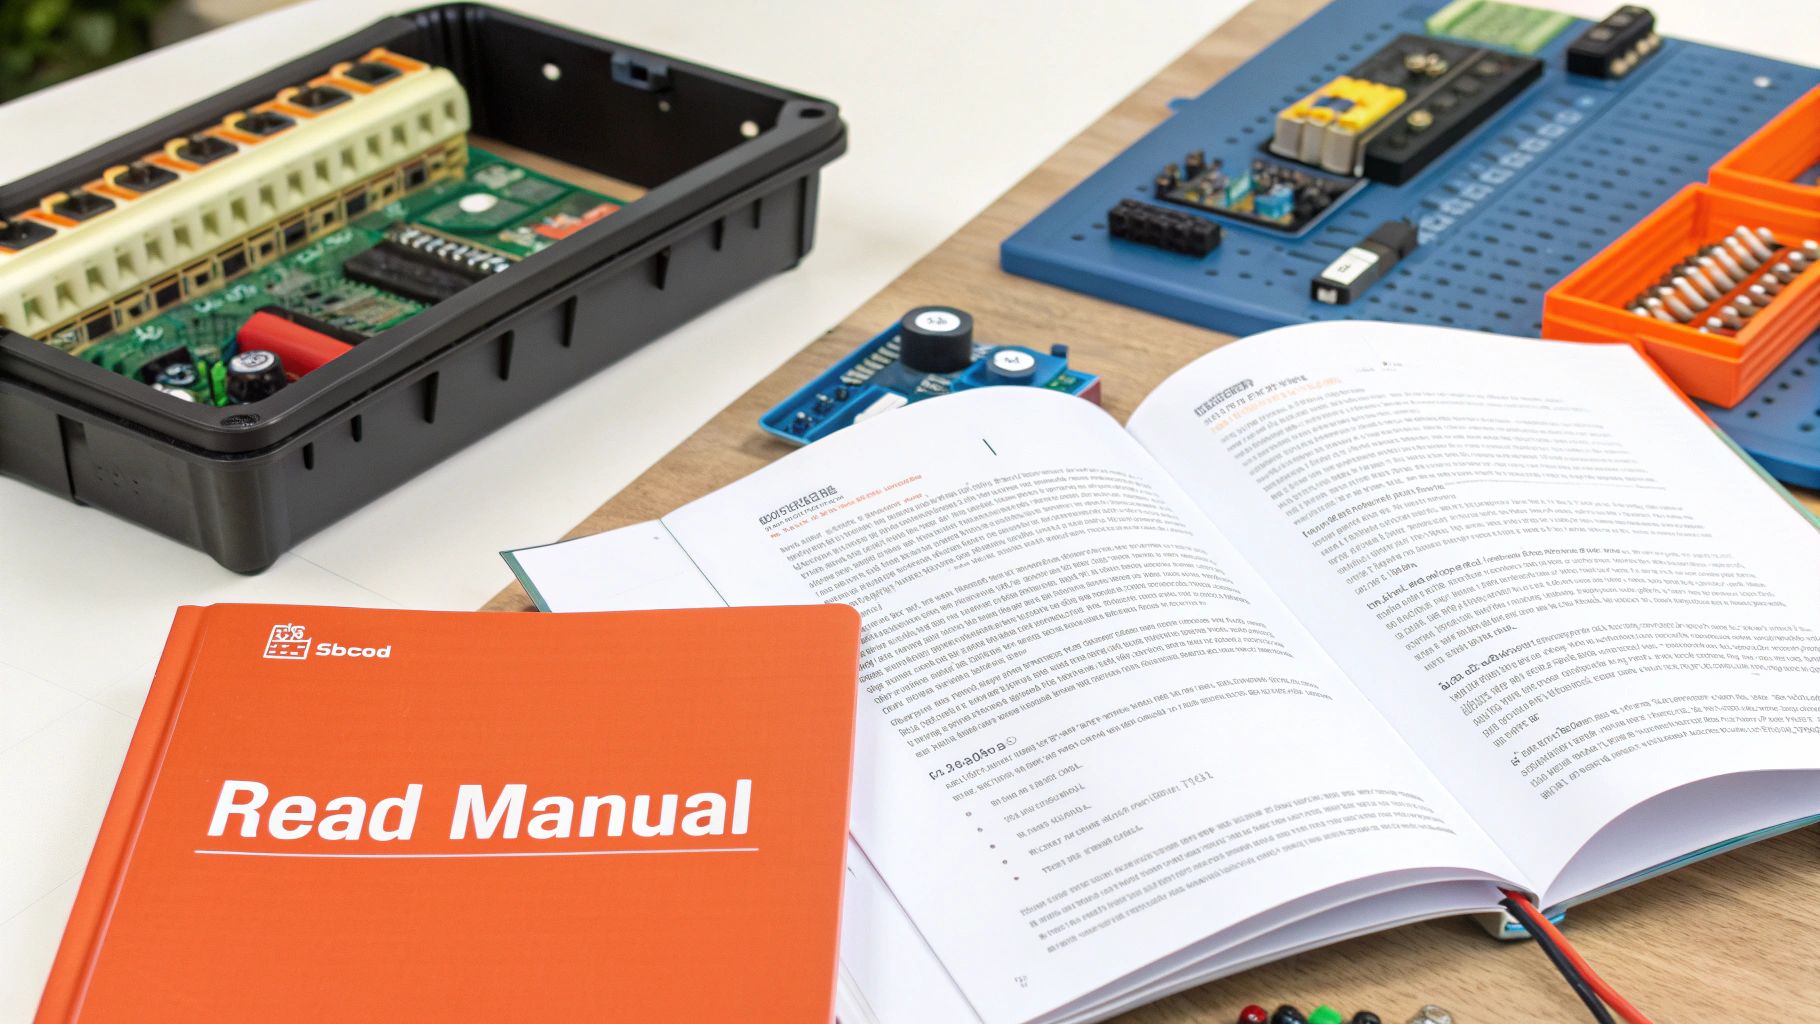
We’ve all been there, staring at a picture-only manual that feels more like a cryptic puzzle than a set of instructions. You’re left wondering which way a certain panel is supposed to face or if you’ve got the right screw. The real secret to putting furniture together without pulling your hair out isn't about speed; it's about understanding the visual language of the diagrams before you even pick up a tool.
Your first move should always be a full read-through of the entire manual. This isn't wasted time—it's strategy.
Think of it as your project roadmap. This initial review helps you spot the tricky steps coming up later, like diagrams with nearly identical parts or a particularly complex hardware connection. This foresight alone can save you from the classic, frustrating mistake of having to take everything apart because you missed one small detail on page three.
Look closer at the little details in each illustration, because that’s where the manufacturers hide the clues. They often use subtle indicators to show you the proper orientation of each part. For example, a solid black line on a panel's edge usually means it’s a finished, visible surface. A dotted or faded line? That’s probably an unfinished edge that will be hidden.
Catching these small visual cues can be the difference between a perfectly assembled bookshelf and one with a backward-facing panel. If you want to get even better at this, our detailed guide on deciphering https://assemblysmart.com/furniture-assembly-instructions/ can help turn those confusing diagrams into a clear plan of action.
Here’s another pro tip I swear by: grab some painter's tape. If you have a bunch of pieces that look the same, stick a small piece of tape on each one and label it with the part number from the manual. This simple trick takes all the guesswork out of the equation and makes the whole process go so much faster.
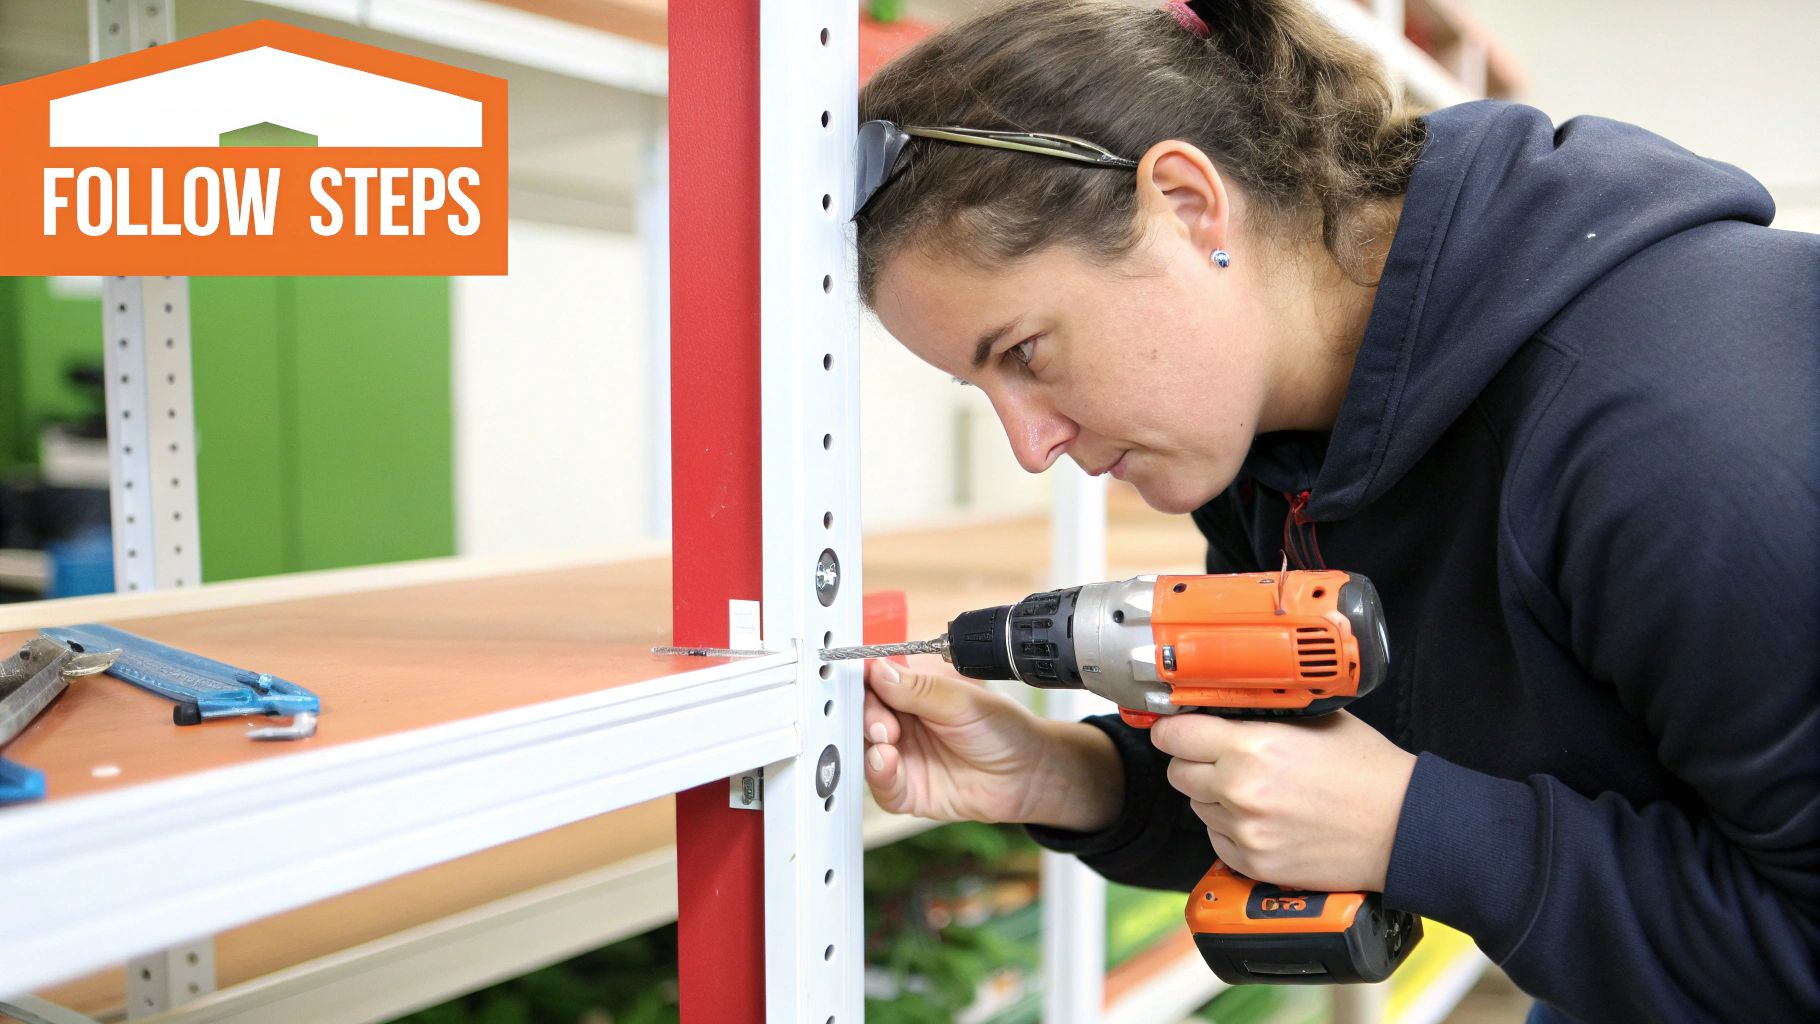
It’s so tempting to drive every screw in as tight as you can right away. We get it, you want it to be sturdy. But this is one of the biggest rookie mistakes you can make. Instead, just tighten screws until they’re snug, not completely locked down. This gives the whole structure just a little bit of "play."
Leaving screws slightly loose until the very end is crucial. It allows for the micro-adjustments you'll need to make sure every panel, shelf, and door lines up perfectly, preventing those annoying gaps or wobbly legs that are a nightmare to fix later.
Once everything is assembled and perfectly aligned, then you can go back and give every single screw its final, firm tightening. It’s a methodical approach, but it’s absolutely essential for a professional, rock-solid result.
It’s no surprise the global market for Ready-to-Assemble (RTA) furniture was valued at $16.93 billion in 2025 and is projected to hit $26.79 billion by 2032. The precision in modern manufacturing makes this kind of careful assembly more important—and more effective—than ever.
Once you’ve mastered the art of furniture assembly, you’ll find that confidence carries over to other DIY projects. You might even find yourself successfully installing a ceiling fan with a light next. The skills are surprisingly transferable.
Getting that last screw tightened feels like the finish line, but hold on—the job isn't quite done yet. A few small, final steps can take your work from just "assembled" to "professionally finished," making a huge difference in how your furniture looks and how long it lasts.
One of the best-kept secrets the instructions never mention is reinforcing your joints. If the piece uses wooden dowels, adding just a small dab of wood glue into the hole before you pop in the dowel creates a rock-solid bond. This simple trick dramatically increases the furniture's strength and stops it from getting wobbly over time.
Before you even think about attaching that thin back panel to a bookcase or cabinet, there's one critical step: squaring the frame. If the unit isn't perfectly square, it’s going to wobble and lean, putting constant stress on every single joint.
Grab a measuring tape. Measure diagonally from the top-left corner to the bottom-right. Now, do the same for the other side—top-right to bottom-left. Gently nudge the frame until those two diagonal measurements are exactly the same. Once it's square, you can confidently nail on the back panel, which locks in that crucial structural integrity.
A wobbly piece of furniture isn't just an annoyance; it's a clear sign of uneven stress on the joints that can lead to failure. Taking just 60 seconds to square the frame is the single most effective thing you can do for long-term stability.
With the main assembly behind you, it's time for the little details that count.
These finishing touches are what separate a good-enough job from a great one, ensuring your new furniture looks fantastic and functions perfectly for years.
We’ve all been there. You’ve got a drawer that just won’t close, a coffee table leg that wobbles no matter what you do, or the dreaded stripped screw head. When you’re in the zone trying to assemble a new piece, these little problems can feel like massive roadblocks.
Most of the time, these issues pop up from a few simple, common mistakes that are easy to make when you’re in a hurry to get the job done.
One of the biggest culprits I see is over-tightening screws, especially when you're working with particleboard or MDF. That stuff is soft, and if you apply too much force, you’ll strip the hole completely. You're left with a screw that just spins and offers zero support.
A good rule of thumb is to hand-tighten every screw until it's just snug. Then, give it one last, gentle quarter-turn. That’s it.
Another classic blunder is putting parts on backward or upside down. Drawer slides are notorious for this; they look almost identical, but if you get them wrong, that drawer is never going to glide properly. Always, always double-check the diagram for the orientation of pre-drilled holes and finished edges before you lock anything in.
Sorting your hardware is also a non-negotiable step. It’s incredibly easy to mix up screws that are only a few millimeters different in length. Using the wrong one can lead to a weak joint or, even worse, a screw that punches right through the other side of a finished panel.
Don’t just build it; build it right the first time. The goal isn’t just to get the piece put together—it’s to create a sturdy, functional item that will actually last. A few extra minutes of careful work upfront can save you hours of frustrating fixes later on.
This kind of attention to detail is what makes the difference. In the same way you want to avoid assembly errors, it's also smart to be aware of common upholstery cleaning mistakes to keep your furniture looking great for the long haul.
With the furniture assembly market growing to $19.8 billion in 2024, it’s clear that people value a job done correctly, whether they do it themselves or hire a pro.
Even the most seasoned DIYer runs into a snag now and then. You can follow the instructions to the letter, but sometimes, problems just pop up in the middle of a build. Knowing how to handle these common hiccups can keep a tiny issue from turning into a project-ending disaster.
So, what’s the plan when you realize a crucial part is missing or, worse, damaged? The first thing to do is stop building. Don't try to make it work. Go back through all the packaging—sometimes small pieces get tucked away in a corner of the styrofoam or a cardboard fold. If it's really not there, find the part number in your manual and contact the manufacturer's customer service. Most companies are pretty good about shipping out replacements at no charge.
One of the biggest questions is whether you can realistically tackle a project by yourself. If you’re putting together something small like a nightstand or a simple side table, you'll probably be just fine flying solo.
But for the big stuff—a dresser, a bed frame, or a towering bookshelf—an extra set of hands isn't just a nice-to-have; it's a safety essential. Having a partner to help you lift heavy panels and hold large sections steady can be the difference between a smooth build and a damaged floor (or a pulled back muscle).
Time Estimate Guideline
- Bookshelf: A standard five-shelf unit will probably take one person 1 to 2 hours.
- Dresser: That six-drawer dresser is a different beast. It's more complex and will likely take 2 to 4 hours, and you'll definitely want a partner for this one.
Once everything's built and in its place, the job isn't quite done. Keeping it looking great is the next step. For upholstered items, these DIY upholstery cleaning tips have some great advice for long-term care.
Feeling overwhelmed by that flat-pack box? Let Assembly Smart handle the hassle for you. Our experienced technicians provide fast, professional assembly for furniture, fitness equipment, and more. Visit us at https://assemblysmart.com to get your free estimate and schedule your appointment today.
