-
CALL US:
- (866) 952-3456
Before you even think about loosening a single screw, a little prep work can save you a mountain of frustration. To get your bed frame apart without any drama, you need to clear the area, get the mattress out of the way, and then systematically break down the frame itself. With a few basic tools and a game plan, you can have the whole thing done in less than an hour.
Trust me on this—spending a few minutes setting the stage turns a chaotic job into a smooth, organized project. The goal here is to work smarter, not harder.
First things first, give yourself room to breathe. Slide nightstands, lamps, rugs, or anything else away from the bed. You’ll want a clear perimeter of at least three to four feet all the way around the frame. This space isn't just for you; it's where the disassembled pieces will go without you tripping over them or scratching up your walls.
If you have hardwood or tile, lay down an old sheet or a moving blanket. It’s a simple step that can save you from a nasty repair bill later if you accidentally drop a side rail.
Next up is getting the mattress and box spring out of there. These are usually the heaviest, most awkward parts to deal with. To save your back, it's worth brushing up on some safe lifting techniques. Once they're off the frame, lean them against a wall in another room to keep your workspace totally clear.
Not all bed frames are built the same. Take a good look at yours to see what you’re working with. Is it a basic metal frame held together with simple nuts and bolts? Or is it a wooden one where the side rails hook right into the headboard and footboard?
A quick inspection saves you time. For instance, many modern platform beds use Allen keys, while older wooden frames might not require any tools at all, relying on gravity-lock brackets. Knowing this upfront prevents multiple trips to the garage for different tools.
Figuring out your frame’s design helps you know what tools to grab. The most common types include:
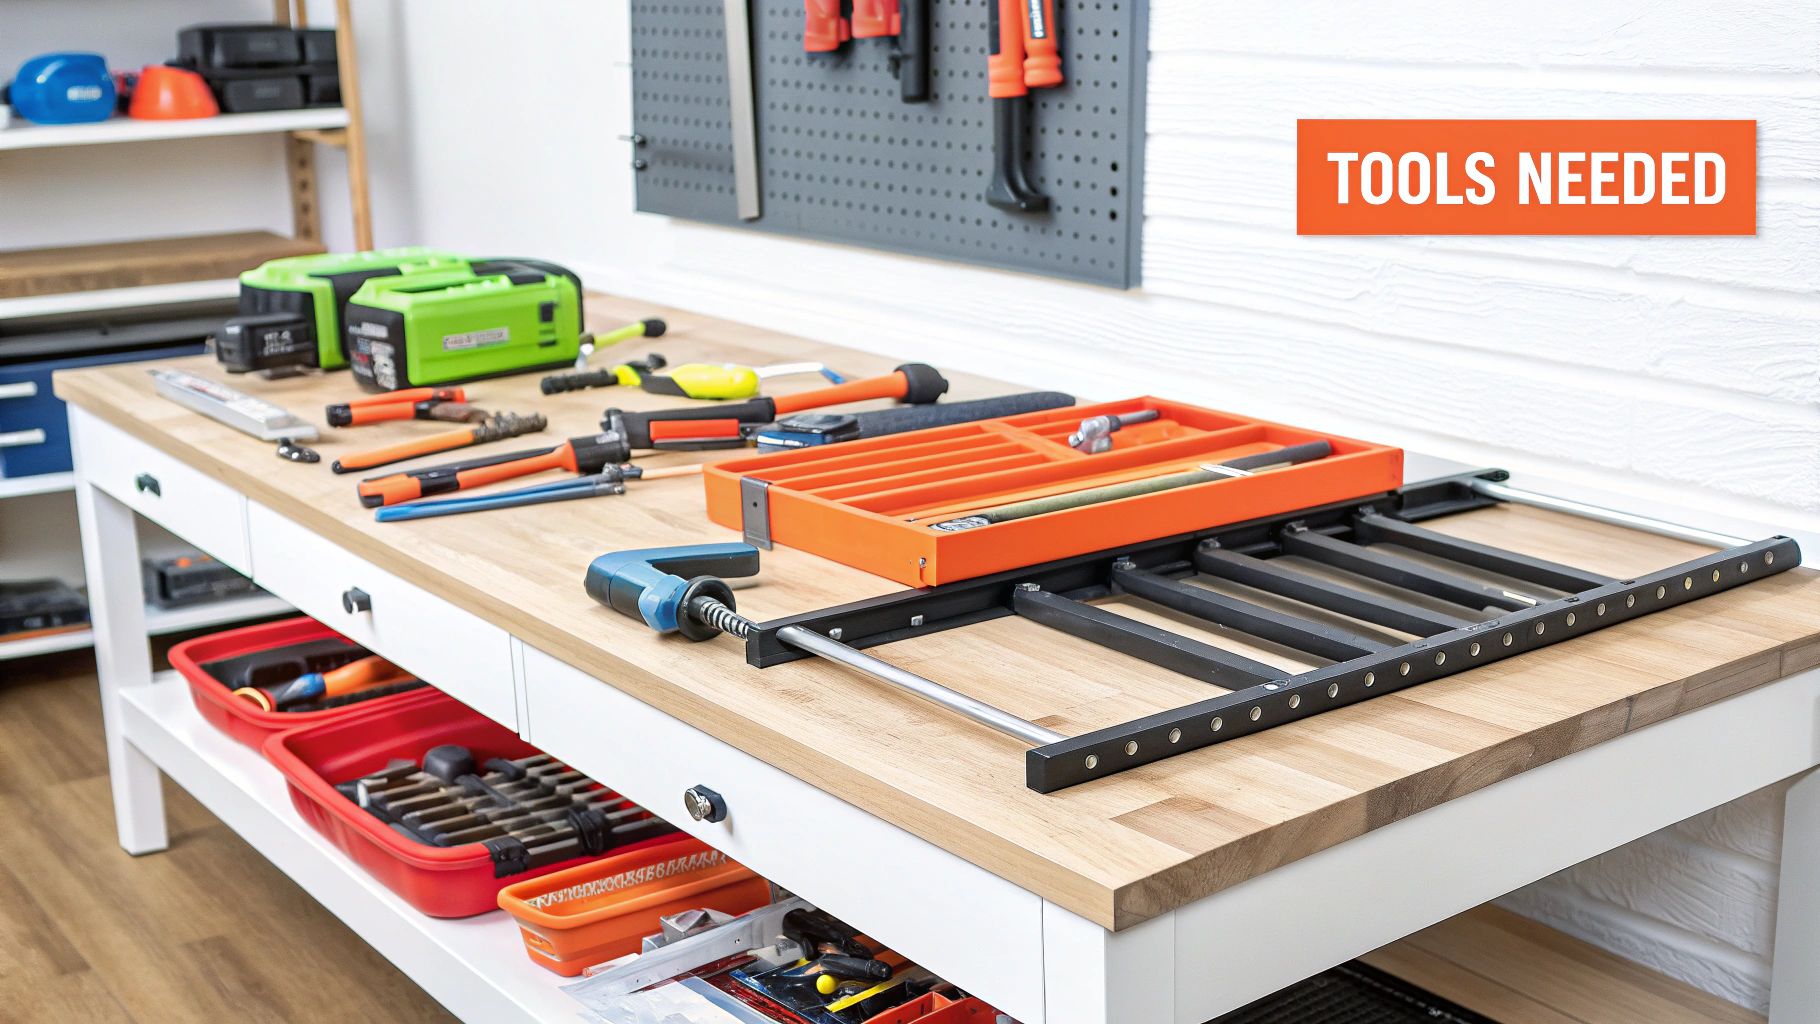
Once you know what kind of frame you have, you can assemble your toolkit. Having everything within arm's reach means you won’t have to stop and search for something mid-project.
You'll probably need a few of these:
With this checklist handled, you've set yourself up for a successful and totally stress-free disassembly.
Okay, you've cleared your workspace and have your tools lined up. Let's get to it. The exact game plan will depend on your specific bed frame, but there's one golden rule that applies to all of them: always work from the outside in. This keeps the whole structure as stable as possible for as long as possible, preventing any surprises like a sudden collapse.
This infographic really drives home the point about using personal protective equipment. It’s a small thing that makes a big difference.
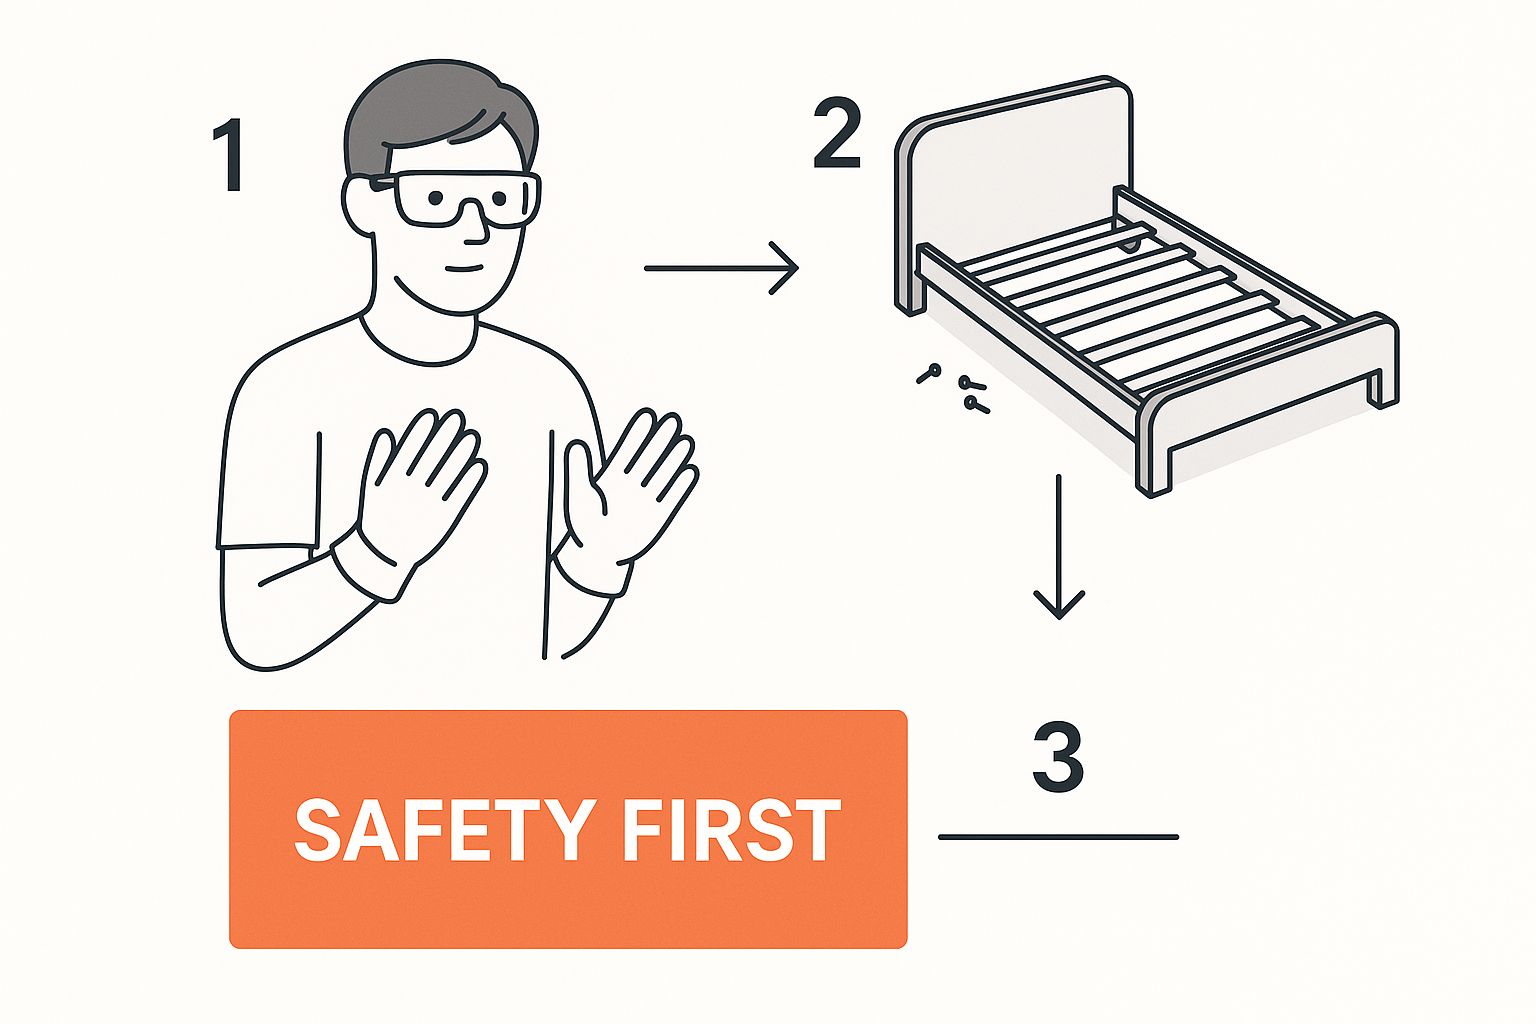
Seriously, spending a few seconds to pull on some gloves can save you from nasty cuts on sharp metal edges or splinters from unfinished wood. It's a no-brainer.
Standard metal frames are usually the most straightforward of the bunch. You're typically looking at a simple system of bolts, nuts, and maybe some locking pins. An adjustable wrench and a pair of pliers for a little extra grip should be all you need.
I always start at either the headboard or the footboard. You'll likely see two bolts on each leg that connect it to the side rails. Go ahead and loosen and remove these, dropping them straight into your labeled bag so nothing gets lost. Once the bolts are out on one end, the headboard or footboard should pull away without much fuss.
A common hiccup with metal frames is a stubborn, rusted bolt. A quick spray of WD-40 and about ten minutes of patience can work wonders, making the bolt much easier to turn. Avoid forcing it, as this can strip the nut or the bolt head, creating a much bigger problem.
After you've detached both the headboard and footboard, the side rails and any center support beams are all that's left. These pieces usually just rest on the floor, so you can simply pick them up and stack them neatly out of the way.
Wooden frames are a mixed bag. You'll find everything from simple, modern designs to traditional styles with classic joinery. A lot of them use hook-in brackets where the side rails have metal hooks that just slide into slots on the headboard and footboard. If that's what you have, you might not need any tools at all.
To disconnect these, just lift one end of a side rail until the hooks pop free from their slots. If it's a tight fit, a gentle tap with a rubber mallet can help loosen things up. It's best to work on one side rail at a time to keep everything stable.
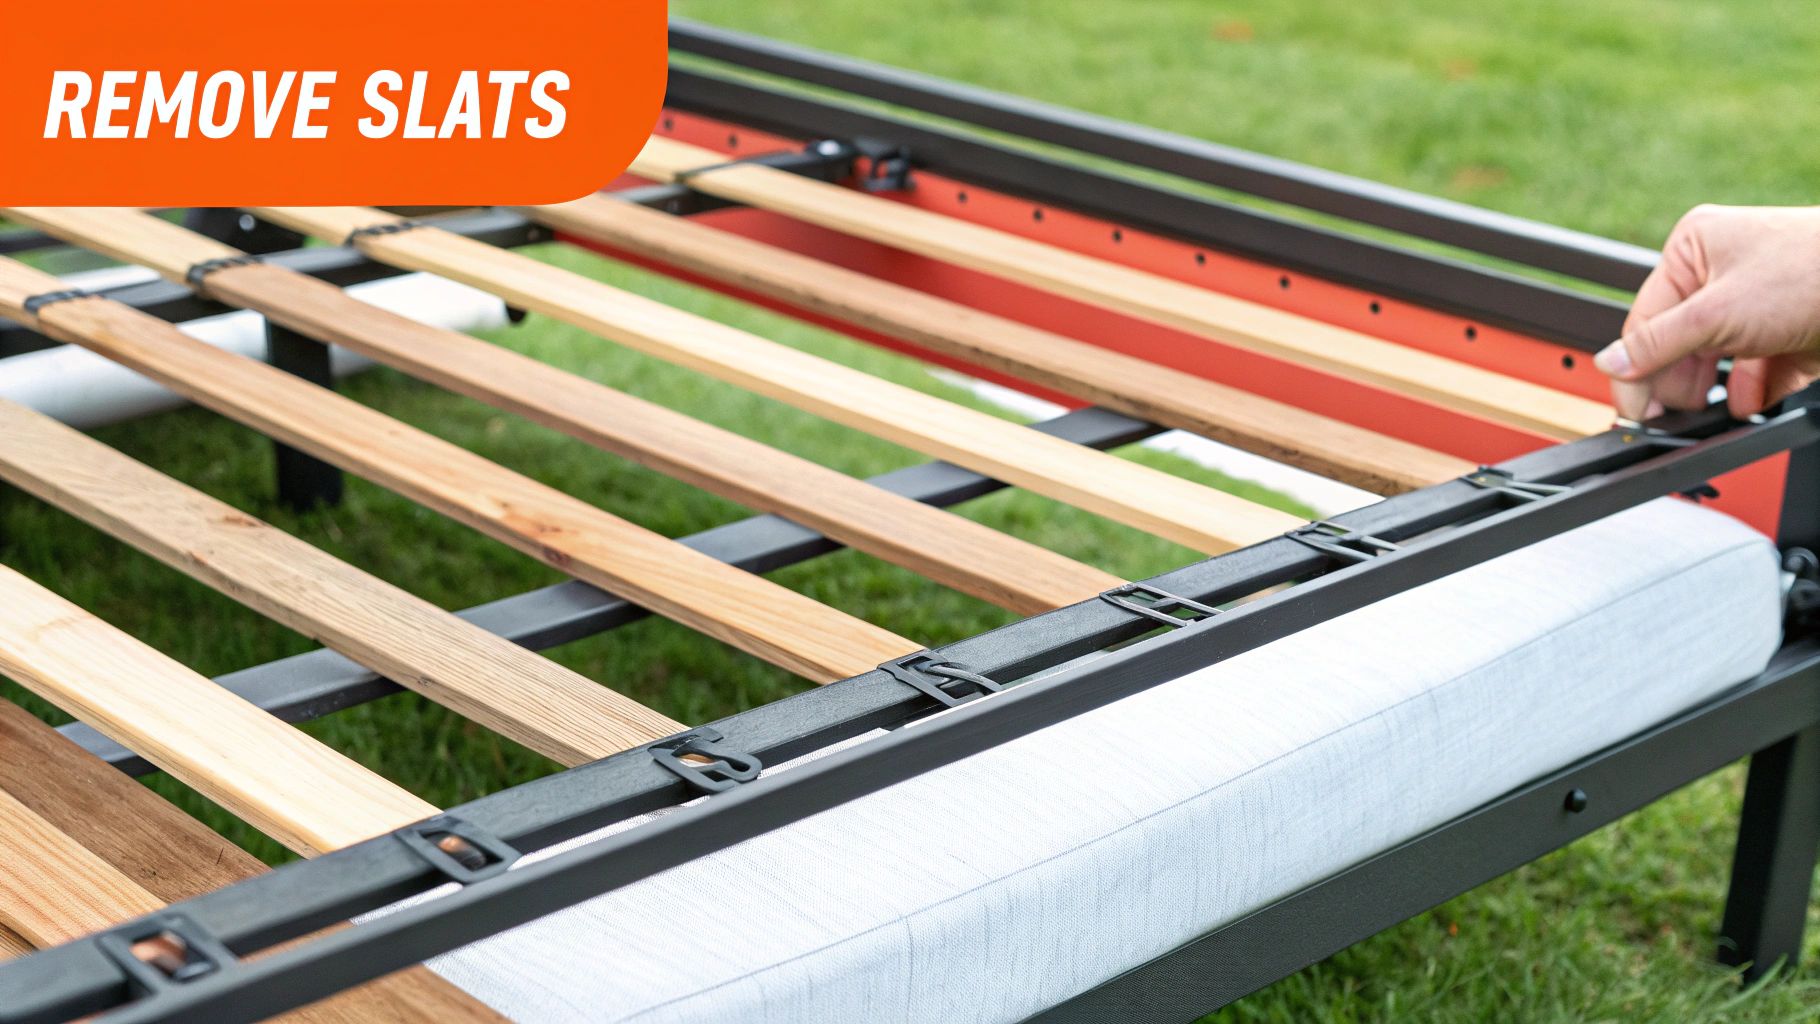
If your wooden frame uses bolts, the process is pretty much the same as a metal frame. Just remember to be gentle during reassembly—overtightening bolts can easily crack the wood. For frames with individual slats, check to see if they're screwed in or just resting on a ledge.
Once you see how a bed comes apart, putting it back together makes a lot more sense. For more tips, you can check out our detailed guide on putting together bed frames, which can make the reassembly process a whole lot smoother.
Platform beds probably have the most variation. Many use hex bolts (you'll need an Allen wrench for those), and the designs can get complex. Some even have built-in drawers or support legs that have to be removed in a specific order.
The first step is to figure out how the platform base is constructed. It's usually either a series of large panels or a dense grid of slats that creates the solid surface for the mattress. These are almost always screwed into the main frame.
Start by unscrewing and removing these surface panels to get a look at the underlying structure. This will show you exactly how the side rails, headboard, and footboard are all connected. From there, it's back to the familiar process: detach the headboard and footboard from the side rails, then take apart any central supports. The key is just getting that platform surface off first.
The real difference between a frustrating afternoon and a smooth, easy job often comes down to a few small tricks of the trade. I've seen it countless times—a bit of planning can turn a dreaded task into a surprisingly simple one.
One of the best habits you can adopt is to become your own documentarian. Before you even touch a wrench, pull out your phone and snap a picture. Get another shot after you take the headboard off. Keep doing this at every major step.
You're essentially creating your own custom, visual instruction manual. Trust me, when you’re staring at a pile of parts two weeks from now, you'll be glad you have a photo showing exactly which bolt goes where.
The number one way these projects go wrong? Lost or mixed-up hardware. We've all been there, staring at that dreaded pile of mystery screws at the end. It's completely avoidable.
My secret weapon is simple organization. Ditch the single coffee can and grab a few small plastic baggies. Label them for each section—"Headboard Bolts," "Slat Screws," "Center Support." Even better, use painter's tape to stick the screws right onto the part they came from.
This little bit of effort pays off big time. Reassembly becomes almost automatic, and you won't waste time second-guessing if you're using the right screw.
Showing up with the wrong tools is like trying to chop vegetables with a spoon—it's just not going to work well. Having a small, dedicated toolkit ready to go makes all the difference. You don't need a massive mechanic's set, just a few key items.
Here’s a quick checklist of what I usually bring to a job like this.
| Tool/Supply | Primary Use | Pro Tip |
|---|---|---|
| Screwdriver Set | Tightening/loosening Phillips or flathead screws | A multi-bit screwdriver saves space and time. |
| Allen Wrench Set | For hexagonal (hex) bolts, common in modern frames | Keep the set together; it's easy to lose the one you need. |
| Adjustable Wrench | Loosening various sizes of nuts and bolts | A solid backup if your socket set doesn't have the right size. |
| Rubber Mallet | Gently tapping apart stuck joints without damage | Never use a metal hammer directly on the frame! |
| Penetrating Oil | Loosening rusted or stubborn bolts | WD-40 or a similar product is perfect for this. |
| Labeled Bags/Tape | Keeping all hardware organized | This is the most crucial step for a smooth reassembly. |
| Rubber Band | Getting a grip on a stripped screw head | A wide, flat rubber band works best for this trick. |
Having these items on hand means you're prepared for whatever the bed frame throws at you, from brand-new bolts to old, stubborn ones.
Even with the best preparation, you can hit a snag. A stripped screw or a rusted-on bolt can bring everything to a screeching halt. Don't panic or reach for a bigger hammer.
The demand for furniture that's easy to move and reassemble is growing. It's part of a larger trend in the bedroom furniture market, which hit a value of USD 266.15 billion in 2024. As more people live in smaller spaces, manufacturers are designing frames that are much simpler to take apart.
For more great advice, check out these DIY tips for handling building hardware. By working smarter, not harder, you’ll ensure that putting your bed back together is just as painless as taking it apart.
Not every bed frame is a simple affair of a few bolts and side rails. Once you get into adjustable bases, bunk beds, or even some of the more ornate antique pieces, you're playing a whole different ballgame. These types of frames demand more patience and a totally different strategy.
The trick is realizing these aren't just bigger versions of a standard frame—they're built differently from the ground up. An adjustable bed, for instance, is a web of motors and electronics. An antique frame might rely on delicate, hand-carved joints that can splinter if you look at them wrong. But with the right approach, you can get them apart safely.
Adjustable beds have absolutely exploded in popularity, and for good reason—they’re amazing for comfort and have real health benefits. The market shows it, too. It was valued at around USD 4.5 billion in 2024 and is expected to more than double in the next ten years. You can see more on this trend at kbvresearch.com.
If you've got one, you know they're not simple. Before a single tool comes out, unplug the bed from the wall. This isn't a friendly suggestion; it's a critical safety step to avoid any risk of electrical shock.
With the power cut, you can get to the wiring. You’ll usually find a control box and motor bolted to the underside of the base. Get under there and carefully disconnect all the cables. I always recommend snapping a quick photo on your phone of how everything is plugged in. It’ll save you a huge headache when it’s time to put it all back together.
Here's a pro tip that can save you from a disaster: Secure the motorized base before you start unbolting anything. Most adjustable frames can fold up for transport. Dig out your owner's manual to find the 'transport' position and lock it in place with the provided straps or some heavy-duty zip ties. The last thing you want is that heavy base unfolding on you mid-job.
Once the electronics are handled and the base is locked, you can start unbolting the legs or any brackets holding it to a headboard. And I mean it when I say this is a two-person job. These bases are beasts, often weighing 150 pounds or more. Don't even think about trying to lift one alone.
Bunk beds and four-poster beds introduce a vertical challenge. The only safe way to tackle them is to work from the top down. This keeps the whole structure stable while you work.
For a bunk bed, follow this order:
Four-poster beds are a similar story. Start at the very top by removing any canopy fabric. Then, detach the top rails connecting the four posts. Only then should you start working on the main bed frame itself. If you do it out of order, those tall, heavy posts can become dangerously wobbly. Knowing how these unique designs come apart can also help you figure out which bed frames for adjustable beds or other complex models might work in your space.
Taking apart your bed frame is only half the battle. A thoughtful packing plan keeps those panels scratch-free and your hardware in one place.
With loose components, it’s easy to misplace bolts or end up with dents. A few simple moves now save hours of headache later.
Headboards & Footboards
Wrap each large, flat panel in moving blankets, then secure the layers with packing tape.
Side Rails & Slats
Group these long pieces and use stretch wrap to prevent them from clanging against each other.
Hardware Bags
Label every bag of screws, bolts, and washers. Tape it to the most substantial frame part for safekeeping.
| Bed Frame Part | Wrapping Material | Key Benefit |
|---|---|---|
| Headboard & Footboard | Moving blankets & tape | Soft padding stops scratches in their tracks |
| Side Rails & Slats | Stretch wrap | Keeps metal pieces from rattling together |
Loading your truck is a puzzle. Heavier components like the headboard stand vertically against the wall, strapped in place. Then, wedge lighter parts around them so nothing shifts during transit.
I learned the hard way to keep hardware sealed in a single box and taped to the biggest piece. That trick prevents frantic searches later.
Once the frame is snug and secure, turn your attention to bedding. Consider space-saving travel compression bags to squash pillows and sheets down to size.
With the global bed frame market forecast to hit USD 24.36 billion by 2025, protecting what you own is worth the effort. You can dive deeper into market trends on cognitivemarketresearch.com.
For a broader look at safeguarding all your furniture pieces, check out our guide on how to protect furniture when moving. A few extra minutes now leads to an easy reassembly later.
Even with the best-laid plans, things can get a little sideways. It happens. Let's walk through some of the most common questions that pop up right when you're about to get started.
Honestly, it depends on the bed. If you're working with a smaller twin or maybe a simple full-size frame, you can probably manage it on your own. But even then, having an extra set of hands makes everything go smoother and, frankly, a lot safer.
Once you step up to a queen or king-size frame, all bets are off. The same goes for anything made of heavy solid wood or bulky metal. Trying to wrestle a heavy, awkward headboard by yourself is just asking for scratched floors, dented drywall, or a seriously unhappy back. And if you have an adjustable base? Don't even think about it—those things are far too heavy and cumbersome for one person to move safely. It’s a two-person job, no exceptions.
It’s the classic moving nightmare: you get to the new place, ready to set up your bed, and the little bag of hardware is nowhere to be found. First, don't panic. Your initial move should be to check the manufacturer's website. You'd be surprised how many companies sell replacement hardware kits specifically for your model.
If you strike out there, head to your local hardware store. This is where having even one of the original screws is a lifesaver. Take it with you, and the staff can measure the thread and length to find a perfect match. If you have nothing to go on, you can also find universal bed frame hardware kits online that come with an assortment of common bolt and screw sizes. It's not a perfect solution, but it can get you out of a jam.
Here's a pro tip for your next move: once you've put all the hardware in a sealed, labeled bag, tape it directly to the largest part of the frame, like the back of the headboard. It makes it almost impossible to lose.
The secret is to look closely at the head of the screw or bolt. Its shape tells you exactly what you need to grab from your toolbox.
Every so often, especially with newer furniture, you might run into star-shaped Torx screws. This is why having a multi-bit screwdriver set is so handy. Taking just a moment to identify the fastener before you start turning can save you from stripping a screw, which is a headache nobody wants to deal with.
Feeling like this is more than you want to tackle? The experts at Assembly Smart are here to help. We offer professional, next-day service to get your furniture taken apart or put together correctly and safely, so you can focus on the important stuff. Get your free estimate from Assembly Smart today!
