-
CALL US:
- (866) 952-3456
Getting your home ready for a new treadmill is just as important as picking the right model. A little prep work before the delivery truck pulls up can be the difference between a smooth setup and a day full of headaches. Trust me, these machines are a lot heavier and bulkier than they look online.
The excitement of a new treadmill can wear off fast if it can't fit through your front door. The main goal here is simple: create a wide, clear path from the street all the way to the treadmill's new home.
First things first, grab a tape measure. You need to walk the exact route the delivery team will take, measuring every single doorway, hallway, and tight corner. Don't just eyeball it. Write down the numbers and compare them to the treadmill's boxed dimensions, which you can usually find on the product's website. You'd be surprised how many low-hanging light fixtures or sharp turns can suddenly become major roadblocks.
You also need to be crystal clear on what kind of delivery service you actually paid for. The terminology can get a little confusing, but it makes a huge difference in what the delivery crew will—and won't—do.
Honestly, "Room of Choice" is almost always worth the extra cash, especially if your treadmill is destined for another floor. It saves your back and prevents you from accidentally punching a hole in your drywall trying to pivot a 300-pound box.
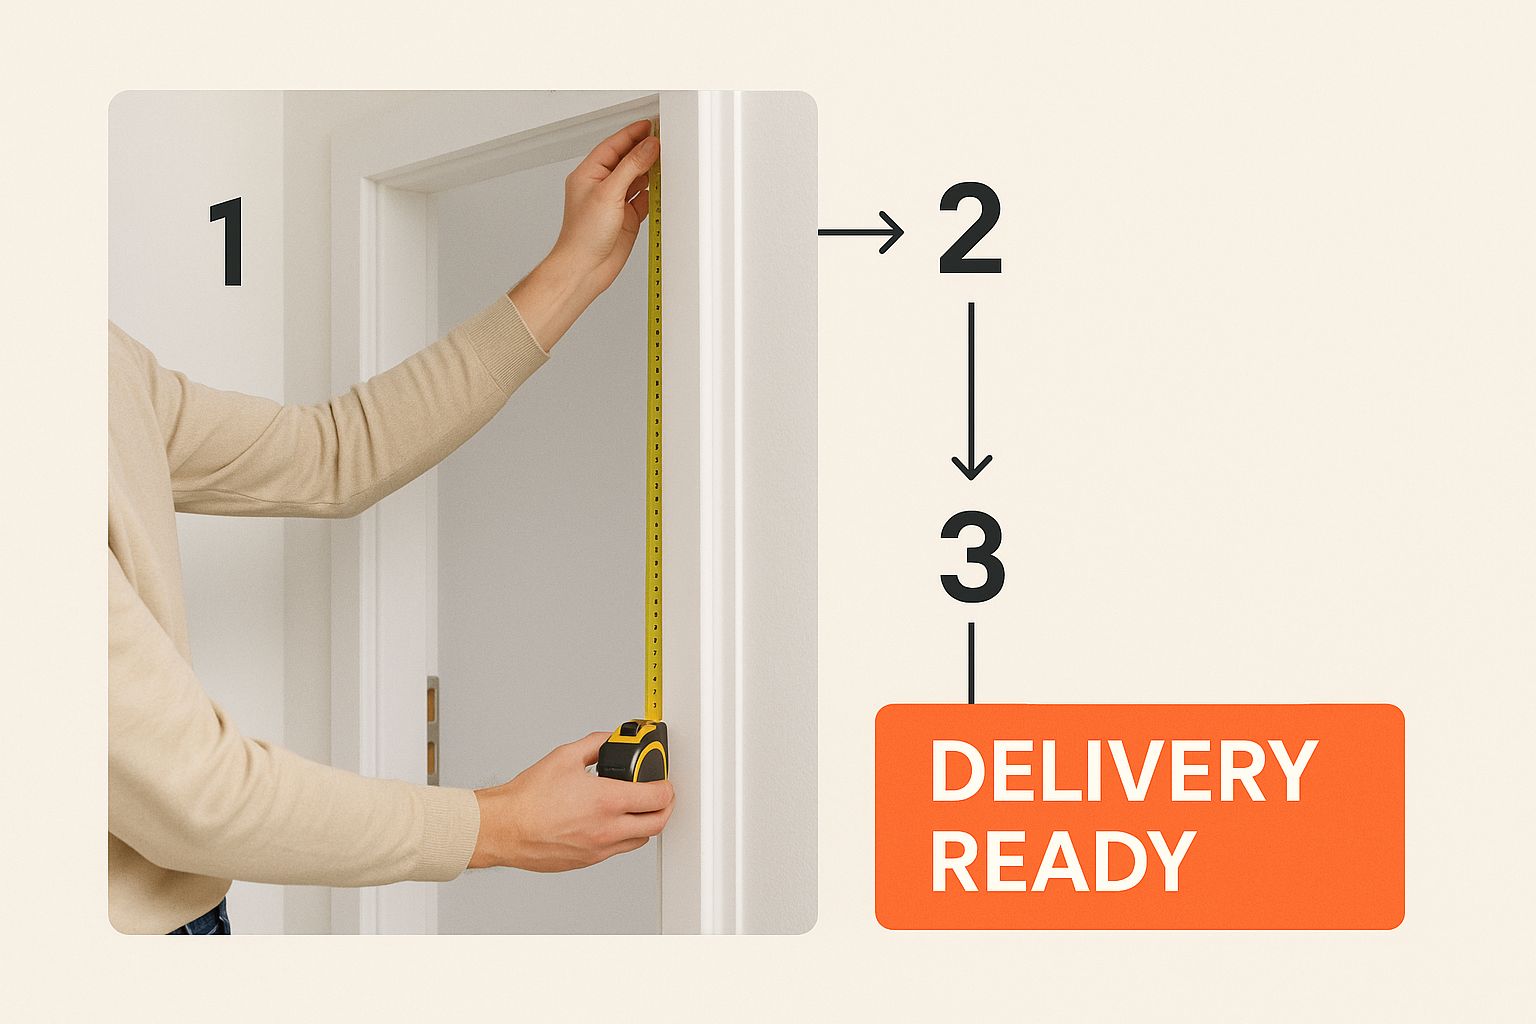
As you can see, being "delivery ready" really just starts with taking a few simple measurements.
Once you know the path is wide enough and you've confirmed your delivery type, it's time to clear the way. Move any couches, tables, or area rugs that could trip someone up. If the treadmill is going on a carpeted floor, now is a great time to lay down a protective mat.
Giving the delivery team a clear, open space to work with makes their job faster and safer. It also leaves you plenty of room to tackle the unboxing and assembly that comes next. The basic idea of getting your space ready is pretty much the same for any big delivery; you can find more great advice on how to prepare for your furniture assembly project for some extra pointers.
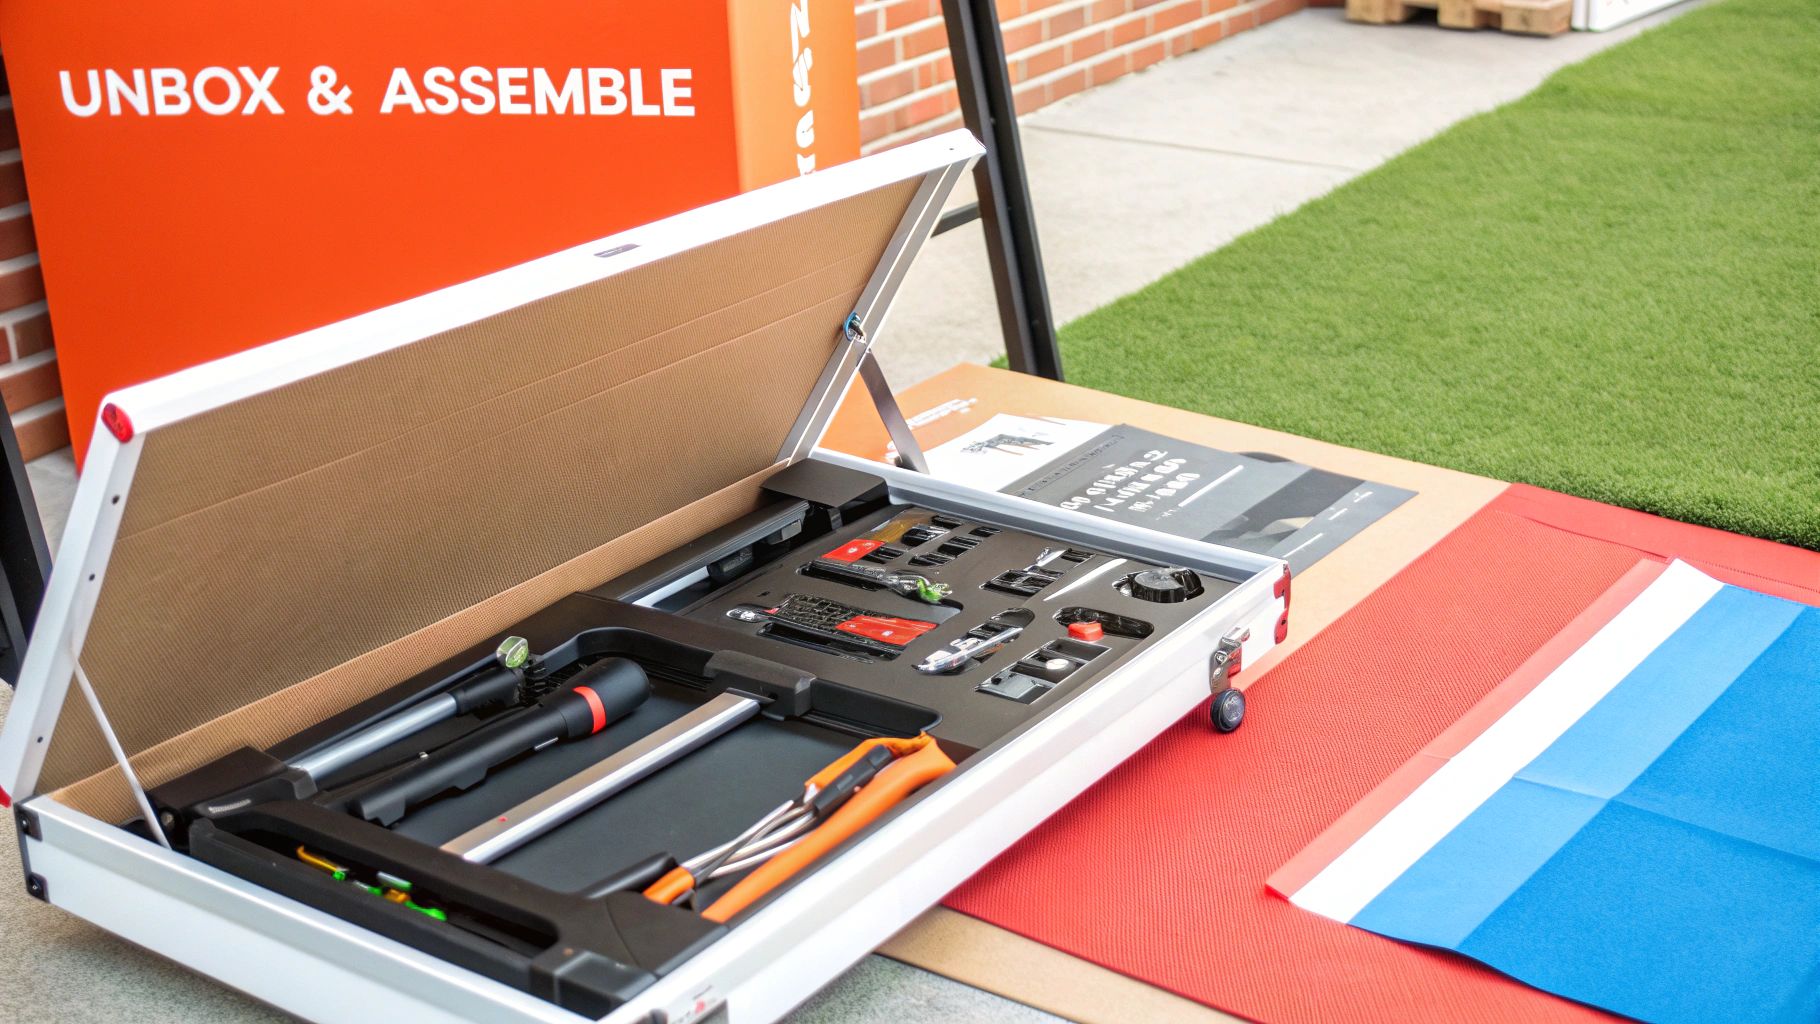
The delivery truck is gone, and now you're left staring at a massive, intimidating box. The first rule of treadmill assembly? Don't rush it. Just getting this thing out of the box is a project in itself, so make sure you have plenty of room and aren't trying to squeeze it in before dinner.
Go slow when cutting the box open, and watch out for any big staples or those heavy-duty plastic straps. A good pro-tip is to lay the box flat on the floor. It's almost always easier to slide the main treadmill deck out than to try and hoist it up and out vertically. That base is the heaviest part of the whole machine, and trying to muscle it is a fast track to a strained back.
Before you even think about turning a single bolt, lay everything out. I mean everything. Get all the components, from the big upright arms down to the little baggies of screws, spread out on the floor. Now, grab the manual and compare what you have to the parts list.
Yeah, it feels a little tedious, but trust me, it saves a massive headache later. There's nothing more frustrating than getting halfway through the build only to realize you’re missing a critical washer. I like to use a muffin tin or a few small bowls to sort the hardware by step—it keeps things from rolling away.
This methodical approach is more important than ever. The home treadmill market has absolutely exploded, hitting a global market size of around USD 4,053.9 million. With so many people buying these machines, the demand for a straightforward setup process has never been higher.
Let's be honest: treadmill instruction manuals can be a nightmare. They're often packed with confusing diagrams and barely any written directions. Take a few minutes to read through the entire booklet before you start. This gives you a mental roadmap of how it all fits together, which is especially important for the wiring.
One of the most common mistakes I see people make is pinching the console wires. These little cables are the treadmill's nervous system, connecting all the controls on the display to the motor.
A pinched wire might not cause a problem right away, but it can lead to weird power failures or random error codes a few months down the road. Always double-check that the wires are tucked securely into their channels and aren't getting squashed between two metal parts as you tighten things down.
Another classic error is over-tightening the bolts. It’s tempting to crank on every screw with all your might, but you can actually warp the frame or strip the threads. The right way to do it is to tighten bolts until they're snug, then give them one final quarter-turn.
Here are a few things to keep a close eye on:
If reading all this makes your head spin, remember you don't have to go it alone. For a complex machine, looking into professional fitness equipment assembly can save you a ton of time and give you peace of mind that it was built correctly and safely.
As you start attaching the console and the side rails, you’ll finally see it start to look like a treadmill. This is the part where a second person really comes in handy. It’s so much easier when one person can hold the heavy console in place while the other lines up the bolts and connects the wires.
The last few pieces are usually the cosmetic covers and that all-important safety key clip. Once it's all together, give the machine a gentle shake to feel for any loose parts. But don't plug it in yet! The next step is all about safety checks and calibration before you even think about taking your first run.
The last bolt is tight, and you’re probably itching to hop on and break a sweat. I get it. But hold on for just a few more minutes—this last part is probably the most important stage of the entire setup.
So many people make the mistake of skipping these final checks, which can lead to a wobbly, noisy machine or, worse, an injury. Proper treadmill setup and delivery doesn't end when the last screw is in place; it ends when the machine is perfectly calibrated and safe.
Think of these last few steps as the final inspection that protects both you and the treadmill itself. It’s a small investment of time that pays off big in the long run.
Even if your floor looks perfectly flat, there are almost always subtle slopes or uneven spots. An unlevel treadmill is more than just a distraction—it feels unstable and can cause the belt to drift to one side. This puts a ton of stress on the belt, deck, and motor, leading to premature wear and tear.
Thankfully, most treadmills come with adjustable feet, usually on the rear stabilizers. Here’s how to get it perfectly level:
This small step makes a night-and-day difference in the quality and safety of your workouts. A stable machine is a safe machine, period.
The running belt has a "just right" spot—it can't be too tight or too loose. If it's too loose, it can slip under your feet while you're running, which is a serious hazard. Too tight, and you're putting a huge amount of unnecessary strain on the motor and rollers, which can dramatically shorten their lifespan.
Your user manual will have the exact instructions, but the process is pretty standard. You’ll use the Allen wrench that came with the treadmill to adjust the bolts on either side of the rear roller.
Pro Tip: The key here is patience. Make tiny, quarter-turn adjustments on each side. Then, turn the treadmill on at a slow speed, maybe 2-3 mph, and watch how the belt tracks. You want it to stay perfectly centered. If it drifts left or right, make another tiny adjustment to correct it. Don't rush this part.
That little red magnetic key with a clip is your single most important emergency feature. You clip it to your clothing, and if you slip or fall, it pulls away from the console and immediately stops the belt.
Never, ever skip this test. Attach the clip to your shirt, start the belt at a low speed, and give the key a pull. The machine should come to a quick and complete stop. If it doesn't, do not use the treadmill. Call customer support right away.
Finally, if your model has an initial calibration program, run it now. This function syncs the motor with the console to make sure the speed and incline you see on the screen are what the machine is actually doing. It’s usually a simple process where the treadmill runs itself through its full range of motion.
After assembly is complete, but before you start logging miles, running through a quick pre-workout checklist is a smart habit to get into. This ensures everything is still in top shape.
| Check | What to Look For | Why It's Important |
|---|---|---|
| Stability Check | No rocking or wobbling when you push on the frame. | Ensures a safe and stable running surface, preventing accidents and uneven wear. |
| Belt Alignment | The running belt is perfectly centered on the deck. | A drifting belt can cause friction damage to the belt edges and side rails. |
| Belt Tension | The belt doesn’t slip when you walk on it at low speed. | A loose belt is a major tripping hazard and can cause sudden, jerky movements. |
| Safety Key Function | The belt stops immediately when the key is pulled. | This is your emergency brake. It has to work flawlessly every single time. |
| Console Power | The display and all buttons are responsive. | Confirms all electrical connections are secure and the console is working correctly. |
| Incline/Decline | The incline motor operates smoothly up and down. | Verifies the incline motor is properly connected and functioning without strain. |
Taking a few moments for these crucial final checks is a non-negotiable part of any gym machine assembly process. If you want a deeper dive, our guide to gym machine assembly offers even more tips to ensure your equipment is safe and ready for years of use.
So, the delivery truck has pulled away, the massive box is sitting in your room, and you’re faced with a choice: do you roll up your sleeves and build this thing yourself, or do you call in an expert? This isn't just about saving a few bucks—it’s a serious question of time, sanity, and making sure your brand-new investment is put together safely and correctly from the start.
Going the DIY route can definitely be rewarding. There's a certain satisfaction that comes from building something with your own two hands and getting to know the machine inside and out. But you have to be honest with yourself. Do you really have the patience to sort through a bag of a hundred bolts and decipher a confusing manual? Do you have the strength to lift a heavy console into place without throwing your back out? And most importantly, do you have a few hours you can dedicate to this without any interruptions?
Let's be clear: building a treadmill is not like putting together a bookshelf. These are heavy, complex pieces of equipment with sensitive electronics. It’s incredibly easy to pinch a wire during assembly or fail to properly tighten a critical bolt, which can cause performance problems or, even worse, turn into a serious safety hazard down the road.
If you’re determined to build it yourself, you'll want to be prepared. Make sure you have:
This decision comes at a time when more people than ever are investing in their home gyms. The global treadmill market was recently valued at a staggering USD 6.07 billion and is only expected to grow. This reflects a huge demand for reliable home fitness equipment, and a huge part of that is a smooth treadmill setup and delivery experience. You can see more on this trend and its impact on what customers expect over at businessresearchinsights.com.
Hiring a professional assembly service is really an investment in your own peace of mind. For a fee, which usually falls somewhere between $100 to $250, an experienced technician will have your treadmill built, tested, and ready for its first run in a fraction of the time it would take most people.
A pro has likely built dozens, if not hundreds, of these machines. They know all the common hangups, can spot a potential problem from a mile away, and will make sure every single component is perfectly aligned and torqued for the best performance.
This is absolutely the best route if you're short on time, don't feel confident with tools, or just want the assurance that the job was done 100% right. Services like ours specialize in exactly this kind of work, taking all the stress and guesswork out of the process for you. If you’re weighing this decision for other large items, our guide on when to hire someone to assemble furniture might offer some helpful perspective, too.
Ultimately, the choice comes down to your skills, your time, and your budget. If you're a seasoned DIYer with a free afternoon and a friend to help, go for it! But if the sight of that giant box full of parts and a thick instruction manual fills you with dread, calling in a pro is money well spent.
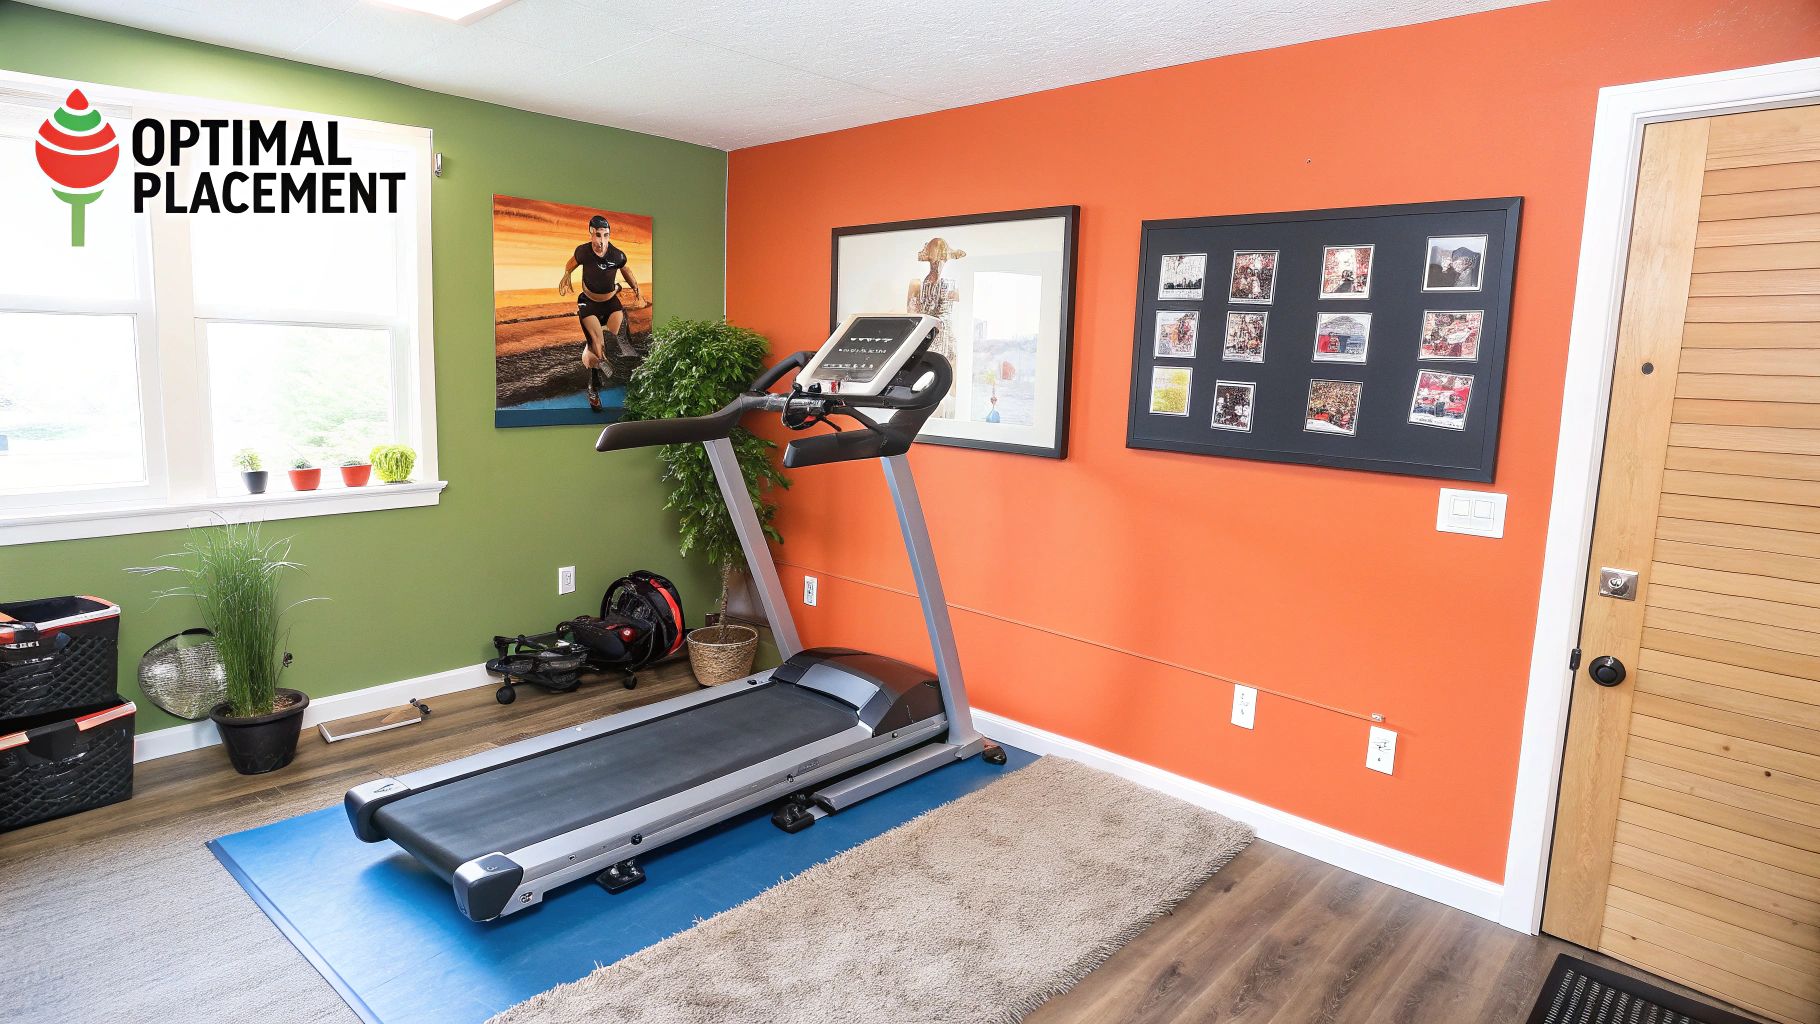
Figuring out where your new treadmill will live is about a lot more than just aesthetics. This isn't just about finding an empty corner; it’s a critical decision for both safety and performance. You're choosing the spot that will transform a piece of equipment into the heart of your home gym.
The biggest factor, hands down, is the space around the machine. You're not just making room for the treadmill's footprint. Industry safety standards are very clear about needing a buffer zone on all sides, and the space behind it is the most important part of that equation.
I can't stress this enough: to prevent a serious injury from a slip or a fall, you absolutely need adequate empty space around your unit. Here are the minimums we always look for:
Never, ever back a treadmill right up against a wall or another piece of furniture. That little gap you might leave can seem trivial, but in an emergency, it's the difference between a minor stumble and a trip to the ER.
Okay, you've found a spot with enough clearance. Now, look down. Your treadmill needs its own dedicated power outlet. Ideally, it should be on a circuit that isn't already overloaded with other power-hungry appliances like a space heater or a second fridge. Try to avoid using long extension cords—they can cause voltage drops that can seriously damage the treadmill’s sensitive electronics over time.
Good ventilation is another thing people often forget. A stuffy, closed-off room is going to get uncomfortable fast. Putting your treadmill near a window you can open or in a room with a ceiling fan makes a world of difference. It keeps fresh air circulating, which makes for a much more pleasant and motivating workout.
The convenience of working out at home has fueled massive growth in the home fitness market. The global home treadmill market alone was valued at USD 4,685 million and just keeps expanding. This boom makes the fine details of a proper treadmill setup and delivery more important than ever for having a great experience.
Once your treadmill is safely in its new home, you can start exploring strategies for effective at-home workouts within your new gym space to really get the most out of it. A well-placed machine is the foundation for countless successful workouts to come.
Getting to the finish line with your new treadmill often brings up a few final questions. It's totally normal. Making sure you have the right answers ahead of time means you can get straight to your workout with confidence, knowing everything is safe and sound. Let’s tackle some of the most common things people ask us.
It’s the worst feeling—your exciting new purchase arrives, and the box looks like it’s been through a battle. First thing's first: don't panic, but do act quickly.
Before you even think about opening it, pull out your phone and start taking pictures. Get detailed shots of the damaged box from every angle. Then, if you decide to open it, document any scuffs, cracks, or broken plastic on the machine itself.
Your next call should be to the retailer or the manufacturer's customer support. Whatever you do, don't try to assemble or use a treadmill that's been damaged in transit. Having those photos and your order number handy will make the whole process a lot less painful and get you a replacement or resolution much faster.
Yes, one hundred percent. This isn't a small Amazon package that can be left on your doorstep. For a huge, heavy item like a treadmill, someone over the age of 18 absolutely has to be there to receive it.
The delivery crew will need you to:
Being there in person is also your chance to give the box a quick once-over for obvious damage. It’s just standard practice for freight deliveries and protects both you and the delivery company.
Keep in mind that "curbside" delivery means exactly that. The driver's job is done once the box is off the truck and on your curb. It's on you to get that very heavy, very expensive machine out of the rain and into a safe spot immediately.
Plenty of people do, but it's smart to know what you're getting into. A typical treadmill assembly isn't a quick 20-minute job; you should plan for two to three hours, and you'll almost certainly need a second person to help lift the heavy console and deck into place.
If you’re the type who enjoys following complex diagrams, you have a decent set of tools (beyond the little wrench they include), and you've got a buddy to help with the heavy lifting, you can definitely tackle it yourself.
But if you're short on time, not super confident with tools, or just want the peace of mind that it’s built perfectly, hiring a pro is money well spent. A professional can usually get it done in about an hour and will make sure every bolt is tight and every setting is calibrated correctly right from the start.
Ready to skip the hassle and ensure your treadmill is assembled perfectly? The experts at Assembly Smart handle everything from unboxing to final safety checks, getting you ready for your first run without the stress. Book your professional assembly service today
