-
CALL US:
- (866) 952-3456
Before you even think about putting that swing set together, we need to talk about the ground it's going to sit on. Getting the ground perfectly flat isn't just a suggestion; it's the single most important step for a safe, long-lasting playset.
This process usually means getting your hands dirty—removing turf from the high spots and using that soil to fill in the low areas. It’s all about creating a stable, even foundation. Trust me, skipping this step is a recipe for problems down the road.
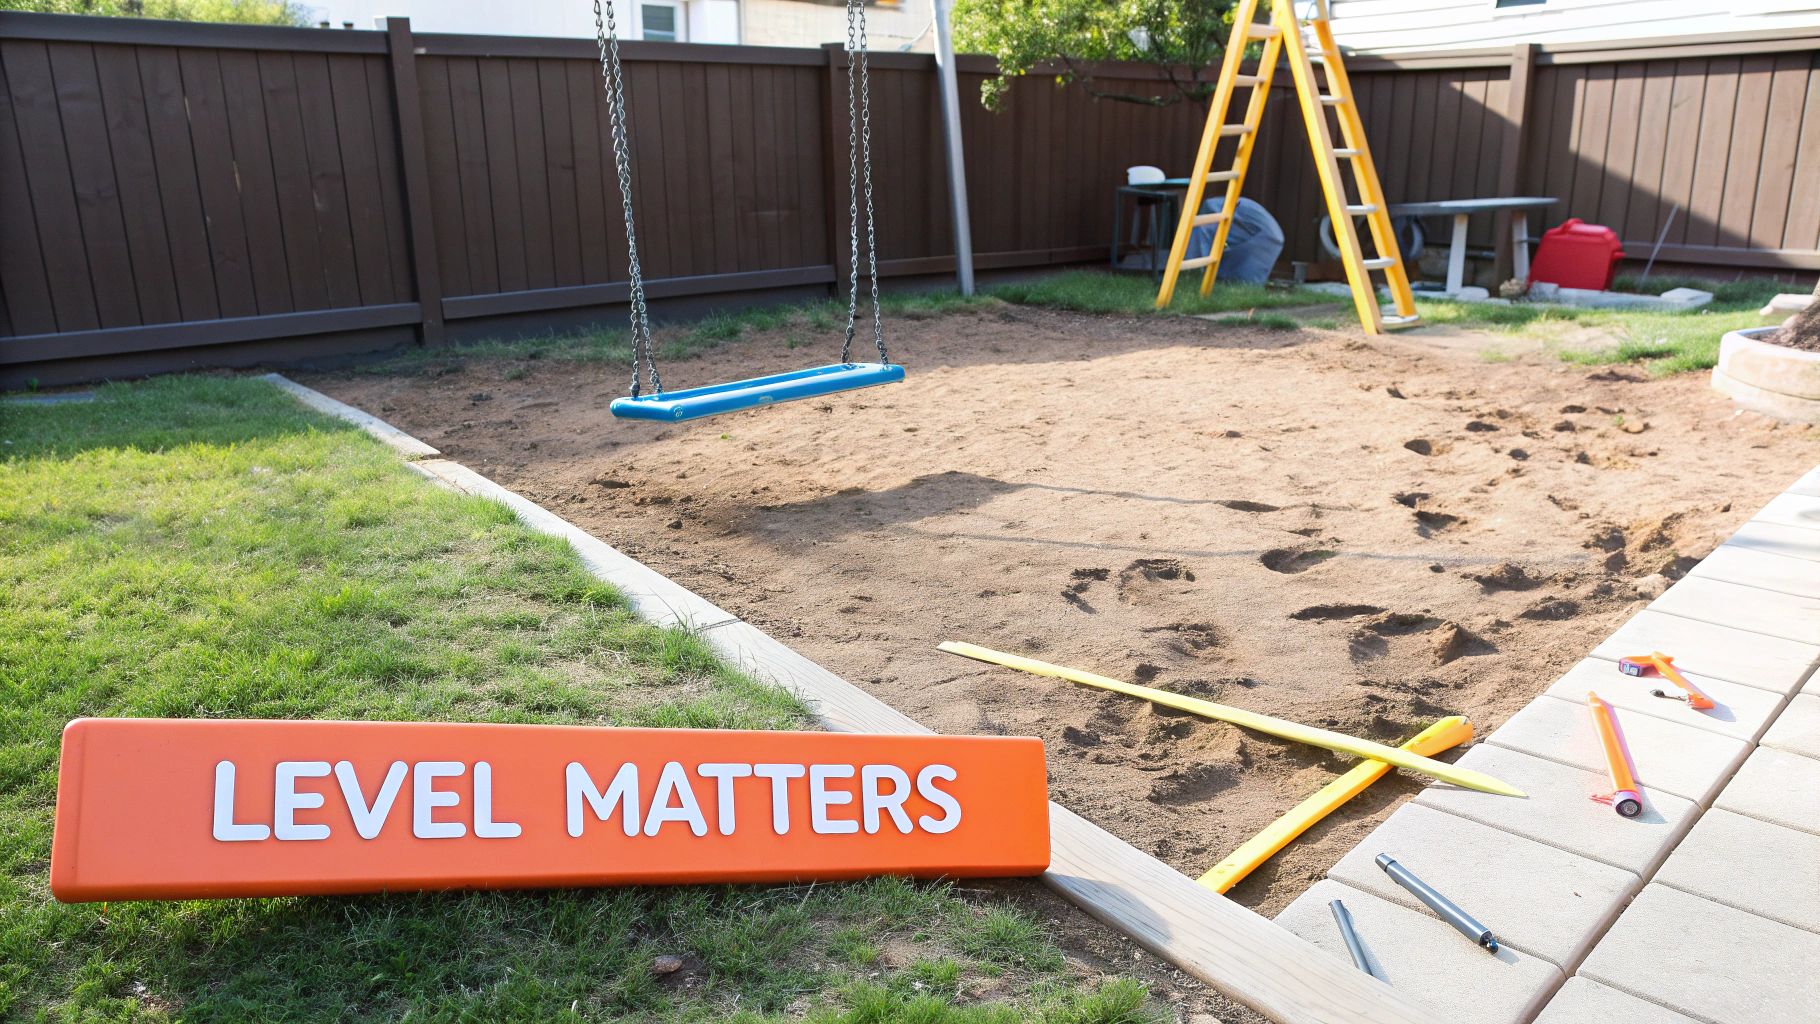
Before you break out the bolts and instructions for that shiny new swing set, let's get down to the physics of what’s happening underneath it. A level base isn't just about making it look nice. It's the absolute core of the structure's stability and, more importantly, your kids' safety. Even a tiny, barely-there slope can create some surprisingly big problems.
When you place a swing set on uneven ground, gravity starts playing tricks. The pull isn't distributed evenly across the frame, which puts a ton of stress on specific joints, bolts, and support beams. Every single swing and every climb just magnifies those forces, causing the whole structure to wobble, creak, and wear out way faster than it should.
Think of it like a wobbly table at a restaurant—one short leg makes the whole thing rock. Now, picture that table is a 400-pound swing set with your kids on it. That constant shifting can loosen hardware over time, crack the wood, or even start to bend metal parts.
This isn't just a "what if" scenario. A 2022 report pointed out that improper ground leveling was a factor in a staggering 18% of swing set-related injuries over a ten-year period. This has pushed installers and DIYers alike to be much stricter about site prep.
While a full-on tip-over is the scariest thought, an unlevel foundation brings a host of other sneaky issues that can ruin your investment and compromise safety.
The Bottom Line: Taking the time to level the ground isn't just about appearances. It’s a critical safety step that spreads the weight evenly, prevents stress on the frame, and makes sure the swing set works exactly as it was designed to—for years of safe fun.
Ultimately, learning how to level ground for a swing set is a direct investment in your kids' well-being and the life of your new playset. For a deeper dive, check out our complete guide to overall swing set safety.
Before you even think about breaking ground, the real work begins. Getting the foundation right for a swing set is less about brute force and more about smart planning. The perfect spot isn't just the flattest patch of grass in your yard; it's about seeing your backyard through the eyes of a safety inspector.
The first thing to account for is the safety zone. Every playset manual will specify a minimum clear area around the entire structure, which is typically six feet in every direction. This isn't a suggestion—it's crucial for preventing accidents. This buffer zone needs to be completely free of trees, fences, sheds, or anything else a child could swing into. Go ahead and measure your swing set's footprint, add that six-foot perimeter, and mark it out with some stakes or spray paint. You might be surprised by how much space it really needs.
Once you’ve marked out the full area, look up. Are there any low-hanging branches that could get in the way of a high-flying swing? Any overhead power or utility lines? These are absolute deal-breakers and non-negotiable hazards.
Next, you have to consider what’s hiding underground. It’s absolutely essential that you call 811 (the national "Call Before You Dig" service) before you start. It’s a free service, and it prompts your local utility companies to come out and mark the locations of buried gas, water, and electrical lines. Hitting one of these is not just a costly mistake; it's incredibly dangerous.
Pro Tip: Your ideal spot should also have good natural drainage. Try to avoid any low-lying parts of your yard where you know puddles form after a good rain. Constant moisture will turn your play area into a mud pit and can cause a wooden swing set to rot much faster.
Having the right equipment on hand is the difference between a project that goes smoothly and a weekend of pure frustration. You need to know not just what tools to get, but why a specific tool is the right one for the job.
Below is a quick look at the tools you'll need to get this done right. We've broken them down to help you figure out what's worth buying versus what you might want to rent for a day.
| Tool | Primary Use | Buy or Rent? | Pro Tip |
|---|---|---|---|
| Sharp, Flat-Edged Spade | Slicing through turf and roots for clean perimeter cuts. | Buy. A must-have for any homeowner. | A flat edge cuts sod like a knife, unlike a rounded shovel that just tears it up. |
| Landscape Rake | Grading, spreading soil and base material, removing rocks. | Buy. You'll use this for countless other yard projects. | Don't even try using a flimsy leaf rake; you need the rigid tines of a hard rake. |
| Tape Measure, Stakes & String | Creating a square and level grid to guide your work. | Buy. These are inexpensive and essential for precision. | This simple grid is your best defense against ending up with a lopsided playset. |
| 4-Foot Carpenter’s Level | Checking for level across the entire site. | Buy. A good investment for DIY projects. | A short level can be misleading over a large area. The longer, the better. |
| Sod Cutter | Quickly removing large areas of turf. | Rent. A huge time and back-saver for big yards. | What takes hours by hand, this machine does in minutes. Well worth the rental fee. |
| Rototiller | Breaking up compacted, heavy clay soil. | Rent. Unless you have a huge garden, renting is smarter. | If your shovel bounces off the ground, you'll want to rent one of these. |
For most small to medium-sized yards, the hand tools on this list will get the job done. But if you’re dealing with a really large area or tough, compacted soil, renting some heavier equipment can be a game-changer.
While preparing the ground is a perfectly manageable DIY task for most, don't hesitate to call in the pros if it feels like too much. If the scope feels overwhelming, exploring professional outdoor playset installation services ensures the foundation is perfect, safe, and ready for years of play.
Alright, you’ve picked your spot and have your tools lined up. It’s time to get your hands dirty.
The secret to leveling the ground for a swing set isn't really a secret at all. It's a simple, classic technique: move dirt from the high spots to the low spots until the whole area is flat. We call this the "cut and fill" method, and it’s the only way to get a permanent, stable base. Let's break down how to do it right.
Your first move—and honestly, the most important one—is to create a level reference line. This line will be your North Star for the entire project. Grab your tape measure and hammer a wooden stake into each corner of the swing set's footprint.
Now, you'll run a string line tightly between these stakes to form a perimeter. Find the highest corner of your site and tie the string a few inches above the ground. From there, clip on a simple string level (it’s a tiny level that just hangs right on the string) and work your way around, adjusting the string on the other stakes until that little bubble is perfectly centered on all four sides. This string now shows you exactly where your finished, level grade will be.
Trust the string, not your eyes. What looks like a tiny slope can easily be a drop of several inches from one side to the other. The string line doesn't lie.
With your level grid in place, it's time to get rid of all the grass and topsoil inside the perimeter. A flat-edged spade is your best friend for this part. Use it to cut a clean edge right along your string line, then slice the sod into strips you can roll up and haul away, almost like pulling up an old carpet.
Getting this initial prep work right is foundational. A clean, clear starting point prevents a whole host of problems down the line. The infographic below gives a quick rundown of these critical pre-leveling steps.
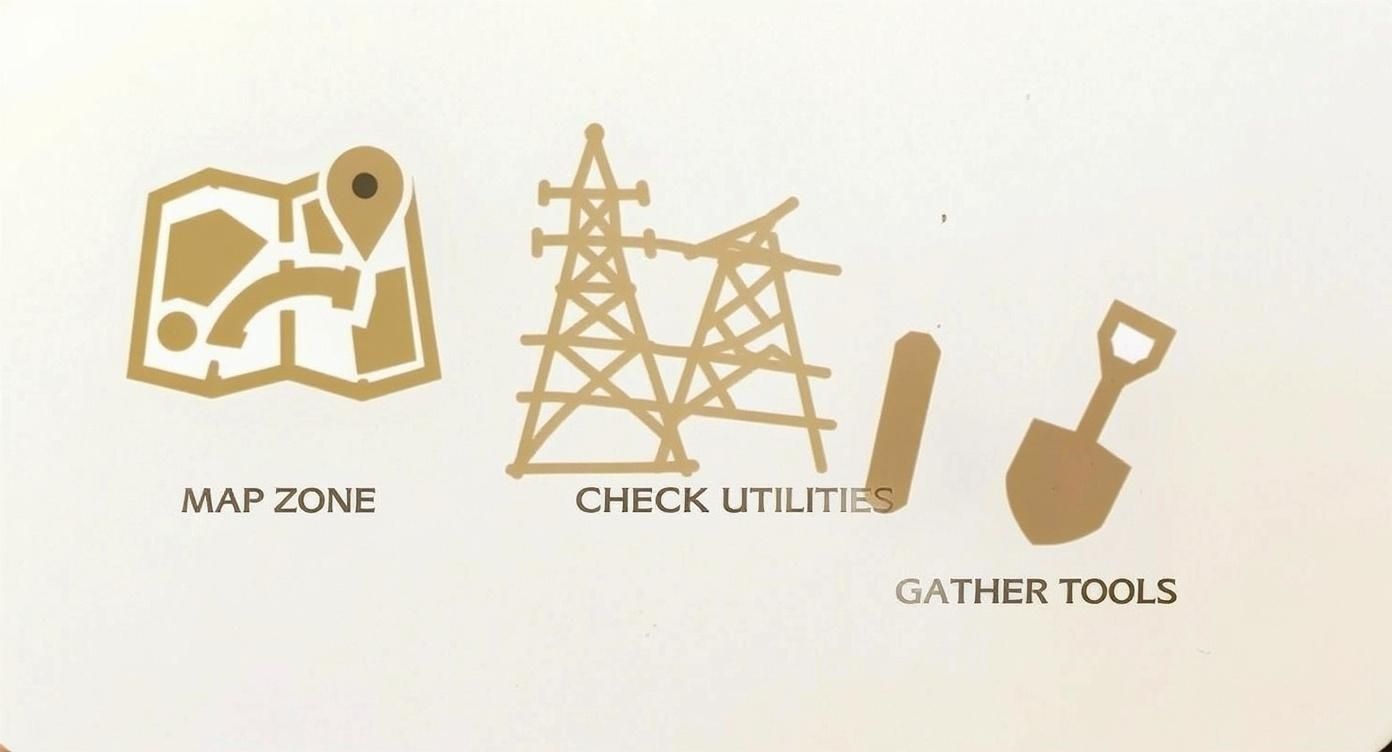
As the visual shows, good planning—mapping the area, checking for utilities, and grabbing the right gear—is just as crucial as the digging itself.
Once the sod is gone, you’ll have a clear view of the high and low spots. Your mission is to dig out the high areas until the ground is a consistent distance below your level string line across the entire footprint. Keep your tape measure handy and check the depth from the string to the soil as you go.
Pro Tip: Don't just attack the area with a shovel. Start at the highest point and work your way down methodically, shaving off an inch or two of soil at a time. It’s a lot easier to take a little more dirt off than it is to put it back and try to re-compact it properly.
As you "cut" soil from the high spots, you'll use that very same dirt to "fill" in the low spots. Shovel the excavated soil into the depressions and use a landscape rake to spread it out. This is where a little patience really pays off.
You want to add this fill dirt in thin layers, about one to two inches at a time. After you spread each layer, you absolutely have to compact it. You can do this by tamping it down with the back of your rake, but for a really solid base, just walk over the entire area. Compacting each layer is critical to prevent the soil from settling later and making your swing set wobbly and unlevel all over again.
If you end up digging out a lot of soil, you'll likely have a pile of excess dirt left over. It’s a good idea to look into options for dirt disposal ahead of time so you know how you'll manage it.
Throughout this whole process, keep checking your work. Lay a long, straight 2×4 board across different sections of the area and place your carpenter's level on top. The goal is to see that bubble stay perfectly centered no matter where you place the board. Just keep digging, filling, and tamping until you get there.
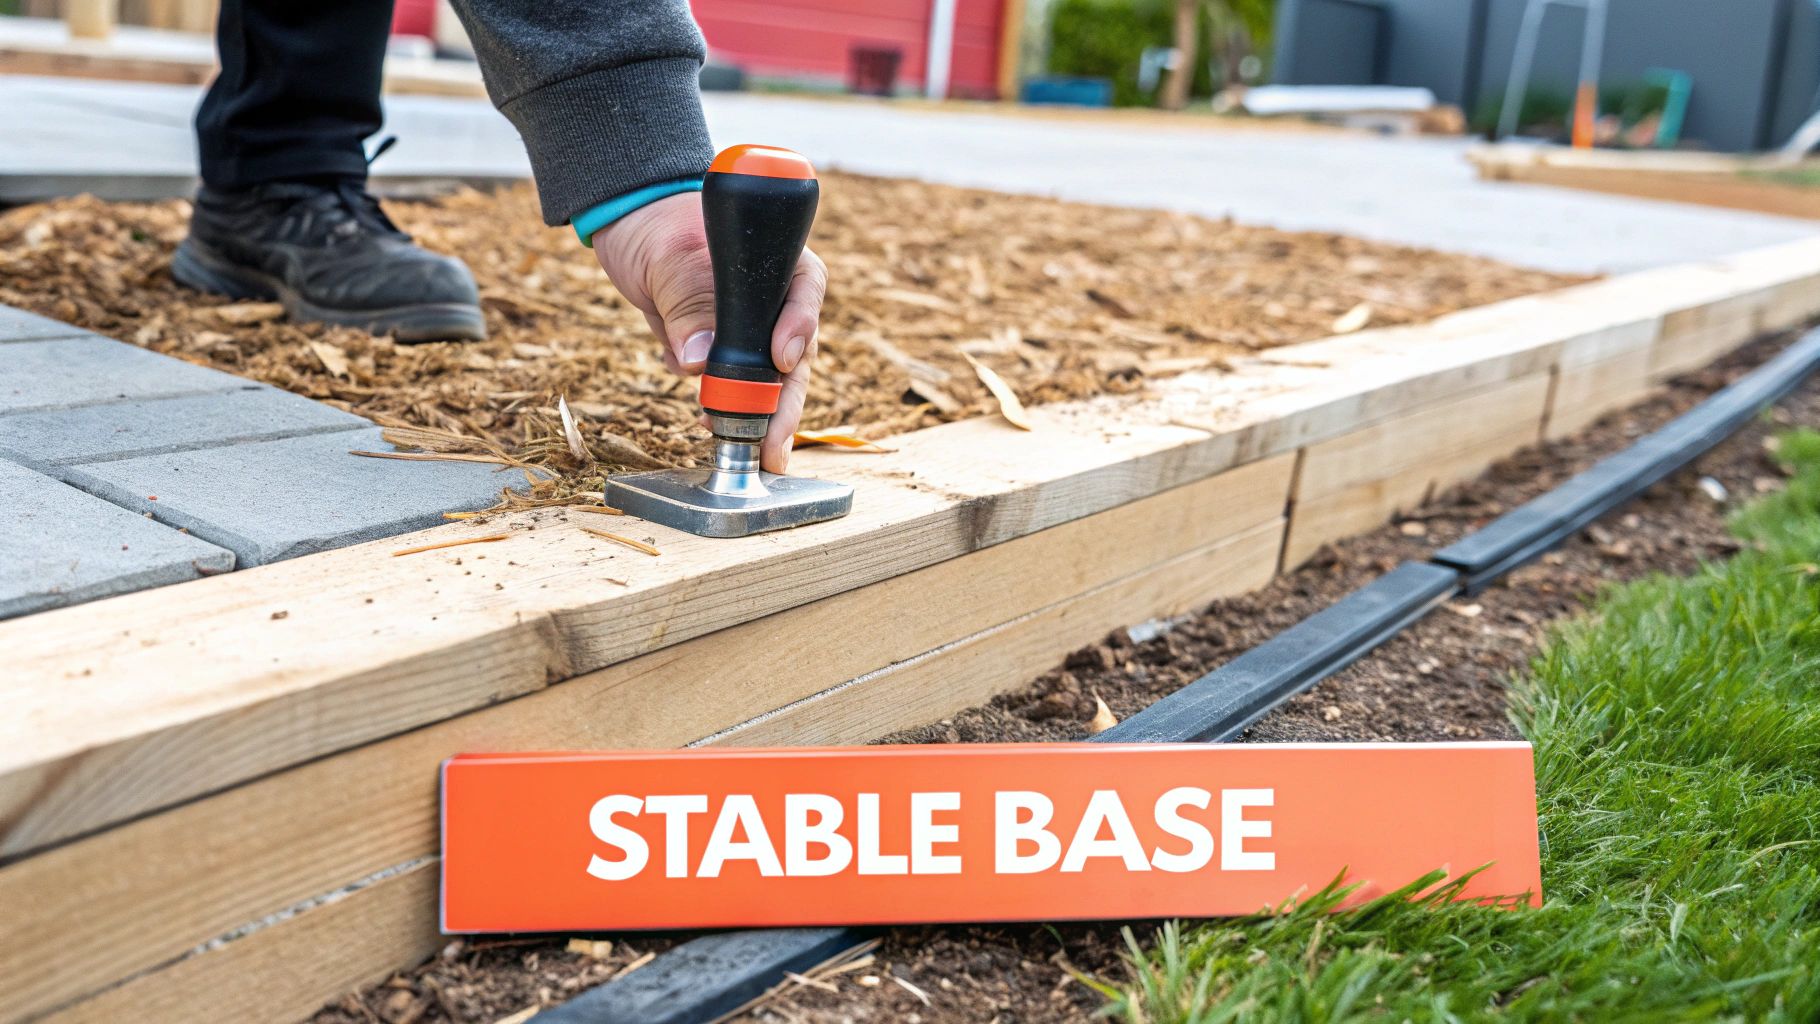
With the heavy lifting of grading finally done, your focus now shifts to creating an unshakeable foundation. This isn't just about getting the dirt smooth; it's about building a base that can handle years of energetic play without shifting, sinking, or settling. Getting this part right is absolutely fundamental to the whole project.
The secret to a rock-solid base? Compaction. After moving all that dirt around, the ground is loose and full of tiny air pockets. If you build on it now, the weight of the swing set and the constant force of swinging will gradually press that air out, causing the ground to sink unevenly.
To prevent this, you have to manually compact the entire area. For most backyard projects, a simple hand tamper—a tool with a heavy, flat metal base and a long handle—is all you need. You'll want to work your way methodically across the entire footprint, lifting and dropping the tamper to pound the soil into a dense, firm surface.
You’ll know you're done when the ground feels uniformly hard and the tamper stops leaving a significant impression. This step is what ensures the ground can support the swing set's weight without any nasty surprises down the road. The principles of creating a solid base are crucial for any structure, and you can learn more about general site preparation for building construction to see how these concepts apply on a larger scale.
Once the ground is compacted and perfectly level, I highly recommend building a simple retaining border. Using landscape timbers or even flexible landscape edging, you can create a clean, defined frame around the play area. Trust me, this isn't just for looks—it serves a critical purpose.
This border acts as a container for your loose-fill surface material, like wood chips or rubber mulch, keeping it from spilling out all over your lawn. It really gives the entire installation a professional, finished appearance.
To build it, just follow these simple steps:
Key Insight: Building a level frame is just as important as leveling the ground itself. An unlevel border will make your final surface material look sloped, even if the ground underneath is perfectly flat. Take the time to get this right.
This strong, stable base is the platform for everything that comes next. A well-compacted and framed area isn’t just about longevity; it’s about meeting established safety benchmarks. In fact, the American Society for Testing and Materials (ASTM) recommends the ground be level within a 1-inch tolerance over a 10-foot span for maximum stability.
Before you add your final surface material, it’s also the perfect time to think about securing the structure itself. For that, be sure to review our guide on the best practices for installing swing set ground anchors.
While tackling a DIY project is incredibly rewarding, knowing how to level ground for a swing set also means knowing your limits. Sometimes, the safest and smartest move is to just step back and hand the shovel to a professional landscaper.
Recognizing when a project is out of your league can save you a ton of time, prevent some pretty costly mistakes, and guarantee the final result is perfectly safe for your kids.
So, when does a challenging yard project cross the line into professional territory? There are a few clear red flags that signal it’s time to make that call.
If your yard has a serious slope—we're talking more than a 12-inch drop from one side of the swing set's footprint to the other—you're looking at more than a simple "cut and fill" job. That level of grading often requires heavy equipment and a real pro's touch to keep your yard from washing away in the next big rainstorm.
You should also think about getting an expert opinion in a few other scenarios:
The real benefit of hiring a pro goes far beyond just the labor. They understand local soil conditions, carry liability insurance, and can guarantee their work. That gives you peace of mind that the foundation under your kids' swing set is 100% structurally sound.
This is a common decision for a reason. As of 2025, over 65% of homeowners hire professionals for tricky ground-leveling projects, putting safety first. Depending on how complex your yard is, the cost can range anywhere from $390 to $6,110. You can get a better sense of professional playset leveling costs over on Angi.com.
If you decide that bringing in an expert is the right move, exploring local swing set installation services is a great next step.
Even with a solid plan, a few questions always seem to pop up in the middle of a project like this. When you're figuring out how to level the ground for a swing set, there are a couple of common sticking points that can slow you down. Let's get those cleared up right now so you can keep things moving.
While you might be aiming for perfection, the accepted industry standard gives you a little bit of wiggle room. You want the ground to be level within about 1 inch of slope over a 10-foot span.
Anything more than that can put a lot of uneven stress on the swing set's frame, which leads to wobbly legs and parts wearing out way too soon. The best way to check your work is with a long, straight 2×4 and a good carpenter's level. Trust the level, not your eyes—the surrounding yard can really play tricks on you.
This question comes up all the time, and the answer is always a hard no. Sticking blocks, pavers, or any other kind of shim under the legs is a dangerous shortcut. It creates unstable pressure points that just aren't safe.
Over time, those makeshift supports can shift in the dirt, sink, or even crack from the weight. When that happens, the whole swing set could become unstable without any warning. The only truly safe and permanent fix is to level the earth itself. That gives you a solid, uniform foundation that supports every leg equally.
Key Takeaway: Never use leveling blocks. The risk of the swing set shifting or collapsing is far too high. Proper ground preparation is the only method that guarantees long-term safety and stability for the playset.
Once you’ve got the ground perfectly level, the material you put on top is all about safety and keeping things clean. You'll want something designed to cushion falls.
Whatever you do, don't just leave bare dirt under the swing set. It provides zero fall protection and turns into a giant mud pit the first time it rains.
Feeling a bit overwhelmed by the work involved? The experts at Assembly Smart can take care of the entire installation for you, from leveling the ground to tightening the last bolt. We’ll make sure you have a perfectly safe and secure playset for your family. Get your free estimate today at https://assemblysmart.com.
