-
CALL US:
- (866) 952-3456
When you need to drill out a stripped screw, the basic idea is to create a small pilot hole right in the center of the screw head. From there, you'll use either a screw extractor bit or a left-hand drill bit set in reverse. The bit will dig into the metal, giving you the grip you need to back the screw out. This isn't about brute force; it takes steady pressure, a slow drill speed, and the right size bit to get the job done without damaging the surrounding material.
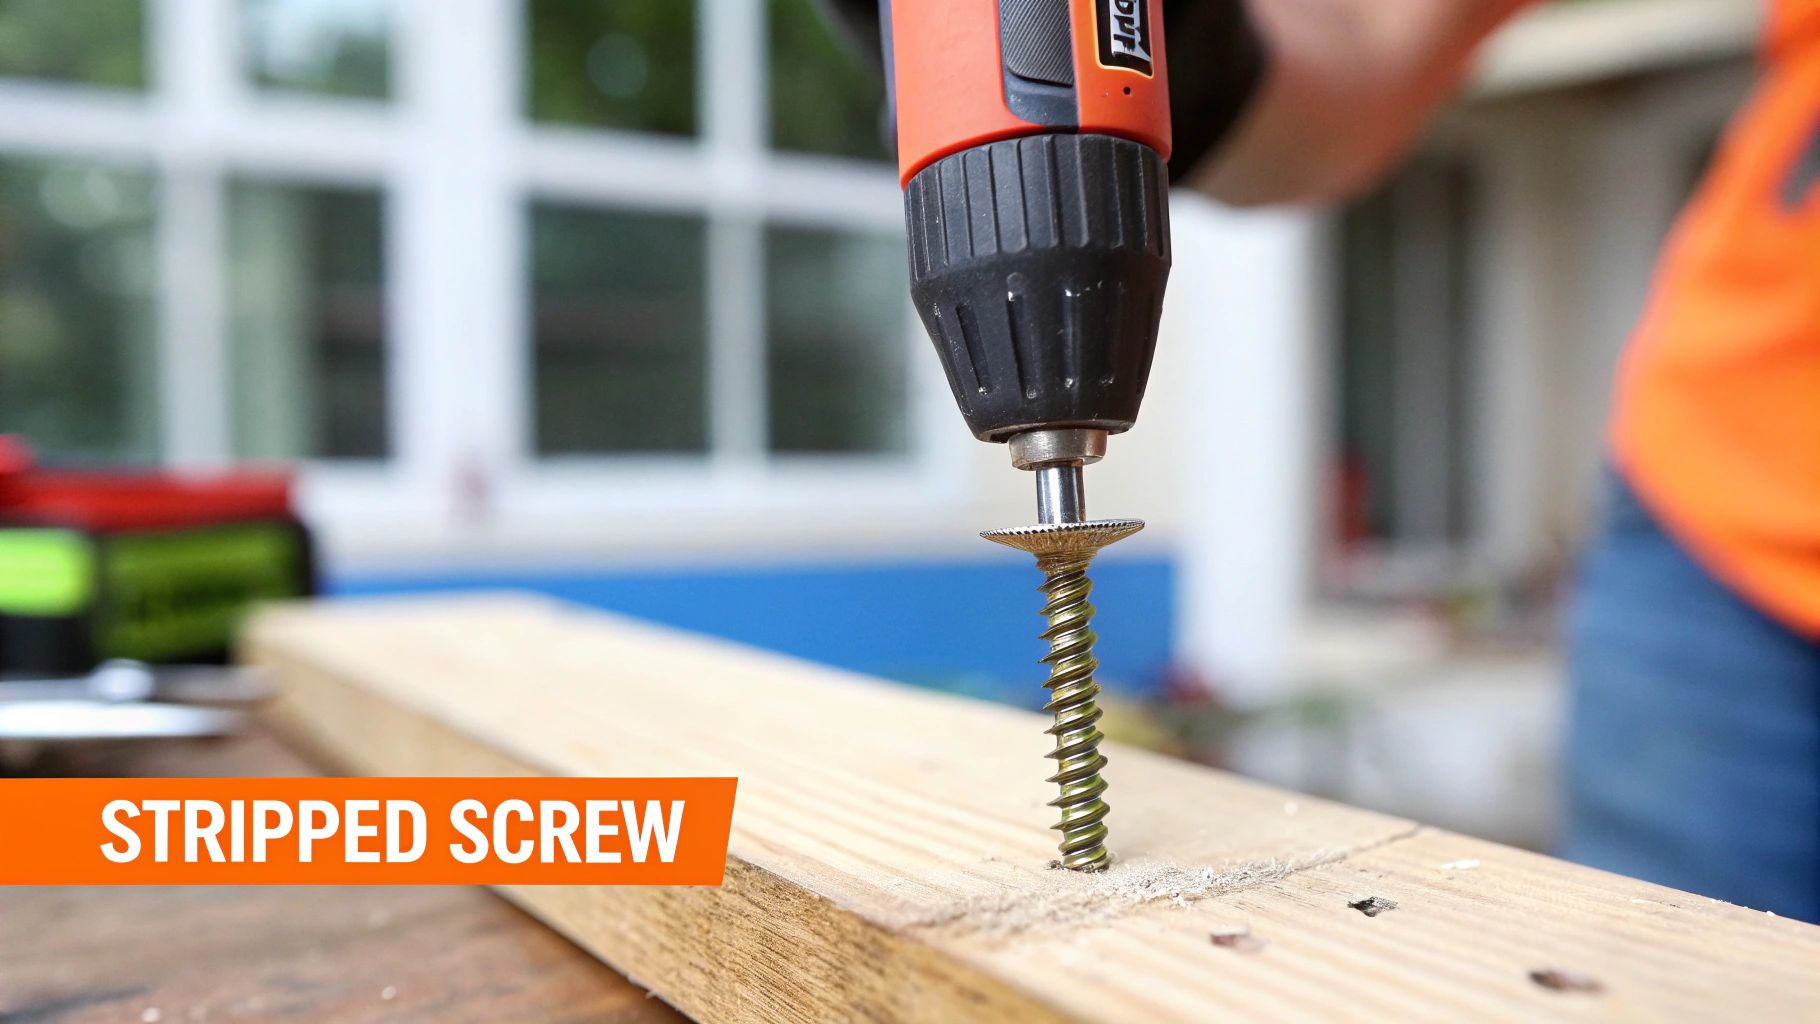
We’ve all been there. That sinking feeling when a screwdriver slips, spins, and completely chews up a screw head. One second you're making progress on a project, and the next, you're at a dead stop. Whether you're taking apart old furniture or removing a wall fixture, a stripped screw can turn a simple job into a real headache.
More often than not, this frustrating problem starts with a simple mistake that just gets worse. Using the wrong size screwdriver is a classic culprit. So is applying uneven pressure or working with cheap, soft metal fasteners. Once that head is stripped, your screwdriver is useless. The only way forward is to get a little more aggressive and drill the thing out.
Drilling out a stripped screw is a go-to repair technique, not just for DIYers, but for pros in manufacturing and automotive shops. It's a bigger issue than you might think. A 2023 industry survey actually found that around 37% of mechanical failures on assembly lines were caused by stripped screws, making drilling the most common solution. You can get a better sense of the specialized tools from this screw extractor guide.
This guide is here to walk you through the process so you can tackle this problem with confidence. We’ll cover everything you need to know, focusing on:
Learning how to properly drill out a stripped screw isn't just about solving one annoying problem—it's about adding a genuinely useful skill to your toolbelt. It's a game of finesse, not force.
While drilling is a fantastic solution, it’s not the only way to deal with a stubborn screw. For a complete look at your options, check out our guide on how to get a screw out using a variety of methods. But for now, we'll focus specifically on the drilling technique to get you back on track with your project.
Before you even think about putting a drill to metal, the first step is getting the right gear together. Trust me, trying to tackle this job with the wrong tools is a fast track to frustration and can turn a small headache into a full-blown migraine of a project. A little prep work now saves a world of hurt later.
The most important tool in your arsenal is a variable speed drill. The ability to control the speed isn't just a nice-to-have; it's critical. If you go too fast, you'll generate a ton of heat, which can actually harden the screw and make it even tougher to drill. You want to go slow and steady—that's the name of the game here.
To make things simple, here’s a quick rundown of the essential tools you’ll need on hand and why each one is so important for getting the job done right.
| Tool | Why It's Essential | Pro Tip |
|---|---|---|
| Variable Speed Drill | Allows for slow, controlled drilling to avoid overheating the screw. | Start at the lowest speed and only increase slightly if needed. Let the bit do the work. |
| Center Punch & Hammer | Creates a small dimple to guide the drill bit, preventing it from slipping. | A single, firm tap is all you need. You're making a guide, not a crater. |
| Left-Hand Drill Bits | Drills counter-clockwise, often grabbing and backing out the screw in one go. | This is my go-to first attempt. It solves the problem about half the time without needing an extractor. |
| Screw Extractor Set | Specifically designed to bite into a pilot hole and remove the stubbornest screws. | Make sure your pilot hole is the right size for the extractor. A hole that's too big won't give it anything to grip. |
| Cutting Oil | Lubricates the bit, reduces heat, and keeps your bits sharp and effective. | A little goes a long way. Just a single drop on the screw head is enough. |
| Locking Pliers | Provides a powerful grip if you can expose even a tiny bit of the screw shaft. | Clamp them on as tight as you can and use a slow, steady twisting motion to work the screw out. |
| Safety Glasses | Protects your eyes from tiny, sharp metal shavings that will fly off during drilling. | Don't even start the drill without these on. It's not worth the risk. |
Having these items ready before you start means you're prepared for whatever the stripped screw throws at you, letting you work safely and efficiently.
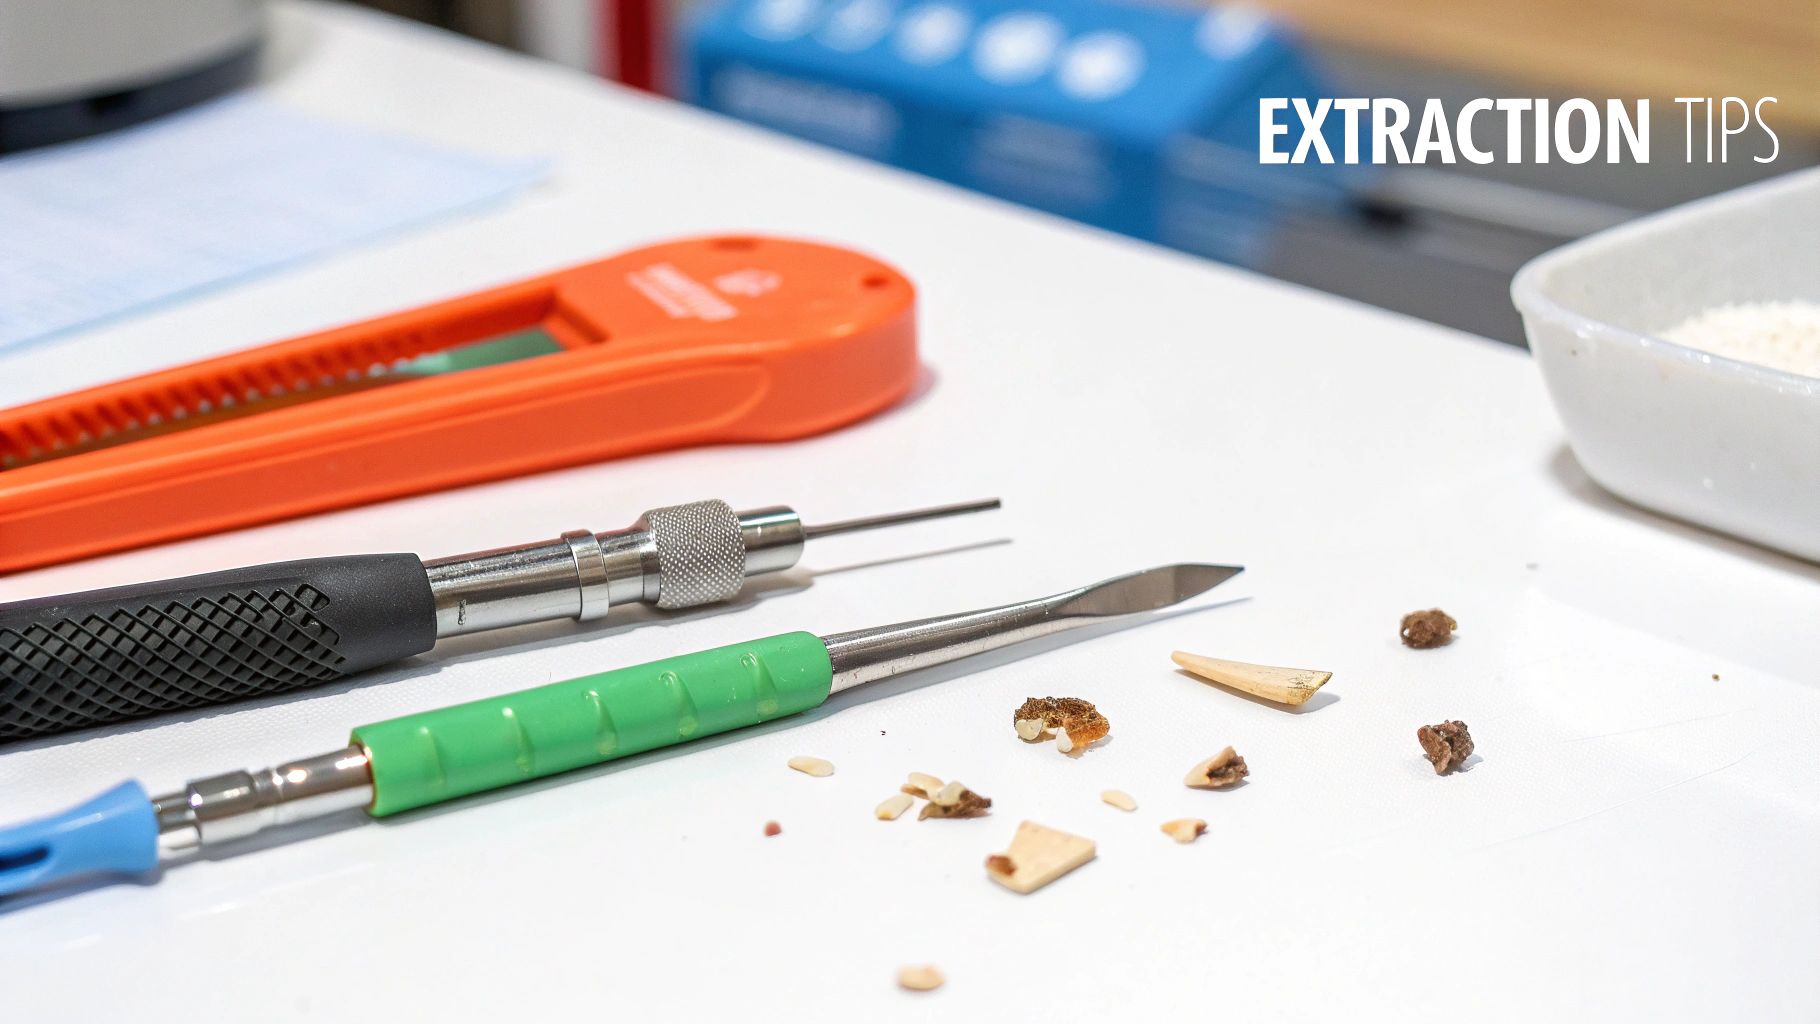
Next up are the tools that handle the actual precision and extraction work. Nothing is more annoying than having your drill bit skate across the screw head and gouge the surface of your project.
To prevent that, you absolutely need a center punch. It’s a simple tool, but it's your secret to accuracy. A firm tap with a hammer creates a perfect little dimple right in the center of the screw. That dimple gives your drill bit a secure spot to start, so it won’t wander. Of course, you’ll need a standard hammer for that.
And please, don't forget your safety glasses. Drilling into metal sends tiny, sharp shavings flying everywhere, and you only get one set of eyes. A drop of cutting oil or lubricant is also a huge help. It keeps friction and heat down, which preserves the life of your drill bits and makes the whole process go a lot smoother.
Now for the specialized gear: the bits. You've got a couple of options, and honestly, having both is your best bet because they each have their moments to shine. A screw extractor set (you'll often hear them called "easy outs") has bits made to bite into a pilot hole you've drilled and pull the screw out as you run the drill in reverse.
The real game-changer, in my experience, is a good set of left-hand drill bits. They're designed to cut while spinning counter-clockwise. This means the very act of drilling the pilot hole can generate enough torque to catch the stripped screw and back it right out. It's an awesome feeling when it works—problem solved in one step.
Finally, never underestimate the power of a good pair of locking pliers. If you manage to get any part of the screw to stick out, these pliers can latch on with an iron grip and give you the leverage you need to twist it out by hand. For a deeper dive into what makes a well-rounded toolkit, check out our guide on must-have furniture assembly tools. Being prepared is half the battle won.
Alright, you've got your tools laid out and your safety glasses on. It's time to get that stubborn stripped screw out of your life. The key here isn't brute force—it's precision. If you rush this, you're just going to make the problem worse, damage your project, or snap a bit right off. Just take a breath and work through it step-by-step.
The whole game plan revolves around creating a perfectly centered pilot hole. This is where your extraction tool is going to get its grip. If your drill bit wanders even a little bit off-center, you’re in for a world of hurt. It's the most common mistake people make and it turns a small headache into a major project.
This image breaks down the simple three-stage process for a clean extraction.
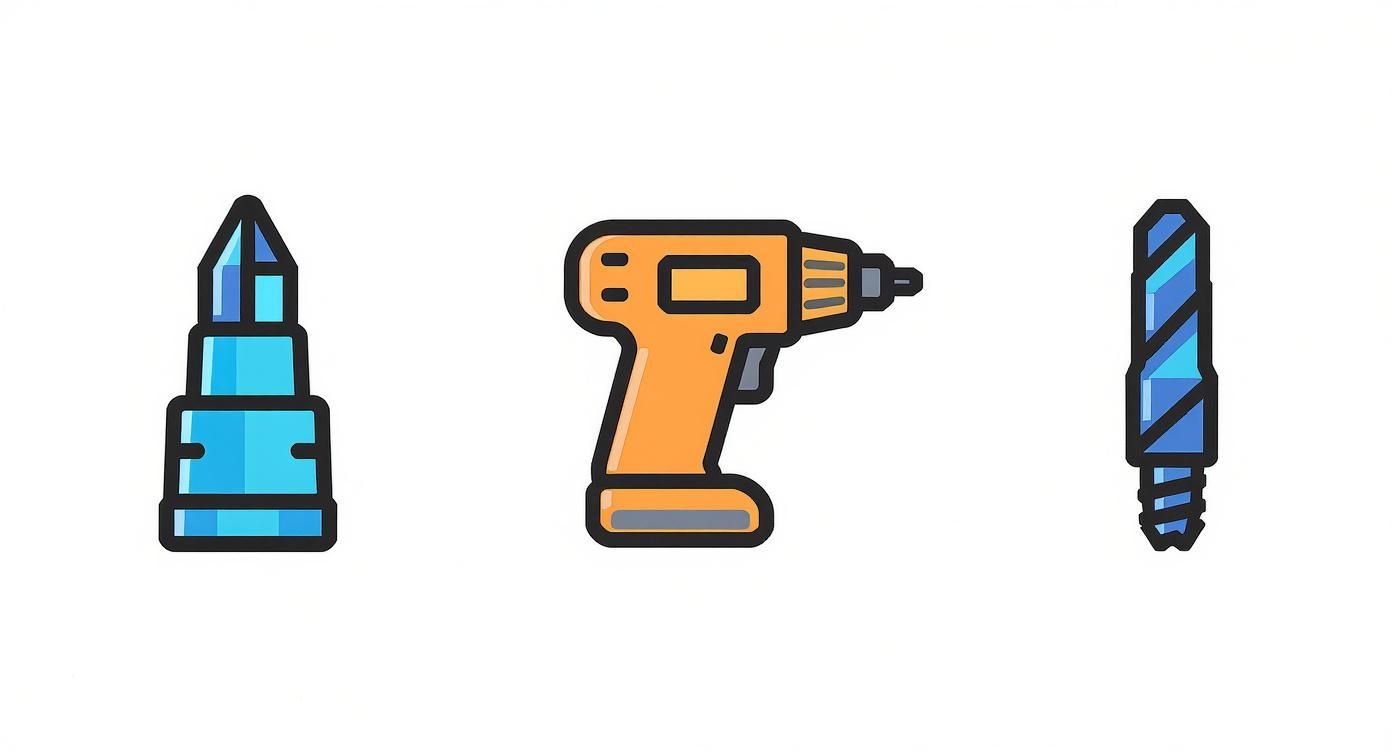
Think of it in these core parts: punch, drill, and extract. Following that sequence is your best bet for getting it right the first time.
First things first, grab your center punch. Place that sharp tip right in the dead center of the mangled screw head. Now, give the punch one good, firm tap with your hammer. You're not trying to drive it to the other side of the planet, just create a small, clean dimple.
That little dimple is your secret weapon. It gives the tip of your drill bit a place to sit, preventing it from "walking" all over the slick, rounded-out screw head. Without it, drilling an accurate pilot hole is next to impossible.
Next up, put a single drop of cutting oil on the screw head. Don't skip this. It might seem small, but this step makes a massive difference by lubricating the metal, which keeps friction and heat from building up. This not only makes the drilling go smoother but also saves your drill bits from getting dull and useless.
Okay, let's choose a drill bit for the pilot hole. If you have a screw extractor set, it will tell you exactly which size bit to use for each extractor. If you're flying solo, a good rule of thumb is to pick a bit that’s just a little bit smaller than the screw's inner core (the main shaft without the threads).
Lock the bit into your variable speed drill and crank it down to its lowest speed setting. Now, place the tip of the bit right into that dimple you made.
Start drilling with slow and steady pressure, pushing straight down. Let the drill do the work. You’re only aiming to drill about 1/8 to 1/4 inch deep into the screw. Go too far and you risk drilling right into the material underneath.
Pro Tip: Keep your drill perfectly straight up and down, perpendicular to the screw. If you go in at an angle, the extractor won't be able to get a solid grip, and you could even snap the extractor bit off inside the screw. Trust me, that’s a much, much bigger problem to solve.
With a nice pilot hole drilled, you're ready for the main event. You've got two solid options here, and the best one really depends on the tools you have and just how cranky this screw wants to be.
Option 1: Using a Screw Extractor
A screw extractor, sometimes called an "easy out," is a cool little tool. It's basically a bit with aggressive threads that run in reverse, designed to bite into the metal as you turn your drill counter-clockwise.
As that extractor turns, it’ll dig into the screw. Keep the speed slow and steady, and you should see that stripped screw start to back right out.
Option 2: Using a Left-Hand Drill Bit
Honestly, this is the method I often try first because it can be a one-shot wonder. A left-hand drill bit is designed to cut while spinning counter-clockwise.
You just use the right-sized left-hand bit to drill your pilot hole from the get-go. As the bit chews into the screw, that reverse spinning action often generates enough bite to grab the screw and twist it right out. When it works, it feels like magic—you've combined the drilling and extracting into one seamless step.
https://www.youtube.com/embed/adaecEEWJJI
Not every stripped screw is a simple, straightforward problem. Sometimes you're staring down a fastener made of hardened steel that just laughs at your standard drill bits. Other times, the screw is stuck fast in a delicate material like soft pine or brittle plastic, where one wrong move could cause irreparable damage.
These are the moments that separate a minor inconvenience from a major disaster, and they call for a completely different strategy.
If you find your high-speed steel (HSS) drill bits are just polishing the head of a screw instead of cutting into it, you've met your match. It's time to bring in the heavy hitters.
Honestly, switching to one of these bit types is often the single most effective thing you can do when a stubborn screw refuses to budge.
The game changes completely when the screw isn't the problem, but the material around it is. Drilling into soft woods or old plastics requires real finesse to avoid splitting, cracking, or even melting the surrounding area.
Your new mantra is slow and steady. Drop your drill to its lowest speed and use exceptionally light pressure. You have to let the sharpness of the bit do the work, not brute force.
With plastics, you absolutely have to take frequent breaks. Friction builds heat incredibly fast, and you can easily melt the plastic around the screw. Once that happens, it basically welds the screw in place, and you've just made your problem ten times worse.
The core principle here is patience. When you're dealing with fragile materials, rushing is your worst enemy. A few extra minutes of careful, controlled work can save you from a huge repair job later.
This idea of precision removal is so effective it’s used in high-stakes fields. Take orthopedic surgery, for example, where surgeons sometimes have to drill out stripped bone screws. One study found that the success rate for fixing the bone after carefully removing and replacing a stripped screw was a whopping 89%. It just goes to show how precision and the right technique lead to success, even in the most critical situations.
This is the scenario that gives every DIYer nightmares. You're drilling the pilot hole, the extractor bites, and then… snap. Now you have a piece of super-hardened steel stuck inside the already-damaged screw.
At this point, your options have narrowed dramatically, and the risk of causing serious damage to your project skyrockets.
This is the moment to put the tools down, take a step back, and honestly assess the situation. There's real wisdom in knowing which DIY tasks might be better left to professionals. If the item is valuable, structural, or simply something you can't afford to replace, it's time to stop. Getting a broken extractor out often requires specialized tools most people don't have, like carbide burrs.
For these kinds of frustrating, high-risk problems, our home repair handyman services can be a lifesaver. We have the tools and experience to solve these complex issues without risking further damage to your property.
Even with the best preparation, things can still go sideways when you're trying to drill out a stripped screw. It happens. You might find your drill bit skating off-center, or maybe the extractor just spins without grabbing hold. Don't panic; these are common hiccups, and thankfully, they usually have practical solutions.
One of the most frequent frustrations is the drill bit "walking" all over the screw head instead of biting in. This usually means your center punch mark wasn't deep enough, so the bit can't find its footing. The fix is as simple as it sounds: grab that center punch again and give it another firm tap. A deeper dimple will give your drill a solid starting point.
It’s a real moment of defeat when the screw extractor just spins and spins inside the pilot hole, failing to grab anything. This almost always means one thing: the pilot hole is too large. There's simply not enough material left for the extractor's reverse threads to bite into. Unfortunately, you can't exactly make the hole smaller.
Your best move here is to reach for the next size up in your extractor set. Then, using the pilot bit that corresponds to that larger extractor, carefully widen the hole you already made. This gives the bigger extractor a fresh surface to grip, which often solves the problem right away.
On the flip side, though less common, is a pilot hole that’s too small. This can stop the extractor from seating deep enough to get the solid grip it needs. The solution is to re-drill the hole, this time making sure you use the correctly sized bit for your specific extractor.
Sometimes, the smartest thing you can do is recognize when you're in over your head and put the tools down. Pushing ahead when an extraction is failing can quickly turn a small problem into a very expensive disaster. If you run into any of these situations, it’s probably time to call in a pro.
In these high-stakes situations, the cost of hiring a professional is a drop in the bucket compared to the potential cost of a mistake. Gambling by pushing forward when you're out of your depth just isn't worth it.
Even when you've got a game plan, a stubborn stripped screw can still leave you with questions. Let's wrap things up by tackling some of the most common ones we hear from folks in the field. This should give you that extra bit of confidence to get the job done right.
Your best bet is to check the screw extractor set itself. Most quality kits will either stamp the required pilot hole size right on the extractor bit or toss in a handy little reference chart. Sticking to their recommendation is the key to making sure the extractor can get the solid grip it needs.
If you’re flying blind without a chart, a good rule of thumb is to grab a drill bit that’s about half the diameter of the screw's main shank—that's the solid part, not the threads. This gives you a pilot hole big enough for the extractor to bite into, but not so big that you risk collapsing the screw walls when you apply pressure.
You absolutely can. Sometimes you have to get creative.
One of the best tricks in the book is using a left-hand drill bit. Since it's designed to cut in reverse (counter-clockwise), the drilling force alone often generates enough torque to grab the stripped screw and back it right out. It's a fantastic one-step solution when it works.
Another method, especially if the screw head isn't sitting flush with the surface, is to just drill the head completely off. This instantly releases the tension on whatever part the screw was holding down. From there, you can usually get a good grip on the remaining stud with a pair of locking pliers and simply twist it out.
Key Takeaway: While screw extractors are built for this exact problem, other tools like left-hand drill bits or even a standard bit can be just as effective if you know how to use them.
An ounce of prevention is worth a pound of cure, right? The single most important thing you can do is always use the correct size and type of screwdriver bit for the screw head. A #2 Phillips bit for a #2 screw sounds obvious, but you’d be surprised how much of a difference it makes.
Make sure the bit is seated all the way into the screw head before you start turning. If you're using a power drill, always start with a low torque setting and apply firm, steady downward pressure. For tough materials like hardwoods, drilling a small pilot hole first takes a massive amount of strain off the screw head.
Keeping your hardware sorted is also a huge time-saver and mistake-preventer. You can find more on that in our guide to hardware organization ideas.
If you’ve tried everything and that screw is still winning, or if you're just plain worried about damaging a valuable piece of furniture, there's no shame in calling for backup. Assembly Smart has professional, reliable experts who deal with these headaches every day. We'll make sure the job gets done right. Visit us at https://assemblysmart.com to get a free estimate today.
