-
CALL US:
- (866) 952-3456
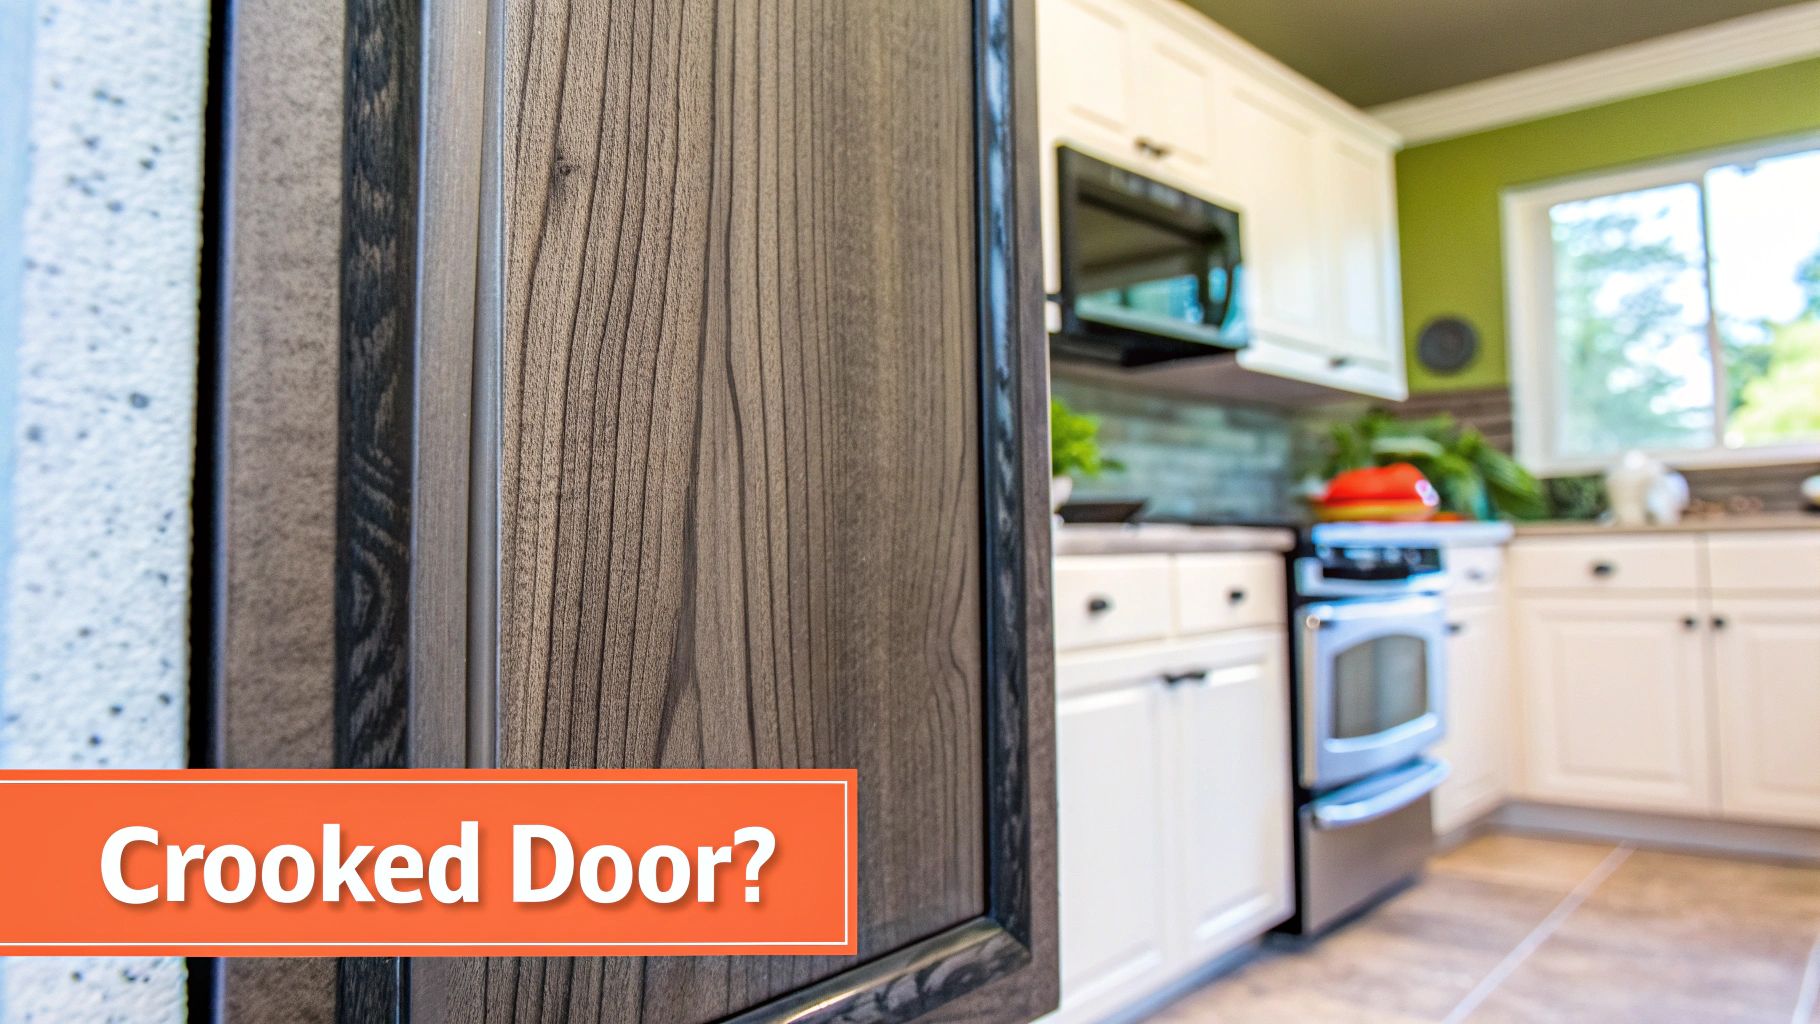
That one crooked cabinet door can drive you crazy, making your whole kitchen feel just a little off. But don't worry, adjusting cabinet doors is a surprisingly easy fix that anyone can tackle. It's almost never the door's fault; it's usually the hinges that have shifted from daily use or even from your house settling over time.
This guide will walk you through how to get that clean, professional look back without having to call in a pro.
Before you grab a screwdriver and start turning things, let's figure out what's actually going on. A sagging door, a weirdly uneven gap between doors, or one that just won't close flush—these are all classic signs of misaligned hinges.
Over time, little things like humidity and the simple act of opening and closing the doors a thousand times cause these small shifts. It's a super common issue. In fact, the global cabinet hardware market is expected to hit $20.7 billion by 2033, mostly because people want better, more adjustable hinges.
This gradual movement is totally normal, but it's smart to fix it before it causes bigger problems. For instance, a door that's out of alignment can start rubbing against another cabinet, chipping the paint. Good alignment is also important for the overall stability of your cabinets, just like it’s important to know how to secure furniture to the wall for safety.
Before you start twisting screws, you need to know exactly what you're working with. Trust me, not all hinges are created equal, and grabbing your screwdriver without a plan is a fast track to a crooked door and a lot of frustration.
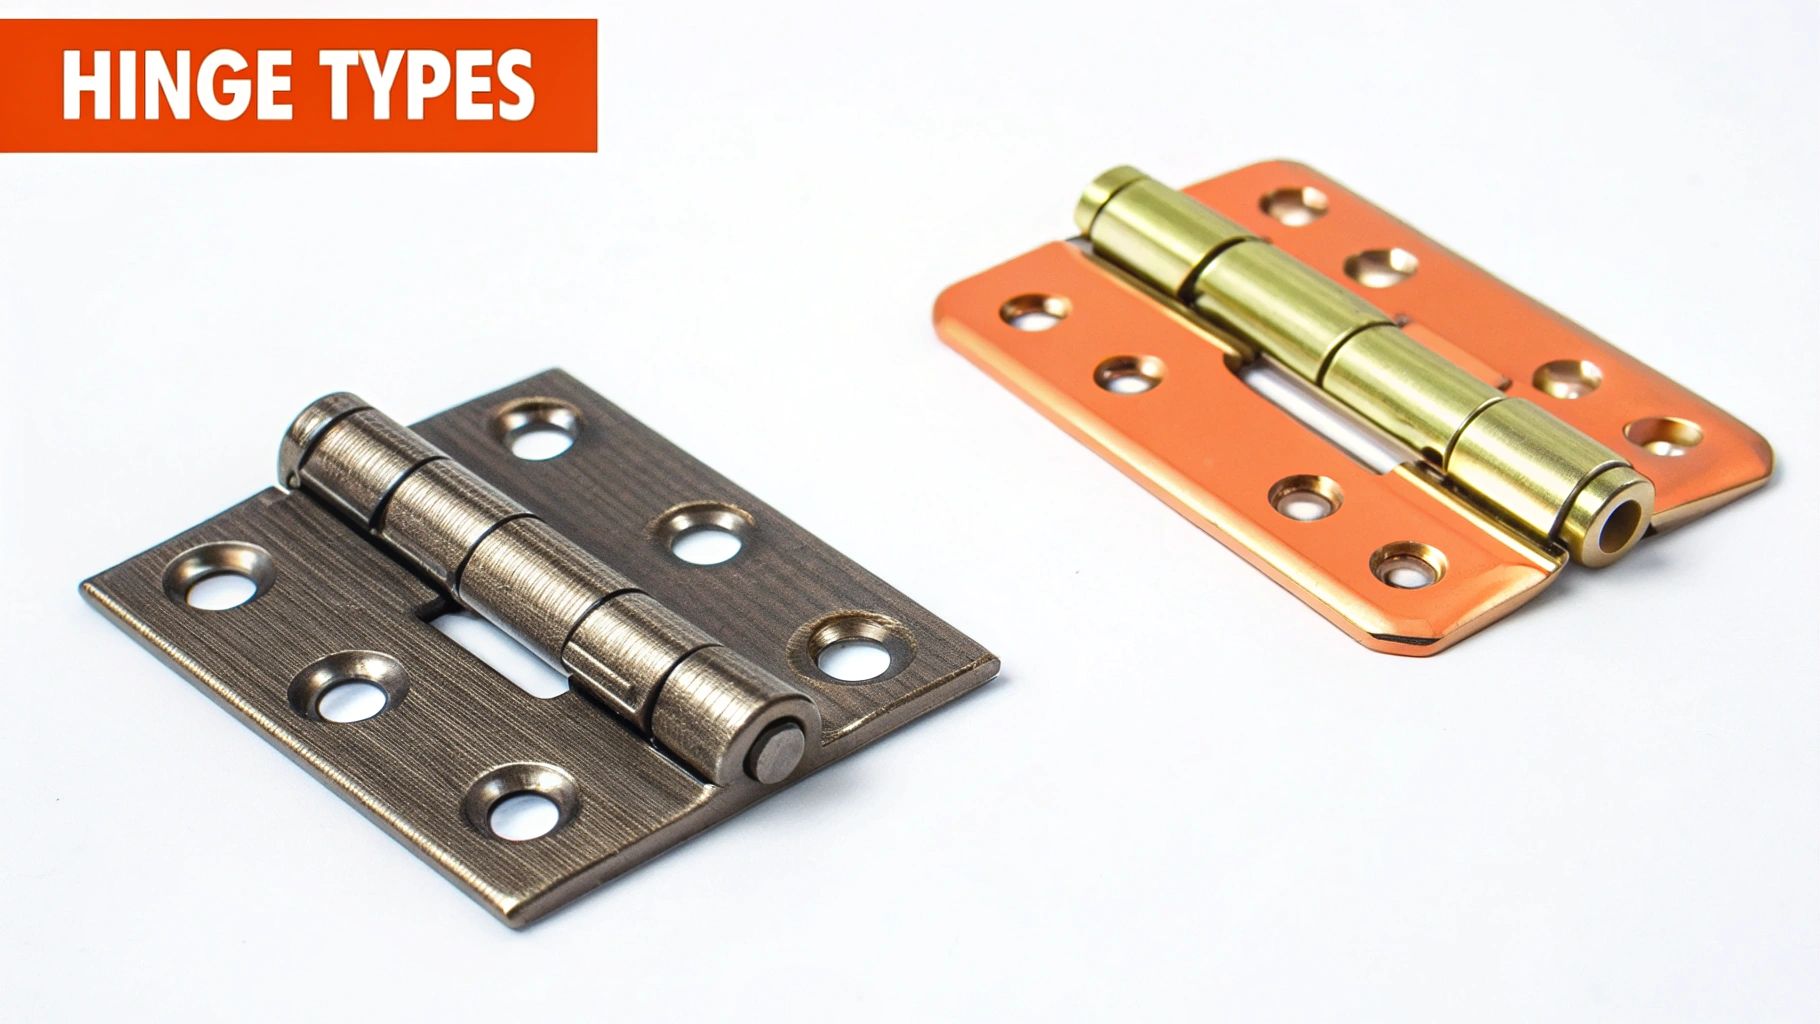
Most modern kitchens use what are called European-style concealed hinges. These are the clever ones hidden from view when the cabinet door is closed, and they typically offer a fantastic three-way adjustment—up/down, left/right, and in/out. This gives you a ton of control.
On the other hand, older or more traditional cabinets might have surface-mount or wraparound hinges. You'll see these on the outside of the cabinet, and they usually offer far less adjustability. You might only be able to get a minor side-to-side shift out of them, if anything.
Take a moment to open your cabinet and see which type you have. Knowing this turns the guesswork of adjusting cabinet doors into a precise, confident task.
You’ll also want to have the right furniture assembly tools on hand. In most cases, a simple Phillips head screwdriver is all you'll need to get the job done smoothly.
To make things a little easier, I've put together a quick reference guide. Use this table to match your hinge to its adjustment screws so you know exactly which one to turn.
| Hinge Type | Appearance | Vertical (Up/Down) Screw | Horizontal (Left/Right) Screw | Depth (In/Out) Screw |
|---|---|---|---|---|
| European Concealed | Hidden inside the cabinet when the door is closed. Looks like a small metal cup set into the door. | Often on the mounting plate; loosen to slide the hinge up or down. | The front screw on the hinge arm; turning it moves the door side-to-side. | The rear screw on the hinge arm; turning it moves the door closer to or further from the frame. |
| Surface-Mount | Visible on the outside of the cabinet and door. Can be decorative. | Minimal to no adjustment. Sometimes oversized screw holes allow slight shifting. | Typically no dedicated adjustment screw. Loosening the mounting screws may allow for a small shift. | No adjustment. |
| Wraparound | Partially visible. A portion wraps around the edge of the cabinet frame or door. | Usually no adjustment. | The screws on the cabinet frame side might allow for some side-to-side play if loosened. | No adjustment. |
Once you've identified your hinge, you're ready to start making those fine-tuned adjustments. It's much simpler when you know which screw does what
If you've got a modern kitchen, chances are you're looking at European hinges. The good news? They're specifically designed to be tweaked and adjusted with nothing more than a simple Phillips head screwdriver. This is where you get to play handyman and dial things in perfectly.
You'll quickly see how a few turns of a screw can make a world of difference. The front screw, for instance, is your go-to for shifting the door left or right, which is perfect for evening out those annoying gaps between doors. The rear screw handles the in-and-out movement, letting you get the door to sit perfectly flush with the cabinet frame.
Then you have the mounting plate screws. These are what control the door's height, and they're the secret to getting a clean, straight line across a whole bank of cabinets. It's a system of small, precise adjustments.
Of course, sometimes a screw just doesn't want to budge. If you run into a stubborn one, don't force it and risk stripping the head. We've got a guide on how to get a screw out without creating a bigger headache for yourself.
This little diagram breaks down the three main adjustment points you'll be working with on a typical European hinge.
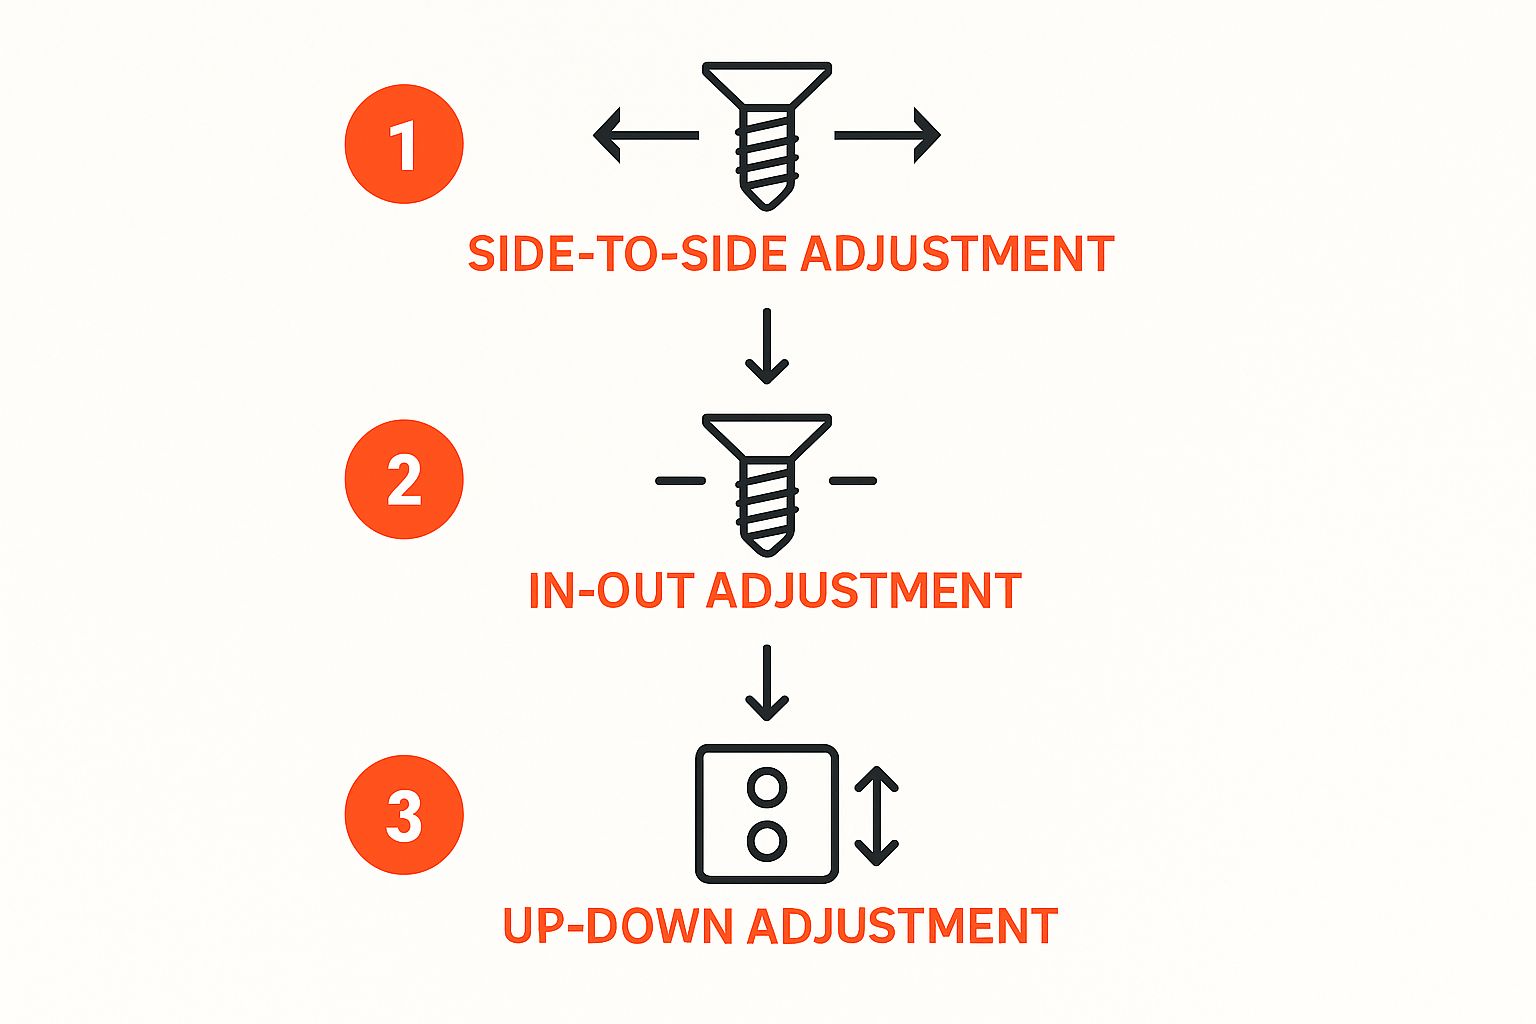
It looks a bit technical, but it's really straightforward. Each screw is responsible for a single, specific direction of movement, which takes all the guesswork out of lining up your cabinet doors.
Sometimes, the usual hinge tweaks just don't cut it. You can spend an hour making tiny adjustments only to find you’re still dealing with a door that sags, scrapes its neighbor, or just pops open on its own. It's frustrating, I know.
When the basic tune-up fails, it’s time to play detective and look for the root cause. More often than not, it's a simple fix if you know where to look.
One of the most frequent offenders I see is the sagging door. You adjust the height screw, and it just droops again an hour later. The real problem is almost always a loose hinge screw that’s stripped its hole in the cabinet frame. The screw has nothing left to grip.
The classic cabinet maker's trick is to use a simple toothpick (or three). Dip a few wooden toothpicks in wood glue, stuff them into the stripped hole, and break them off flush. Give the glue a little time to set up, and then you can drive the screw back in. It'll bite into the new wood fibers and hold tight. Problem solved.
Another classic headache is the door that won't stay closed. It just springs back open a crack, no matter what you do. This usually means the hinge isn't sitting flush in the round hole (or "cup") drilled into the door. Take a look—is it tilted? Just give it a firm press with your thumb to pop it back into place, and you should be all set.
These little tricks can turn what seems like a major cabinet issue into a five-minute fix. It’s all about correctly identifying the symptom before you start turning screws.
To make things even easier, I've put together a quick diagnostic chart. Find your door's symptom in the first column to pinpoint the likely cause and the exact screw you need to adjust.
| Symptom | Likely Cause | Primary Adjustment Screw to Use | Pro Tip |
|---|---|---|---|
| Door hangs too low or high | Vertical alignment is off. | Height Screw (Middle) | Adjust both the top and bottom hinges equally to keep the door level. |
| Gap between doors is uneven | Horizontal alignment needs adjusting. | Side-to-Side Screw (Front) | Make small, quarter-turn adjustments and check the gap after each turn. |
| Door isn't flush with the cabinet | The door's depth is incorrect. | In-and-Out Screw (Rear) | This is great for making doors perfectly flush with their neighbors on a long run of cabinets. |
| Door sags and won't stay up | A mounting screw is likely stripped. | Mounting Screws (on frame) | Don't adjust the hinge first. Use the toothpick-and-glue trick to fix the stripped hole. |
| Door springs open slightly | The hinge cup isn't seated in the door. | None | Simply press the round part of the hinge firmly back into the door until it sits flush. |
With these tips, you should be able to tackle just about any misbehaving cabinet door you come across. It just takes a little patience and knowing which problem to solve first.
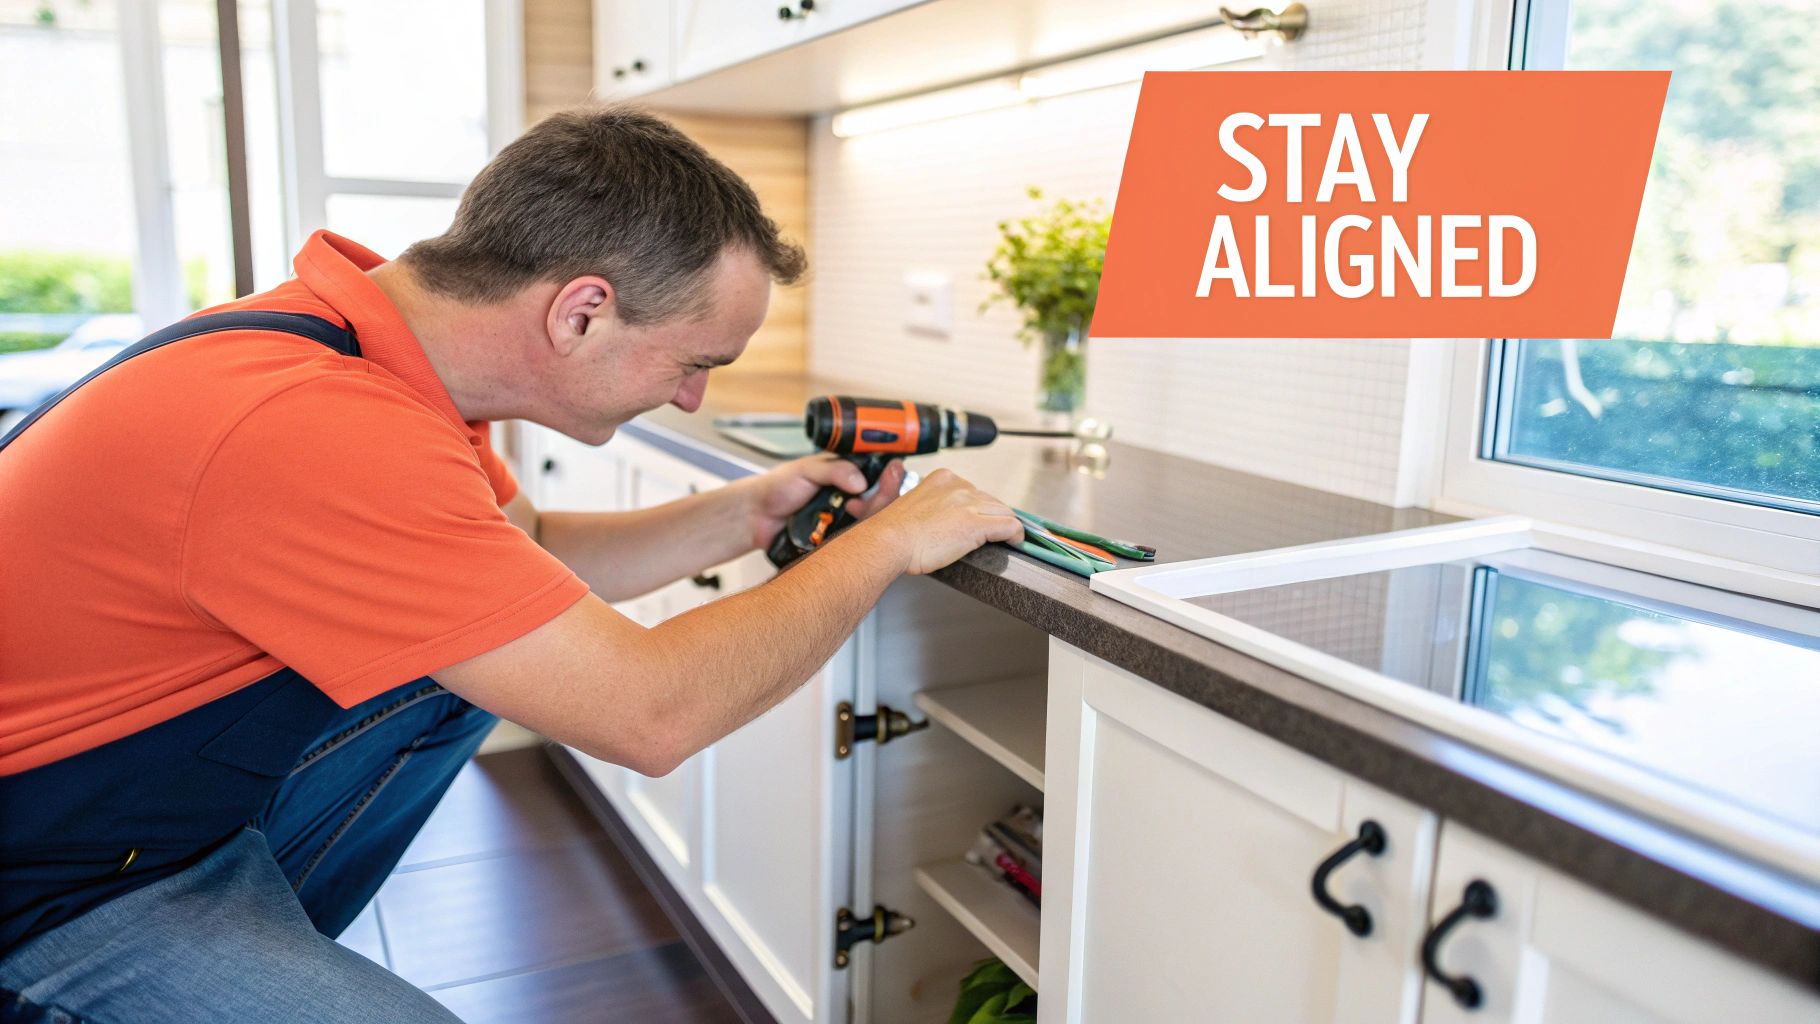
You’ve put in the time and effort to get your cabinet doors hanging just right—now, how do you keep them that way? The truth is, it’s not a one-and-done job. Think of it as simple, ongoing maintenance.
Every so often, it’s a good idea to check the hinge screws, especially on the doors you use the most. Wood naturally expands and contracts with the seasons, which can slowly loosen things up. Also, take a quick peek inside to make sure overstuffed shelves aren't pushing the door out of whack from the inside. These little habits make a huge difference, particularly after bigger updates like kitchen cabinet refacing projects, where every detail counts.
It's also smart to remember that the whole system works together. A wonky cabinet frame or even an uneven floor can throw your doors off.
If you've adjusted the hinges every which way and things still look crooked, the problem might be the floor itself. If you suspect that’s the case, check out our guide on how to level furniture on uneven floors: https://assemblysmart.com/how-to-level-furniture-on-uneven-floors/
The good news is that hardware is always improving. Modern materials help a lot, with durable stainless steel now making up 40% of all hinge materials sold. It’s a popular choice for a reason—it holds up well to frequent use and the occasional tune-up.
Alright, let's wrap this up by tackling some of the most common questions that pop up when you're trying to get those cabinet doors just right.
Think of this as a quick-reference guide to give you that last bit of confidence. Soon, you'll be handling any alignment issue like a pro and keeping your kitchen looking sharp.
