-
CALL US:
- (866) 952-3456
Say goodbye to the days of struggling with complicated instructions for your new treadmill. The fitness equipment landscape is changing, focusing on easier assembly. Consumers want simpler setups, and manufacturers are listening. This means setting up your home gym is becoming less of a headache and more of a rewarding experience.
Cardio machines, like treadmills and ellipticals, often have larger, heavier parts. They require precise alignment to work correctly. Traditionally, this meant complicated, multi-step assembly. Now, brands are focusing on modular designs to minimize parts and simplify connections.
Some treadmills even arrive partially pre-assembled, saving you valuable time. Quick-release mechanisms and tool-less assembly are also becoming more common. This lets you connect components easily without needing special tools.
Strength training equipment, from weight benches to full home gyms, has its own assembly challenges. Stability is key, requiring careful bolt tightening and frame alignment, especially for heavier weights.
Thankfully, instruction manuals are improving. We're seeing more 3D models and interactive assembly apps. These digital tools guide users through each step, reducing errors and ensuring a safe, stable setup. The fitness world is also adopting AI solutions. Check out these Fitness AI tools for some interesting applications.
The demand for simpler assembly is partly due to the growing fitness equipment market. Increased health awareness and the rise of home fitness have fueled this growth. The market is expected to grow from $14.43 billion in 2024 to $15.03 billion in 2025, a 4.2% CAGR.
It's projected to reach $18.79 billion by 2029. Factors like technology integration, sustainability, and the focus on wellness are driving this expansion. Demand is increasing not only for commercial gyms but also for home use. Find more detailed statistics here.
This growth highlights how important user-friendly assembly is. As more people invest in home fitness, easy setup becomes a major selling point. The future of fitness equipment lies in seamlessly combining design, technology, and user experience. This empowers people to create their ideal workout spaces without the assembly hassle.
Getting your new fitness equipment set up shouldn't feel like a marathon. Proper preparation is key to a smooth and efficient assembly experience. Before you even tear open the box, taking a few strategic steps can save you time and prevent frustration. These are the insider tips used by professional installers.
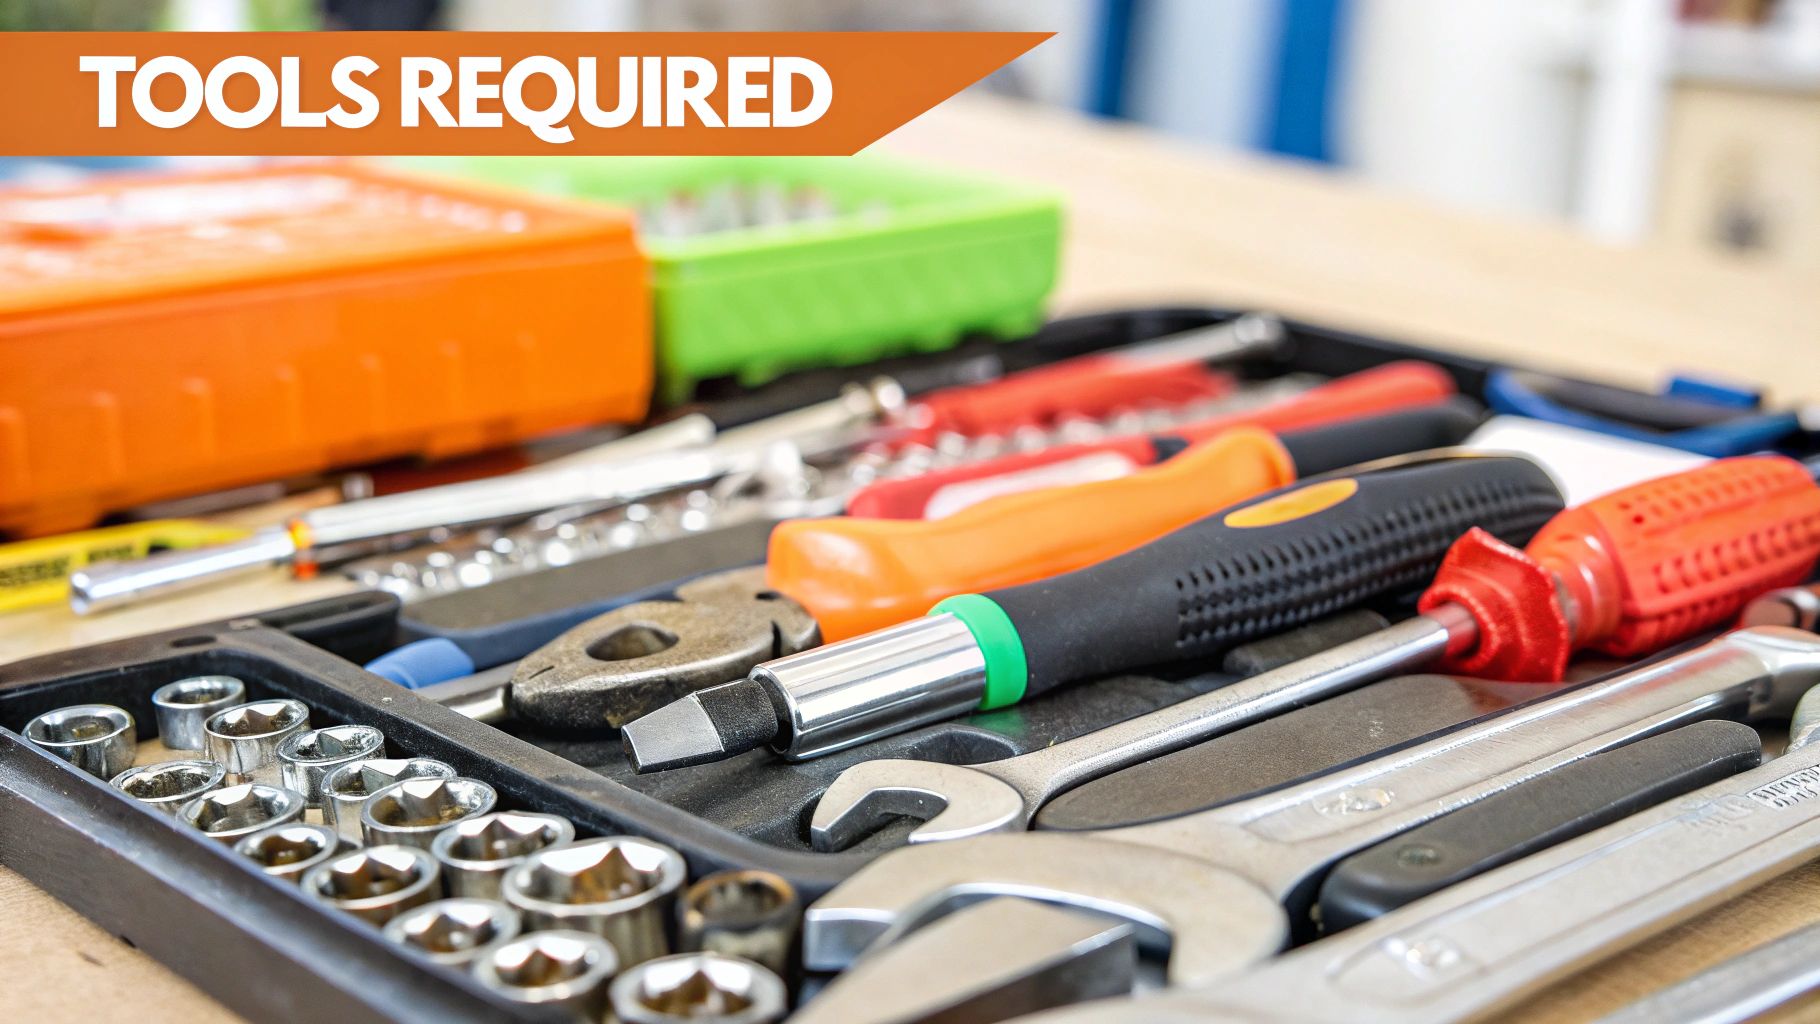
Having the right tools within arm's reach is essential. This avoids interruptions and keeps the assembly flowing. While some fitness equipment includes basic tools, a comprehensive set makes the process significantly easier.
Having the right tools on hand means no more mid-assembly trips to the toolbox. A readily available Allen wrench, for example, makes connecting parts quick and painless. Using a rubber mallet protects your new equipment's finish.
Just as important as the right tools is setting up the right workspace. Choose a well-lit area with plenty of room to lay out all the components. Protect your flooring from scratches by putting down a protective covering, such as cardboard or a drop cloth.
Think ahead about where your equipment will ultimately go. Assembling it nearby eliminates the struggle of moving heavy, fully assembled equipment later. This advance planning can prevent a lot of headaches. For more tips on project planning, check out this helpful guide: How to master furniture assembly project planning.
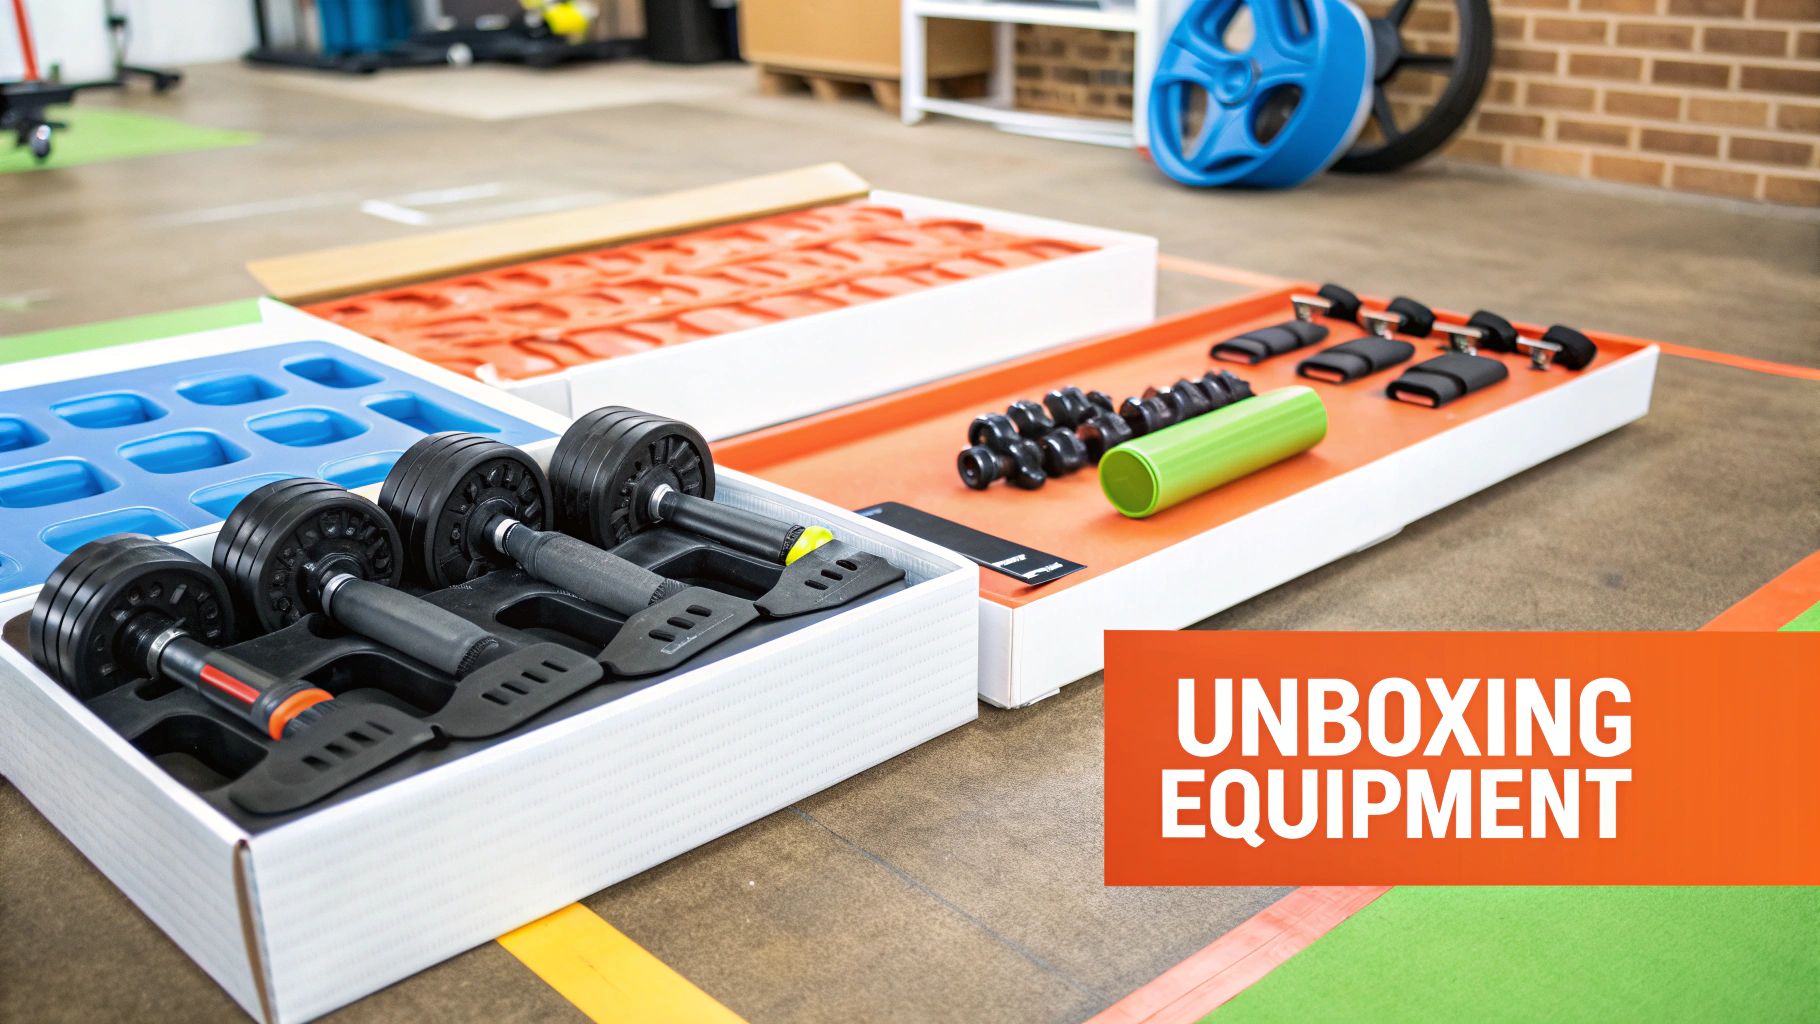
Before you begin, meticulously inventory all parts against the provided list. This confirms you have everything you need right from the start. Organize the parts logically, grouping similar pieces together. This simple step streamlines the process of finding the right part when you need it.
Take a few minutes to familiarize yourself with the instruction manual before diving into the assembly. A quick read-through can reveal potential challenges or alert you to any additional tools you might need. This foresight prevents frustrating surprises mid-assembly. With these initial steps taken care of, the assembly process itself will be significantly smoother.
To help you prepare, here's a handy table outlining essential tools:
The following table provides a comprehensive list of tools you might need for assembling your fitness equipment:
Essential Tools for Fitness Equipment Assembly
| Tool Type | Essential or Optional | Used For | Recommended Models/Brands |
|---|---|---|---|
| Allen Wrench Set | Essential | Tightening hex screws | Bondhus, Tekton |
| Phillips Head Screwdriver | Essential | Tightening screws with a cross-shaped head | Stanley, Craftsman |
| Adjustable Wrench | Essential | Tightening nuts and bolts of various sizes | Crescent, Irwin |
| Rubber Mallet | Optional | Gently tapping parts together | Tekton, Thor |
| Pliers | Optional | Gripping and manipulating small parts | Klein Tools, Channellock |
| Socket Wrench Set | Optional | Tightening nuts and bolts in tight spaces | DeWalt, GearWrench |
This table provides a quick overview of the tools you'll likely need. While the essential tools are usually enough for basic assembly, having the optional tools on hand can make the process even more efficient. Having the right tools and a well-prepared space makes the assembly process far less daunting and helps ensure your equipment is set up correctly and safely.
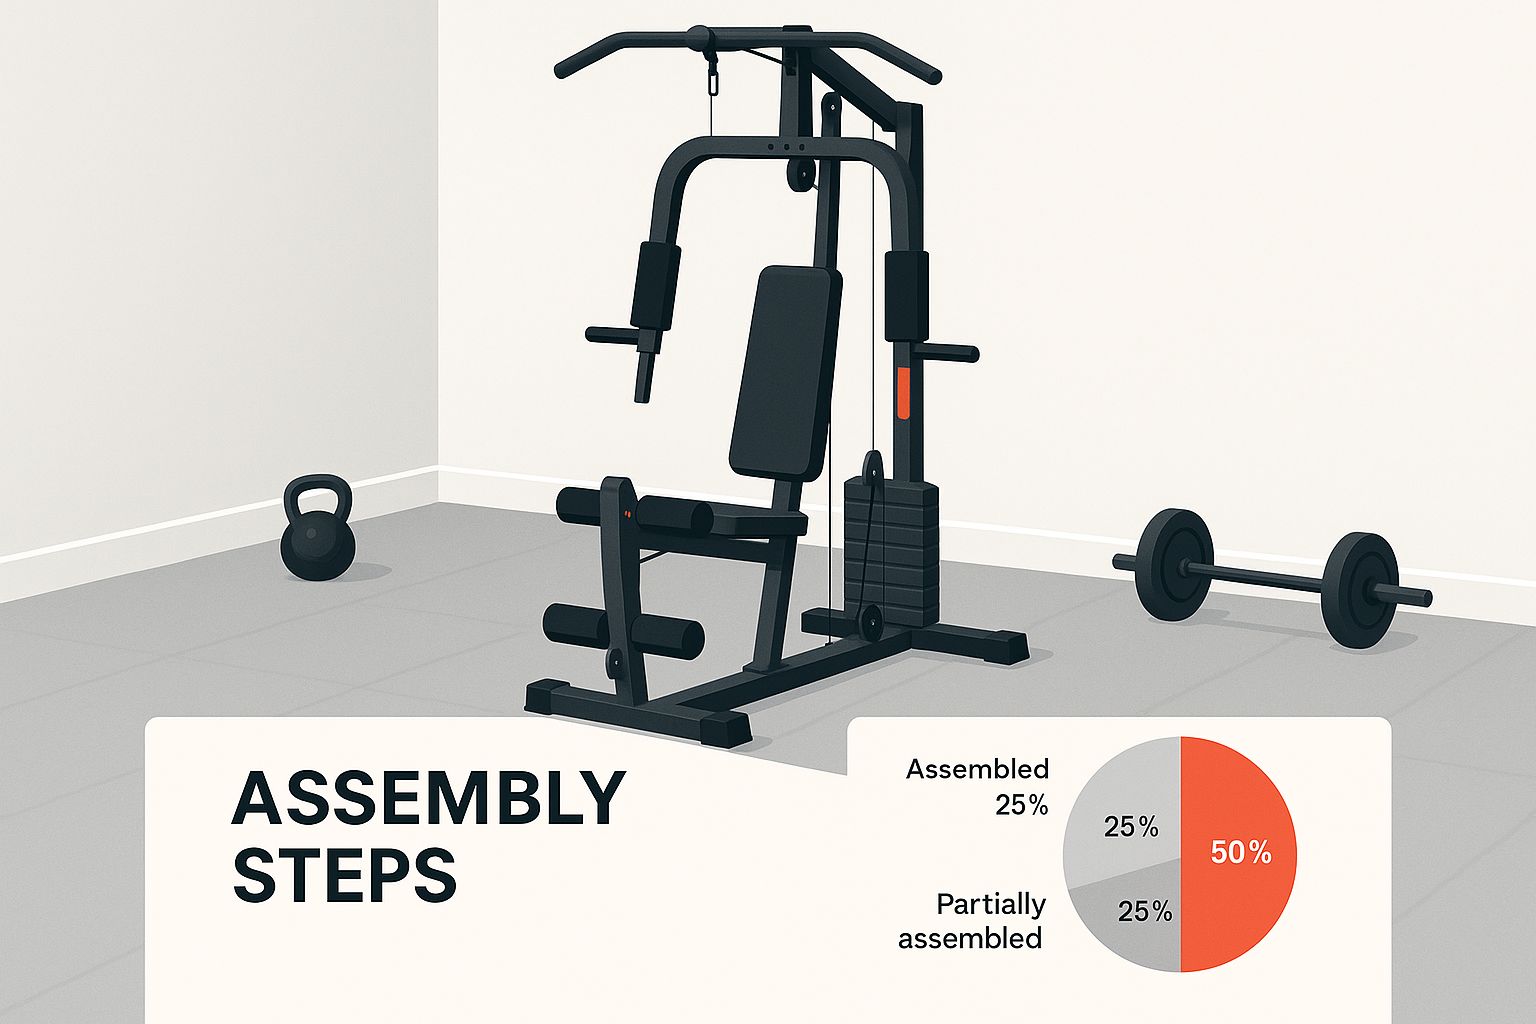
The infographic above shows a partially assembled fitness machine, illustrating the step-by-step assembly process. Each piece of fitness equipment, from treadmills to weight benches, has its own assembly challenges. This means paying close attention during each step. Mastering specific techniques for each type of equipment is key for a safe and successful setup.
To help illustrate the varying complexities, let's take a look at a comparison of different equipment types. The table below outlines average assembly times, difficulty levels, and other important factors to consider.
Assembly Complexity Comparison by Equipment Type
Comparative analysis of different fitness equipment types based on assembly difficulty, time requirements, and special considerations
| Equipment Type | Average Assembly Time | Difficulty Level | Number of Parts | Special Tools Required |
|---|---|---|---|---|
| Treadmill | 60-90 minutes | Moderate to High | 50-100+ | Allen wrenches, adjustable wrench |
| Exercise Bike | 45-60 minutes | Moderate | 30-50 | Allen wrenches, Phillips screwdriver |
| Elliptical | 60-75 minutes | Moderate | 40-70 | Allen wrenches, adjustable wrench |
| Strength Station | 2-4 hours | High | 100+ | Variety of wrenches, socket set |
| Accessory Equipment (e.g., dumbbells) | 5-15 minutes | Low | Few | Usually none |
As you can see, the complexity can vary significantly. Strength stations often require more time and tools, while accessory equipment is generally simpler to assemble. Always consult your equipment's manual for specific instructions and tool requirements.
Treadmills often require the most precision. Start with the frame and motor assembly, the foundation of your treadmill. Proper alignment here is vital for smooth operation.
Next, focus on the belt and deck alignment. A misaligned belt can wear quickly and cause problems. Tighten all bolts correctly, following the torque specs in your manual. Lastly, connect the console, making sure all wires are routed and attached securely.
Similar to treadmills, exercise bikes and ellipticals require stability. A wobble-free experience depends on proper base and frame assembly.
Pay attention to the pedal and crank arm attachments on bikes, and the footpad and stride length adjustments on ellipticals. These moving parts undergo stress, so correct assembly is crucial for performance and safety. Test stability by applying weight to the machine after assembly. This helps identify weaknesses before your workout.
A strong foundation is critical for strength stations. These systems are often complex, with many components and adjustment points. First, organize all parts and follow the instructions closely. Key connection points include frame supports, cable pulleys, and weight stacks. Tighten each bolt securely, but don't over-tighten, which could damage the frame. You might be interested in: How to master IKEA furniture assembly.
Even smaller accessories like dumbbells, weight plates, and resistance bands need attention to detail. Assembly is usually simple, but weight distribution and secure connections are important. For example, ensure weight plates are secured with collars to prevent accidents.
The fitness equipment market is growing globally. North America currently leads, especially the U.S. However, the Asia Pacific region, particularly India and China, is seeing fast growth. This reflects increasing health awareness and disposable incomes. Learn more about this growth. Ultimately, careful attention during assembly, regardless of equipment type, ensures safe operation, optimal performance, and a longer lifespan for your equipment.
Even with clear instructions and the right tools, assembly challenges can sometimes arise. The key is shifting from frustration to a problem-solving mindset. Let's explore how professionals tackle these common roadblocks.
Misaligned parts are a frequent assembly headache. Start by double-checking the orientation of each component. A small rotation can sometimes be all it takes. If the problem persists, try loosening nearby bolts, realigning the pieces, and then retightening everything. When assembling equipment, especially complex items, detailed assembly instructions can be incredibly helpful.
Occasionally, parts might not fit perfectly, even when everything appears correctly aligned. This could be due to slight manufacturing variations. Carefully inspect the connection points. A little filing or sanding might be needed for a proper fit. However, proceed with caution to avoid damaging the parts.
Missing hardware can halt your assembly project. Before you panic, thoroughly check all packaging. Small parts can easily hide. If the hardware is truly missing, contact the manufacturer for replacements. Consider temporary solutions, like using similar hardware from your toolbox, as a short-term fix.
Determining the root cause of a problem – a manufacturing defect or an assembly error – is critical for finding the right solution. Carefully review the assembly instructions. If you've followed them precisely and the parts still don’t fit, it might indicate a manufacturing defect. Contact customer support for assistance, providing clear photos and a detailed description of the problem.
Knowing when to keep trying and when to seek help can save you valuable time and prevent frustration. If you’ve spent a reasonable amount of time troubleshooting without success, contact customer support. Explaining the steps you’ve already taken will help them quickly diagnose the issue.
Once assembled, thoroughly test your equipment. Start with low settings and gradually increase the intensity. Listen for any unusual noises and check for wobbles or instability. This thorough testing ensures your equipment is safe and functions correctly before your first full workout. By mastering these troubleshooting techniques, you’ll be prepared to handle almost any assembly challenge, allowing you to enjoy your new equipment sooner.
Today's fitness equipment goes beyond simple physical activity. Integrating smart technology adds exciting new dimensions but also introduces complexities to the assembly process, especially when dealing with sensitive electronics. This section explores those challenges and provides best practices for handling the tech components of your new equipment.
When assembling smart fitness equipment, extra care with the electronics is essential. Before handling circuit boards or wiring, ground yourself to prevent static discharge. A simple touch to a metal part of the equipment (not connected to power) will do. Also, avoid excessively bending cables, which can damage internal wires and impact connectivity. These precautions ensure your equipment's digital features work perfectly.
Cable management is more than just tidiness; it's crucial for functionality. Properly routed cables prevent connectivity issues and contribute to a clean look. Use the provided cable ties or clips to secure wires along the frame, avoiding dangling cables. This also prevents tripping hazards and maintains a streamlined appearance.
Before your first workout, pre-testing is vital. This step confirms all smart features are working as expected. Check the power supply, ensure the display lights up, and test all buttons or touchscreens. Early detection prevents minor issues from becoming major problems. Don't forget to test any built-in sensors or heart rate monitors to ensure accurate data. For more assembly tips, check out this helpful resource: How to master exercise equipment assembly.
Most smart fitness equipment connects via Wi-Fi or Bluetooth. Follow the manufacturer's instructions for network setup and device pairing. Many machines require account creation for personalized workout tracking and data management. This connectivity opens up access to online fitness classes, progress tracking, and a customized workout experience.
Many smart machines use sensors to track metrics like speed, incline, and resistance. Accurate data relies on proper sensor calibration, so consult the user manual for specific instructions. Some equipment also requires software initialization to unlock all features. This initial setup ensures a smooth and effective workout experience from the start. The global fitness industry's digital shift is evident in the projected growth of fitness app downloads, estimated to surpass over 5 billion globally by 2025. Similarly, the wearable tech market is predicted to reach $3.8 billion by 2025. Explore this topic further.
The world of software updates and new accessories is constantly evolving. Keep this in mind during assembly. Ensure adequate space for potential upgrades like additional sensors or modules. Avoid obstructing ports or connectors that might be needed for future accessories. This proactive approach ensures your smart fitness equipment remains compatible with advancements, extending its lifespan and maximizing your investment. These steps will help seamlessly integrate your new equipment into your fitness routine.
The biggest decision about your new fitness equipment isn't which model to buy, but whether to assemble it yourself or hire a professional. This crucial choice impacts your time, budget, and even the equipment's lifespan. This section provides a framework for assessing your skills and the equipment's complexity to help you make the best decision.
Honestly assess your DIY skills. Are you comfortable interpreting complex instructions and using various tools? Do you have experience assembling furniture or other equipment? If you're a seasoned DIYer with a well-stocked toolbox, tackling the assembly might be a viable option. However, if the thought of deciphering instruction manuals fills you with dread, delegating the task might be wiser.
Consider the time commitment. Assembly can take anywhere from an hour for a simple exercise bike to several hours for a complex strength station. Research your specific equipment model. The SOLE F65 treadmill, for example, can take 1-2 hours to assemble, even for experienced DIYers. Balance this time investment against the cost of professional assembly.
Equipment complexity also plays a crucial role. While some equipment comes with clear instructions and minimal parts, others can be incredibly complex. Some equipment types frequently present problems, even for seasoned assemblers. Multi-function home gyms, for example, with their numerous cables and pulleys, often require specialized knowledge.
Both DIY and professional assembly have hidden costs beyond the immediate price tag. DIYing saves money upfront but risks incorrect assembly, potentially voiding warranties and affecting equipment performance. Professional assembly adds to the initial cost but ensures correct setup and preserves your warranty. Additionally, professionals have the right tools and experience to complete the job efficiently and safely. Check out our guide on professional furniture assembly services for additional insights.
If you choose professional assembly, select qualified technicians. Ask about their experience with assembling fitness equipment, specifically the type you purchased. A technician familiar with your equipment type will likely complete the assembly more efficiently and correctly. Request references or check online reviews to gauge their reliability and quality of work. You might be interested in: Professional Furniture Assembly.
Get clear, upfront quotes from multiple assembly services. Compare not just the hourly rate but also the estimated time for completion. Factor in any additional fees, such as travel charges or specialized tool costs. This allows you to make an informed decision based on value and quality of service.
A hybrid approach combines DIY and professional help. You might handle the simpler components, like attaching accessories, while leaving more technical aspects, such as electronics integration or complex mechanical connections, to the professionals. This approach strikes a balance between cost savings and professional expertise.
Making the right assembly decision is key to a positive fitness experience. Whether you choose DIY, delegate, or opt for a hybrid approach, careful consideration ensures your equipment is assembled correctly, safely, and ready to help you achieve your fitness goals. Ready to simplify your fitness equipment setup and enjoy a hassle-free experience? Contact Assembly Smart today for a free quote and professional assembly services. Get started with Assembly Smart now!
