-
CALL US:
- (866) 952-3456
So, that giant cardboard box has landed on your doorstep. Inside is your new bike, but getting from a box of parts to a rideable machine can feel a little intimidating. Don't worry, it's not as complex as it looks.
Most bikes you buy online show up about 85-90% put together. The factory has already handled the tricky stuff. Your job is to tackle the final, simpler steps: attaching the handlebars, seat, pedals, and the front wheel. With a little patience and the right tools, you can get this done and be out on the road in no time.
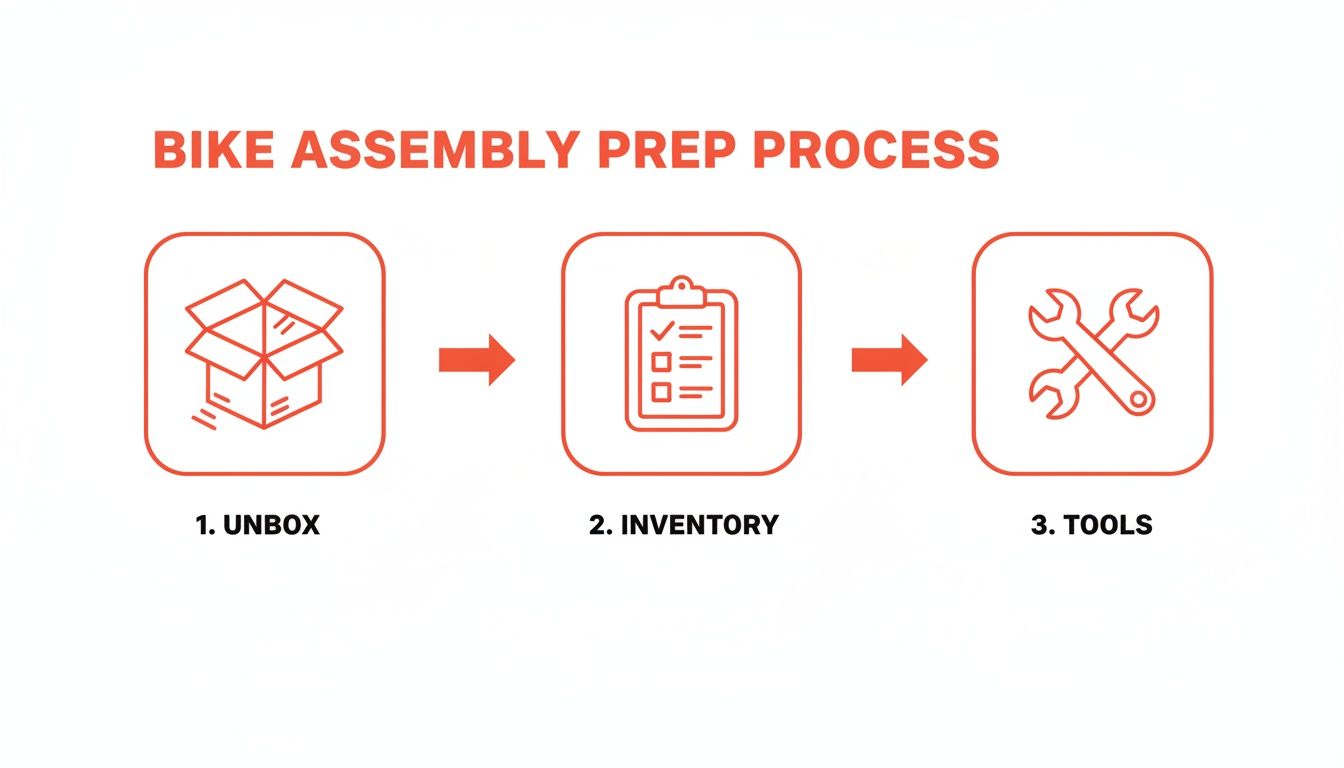
Okay, the box is here. It’s tempting to tear it open and start bolting things together, but a little prep work now will save you a world of frustration later. Think of this first stage as setting yourself up for a smooth, successful build.
First things first, let's get that bike out of the box. Find a clean, open space with good lighting where you won't be tripping over parts. Grab a pair of cutters and carefully snip the packing tape and any zip ties holding the components in place. A word of warning: never use a knife or a razor blade for this. One slip and you could put a nasty scratch in your brand-new paint job before you even get started.
With all the pieces laid out, your first instinct might be to start building. Hold on. Take a minute to do a quick inventory. Your bike’s manual should have a list of every part and piece of hardware that’s supposed to be in the box. Check everything off. It's much better to realize you're missing a crucial bolt now than when you're halfway through the assembly.
Next, get your tools in order. While some bikes include a few flimsy, one-time-use wrenches, using your own tools will make the job easier, faster, and a whole lot safer.
Before we dive into the tool list, it’s worth remembering the journey your bike took to get to you. The U.S. bicycle market is massive—expected to reach $84.25 billion by 2025, according to a report from Grand View Research.
A huge number of those bikes are imported, meaning they were put together on a fast-paced assembly line and then packed up for a long trip across the ocean. This is why some studies show a 25% failure rate for home-assembled bikes. A professional assembler catches those small factory mistakes—a loose bolt here, a misaligned part there—that the average person might miss.
Having the right tools is the first step to beating those odds. Here’s a breakdown of what you'll need.
This table covers the absolute must-haves for a safe and successful assembly, plus a few recommended items that will just make your life easier.
| Tool Category | Specific Tools | Why You Need It |
|---|---|---|
| Must-Haves | Allen Wrench Set (4mm, 5mm, 6mm) | The most common tool for tightening stems, handlebars, and seat posts. |
| Pedal Wrench (or a thin 15mm wrench) | Standard wrenches are too thick; you need this to properly tighten pedals. | |
| Tire Pump with a Gauge | Tires always ship underinflated. A gauge is critical for hitting the correct pressure (PSI). | |
| Box Cutter or Scissors | For safely opening the box and cutting zip ties without scratching the frame. | |
| Recommended | Bike Grease | Prevents the seat post and pedal threads from seizing up over time. A true lifesaver. |
| Torque Wrench | Eliminates guesswork and prevents over-tightening, which can damage carbon or alloy parts. | |
| Bike Stand | Holding the bike steady makes every step of the assembly process a hundred times easier. |
Having these tools ready to go before you even start will turn a potentially frustrating project into a smooth and rewarding experience.
Let’s be honest: not all bikes are created equal, and assembling one from a box can be a wildly different experience depending on what you’ve bought. A kid's first bike with training wheels is a world away from a sophisticated e-bike packing a battery and motor. Knowing what you’re up against is the first step to a successful and safe build.
No matter the bike, the opening act is always the same: unbox it, take inventory of all the parts, and get your tools ready.
Nailing this prep work lays the foundation for a smooth build. It ensures you have everything you need before you even think about turning a wrench. From there, the process starts to change.
Putting together a kid's bike might seem like child's play, but the safety stakes couldn't be higher. While they have fewer complex parts, getting the details right is everything for a child's security and confidence on two wheels.
You’ll want to focus your attention on a few key areas:
A common mistake I see all the time is people cranking down on the wheel nuts without making sure the tabbed washers are correctly slotted into the frame. Those little tabs are a critical safety feature; they prevent the wheel from slipping forward under pressure.
Moving up to an adult road, hybrid, or mountain bike, the job becomes more about fine-tuning and precision. The factory has already handled the tricky drivetrain stuff, so your role is to install the "contact points" and front wheel, then get the brakes connected.
Start with the handlebars. Slide the stem into the head tube and tighten the bolts just enough to hold it steady. You’ll line it up perfectly later. Next, pop in the seat post (a thin layer of grease here is a pro move) and install the front wheel into the fork dropouts. Double-check that it’s seated evenly on both sides.
Connecting the brakes is a step you can't afford to get wrong.
Finally, screw on the pedals. And here's the classic rookie mistake: remember the left pedal is reverse-threaded. You have to turn it counter-clockwise to tighten it. Get this wrong, and you can strip the threads on the crank arm—a costly and frustrating error. This level of detail is exactly why even a " 90% assembled" bike can take a professional one to two hours to build correctly.
E-bikes bring electronics into the mix, adding a whole new layer to the assembly process. You're not just a mechanic anymore; you're also managing wires, a battery, and a motor. Safety here is absolutely paramount.
The golden rule of e-bike assembly: never, ever connect the battery until every single mechanical part is assembled and all other wires are secured. This simple precaution prevents any accidental power surges that could fry expensive components or, worse, cause an injury.
Pay close attention to how you route the cables for the display, motor, and various sensors. Most frames have built-in channels or designated spots for zip-ties to keep wires tidy and prevent them from getting snagged or pinched. When you plug in a connector, you should feel a distinct "click" that tells you it's secure.
Once everything is buttoned up, mount the battery into its cradle, turn on the system, and make sure the display lights up. The final check is to confirm the motor engages when you start pedaling. The setup shares some principles with other home fitness equipment; in fact, our guide on exercise bike assembly has some extra tips that you might find helpful here, too.
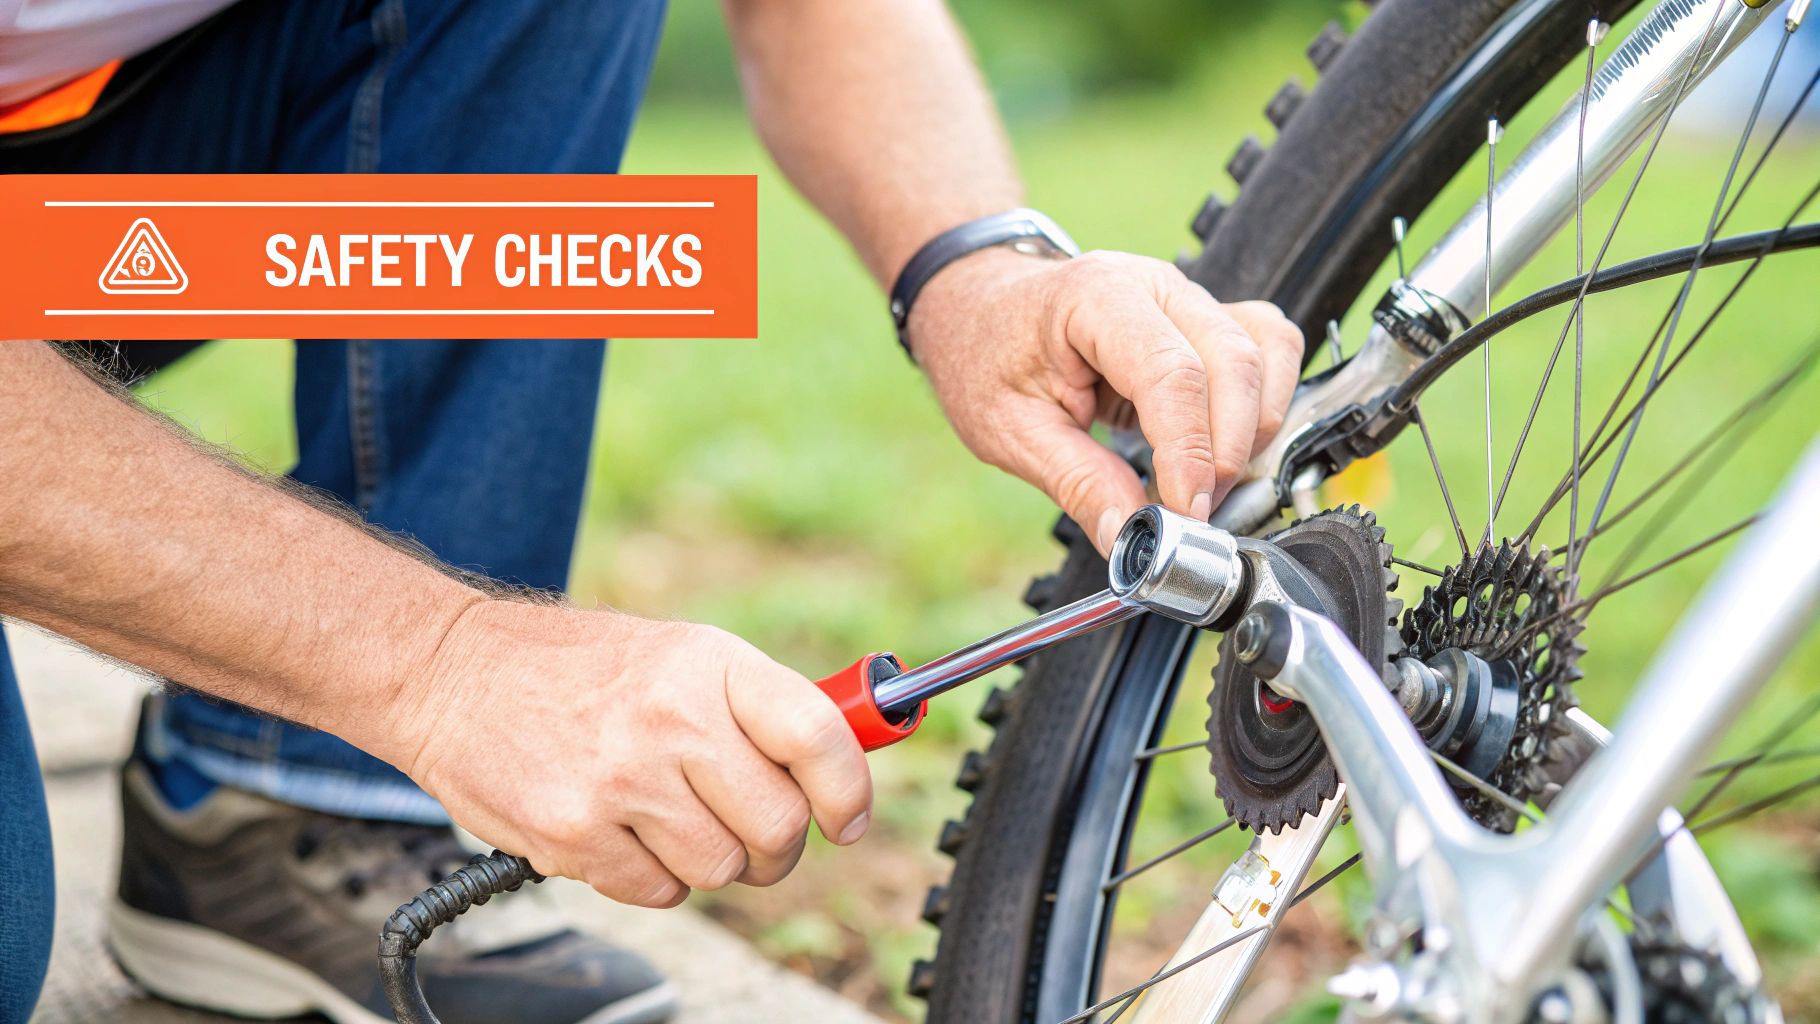
You’ve done the hard part and put the bike together. It's a great feeling, but hold off on that victory lap for just a minute. Before you hit the road, a full safety inspection is an absolute must. This isn’t about doubting your work; it’s the final, crucial step that turns a collection of parts into a safe, rideable bike.
Think about it: in 2024 alone, over 138.10 million bicycles were sold across the globe. A huge chunk of those arrive in a box, waiting for someone like you to assemble them. Sadly, a lot of bike-related accidents stem from simple assembly mistakes, like a bolt that wasn't tightened quite enough.
The best way to make sure you don't miss anything is to use a method the pros call the "M-Check." It’s named for the M-shaped path you trace with your eyes as you inspect the bike. You start at the back wheel, move up to the seat, down to the pedals, back up to the handlebars, and finally down to the front wheel. It’s a simple system that guarantees a thorough look-over.
Here’s what you're looking for:
Pro Tip: Squeeze the front brake lever hard and rock the bike back and forth. Feel any "knocking" or looseness? That's your headset, and it needs to be tightened immediately. A loose headset is a serious safety hazard and can lead to a loss of steering control.
Next up, let's dial in the brakes and gears. Squeeze both brake levers with some real force. They should feel firm and stop the wheels before the lever hits the handlebar. Take a close look at the brake pads, too—they need to hit the rim squarely, not the tire.
Now for the gears. Lift the back wheel off the ground and turn the pedals with one hand while you click through every single gear. The chain should jump cleanly between cogs. Any hesitation, skipping, or loud grinding means you’ve got some fine-tuning to do. It might be helpful to review some safe lifting techniques before you hoist the bike to avoid any back strain.
Even with the most careful assembly and a thorough safety check, accidents can still happen. If you ever find yourself in that unfortunate situation, know that there are resources available, like bicycle accident legal assistance, to help navigate the aftermath. But taking these few extra minutes now gives you the peace of mind to enjoy your ride, knowing your bike is as safe as it can be.
Even when you’re being careful, building a bike can hit some frustrating snags. You’re following the instructions to the letter, but something just isn't right—the brakes are rubbing, the chain won’t stay on, or the gears just click without actually shifting. These moments can turn what should be a rewarding project into a real headache.
Don’t worry, though. Most of these common issues have surprisingly simple fixes.
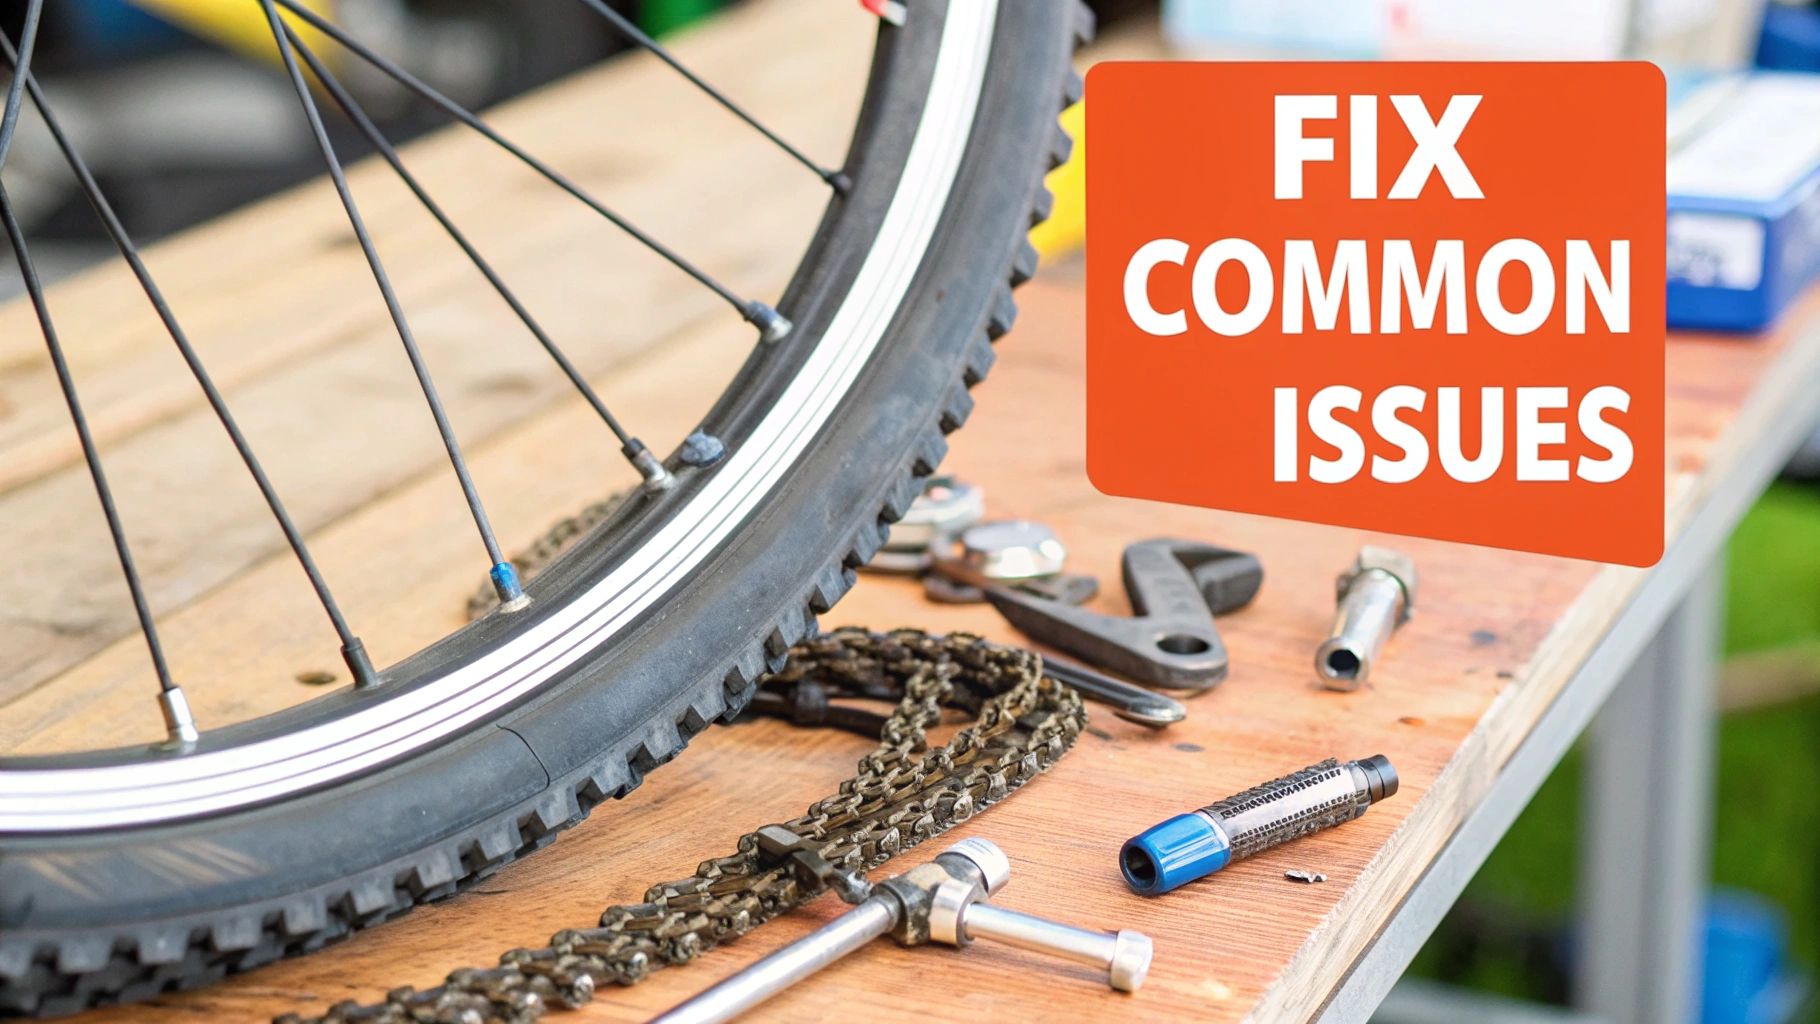
The trick is to tackle problems methodically instead of getting overwhelmed. A rubbing brake pad, for instance, is often just a matter of slightly loosening a single bolt, repositioning the caliper, and tightening it back down. It’s a five-minute fix that makes all the difference in the world.
Let’s get into the most frequent culprits. If your brakes make a scraping sound, it means a pad is hitting the wheel rim even when you’re not pulling the lever. To fix this, just loosen the bolt holding the brake caliper to the frame, center it so both pads are an equal distance from the rim, and tighten it back up.
Gears that click but refuse to shift are another classic. This usually points to an issue with either the derailleur’s limit screws or the cable tension. Start by checking the limit screws—these are the tiny screws on the derailleur that stop the chain from falling off the biggest or smallest cogs. A quick quarter-turn adjustment is often all it takes to get things running smoothly.
A wobbly feeling in the front end is a major safety concern, so if your handlebars or headset feel loose, stop immediately. Straddle the front wheel and try to twist the handlebars; if they move independently of the wheel, the stem bolts need to be tightened. If you feel a "knocking" when you rock the bike back and forth with the front brake squeezed, the headset is loose and has to be adjusted before you ride.
What about a chain that keeps falling off? First, check that the derailleur is aligned properly. If that looks good, the issue might be improper chain tension or even a stiff link in the chain itself.
When you run into these issues, a little guidance can go a long way. Here’s a quick-reference table to help you pinpoint the problem and find the right fix fast.
| Problem | Likely Cause | Solution |
|---|---|---|
| Brakes rubbing or squealing | The brake caliper is misaligned, causing the pad to hit the rim. | Loosen the caliper mounting bolt, re-center the caliper so pads are equidistant from the rim, and retighten. |
| Gears click but won't shift | Incorrect cable tension or poorly adjusted derailleur limit screws. | Adjust the barrel adjuster to fine-tune cable tension. If that fails, check and adjust the "H" and "L" limit screws. |
| Handlebars feel loose | The stem bolts are not tightened sufficiently. | Straddle the front wheel to hold it steady, then tighten the stem bolts securely with an Allen key. |
| Chain keeps falling off | Derailleur is out of alignment, or the chain has a stiff link. | Check the derailleur hanger for straightness. Inspect the chain for a link that doesn't bend freely and work it loose. |
| A "knocking" from the front | The headset is loose. | Loosen the side stem bolts, tighten the top cap bolt just enough to remove play, then re-tighten the stem bolts. |
Remember, these are just the most common snags. If a problem persists, it's always better to take a step back rather than forcing a part that doesn't want to move.
Many of these issues stem from improper tightening, which is a common DIY pitfall. Data reveals that 70% of home assemblers lack professional tools like torque wrenches, crucial for safety. Mishaps are alarming: loose handlebars contribute to 15% of the 100,000+ annual US bike injuries, many preventable with proper torque.
If you hit a wall with a stripped or stubborn screw during your adjustments, whatever you do, don't force it and cause more damage. We've got a detailed article with tips on how to get a screw out without ruining your new bike’s components.
There's a special kind of pride that comes from building something with your own two hands. But when it comes to assembling a bike, there are definitely moments when stepping back and calling a pro is the smartest—and safest—move you can make. It’s all about knowing your limits.
Sometimes, the bike itself makes the decision for you. If you've just invested in a high-end carbon fiber road bike or a complex full-suspension mountain bike, this is not the time for a beginner's project. These machines are engineered with incredible precision, and that means precise torque specifications are non-negotiable. One overtightened bolt on a carbon frame can crack it, instantly turning your dream bike into a very expensive piece of wall art.
Electric bikes are another huge leap in complexity. Suddenly, you're not just dealing with gears and brakes; you're handling a battery, a motor, and sensitive electronic controllers. A single wire connected incorrectly can fry the entire system. If you're thinking about tackling a project that's more involved than just assembling a bike from a box, this complete DIY guide to building an electric bike is a real eye-opener on just how intricate it can get.
There are other clear signs it’s time to call in a professional:
The real value of professional assembly is the peace of mind it brings. An expert build guarantees every single component is installed correctly, tightened to spec, and perfectly adjusted. That translates directly to a safer, more enjoyable ride that will last for years.
At the end of the day, it's a simple cost-benefit analysis. What's your time worth? And what's the price of knowing your bike is 100% safe for you or your kids to ride? For a lot of busy professionals and parents, the answer is a no-brainer.
Hiring an expert is a practical investment in both safety and convenience. And finding reliable help is getting simpler all the time. The same logic applies when you hire someone to assemble furniture—it saves you from staring at confusing instructions and losing hours of your day.
Even after you've tightened the last bolt and admired your work, a few nagging questions can pop up. Finishing a bike build is more than just putting parts together; it's about understanding the final details and what comes next. Here are the straight-up answers to the most common things people ask us after tackling a build on their own.
Let's be realistic. If you're a first-timer building a standard hybrid or single-speed bike, block off 2 to 4 hours. Seriously. That gives you enough breathing room to actually read the instructions, find the right Allen key, and double-check everything without feeling rushed. For a kid's bike, you can probably knock that down to about 1.5 to 2 hours.
Now, if you've got a high-end road bike or an e-bike with a bunch of wiring, that timeline changes fast. A project like that can easily eat up more than 4 hours for a home mechanic. On the flip side, a pro with all the right tools and years of experience can have a standard bike ready to ride in about 60-90 minutes.
The most frequent—and frankly, most dangerous—mistakes we see come down to not tightening things correctly. People often under-tighten the handlebar stem or the seat post bolts, which is a recipe for disaster and a sudden loss of control. Another classic blunder is not seating the front wheel properly in the dropouts before tightening it down.
Other critical slip-ups include:
Here's a pro tip: a bike repair stand is your best friend. While you can get the job done without one, it makes everything so much easier and safer. A stand gets the bike off the ground, letting you spin the wheels freely to dial in the brakes and gears without flipping the bike upside down—a move that can easily wreck your shifters.
On the surface, yeah, DIY seems like the budget-friendly option. But don't forget the hidden costs. You have to buy any tools you're missing, like a proper pedal wrench or a decent set of Allen keys. And more importantly, what's your time worth? If you spend an entire Saturday wrestling with a bike build, that's a huge time investment.
Hiring a professional service guarantees the bike is built right and, more importantly, safely. It saves you the headache and prevents those little mistakes that can turn into expensive repairs later. For a lot of people, the peace of mind knowing an expert handled it is worth every penny.
Don't let a box of parts be the one thing standing between you and hitting the road. If you want a perfect, professional build without any of the hassle, Assembly Smart is here to help. Our experienced techs will make sure your bike is assembled safely and tuned perfectly, so all you have to do is ride. Book your stress-free appointment today at https://assemblysmart.com.
