-
CALL US:
- (866) 952-3456
I've seen it a hundred times: a family gets a new trampoline, the box is ripped open in excitement, and then… frustration sets in. Putting these things together can seem simple, but success is all about what you do before you even touch a single pole or spring.
Taking an hour to get your ducks in a row can genuinely save you three hours of backtracking and headaches later. The two biggest things? Picking the right spot and making sure all the parts are actually in the box.
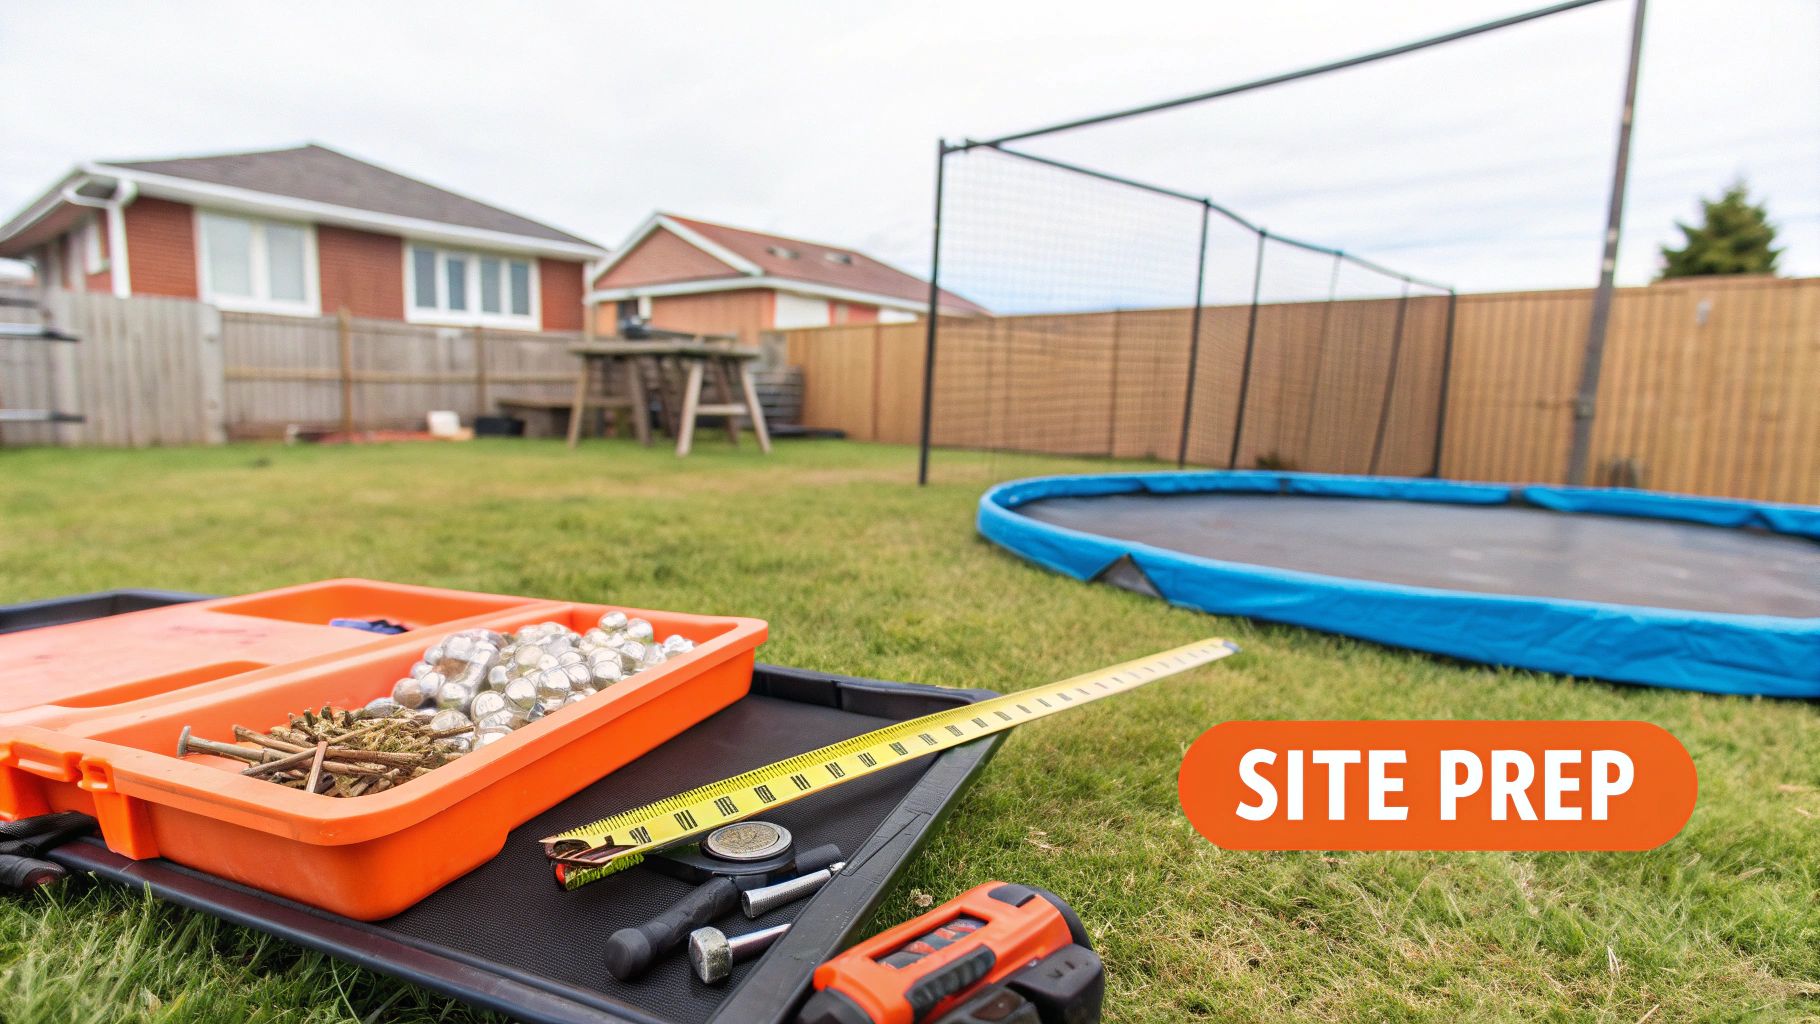
Before you even think about building, you need a plan. A solid assembly starts with a clear head, not just a jumble of metal parts on your lawn. This first phase really comes down to three things: finding the perfect location, grabbing the right tools, and doing a careful inventory check.
The trampoline market is booming, expected to hit US$2.4 billion by 2035. That means more and more people are getting these giant, heavy boxes delivered, full of hundreds of pieces that need a good 2-4 hours of focus. One mistake, like building on a hill, doesn't just look bad—it can make the whole structure dangerously unstable.
Where you put your trampoline is easily the most important safety call you'll make. First, hunt for the flattest piece of ground you've got. A tiny slope can sometimes be fixed, but a serious incline is a non-starter. It creates an uneven base that puts the whole thing at risk of tipping over.
It's not just about being level, though. You need clearance. A good rule of thumb is to leave at least two feet of open space all the way around the trampoline. This buffer zone needs to be completely clear of:
If your yard has a noticeable slope, please don't just wing it. Taking the time to properly level the ground is essential. We've put together a full guide on this, which you can find right here: https://assemblysmart.com/how-to-level-ground-for-trampoline/
An uneven trampoline doesn’t just look off—it places uneven stress on the frame and springs, leading to premature wear and a significantly higher risk of accidents.
A little organization now will pay off big time. It's a bit like the advice for securing large furniture to prevent tip-overs; the principle is the same—stability starts with preparation.
Before you start building, run through this quick checklist. It'll make sure you have everything you need right from the get-go.
Your Pre-Assembly Game Plan
| Task | Why It's Critical | Insider Tip |
|---|---|---|
| Inventory All Parts | Prevents starting a build you can't finish due to a missing screw or pole. | Lay parts out on a tarp or blanket in groups, matching them to the manual's diagram. |
| Gather Your Tools | The included "tools" are often flimsy and inefficient, extending assembly time. | A socket wrench set, rubber mallet, and spring puller are game-changers. |
| Read the Manual | Every brand has unique steps; assuming you know how can lead to backtracking. | Read it cover-to-cover before you start. Highlight critical steps. |
| Recruit a Helper | Many steps require two people to lift, hold, and align heavy frame parts. | A second person is essential for safely stretching the mat and attaching springs. |
Trust me, spending 30 minutes on this checklist is far better than spending an afternoon hunting for a missing part or realizing you can't lift the frame by yourself. A little prep makes the whole project go smoother.
The frame is the skeleton of your trampoline. Its integrity is non-negotiable. This is where a pile of steel tubes starts to actually look like something, and getting this stage right is critical. Every single step that follows depends on a perfectly level and securely assembled base.
Think of it like pouring the foundation for a house. If you have a wobbly or misaligned frame now, you’re guaranteed to have a dangerous and unstable trampoline later. The whole point here is to create a rigid, even structure that will distribute the force of every jump safely across the entire unit.
First, lay out all the curved or straight sections of the top rail on the ground, roughly in their final shape. Most trampolines these days use a simple push-pin or slot-and-groove system—one end of a tube slides into the next until a button pops into place, locking them. It's a pretty straightforward idea, but if the connections are a bit snug, a rubber mallet will be your best friend.
Here’s a tip from experience: don't just work your way around in a circle. Connect two halves of the frame on opposite sides first. This little trick helps maintain the overall shape and makes it much easier to connect the final pieces without having to wrestle them into position.
Once you have a complete ring, give it a little shake. It should feel solid, without any major play or movement at the joints.
With the frame ring built, it's time to attach the T-sockets and legs. These are what connect the jumping surface to the ground, so their proper installation is vital for stability. Each T-socket usually slides over a joint in the top rail, giving you a port for the U-shaped legs.
A classic mistake people make here is cranking down on all the bolts immediately. Do not fully tighten any hardware yet. You want the bolts snug enough to hold everything together, but leave them a little loose. This gives you room for minor adjustments as you attach all the legs, ensuring the entire structure can settle into a level position.
A frame that can't be adjusted during the initial assembly of trampoline components will fight you at every turn. Leaving bolts slightly loose gives you the wiggle room needed to ensure everything lines up perfectly before the final tightening.
Once all the legs are attached, step back and take a look at the frame from a distance. Does it look level and symmetrical? This is your last real chance to make easy adjustments.
Key Stability Checkpoints
Now that you've double-checked that the frame is aligned and the legs are positioned correctly, you can start the final tightening. This isn't just about reefing on every bolt as hard as you can. A strategic approach will keep you from accidentally warping the frame.
Work in a star pattern, just like you would when tightening lug nuts on a car tire. Tighten a bolt on one side of the trampoline, then move to the bolt directly opposite it. Keep up this crisscross pattern until every bolt is secure. This method distributes pressure evenly and pulls the frame together uniformly without creating stress points.
You'll thank yourself for using a socket wrench instead of that tiny tool that came in the box. It will make this step much faster and get you a more secure fit. Once you're done, your trampoline's foundation is officially built and ready for the next, more physically demanding stage.
You've built a solid, level frame. That's a huge step. Now for the part that can feel like a real workout: attaching the jumping mat and wrestling with all those springs. This is where strategy beats brute force, every single time. If you just jump in and start hooking, you can end up with an unevenly tensioned mat or, worse, have a spring snap back at you.
The key is to work smarter, not harder. I'm going to walk you through the technique we pros use to make this job manageable and safe. With the right approach and the proper tool, you'll find a rhythm that makes attaching dozens of high-tension springs a lot less intimidating than it looks.
First, though, a quick reminder. The frame has to be perfect before you even think about the mat.

This process—Connect, Attach, and Align—is the bedrock of the whole project. A stable, level frame is non-negotiable for a safe mat installation.
The secret to a perfectly tight mat is all about even distribution. If you just start attaching springs in a circle, you'll pull the mat way too tight on one side. By the time you get to the end, it’ll be physically impossible to stretch those last few springs across the frame.
To avoid that headache, we use what's called the "star pattern" or "clock face" method.
Picture your trampoline frame as a giant clock. Start by attaching your very first spring at the 12 o'clock position. Now, grab another one, walk directly across the mat, and attach it at the 6 o'clock spot. Instantly, you'll see the mat is centered and the tension feels balanced.
Next, you'll attach a spring at 3 o'clock, followed immediately by its opposite at 9 o'clock. You've just made a plus sign, and the mat is now securely centered. Just keep following that pattern—attaching one spring and then its direct opposite—until every single one is in place.
By attaching springs in an opposing pattern, you systematically distribute the tension across the entire surface. This prevents the mat from warping and makes attaching those last few springs significantly easier because the load is already balanced.
See that little T-shaped metal hook that came in the box? That’s your best friend for this part of the job. It's a spring-pulling tool, and using it the right way will save your hands and prevent a nasty injury. Never try to pull these springs with your bare hands or a pair of pliers.
Here’s how to do it right:
I highly recommend wearing gloves during this entire process. If a spring slips, it can snap back with some serious force. Always make sure you have a solid footing and a good grip before you pull.
As you work your way around the trampoline, stop and check your progress every so often. Is the mat still centered? Do you see an equal border of springs all the way around? If it looks like it's pulling to one side, you might have skipped a spring in your sequence. It's an easy fix now, but a huge pain later.
The end goal is to have every single spring under a similar, high tension. That's what gives a trampoline its safe, responsive bounce. A correctly installed mat should be taut like a drum. If you have loose or uneven springs, you not only get a terrible jumping experience, but you also put a ton of stress on specific parts of the frame and mat, which leads to them wearing out way too fast.
Once every last spring is attached, do one final walk-around. Double-check that each spring is seated securely in its frame hole and properly connected to the mat's V-ring.
With that, your trampoline officially has its bounce. You're ready to move on to the final safety features.
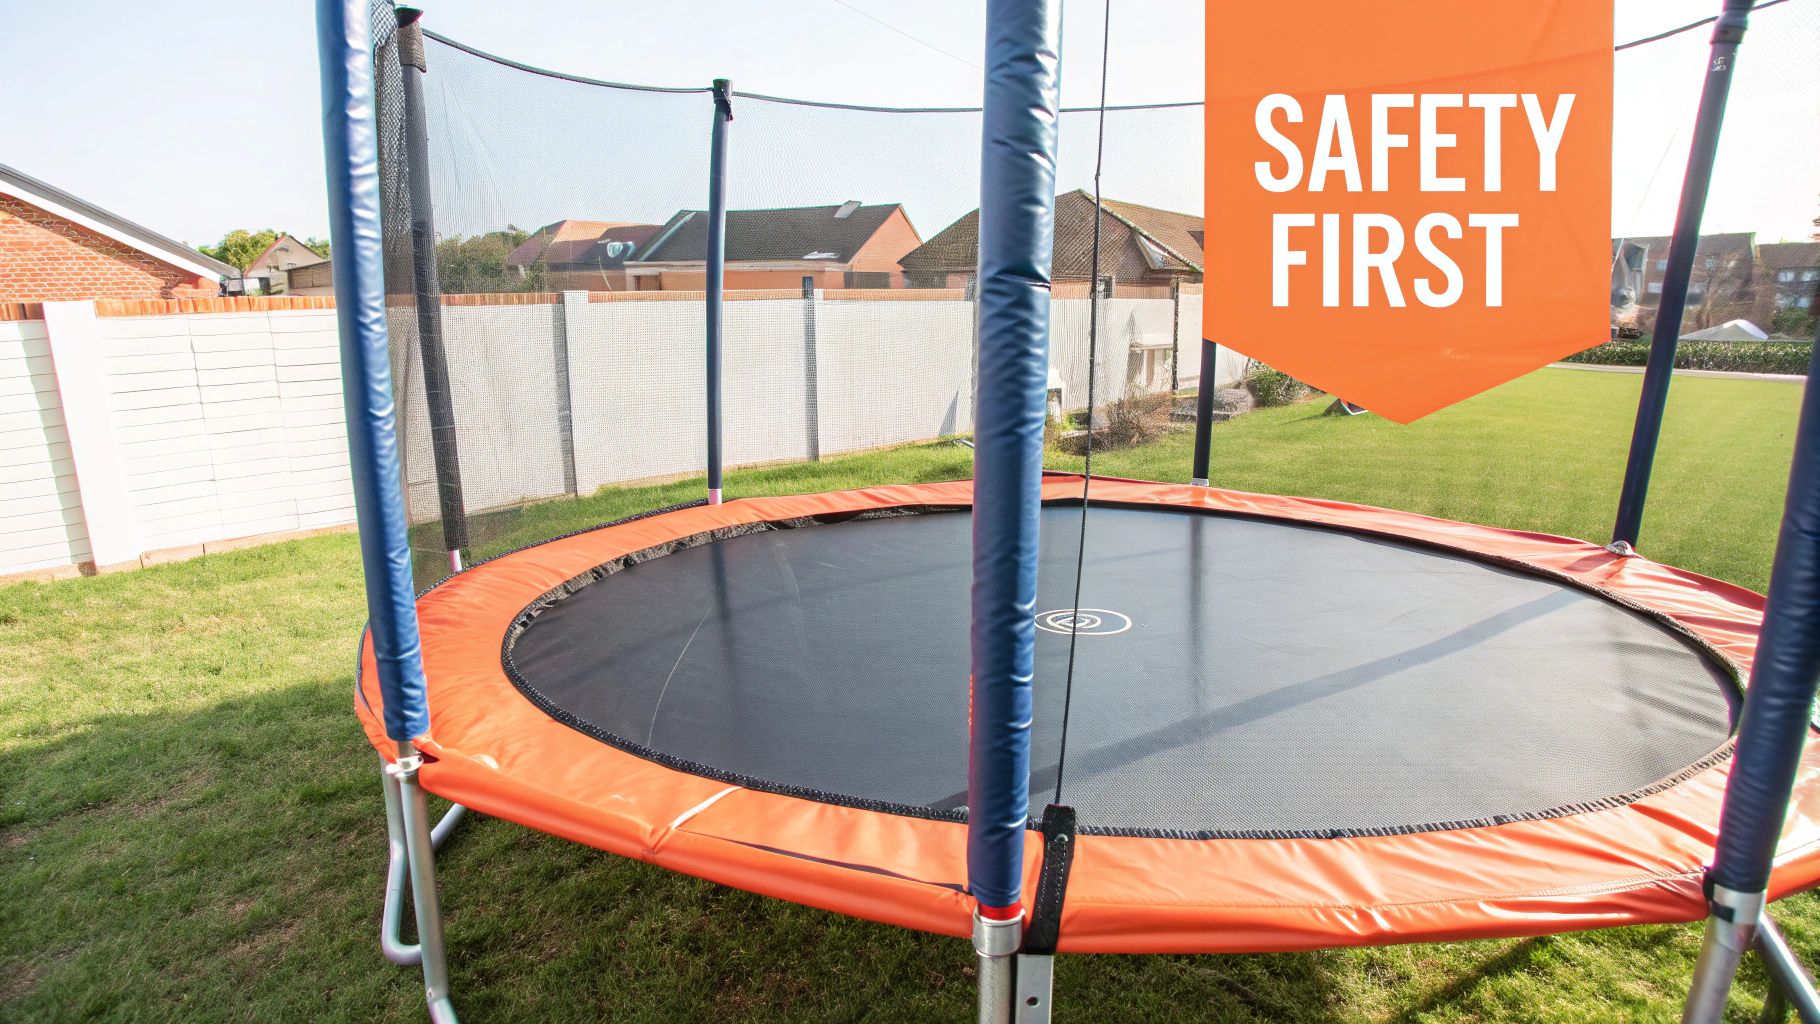
With the frame solid and the mat perfectly tensioned, the structure is finally starting to look like a trampoline. Now comes the part you absolutely can't afford to rush: adding the enclosure poles, the net, and the spring cover padding. These aren’t just cosmetic touches; they’re the active safety systems that prevent the most common—and most serious—injuries.
It's a huge mistake to speed through this part of the assembly of trampoline. Your safety features are only as good as their installation. A loose pole or a sagging net creates a false sense of security, which can be even more dangerous than having no net at all.
The enclosure poles are the skeleton that holds up the safety netting. They usually come in two pieces—a lower and an upper section—that you'll need to slide together. First, attach the lower sections to the trampoline legs, carefully following your manual’s hardware instructions.
A common pitfall here is not tightening the bolts enough. Each pole needs to be absolutely rigid. After you attach one, give it a firm shake. If you feel any wobble or see it shift at the connection point, get back on that hardware until it’s rock solid.
The stability of your safety net is entirely dependent on the rigidity of its support poles. A wobbly pole means a wobbly, ineffective enclosure. Take the time to tighten every bolt until there is zero play.
Once all the lower poles are secure and standing straight, you can go ahead and attach the top sections. These often have a cap or ring that supports the net. Make sure these upper poles are fully seated and locked in place before you even think about touching the net.
Now, you can start threading the safety net onto the poles. This step requires patience. The biggest challenge is making sure the net doesn't get twisted as you work your way around the trampoline.
Start at the net’s entrance—where the zipper is located—and attach it to one of the poles. From there, slowly work your way around, sliding the net's sleeves over each pole or using the provided straps. As you go, keep the bottom edge of the net aligned with the trampoline frame.
Common Net Installation Mistakes to Avoid
With the net hung, the final task is securing its bottom edge. This often involves weaving a rope through the bottom of the net and the V-rings on the mat, pulling it taut to eliminate any gaps between the net and the jumping surface.
The final piece of the puzzle is the thick, cushioned pad that covers the frame and all the springs. This pad is essential for preventing injuries from accidental contact with the metal parts. It's a simple component, but its proper installation is vital.
Unroll the pad around the edge of the trampoline, making sure it completely covers the steel frame and every single spring. The pad attaches to the frame with a series of elastic straps or ties. Secure these tightly, pulling them taut so the pad sits snugly against the frame without any gaps.
Safety statistics really highlight why this step is so crucial. Up to 90% of trampoline injuries are linked to poor setups, and properly installed features like enclosures can reduce accidents by 70%. Finding the right product is also a big part of the safety equation, so it's worth reviewing a guide on the safest trampolines for kids to make a truly informed choice.
Even when you follow the instructions to the letter, building a trampoline can throw you a curveball. It’s totally normal to hit a snag, whether it's a part that won’t cooperate or a step that just doesn’t make sense. The trick is knowing how to handle these common issues without cutting corners on safety.
Think of this section as your troubleshooting guide for the usual suspects. We’ll walk through everything from a wobbly frame to a droopy safety net, giving you practical fixes you can use right away.
It's also important to know when a small hiccup is actually a major red flag. Sometimes, trying to force it can turn a minor assembly issue into a serious safety hazard.
So, you've pieced together the frame, attached the legs, and you give it a little test push—only to see it rock back and forth. A wobbly frame is probably the most common (and most critical) problem you can run into. A rock-solid base isn't just nice to have; it's non-negotiable for safety.
Nine times out of ten, this comes down to one of two things: your ground isn't perfectly level, or you tightened the bolts in the wrong order. If your yard has even a slight slope, the legs on the downhill side won't sit flush, causing that wobble. You might need to dig out a small amount of dirt under the legs on the high side to get the whole thing level.
The other culprit is tightening the bolts on one side completely before moving to the next. This can pull the whole frame out of whack. The fix? Loosen all the leg bolts about a quarter-turn, let the frame settle into its natural position, and then re-tighten everything in a star pattern to distribute the pressure evenly.
You're in the home stretch, installing the mat, but those last 10 or so springs feel like an Olympic event. The mat is so tight you can't get enough leverage to pull the spring to the frame. This is a classic symptom of uneven tension.
This almost always happens when you install the springs in a circle instead of crisscrossing the mat in that "star pattern" we talked about. The only real solution here is to backtrack. You don't have to take them all off, but you'll need to remove about half of them and start over, attaching them on opposite sides to balance things out.
Trying to just "muscle through" those last few springs is a big mistake. You'll exhaust yourself, and you risk bending the frame, damaging the springs, or ripping the mat's V-rings. The right way is always to fix the tension balance.
If you are using the star pattern and it’s still a struggle, check your technique with the spring-puller tool. You should be using your body weight by leaning back, not just your arm strength, to get the pull you need.
You've done all the heavy lifting, you step back to admire your work, and the safety net is drooping or twisted. A sagging net isn't just an eyesore; it's a huge safety failure because it won't properly catch a jumper.
This problem usually boils down to a couple of simple mistakes made during the net installation:
Another headache can be stripped or stubborn hardware. If you're fighting with a screw that refuses to cooperate, it's important to handle it correctly. For some great tips on these tricky situations, our article on how to get a screw out provides several effective methods that can save you a world of frustration.
Sometimes, a problem is bigger than a simple DIY fix. If you pull a warped frame piece out of the box, realize you're missing critical hardware, or just feel completely out of your depth, it’s time to stop. Forcing parts that don't fit or improvising with other hardware can void your warranty and, more importantly, create a dangerously unsafe trampoline.
This is exactly where a professional service like Assembly Smart can be a lifesaver. Our technicians have seen it all. They can spot the problem right away, figure out a safe fix, and get the job done right, giving you complete peace of mind.
Even when the trampoline is standing proudly in your yard, a few nagging questions can pop up. Did I tighten that bolt enough? What's the most important thing to check? We get it. You want peace of mind before the kids start jumping.
This is where we tackle the most common questions we hear from families just like yours. We’ll give you straight, practical answers based on years of experience, so you can feel confident your new trampoline is ready for action.
This is the big one, isn't it? Let's be realistic. If this is your first time putting together a standard 12- to 14-foot round trampoline, set aside 3 to 5 hours. That's not just assembly time; that includes unpacking everything, sorting the mountain of parts, and actually reading the manual.
Someone with a few builds under their belt, or a professional from our team, can usually knock it out in 1.5 to 3 hours. Don't try to beat the clock. The part where you attach all the springs is a real workout and can take a surprising amount of time. Rushing through that phase is just asking for frustration and mistakes.
Alright, the last bolt is in. But you're not quite done. A final, thorough inspection is non-negotiable.
Before anyone even thinks about bouncing, walk around and do these checks:
Make it a habit to run through these checks every few weeks, especially after a big storm or a weekend of heavy use.
Technically, maybe. But we strongly advise against it. This isn't just about it being difficult—it can be downright unsafe to go it alone.
Many of the key steps, like connecting the big ring of the frame or stretching the mat for those first few springs, are really a two-person job. You need one person to hold a heavy, awkward piece steady while the other person fits and secures it.
An extra pair of hands makes the whole process faster, safer, and a lot less frustrating. Trust us, having someone to provide counter-pressure when you're pulling those high-tension springs is a game-changer.
Trying to build it solo is a recipe for dropping heavy metal parts, straining your back, or having a spring snap back at you. For your own safety and to make sure the trampoline is built right, always team up with a helper.
This is exactly why we tell everyone to do a full inventory before starting. If you're halfway through and realize you're missing a bolt or a bracket, you have to stop the build immediately.
Don't be tempted to run to the hardware store for a "close enough" substitute. The hardware that comes in the box is specifically rated for the unique forces a trampoline endures. Using a generic bolt could cause a structural failure, will definitely void your warranty, and creates a massive safety risk.
Your next step is to find the part number in your manual and call the manufacturer's customer service line. They'll ship you the correct part. Yes, it’s a delay, but building the trampoline with 100% of the right components is the only safe way to do it. This is also a point where some people decide the hassle isn't worth it; you can learn more about what a professional charges in our trampoline assembly cost guide.
Feeling a bit overwhelmed or just don't have the time? Let the experts at Assembly Smart take it from here. We offer professional, insured trampoline assembly services that guarantee your equipment is built perfectly for safety and fun. Book your stress-free assembly at https://assemblysmart.com and get straight to the bouncing.
