-
CALL US:
- (866) 952-3456
Attaching a headboard straight to the wall is one of the best ways to get a totally stable, gap-free bed setup. When you secure it to the wall studs or use the right anchors, you completely get rid of that annoying shifting and banging you often get with frame-mounted headboards. This approach gives you unmatched stability for any headboard, from a simple lightweight panel to a heavy, custom-designed piece.

Before you start grabbing your tools, let’s talk about why mounting your headboard is really the superior choice. A lot of people just put up with a wobbly headboard because that’s how it came—attached to the bed frame. But that constant thud every time you shift in bed or the frustrating gap that swallows your pillows isn’t something you just have to live with.
By attaching the headboard directly to the wall, you're creating a solid, permanent fixture. It ends up feeling less like a piece of furniture and more like a high-end, built-in feature of the room. This is a huge help for those heavy or oversized headboards that can easily overwhelm a standard metal bed frame, sometimes causing it to bend or shift over time.
This method really pays off with a few key advantages:
Beyond just aesthetics, the trend toward wall-mounting is rooted in safety and reliability. It’s a technique that transforms a simple piece of furniture into a secure and integral part of your room's design.
This isn't just a DIY trick anymore; major furniture retailers are now commonly advising that you anchor headboards directly to wall studs. This industry shift reflects a bigger focus on product safety and long-term stability, rather than just relying on the old bed frame mounts.
A well-mounted headboard also plays a huge role in your overall design. Understanding the principles of designing custom bed frames can give you great ideas for creating a cohesive bedroom aesthetic, and a secure headboard is the first step. This project is a perfect match for thoughtful https://assemblysmart.com/bedroom-layout-ideas/, making sure your room isn’t just beautiful but truly functional.
Let’s be honest, having the right gear ready to go is the difference between a project you can be proud of and an afternoon you’d rather forget. When you’re mounting a headboard, the specific hardware hinges on what your walls are made of, but a few core tools are non-negotiable if you want a professional-looking result.
Think of this as your pre-flight checklist. First up, a quality electronic stud finder is your absolute best friend for drywall. It takes the guesswork out of locating the wall framing, which is the most secure place you can anchor anything. Sure, you can try the old "knock test," but it's a bit of a dark art and nowhere near as reliable.
Next, a laser level is a total game-changer. It throws a perfectly straight line across the wall, making it easy to get your headboard perfectly aligned without a ton of tedious measuring and re-measuring.
Whether you're dealing with brand-new drywall or century-old plaster, you'll need a basic kit. These are the fundamentals for measuring, marking, and drilling accurately. If you want a deeper dive into building a solid DIY toolkit, check out our complete guide to essential furniture assembly tools.
Here’s the bare minimum you should have on hand:
This is where the real magic happens. Getting the fasteners right is crucial for a secure installation. You have to match the anchor to your wall type and the headboard’s weight. Using the wrong one is just asking for a wobbly headboard that could pull right out of the wall down the road.
If you’re working with drywall and can’t hit a stud, toggle bolts or strap toggles are fantastic. They pop open behind the drywall, spreading the load over a much wider area. For plaster, which is notoriously brittle, expandable plastic sleeve anchors are usually a safe bet. But for heavy-duty walls like brick or concrete, you’ll need to bring out the big guns: sleeve anchors or lag shields and a hammer drill to set them.
It's no surprise so many people are choosing this kind of setup. The global bed head panel market was valued at a whopping USD 3.01 billion in 2024, showing just how popular secure, wall-mounted styles have become.
Pro Tip: When you're picking out anchors, always go with a set rated for a little more weight than your headboard actually is. It’s a simple move that adds a critical safety margin and ensures everything stays put for years to come.
To make things a bit easier, here’s a quick guide to help you pick the right fastener for your specific wall.
| Wall Type | Recommended Anchor | Best For | Pro Tip |
|---|---|---|---|
| Drywall (No Stud) | Toggle Bolt / Strap Toggle | Medium to heavy headboards where studs aren't an option. | Pre-drill your holes slightly larger than the collapsed toggle to make insertion easier. |
| Drywall (Stud) | Wood Screws / Lag Screws | The most secure option for any headboard weight. | Always drill a pilot hole that's slightly smaller than the screw's diameter to prevent the wood from splitting. |
| Plaster & Lath | Plastic Sleeve Anchors | Lighter headboards, as plaster can be fragile. | Drill slowly and carefully to avoid cracking the plaster. Don't overtighten the screw. |
| Brick / Concrete | Sleeve Anchors / Lag Shields | Heavy headboards or any headboard on a masonry wall. | A hammer drill is essential for this job. Make sure the hole is deep enough for the entire anchor. |
Picking the right anchor isn't just a recommendation; it's the key to making sure your headboard is safe, secure, and perfectly stable.
Alright, you've got your tools and hardware lined up. Now for the main event: actually attaching the headboard to the wall. This is where precision and patience really pay off. If you rush through the measuring or get a little too happy with the drill, you could end up with a crooked headboard or some ugly holes to patch. So, let’s take a breath and do it right the first time.
The whole process is pretty logical. We'll start by figuring out the perfect spot on the wall, then find the solid support hiding behind the drywall. After that, it's just a matter of drilling clean holes and getting your hardware locked in for a rock-solid installation that’ll last.
It really boils down to three key actions: picking the right hardware, measuring carefully, and securing it all in place.
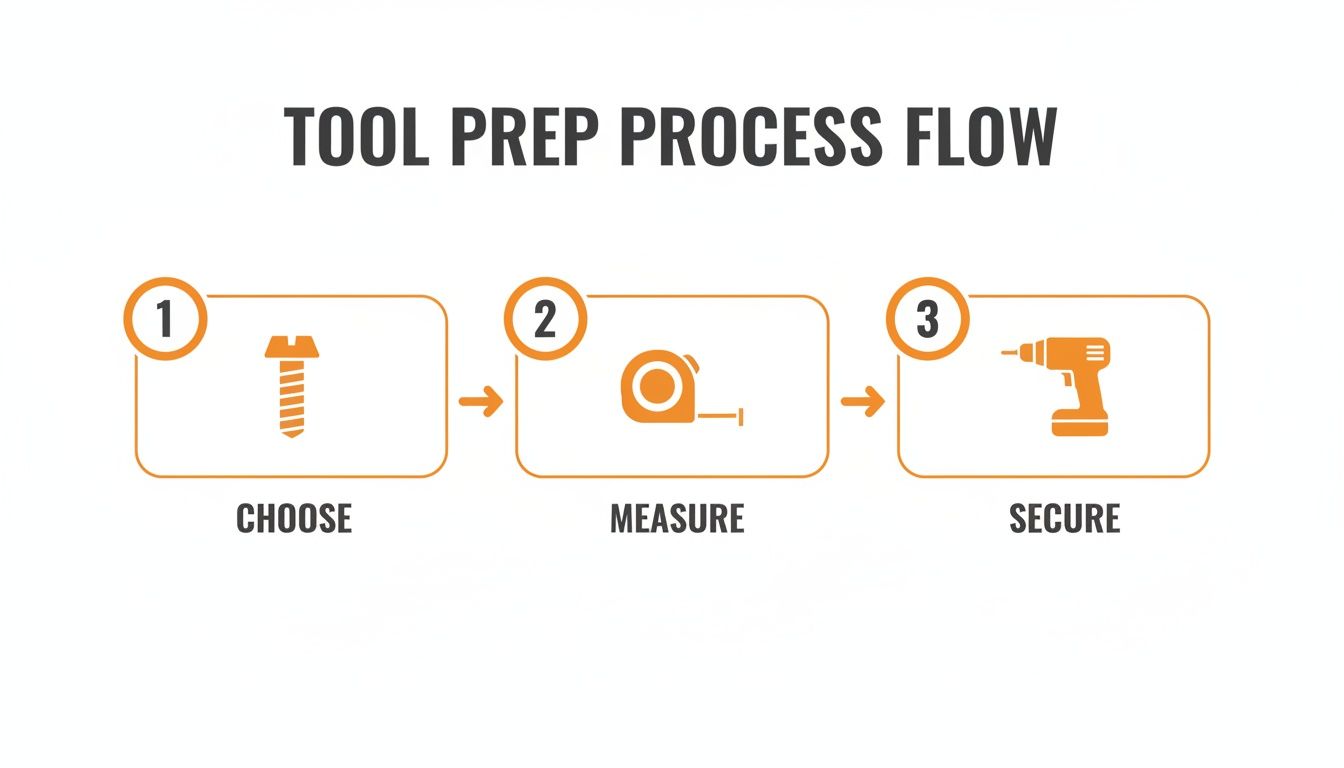
Think of it this way: a great installation isn't just about the final step of drilling. Each stage builds on the one before it, making sure the final result is secure, level, and looks fantastic.
First things first, get your bed frame positioned exactly where you want it to live for good. This might sound obvious, but even being off by an inch can make the whole room feel unbalanced. If you need a refresher on getting the foundation just right, we've got a helpful guide on putting together bed frames.
With the frame in place, slide the headboard against the wall behind it. Now you have to decide on the height. A good rule of thumb is to have the bottom edge of the headboard sit 2-4 inches below the top of your mattress. This gets rid of that awkward gap but keeps the decorative part of the headboard high enough to see over your pillows.
Grab your level and make sure the headboard is perfectly straight. Once it is, use a pencil to lightly trace the top and side edges on the wall. Now you can move the bed and headboard out of the way, leaving you with a clear outline to work with.
Time to find the bones of your wall. Use your electronic stud finder to sweep the area inside your pencil outline. When it beeps, you've found a stud. Mark the center of each one you locate. For the strongest possible hold, you'll want to anchor your mounting hardware into at least two of these studs.
Don't panic if your studs don't line up perfectly with where you need to attach your brackets. It happens all the time. You can either use some heavy-duty drywall anchors or, for a super-sturdy solution, mount a horizontal board (called a ledger board) to the studs first and then attach your headboard to that board.
Mark the spots where you’ll drill, right over the center of the studs. Get out your tape measure and level again to double-check that your marks are symmetrical and perfectly aligned. This is the kind of small detail that separates a pro-looking job from a DIY-disaster.
With your drill points marked, you're ready to go. To keep the drill bit from "walking" across the wall surface, use a nail or an awl to make a small indent at each mark. This gives the bit a starting point to grip.
If you’re working with something more complex, like panel headboards with integrated lights, this is the stage where you'll need to be extra careful with any wiring.
Once the holes are drilled, go ahead and install your mounting hardware, whether that’s a French cleat, D-rings, or basic brackets. Attach one part to the wall and the matching part to the back of the headboard. Make sure every screw is tight and secure.
Finally, grab a friend to help you lift the headboard, line it up, and lock it onto the wall-mounted hardware. Give it a gentle but firm tug to make sure it’s not going anywhere.
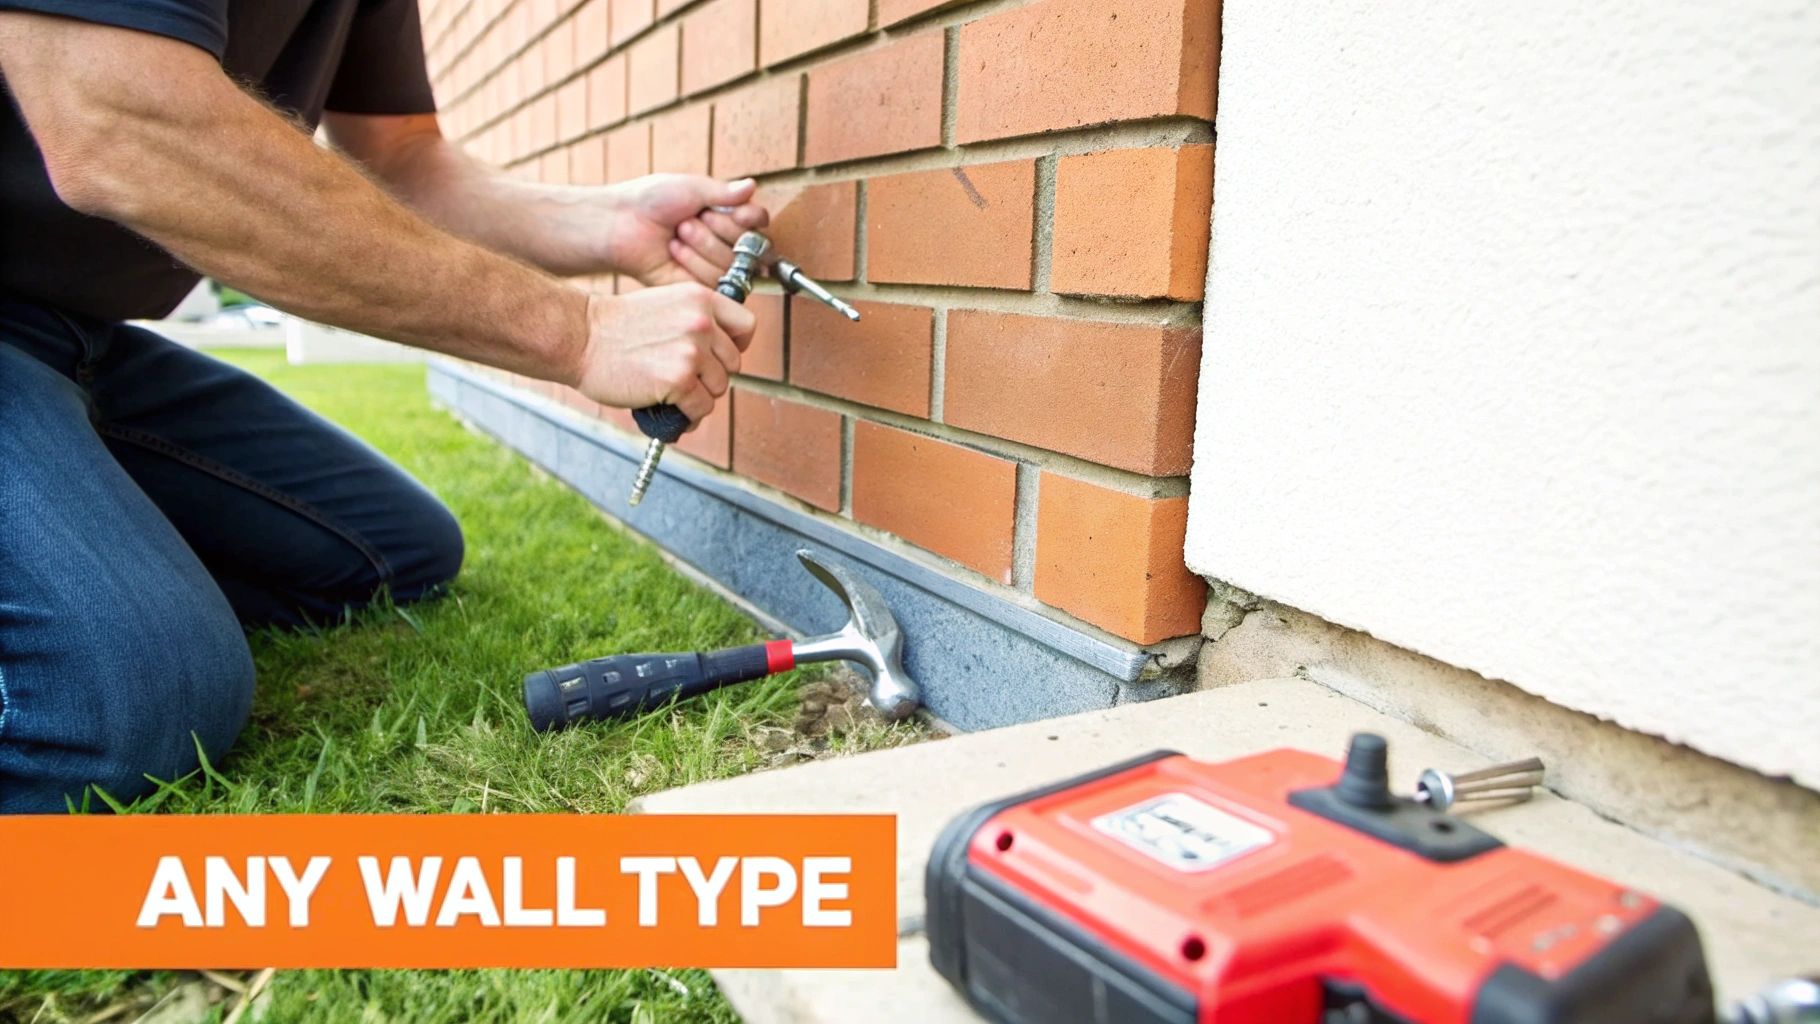
The real secret to a successful installation? Knowing what’s hiding behind that layer of paint. Your home’s walls aren't all the same, and your game plan for attaching a headboard needs to change depending on the material you're up against.
Trying to use a drywall anchor in a plaster wall is a fast track to frustration. Attempting to drill into brick without the proper gear is a complete non-starter. This guide will help you sidestep the common headaches and costly mistakes, ensuring your headboard is secure, stable, and stylish for years to come.
Most modern homes are built with drywall, which is essentially gypsum plaster pressed between thick sheets of paper. For a rock-solid mount, your goal is to anchor directly into the wooden studs—the skeleton of your wall. These provide the strength needed to hold the headboard's weight without any drama.
A stud finder is your best friend here. Once you've located the studs, you can drive long wood screws straight through your mounting hardware and into the wood frame.
But what happens when the studs just don't line up where you want the headboard? It’s a common problem, and thankfully, you have a couple of great options:
If you’re in an older home, chances are you’re dealing with plaster and lath. This construction involves wooden strips (lath) nailed to the studs, then covered with multiple coats of plaster. It’s far more dense and brittle than drywall, so you need a gentle approach to avoid cracks and crumbles.
Pro Tip: Before you even think about drilling into plaster, put a piece of painter's tape over your mark. It’s a simple trick that helps stop the plaster from chipping and gives your drill bit a bit of grip so it doesn’t wander.
When you do drill, go slow and use very light pressure. Toggle bolts require a big hole, which can easily compromise the plaster. Instead, I always recommend expandable plastic sleeve anchors for plaster. They need a much smaller pilot hole and expand gently to grip the wall, making them a perfect fit for lighter headboards.
Brick, block, and concrete walls offer an incredibly solid anchor point, but they won't yield without a fight. A standard drill is just not going to work here; you absolutely need a hammer drill. This tool combines spinning with a rapid hammering motion, pulverizing the masonry to create a clean hole without burning out the motor.
For these tough surfaces, heavy-duty sleeve anchors or lag shields are the only way to go. These provide an unshakeable hold that you can count on. For a more detailed walkthrough, our guide on how to hang something on a brick wall offers some great expert tips.
The trend toward wall-mounted furniture isn’t just about aesthetics; it’s a smart response to shrinking urban living spaces where every square foot counts. You can see how this is driving the market by checking out the latest research on space-saving furniture.
Even when you've measured twice, sometimes a project hits a snag. Attaching a headboard to a wall is usually a pretty smooth process, but discovering a wall stud isn't where it's supposed to be or that a bracket is slightly crooked can feel like a huge setback.
Don't worry—most of these little hiccups have surprisingly simple fixes that don't mean starting all over. We've seen it all, and we'll walk you through the real-world problems that pop up so you can tackle them like a pro.
This is, without a doubt, the most common headache in any wall-mounting project. You’ve found the absolute perfect spot for your headboard, but your stud finder is telling you the framing is a few inches off-center. You have two excellent, sturdy options to solve this.
The big takeaway here? Never rely on standard screws sunk into plain drywall to hold up a headboard. The weight and the subtle movements from your bed will eventually work them loose, creating a mess and a safety risk.
You’ve finished the job, stepped back to admire your handiwork, and… drat. One side is just a hair lower than the other. It’s a frustrating moment, but the fix is usually much easier than you think.
Before you start drilling brand new holes, take a closer look at the mounting hardware. Many brackets, especially the French cleat style, have a little bit of natural play in them. You might be able to simply lift one side of the headboard a tiny bit and retighten the screws to lock it into a level position.
If the holes are truly off, grab a small round file and carefully elongate one of the pilot holes in the wall. This can give you just enough wiggle room to adjust the bracket's position and get the headboard perfectly level without a major redo.
For that truly polished, high-end look, making the mounting hardware invisible is the final touch.
And what if an electrical outlet is right where you need to mount? If the outlet will be totally covered, the safest route is to have an electrician move it. But if it's only partially blocked, you can often use spacers to mount the headboard slightly off the wall, leaving enough of a gap to still use the outlet.
As you gear up for this project, a few key questions always seem to pop up. It's smart to iron out the details before you start drilling, so let's walk through some of the most common things people ask. Getting these answers sorted will give you that last bit of confidence you need to get started.
A lot of folks ask if any headboard can be mounted on the wall. The short answer? Pretty much, yes. While some are designed to bolt right onto a bed frame, you can adapt just about any headboard out there for wall mounting. The trick is to use the right hardware—like brackets, D-rings, or a French cleat system—and make sure the headboard itself has a solid internal frame to screw into.
Nailing the right height is a game of inches—it makes all the difference for both comfort and aesthetics. Hang it too high, and it looks like it’s floating awkwardly away from the bed. Too low, and your pillows will swallow it whole.
Luckily, there's a simple rule of thumb that works like a charm.
First, measure the thickness of your mattress. You'll want the bottom edge of your headboard to sit 2 to 4 inches below the top of the mattress. This sweet spot closes any gap where your pillows might escape and still leaves plenty of the headboard visible.
Here's a pro tip: stack your pillows against the wall just like you would for sleeping. Then, grab a pencil and make a small mark on the wall right above them. This gives you a real-world visual of the absolute minimum height you need for the headboard to be seen.
Most headboards are definitely candidates for wall mounting, even if they weren't originally sold that way. Whether it's upholstered, wood, or metal, you can almost always make it work. The only real requirement is a sturdy internal structure that can securely hold the mounting hardware.
Absolutely, as long as you do it right. When it comes to heavy items, safety is all about properly distributing the weight and making sure the wall can support it. The gold standard is to anchor the headboard directly into at least two wall studs. This is by far the most secure method and is crucial for preventing any accidents down the road.
What if the studs just aren't in the right spot? No problem. The next best thing is using heavy-duty hollow-wall anchors that are rated for the job. Always check the weight rating on the anchor packaging and pick one that can handle well over what your headboard actually weighs. It’s the quality of the installation that makes wall-mounting a heavy headboard a completely safe and stable solution.
Feeling like this project might be more trouble than it's worth? The experts at Assembly Smart can get your headboard mounted securely and perfectly level, saving you a ton of time and hassle. Get your free estimate today and let a pro take care of it for you.
