-
CALL US:
- (866) 952-3456
Before you even think about cutting a single piece of wood, the real work of building a great closet organizer begins with a tape measure and a solid plan. A custom build isn't just about looking good; it's about creating a storage system that actually makes your daily routine smoother.
This whole planning stage is a huge part of why home improvement is booming right now. Seriously, people are pouring money into making their spaces more personal and functional. Spending on home renovations in the U.S. hit a staggering $472 billion back in 2022, and it's only expected to keep climbing. If you're curious, you can get more details on this home organization market growth. It all points to one thing: we want our homes to work for us.
So, let's get down to it. A truly great closet organizer starts with a design that's built around your specific wardrobe and the unique quirks of your space.
Your first move is to measure the inside of your closet, and I mean really measure it. Don't just get the width at one height. Walls are almost never perfectly straight, so check the width at the top, middle, and bottom. Trust me, a half-inch difference you didn't account for can throw off the entire project.
You'll also want to measure the depth from the back wall to the front edge. Take note of any obstacles you'll have to work around, like light switches, electrical outlets, or attic access panels. One last thing—measure the height of your baseboards. Your vertical towers will need to sit flush against the wall, so you’ll likely need to cut a small notch out of the bottom of your tower panels to make them fit snugly. It's a common step most people forget.
With your measurements written down, it’s time for a little reality check with your wardrobe. What you own is what dictates the entire design, so pull everything out and start sorting.
This little audit is an eye-opener. It shows you what you actually need. For example, if you find you have 60 shirts but only four dresses, it's a no-brainer to design a closet with mostly double-hang rods instead of wasting space on a huge long-hang section.
Pro Tip: Don't design for a fantasy wardrobe you wish you had. Build the closet for the clothes you own and wear every day. A functional closet that fits your real life will serve you so much better than one designed for some imaginary, perfectly curated collection.
Okay, now for the fun part: turning all that data into a simple sketch. You don't need fancy software—a piece of graph paper and a pencil will do the trick just fine. Start by drawing the basic shape of your closet to scale.
I always recommend placing the biggest pieces first, which are usually the vertical towers. A popular and effective layout is to put a tower on each end and maybe one in the middle. This creates natural zones in your closet. From there, it's just a matter of filling in the gaps with your closet rods and shelves.
Think about incorporating these common configurations:
This sketch becomes your blueprint. It's your chance to spot potential problems and tweak the design before you spend a dime on materials. This is how you ensure the closet you build is not just beautiful, but perfectly functional for you.
Any good build starts with smart material choices. The wood you pick directly impacts your closet's look, how long it lasts, and, of course, your budget.
When you walk into the hardware store, you'll likely see three main contenders for a DIY closet project: plywood, MDF, and melamine. Each has its place, but you need to know the trade-offs.
Plywood is the classic choice for a reason. It's strong, holds screws well, and gives you that beautiful, natural wood grain look. If you can find pre-finished sheets, you'll save yourself 2–3 hours of sanding and painting, but they'll set you back $50 or more per sheet.
On the other end of the spectrum is MDF, the budget-friendly workhorse of many projects, averaging around $25 per sheet. It's fantastic if you plan on painting because it gives you a perfectly smooth finish. The downside? It's heavy and can sag over time if you overload it without proper support.
Then there's melamine. These boards come with a durable, sleek finish already applied, which makes them awesome for getting a clean, modern look without ever touching a paintbrush. They’re built to resist scratches and stains.
To make it easier, I've broken down the key differences.
| Material | Average Cost (per sheet) | Best For | Pros | Cons |
|---|---|---|---|---|
| Plywood | $50 | High-end finish | Strong, holds screws well | Expensive, edges need finishing |
| MDF | $25 | Painted interiors | Smooth surface, low cost | Heavy, moisture-sensitive |
| Melamine | $40 | Quick installs | Pre-finished, scratch-resistant | Brittle, edges can chip |
Each material really has a sweet spot. Think about your end goal—is it a quick and clean install, a custom-painted look, or a high-end, stained-wood finish? Your answer will point you to the right board.
Once you’ve got your wood, it’s time to think about the hardware that turns those panels into a real, functional closet system.
Key Takeaway: Hardware quality really matters. Cheap pins can bend and weak screws can fail, leading to wobbly, unreliable shelves down the road. It's a small place to save money that can cause big headaches.
You don't need a pro-level workshop, but a few key tools will make this project go from frustrating to fun. A reliable tape measure and a good bubble level are non-negotiable—they're your best friends for keeping everything square and true.
A circular saw with a fine-tooth blade will give you clean, straight cuts. Trust me, it’s a massive upgrade over trying to do this with a handsaw.
And finally, a cordless drill or impact driver. This will save your wrist and speed up everything from drilling pilot holes to driving in the final screws.
Pro Tip: Most big box home improvement stores will cut your large sheets down to size for free or a very small fee when you buy them. This is a huge time-saver and often more accurate than what you can do at home without a proper table saw.
Here’s a great visual that shows why getting those initial measurements right is so critical before you even think about buying materials.
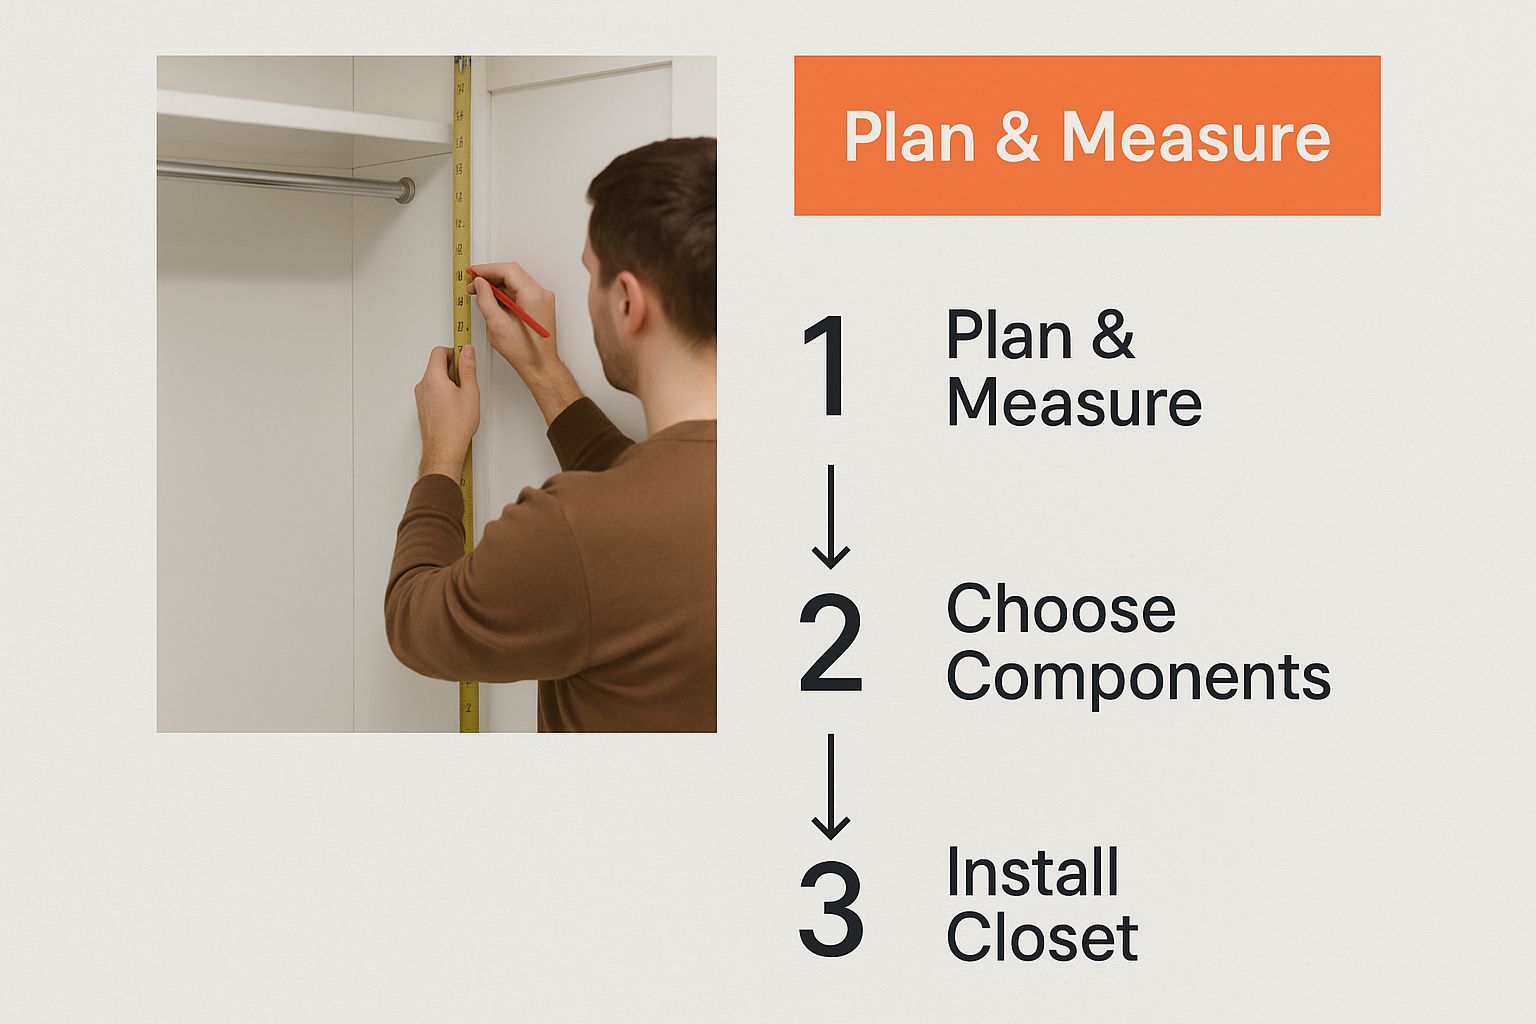
As you can see, the "Plan & Measure" phase is the foundation. It ensures you buy the right amount of plywood, pins, and rods, so you don't end up making extra trips to the store.
From my own experience, I always order about 10% extra material. It’s a lifesaver for those inevitable mis-cuts or for any last-minute design tweaks.
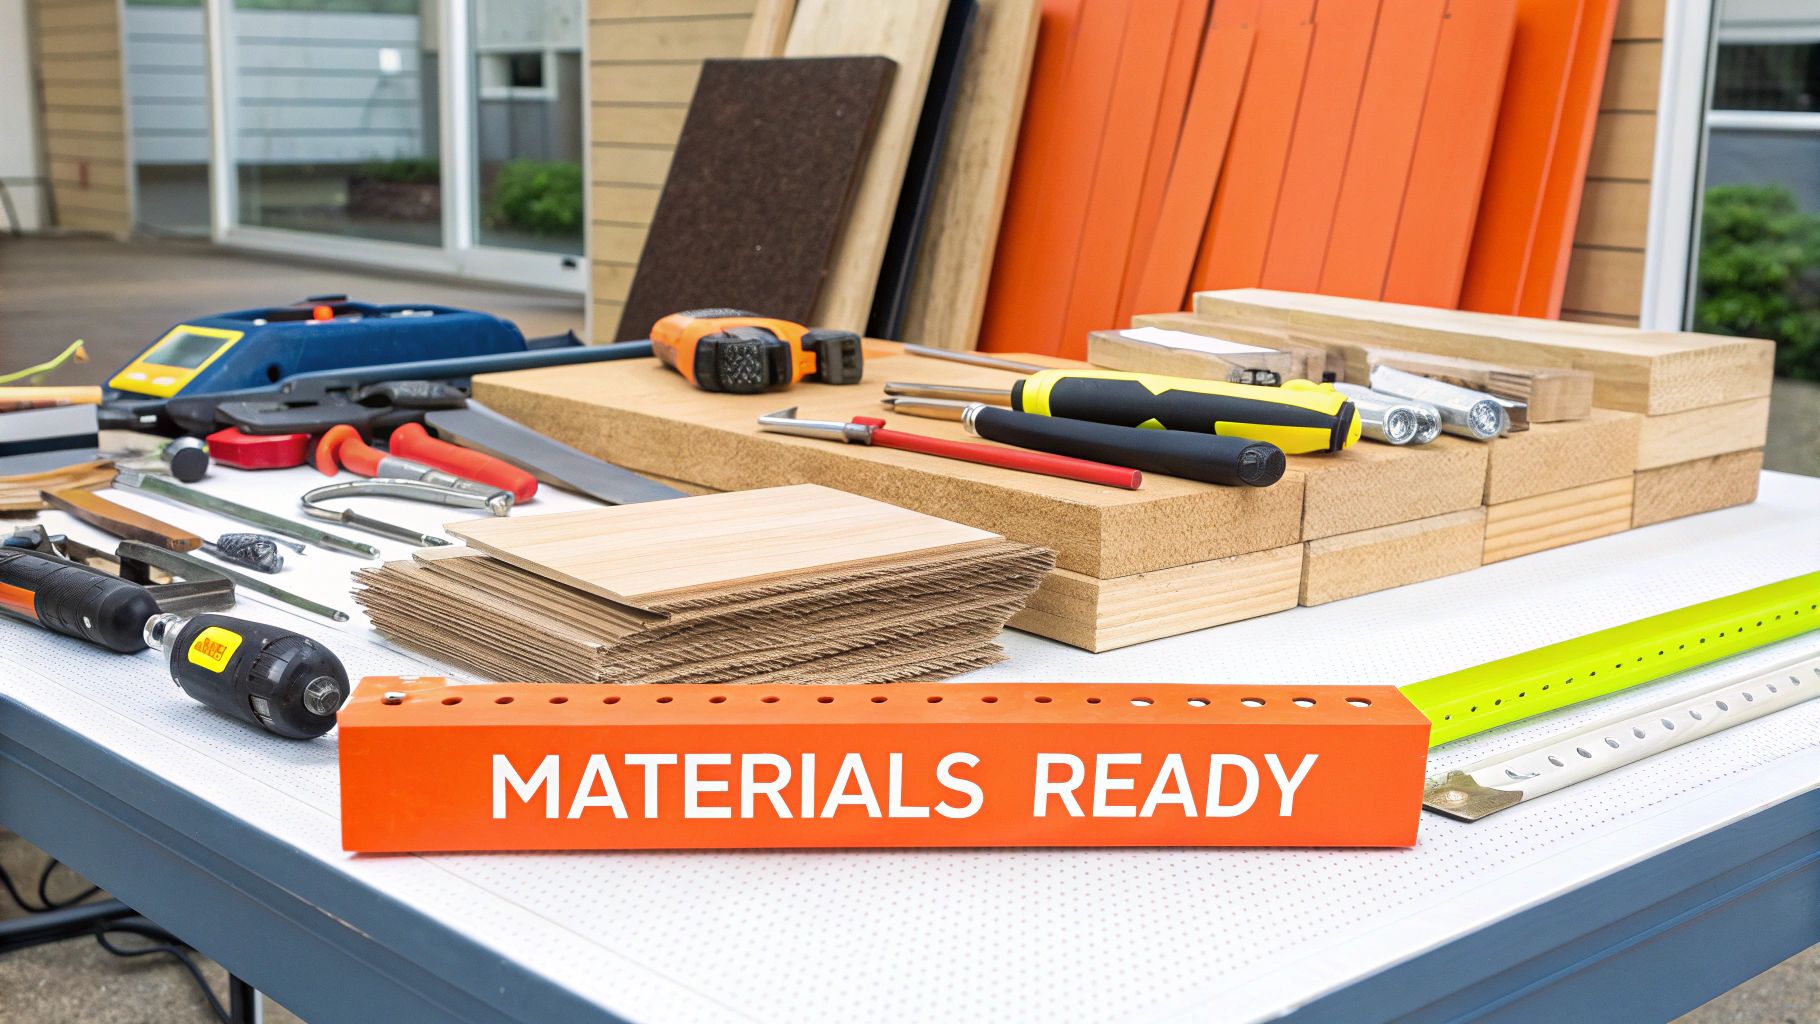
When you're at the store, be picky with your sheets.
Don't just head to the first place you think of. Compare prices between big box stores, local lumberyards, and even online suppliers. You'd be surprised at the difference in cost and quality.
And when you're there, physically inspect every single sheet before it goes in your cart. Look for warping, dings, or surface damage. It’s much easier to swap it out in the store than after you get it home.
Before you make that first cut, it’s smart to have a clear plan for the assembly itself. You can find some great advice in our step-by-step detailed prep guide on furniture assembly.
Alright, your materials are cut and ready to go. This is where the magic happens and your custom closet organizer really starts to take shape. The vertical towers are the backbone of the whole system, so nailing this part is the key to getting a sturdy, professional-looking final product. At its core, you're just building a few strong boxes, but a couple of key techniques make all the difference.
How you join the panels together matters for both strength and looks. The simplest way is just using wood glue and screws. For a cleaner, more polished finish, you can use pocket hole joinery. This method cleverly hides all the screws on the inside of the tower, so the outside looks completely seamless. Whatever you pick, just be consistent.
It’s this desire to get the most out of our homes that has driven such huge growth in the closet organizer market. As our living spaces seem to get smaller, smart storage becomes less of a luxury and more of a necessity. The industry jumped from $7.64 billion in 2024 to an estimated $8.25 billion in 2025, and it's on track to hit $11.15 billion by 2029. You can dive deeper into the wardrobe organization trend statistics to see just how popular these projects have become.
The absolute most critical part of this step is making sure every tower is perfectly square. If a tower is even a little bit crooked, it will throw off the alignment for all your shelves and closet rods down the line. Before you drive in those final screws, grab a carpenter's square and double-check that every corner is a perfect 90-degree angle.
Here’s a simple trick I always use: measure diagonally from corner to corner. If the two diagonal measurements are exactly the same, your box is square. If they’re off, just give the longer corners a gentle push until the numbers match up.
My Hard-Won Advice: Don't rush this. Use clamps to hold the pieces tightly together while you measure and adjust. They're like having a reliable second set of hands, keeping everything from shifting while you drill and fasten the parts.
To sidestep some of the common frustrations, it helps to follow a few simple rules during assembly. A lot of these tips are the same ones you'd find in flat-pack furniture instructions, but they're universal for a reason. For a closer look at these fundamentals, check out our guide on how to assemble IKEA furniture, which has great advice for any DIY build.
Here are a few pointers to keep front of mind:
Follow these guidelines, and you’ll end up with a set of solid, perfectly square towers ready for the next phase. These units are the foundation you'll build the rest of your amazing custom closet on.
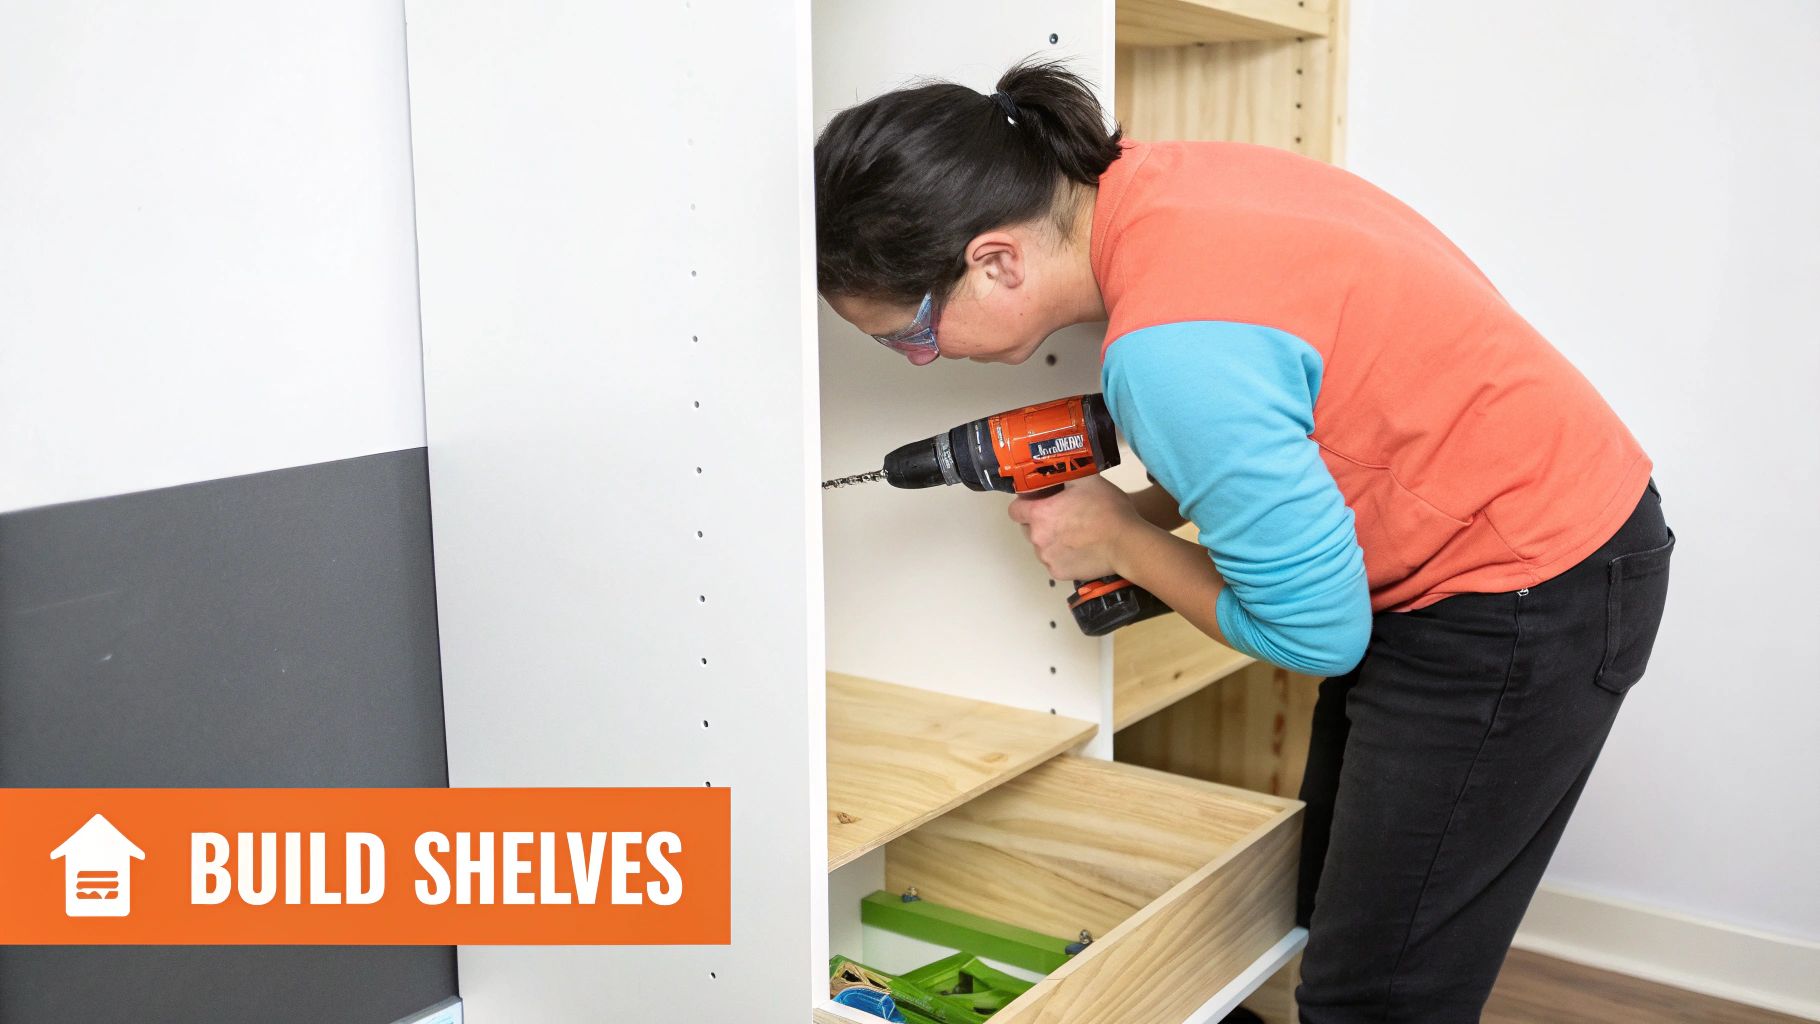
Alright, your closet towers are standing tall and looking solid. Now comes the best part—the step where those simple boxes become a high-performance storage machine. This is where all that careful planning starts to pay off, turning a basic frame into a custom-fit system for your actual wardrobe.
We'll start with adjustable shelves. The key to getting that professional, sturdy feel is drilling perfectly aligned pin holes. Nobody wants wobbly shelves, so a little precision here goes a long, long way.
The secret weapon for perfectly spaced shelf pin holes? A simple jig. You can buy one, sure, but making your own is dead simple and customized for your exact project. Just grab a scrap piece of wood and drill a series of holes at your preferred spacing—every 1.5 to 2 inches is a pretty good standard.
Now, just clamp that homemade jig to the inside of your tower. It becomes a perfect guide for drilling your holes, guaranteeing every single one is at the exact same height and setback. Repeat this for all four corners where a shelf will sit, and you've got a flawless foundation for level, sturdy shelving.
Pro Tip: Wrap a small piece of painter's tape around your drill bit to mark the right depth for the shelf pins. This little trick is a lifesaver—it keeps you from accidentally drilling straight through the side of your brand-new tower. Trust me, that's a mistake you don't want to fix.
Next up, the closet rods. These are the workhorses of any closet, and getting the height right is everything. If you're scratching your head about where to put them, here are the standard heights that work for most situations:
Always measure carefully and use a level to mark your bracket locations before you even think about drilling. It seems like a small step, but it ensures your rods are perfectly horizontal. Otherwise, you'll have all your hangers slowly sliding to one side, which gets annoying fast. When you build a closet organizer, it's these little details that make all the difference.
Drawers are a fantastic upgrade for corralling socks, belts, and other small items. Installing the slides can look a bit intimidating, but it’s actually pretty straightforward if you just take your time. Most drawer slides come in two pieces—one attaches to your drawer box, and the other mounts to the inside of the tower.
The most critical part is making sure the slides are perfectly level and parallel to each other. A level is your best friend here. I also like to use a spacer block (just a scrap piece of wood cut to the right size) to position the cabinet-side slides. This ensures they're at the exact same height, which is what allows the drawer to glide in and out smoothly instead of binding up.
Once those are securely attached, you can install the other half of the slides onto your drawer box and pop it right into place.
This is where your project really comes to life. The finishing touches are what separate a decent DIY job from a truly professional, built-in system. It all starts with getting the prep work right.
Whether you’re painting for a clean, modern look or using edge banding to hide those raw plywood edges, good preparation is non-negotiable. For paint, a quick sanding and a quality primer will make your topcoat stick beautifully and last for years. If you went with plywood, iron-on edge banding is a surprisingly easy way to give your shelves and towers that solid-wood appearance.
Once your finishes have cured, it's time for the single most important safety step: anchoring the entire unit to the wall. A closet packed with clothes and shoes is unbelievably heavy. You absolutely have to make sure it can't tip over. This isn't optional.
The goal is to drive long, beefy screws through the back of your towers and directly into the wall studs. A stud finder is your best friend here, but you can also use the old-school tap method. Once you have your studs marked, use screws that are long enough to pass through your unit's back panel, the drywall, and at least 1.5 inches into the stud itself.
Key Takeaway: Whatever you do, don't skip this. Properly anchoring your organizer is the most crucial thing you can do for the safety and long-term stability of the whole system.
If this is new territory for you, it's worth checking out a detailed guide on the basics of how to secure furniture to a wall to make sure you get it right the first time.
With the main structure locked in place, we can move on to the details that really elevate the final product. These little things make a world of difference.
This level of detail is a huge reason why the demand for better storage is exploding. In fact, the global closet organizer market is projected to hit USD 4.03 billion in 2025 and is expected to more than double by 2035. You can see for yourself how homeowners are investing in these kinds of functional, beautiful spaces by checking out the latest closet organizer market trends.
Getting started on a custom closet project is a great feeling, but it’s completely normal to have a few questions before you start picking up tools. Getting some clear answers upfront can make the whole process go a lot smoother and helps you build an organizer you’ll be happy with for years.
Probably the first thing on everyone's mind is cost. The total expense for a DIY closet organizer can swing pretty wildly. A simple MDF setup for a small reach-in closet might only run you $150-$300. But if you're planning a more involved walk-in system with quality plywood and some drawers, you could be looking at a range of $500 to over $1,000. Your biggest cost drivers will always be the materials and hardware you choose.
Another common question is about the best material for the job. For most DIYers, ¾-inch plywood or melamine are fantastic choices. Plywood gives you incredible strength and holds screws like a champ, but you will need to finish the edges yourself. Melamine, on the other hand, comes pre-finished, which saves a ton of time on painting. The trade-off is that it can be more likely to chip if you aren’t careful during assembly.
Finally, we get to a critical safety question: does the organizer really need to be attached to the wall? The answer is a firm and absolute yes.
Any tall storage unit, especially one loaded with heavy clothing, must be securely anchored to the wall studs. This step is non-negotiable as it prevents any risk of the unit tipping over, ensuring the safety of everyone in your home.
This is easy enough to do with some L-brackets or by driving long screws through the back panel of your unit directly into the wall studs. If you've got more questions, you can find a lot more detailed answers on our furniture assembly FAQ page.
If tackling this project yourself seems a bit overwhelming, the experts at Assembly Smart are here to help. We can professionally assemble and install your dream closet, ensuring a perfect, secure fit without the hassle. Get your free estimate today at https://assemblysmart.com.
