-
CALL US:
- (866) 952-3456
So you've brought home a flat-pack dresser. Staring at that heavy box, it's easy to feel a little overwhelmed. But don't be. Putting together a dresser is a totally achievable weekend project, and it all comes down to a bit of prep and following the steps in the right order.
With a good workspace and a few extra tools, you'll get this done in an afternoon. Just pay close attention to those tricky drawer slides, and you'll be fine.
Building furniture yourself isn’t just about saving a few bucks. It’s about the satisfaction of creating something solid and functional with your own two hands. Think of this guide as a friend who’s been through this dozens of times, ready to help you sidestep the frustrating parts and get straight to the pride of a job well done. We're going beyond those confusing diagrams to give you some real-world advice.
There's no doubt that good storage is a must in any bedroom. In fact, the market for dressers is huge—valued at around USD 5.3 billion in 2024 and expected to jump to USD 8.7 billion by 2033. This just shows how vital these pieces are. If you're curious, you can dig into more furniture market growth trends through various industry reports.
We’re going to focus on the practical stuff that actually makes a difference. Instead of just repeating the manufacturer's instructions, we'll cover:
By the time you're finished, you won’t just have a pile of wood that looks like a dresser. You'll have a sturdy, properly built piece of furniture that's ready to last for years.
Our goal here is simple: to give you the confidence and the know-how to get this project done right. Let's get to it.
Before you even slice open that box, stop and look around. The single biggest mistake I see people make is underestimating the space they need. You're going to need a lot more room to build the dresser than the finished piece will actually take up.
Find a well-lit spot and clear a generous area on the floor. To keep your floors and your new furniture from getting scratched up, lay down an old blanket or just use the flattened cardboard box as a protective mat. It’s a simple step that prevents a lot of heartache later.
A little organization goes a long way. Nothing grinds an assembly project to a halt faster than having to crawl around looking for a tiny screw that rolled under the couch. I always grab a few small bowls or a magnetic parts tray to keep all the hardware sorted. Trust me, it’s a game-changer.
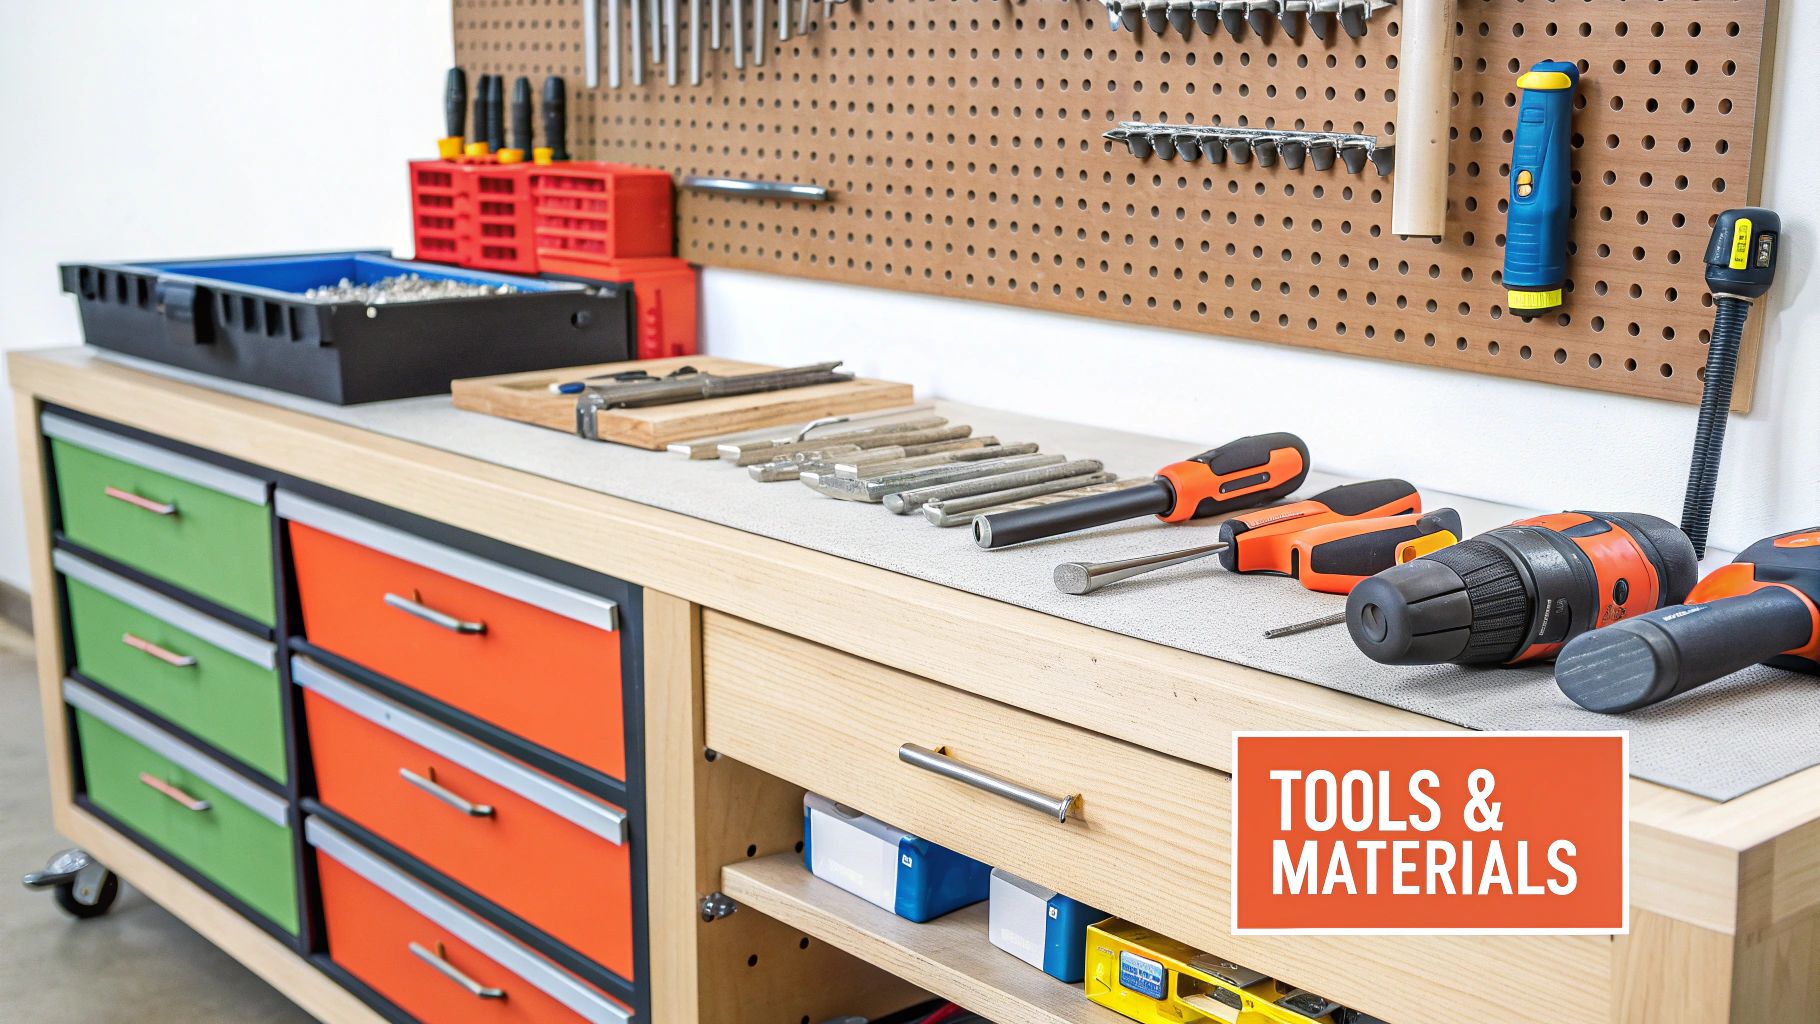
That little Allen key they give you in the box? It'll work, sure, but it won't be fun. Having a few basic tools on hand makes the entire process smoother, faster, and less frustrating. Think of it as upgrading your experience from "painful chore" to "satisfying project."
Here’s a quick rundown of what I recommend having ready before you start.
| Tool | Why You Need It | Expert Tip |
|---|---|---|
| Cordless Drill | This is your biggest timesaver. It makes driving dozens of screws almost effortless. | Make sure it has an adjustable clutch. Set it to a low torque to avoid stripping the screw heads or damaging the wood. |
| Rubber Mallet | For those moments when a part needs a little… encouragement. | It’s perfect for tapping dowels and panels into place without leaving ugly dents or marks. |
| Phillips Screwdriver | Sometimes you need more finesse than a power tool can offer. | A good quality screwdriver with a comfortable, magnetic grip gives you the control you need for smaller, delicate hardware. |
Putting in the prep work isn't just about making the job easier—it's about getting a better result. A solid, properly assembled dresser will last for years, while one that's rushed with the wrong tools might end up wobbly and weak.
A few minutes of prep can honestly save you hours of frustration. If you want to dive deeper, we have a complete guide on how to prepare for your furniture assembly project with even more tips to get you started off right.
Alright, you've prepped your space and have your tools laid out. Time for the main event. This part is all about bringing the structure together, first the main frame and then the drawers. My best advice? Don't just follow the diagrams like a robot—try to understand why each piece goes where it does.
Before you touch a single screw, do a full parts inventory. Seriously. Lay every single piece out, check it against the parts list in the manual, and make sure nothing is missing or, worse, damaged. This simple check can save you from that gut-wrenching moment of realizing a critical panel is missing three-quarters of the way through the build. A few minutes now saves a massive headache later.
The frame is the skeleton of your dresser. Getting every connection solid and square is what makes the difference between a wobbly mess and a sturdy piece of furniture that lasts. Start by finding the main side, top, and bottom panels. This is probably your first encounter with the classic cam lock and screw system, a staple of flat-pack furniture.
Here’s a tip I’ve learned from countless builds: pay very close attention to how you insert the cam locks. The arrow on the lock needs to point directly at the hole where the cam screw will go. When you turn the screwdriver, you should feel a firm, satisfying "lock" as it tightens. Don't try to force it past that point. If you do, you risk cracking the lock or splintering the wood.
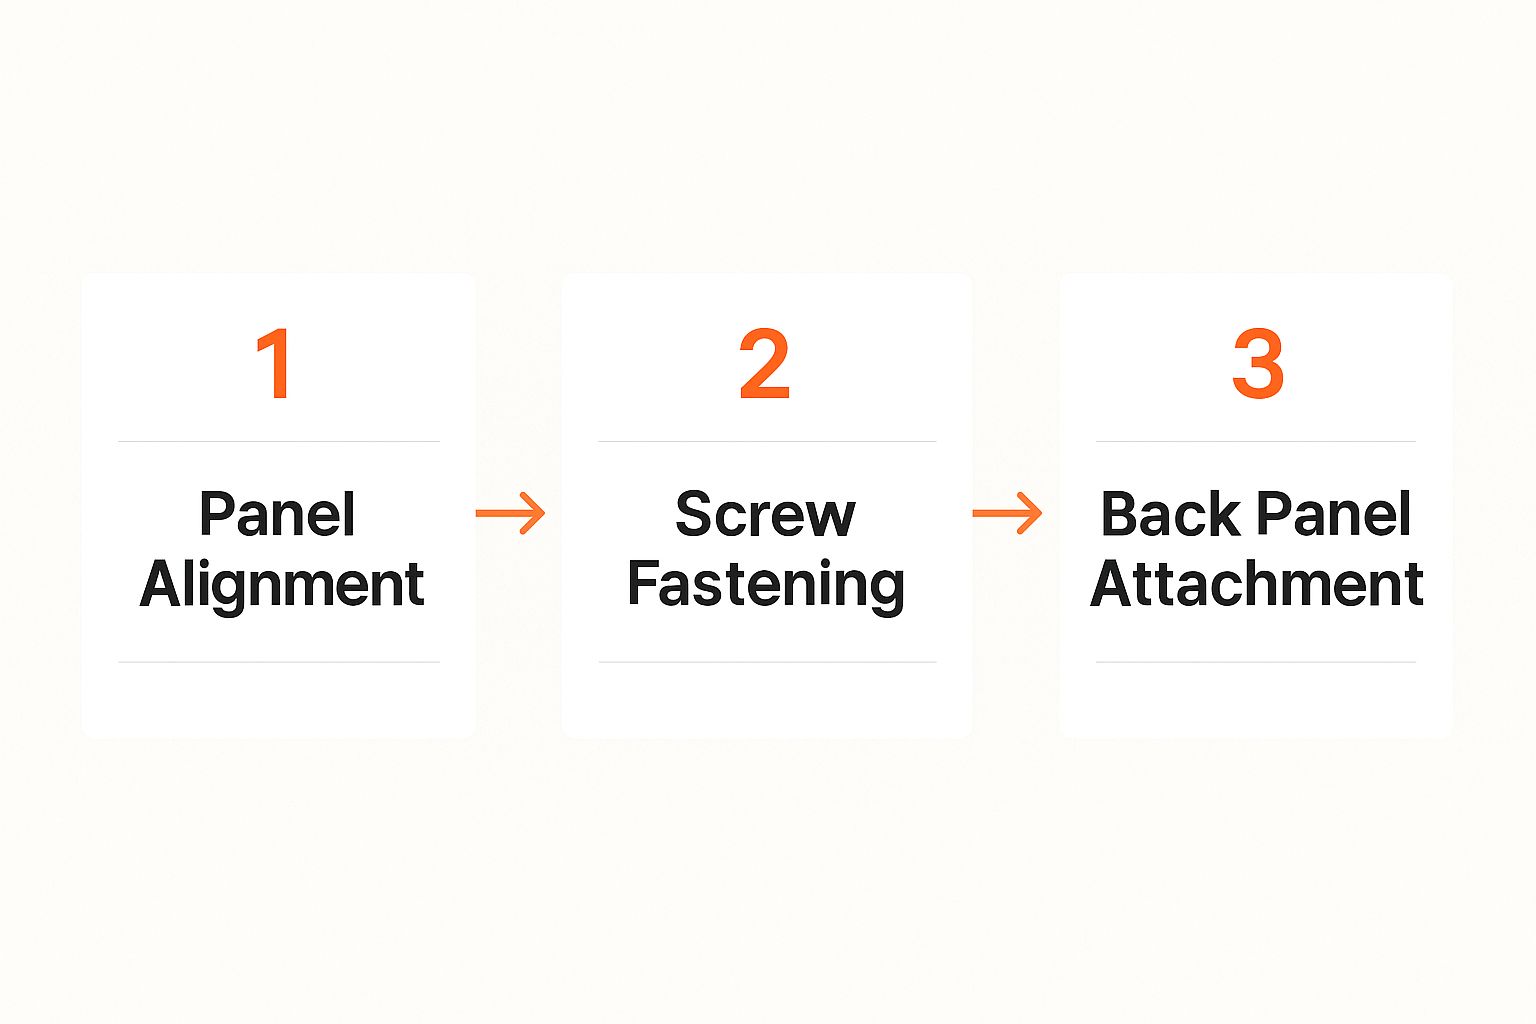
As you connect the panels, don't be afraid to give them a gentle tap with a rubber mallet to get the joints perfectly flush. Your goal is tight seams and square corners. Once the main box is together, you'll attach the back panel. It might look like a flimsy piece of fiberboard, but it’s the key to the dresser's structural rigidity. It’s what stops the whole thing from racking side-to-side. Line it up carefully and use every single nail or screw they give you.
A square frame is a happy frame. Before you nail on that back panel, grab a tape measure. Measure diagonally from the top-left corner to the bottom-right, then from the top-right to the bottom-left. If those two numbers are the same, your frame is perfectly square.
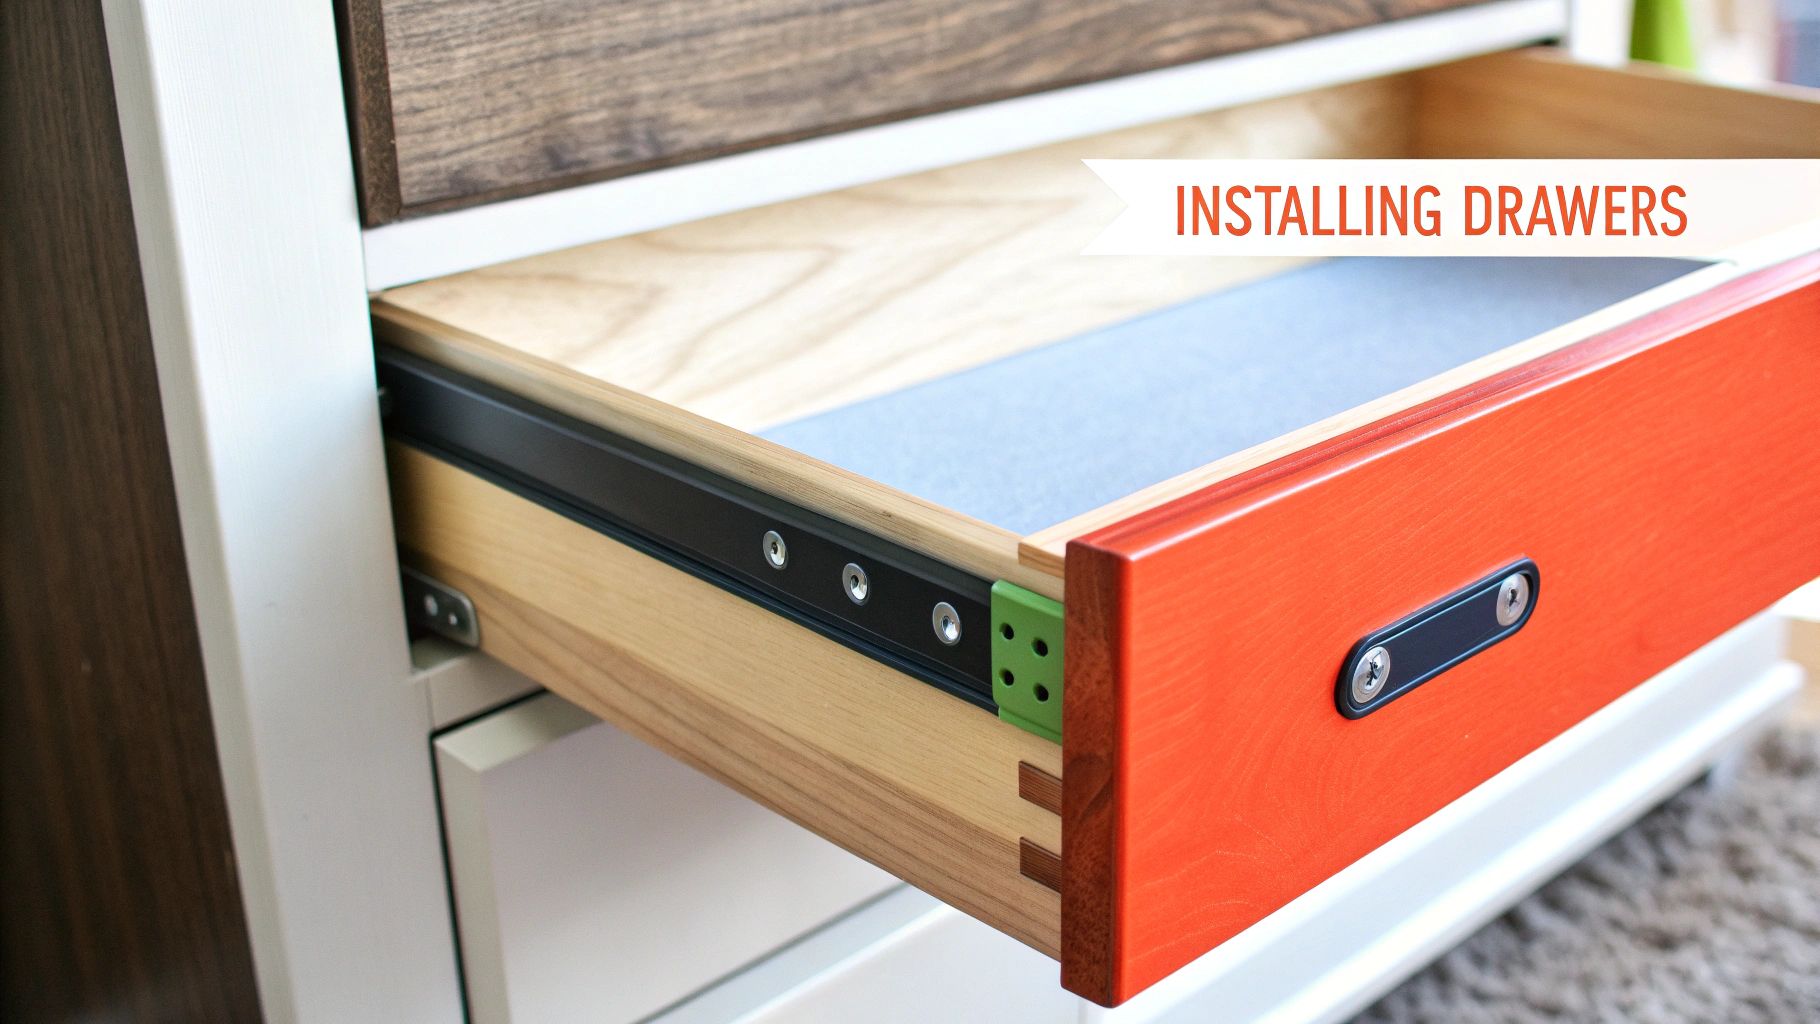
Building the drawers can feel a bit repetitive, but this is where precision really pays off. A perfectly assembled drawer glides effortlessly; a sloppy one sticks and jams. The biggest hurdle is usually getting the drawer slides right. Each slide comes in two pieces—one attaches to the dresser frame, and the other attaches to the drawer box.
Get these three things right, and you'll be golden:
It's amazing to think that the global furniture market is valued at around USD 540 billion. Wood, prized for its durability, makes up about 57% of that market—and you're building a piece of that legacy right now. It's a growing industry, and you can read more about the furniture market's future projections to see why quality construction is so important.
Once the slides are installed, you can assemble the drawer boxes. Make sure the bottom panel slides all the way into its groove before you attach the final side. A bottom panel that isn't seated properly is the number one reason drawers get stuck. After each one is built, give it a quick test slide in the frame. It should move smoothly without catching or scraping.
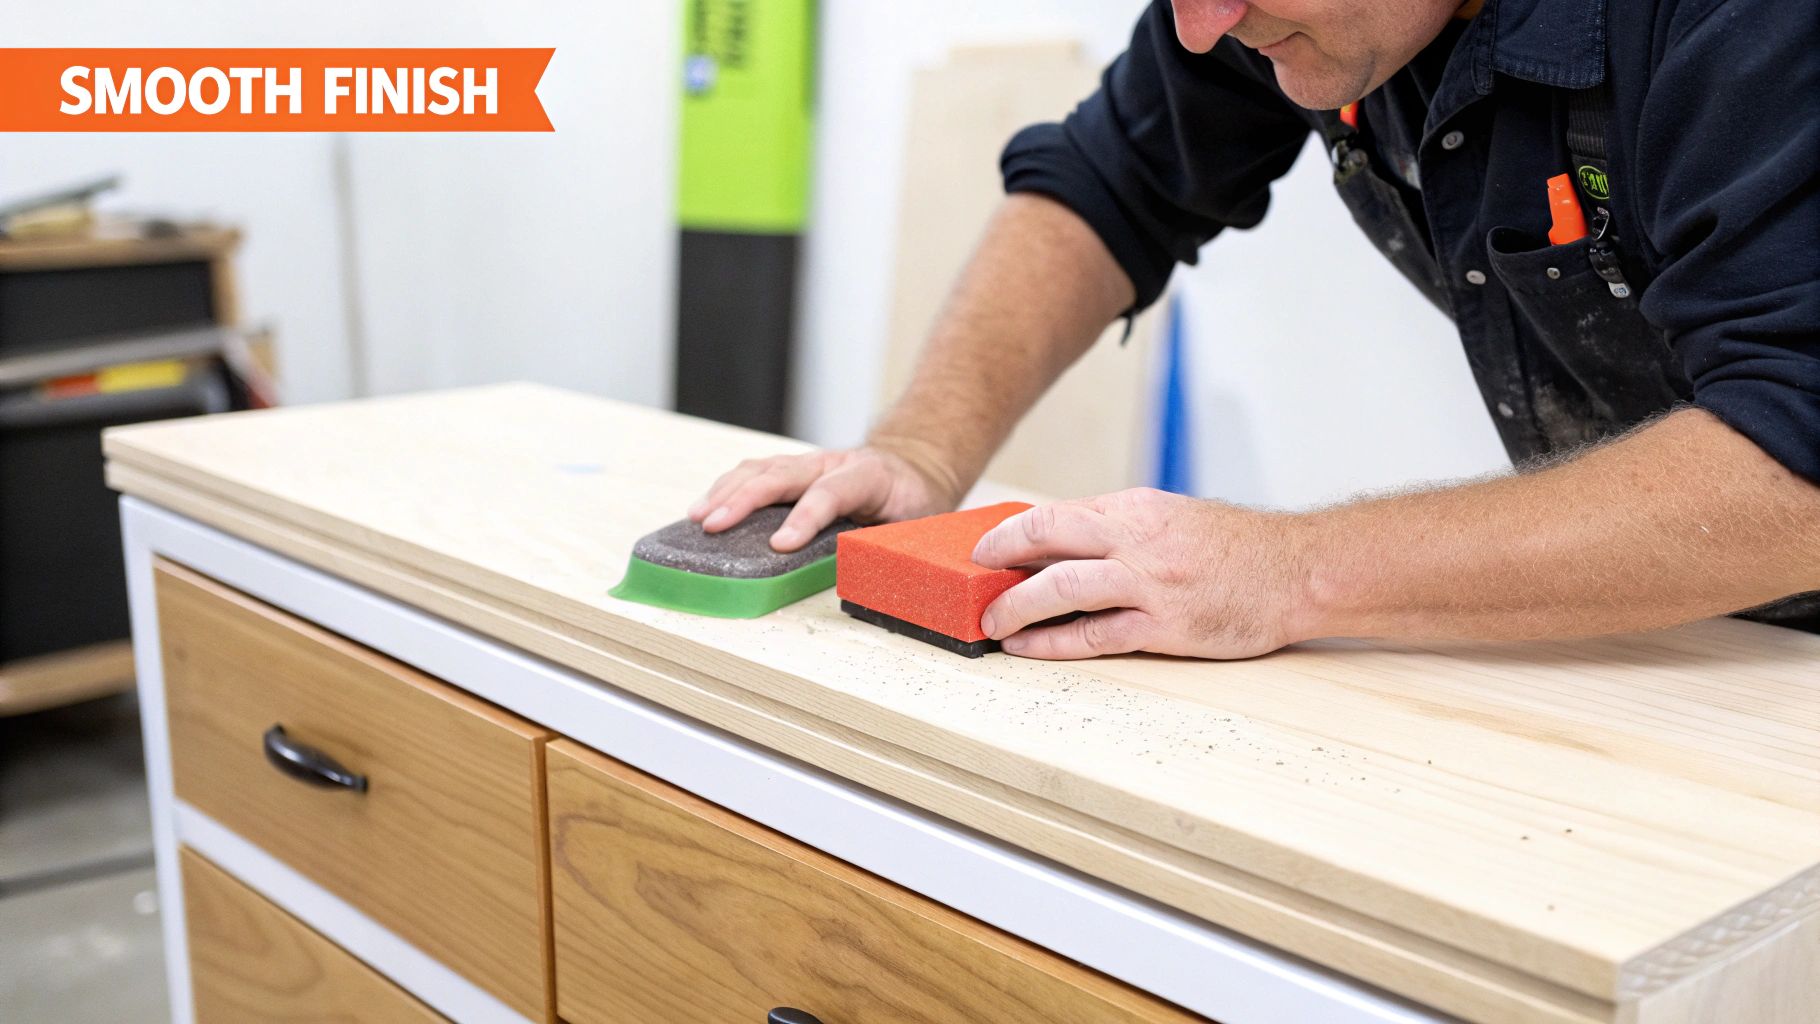
Alright, the heavy lifting is behind you. Now it's time for the details that take a project from "I built this" to a truly professional-looking piece of furniture. It’s all about the polish.
First up, the hardware. Consistency is everything when installing knobs or handles. I always grab a measuring tape and pencil to mark the exact center of each drawer front before I even think about drilling. If you're working with long handles, a level is your best friend to make sure they aren't crooked.
Get them nice and snug, but avoid over-tightening. This is a classic mistake. Cranking down too hard can easily crack the wood or the finish you just worked so hard on.
With the hardware attached, slide every drawer into place and take a few steps back. Look at the gaps between them. Are they perfectly even? If they're a little off, don't sweat it. This is a common and fixable issue.
Most modern drawer slides have little adjustment screws. These let you shift the drawer front up, down, or side-to-side ever so slightly. It’s amazing what a few tiny tweaks can do for the overall look.
Your project isn't truly finished until it's clean. The assembly process inevitably leaves behind fingerprints, smudges, and a fine layer of dust. A quick wipe-down elevates the entire look and makes it feel brand new.
For the last step, grab a soft, damp cloth and wipe down every single surface. I like to follow up with a dry microfiber cloth to buff away any streaks and bring out the shine. It's a simple thing, but it gives your new dresser that crisp, showroom-ready appearance.
After all that work, this final polish is the satisfying last step before you can finally start using it.
After all the time you've put into this, there's one last step you absolutely cannot skip. An unanchored dresser is a major tip-over risk, a genuine danger, especially if you have little ones running around. This final task is what transforms your new dresser from a piece of furniture into a permanent, secure fixture in your home.
Thankfully, most new dressers come with a small anti-tip kit. You'll usually find a couple of plastic brackets and a sturdy nylon strap inside. The concept is simple: one end attaches to the dresser, and the other secures to a stud in your wall. I can't stress this enough—don't just screw it into the drywall. It simply won't hold.
The easiest and most accurate way to locate a wall stud is with an electronic stud finder. Once you’ve found one, use a pencil to mark its center at a height that will be hidden once the dresser is in place. That's your anchor point.
With the spot marked, it's a straightforward process:
This small step provides a massive amount of stability. For a more detailed walkthrough, check out our guide on how to secure furniture to the wall.
Properly anchoring your dresser is the most important final step after building a dresser. It takes just a few extra minutes but provides essential peace of mind, ensuring your new furniture is safe for everyone in your home.
With the bedroom furniture market valued at a staggering USD 247.55 billion in 2025, more and more pieces are making their way into our homes. You can learn more about the growth of the bedroom furniture industry and see why these safety features have become so incredibly critical.
It happens. Even when you’ve laid everything out perfectly and followed the instructions to the letter, something can still go wrong. A wobbly frame or a drawer that just won't close smoothly isn't a sign of failure—it's usually just a small hiccup you can fix without having to backtrack too much.
So, don't get discouraged! Most of these common assembly headaches have surprisingly simple solutions.
When a dresser feels shaky, the first thing everyone suspects is a leg or a major frame piece. But from my experience, the real culprit is almost always the flimsy back panel. Before you start taking things apart, go back and check that every single nail or screw holding that panel in place is completely secure. While you're at it, double-check that all your cam locks are turned as far as they'll go into the locked position. This is where most of the stability comes from.
Now, for what I believe is the number one mistake people make: misaligned drawers. If a drawer is crooked or sticks when you try to close it, the problem is almost always with the drawer slides.
Before you undo all your hard work, take a close look at these few things:
Here's a classic problem: you've stripped a screw hole, especially in particleboard. Don't panic. Just back the screw out, squeeze a bit of wood glue into the hole, and then jam a couple of wooden toothpicks in there. Let it dry completely, snap the toothpicks off so they're flush with the surface, and then you can drive the screw back in. It'll be surprisingly solid.
If you've tried everything and you're still stuck, or maybe you realized a critical piece is missing from the box, there's no shame in calling for backup. Sometimes a fresh set of eyes is all you need, and getting some expert furniture assembly help can get your project over the finish line without any more frustration.
Whenever I talk to someone about to tackle a dresser build, a few questions always pop up. Getting these sorted out beforehand can save you a ton of guesswork and make the whole project a lot less stressful.
The big one is always, "How long is this going to take?" For your standard flat-pack dresser, I'd block out 2 to 4 hours. Honestly, though, that depends on how complicated the dresser is and how comfortable you are with a screwdriver in your hand. My advice? Just set aside a whole afternoon so you're not rushing against the clock.
People also wonder if they can build a dresser by themselves. You absolutely can, but having a helper makes a world of difference. An extra pair of hands is a lifesaver for lifting those heavy top and side panels, flipping the frame over, and just holding pieces steady while you drive in a screw. It's safer and way less frustrating.
So, what's the most common mistake I see? Without a doubt, it's messing up the drawer slides.
It’s so easy to install them upside down, backward, or on the wrong panel entirely. You won't realize it until the very end when the drawers just refuse to close. Always, always double-check the diagram to get the slide orientation right before you screw anything in.
Over-tightening the screws is a close second. It’s tempting to crank them down to make sure everything feels rock-solid, but you can easily strip the screw head or—even worse—crack the particleboard. A good rule of thumb is to tighten until it’s snug, then just stop.
Remember, different brands have their own little quirks. If you're putting together something common, like an IKEA piece, it pays to look up specific advice. For instance, our guide to IKEA furniture assembly has a bunch of tips that are super helpful for their popular dressers. Knowing the system before you start can prevent a major headache later on.
Feeling in over your head or just don't have the time? The team at Assembly Smart can take all the stress out of building that dresser. Let our pros handle it quickly and correctly, so you get a sturdy, perfect piece without any of the hassle. Get your free estimate today at https://assemblysmart.com.
