-
CALL US:
- (866) 952-3456
Welcome to your blueprint for creating an unforgettable backyard. Providing a dedicated space for physical, imaginative, and adventurous play is more important than ever for a child's development. While store-bought playsets are a common choice, they often carry a hefty price tag and a one-size-fits-all design that may not suit your specific space or your child's unique interests. This guide champions a different, more personal approach: rolling up your sleeves to create something truly special and customized.
We've compiled 10 diverse and inspiring DIY backyard playground ideas, each packed with actionable steps, safety protocols, and pro tips to ensure success. From the classic fun of a tire swing to the ambitious thrill of a custom-built treehouse, this list is designed to empower you to build not just a structure, but a launchpad for your children's creativity and growth. You'll find options for every skill level and budget, allowing you to transform your outdoor space into the ultimate adventure zone.
Before breaking ground, it's wise to understand the fundamentals of outdoor projects. As you plan your backyard transformation, exploring various landscape construction blogs can offer valuable insights into foundational techniques and project management for outdoor builds. This resource covers everything from site preparation to material selection, ensuring your project starts on solid ground. This guide will provide the specific inspiration and instructions you need to bring these concepts to life safely and effectively, turning your vision into a cherished reality for your family.
Repurposed tires offer one of the most versatile and budget-friendly foundations for a range of classic and creative diy backyard playground ideas. Beyond the iconic single-rope tire swing, used tires can be transformed into a dynamic obstacle course that challenges kids physically and creatively. This approach turns a simple backyard into a space for adventure, promoting balance, strength, and coordination.
The most recognizable project is the traditional tire swing, suspended vertically or horizontally from a sturdy tree branch or A-frame. For a more engaging setup, consider creating a full obstacle course. By burying tires halfway into the ground, you can design a series of stepping stones that test agility. Stacking and securing multiple tires can form small climbing towers or tunnels, perfect for imaginative play.
This concept draws inspiration from everything from community adventure playgrounds to military-style training courses, scaled down for safety and fun. The goal is to create a series of interconnected challenges that encourage a full-body workout disguised as play.
To better understand why this is a top-tier DIY project, the following graphic highlights its core advantages.
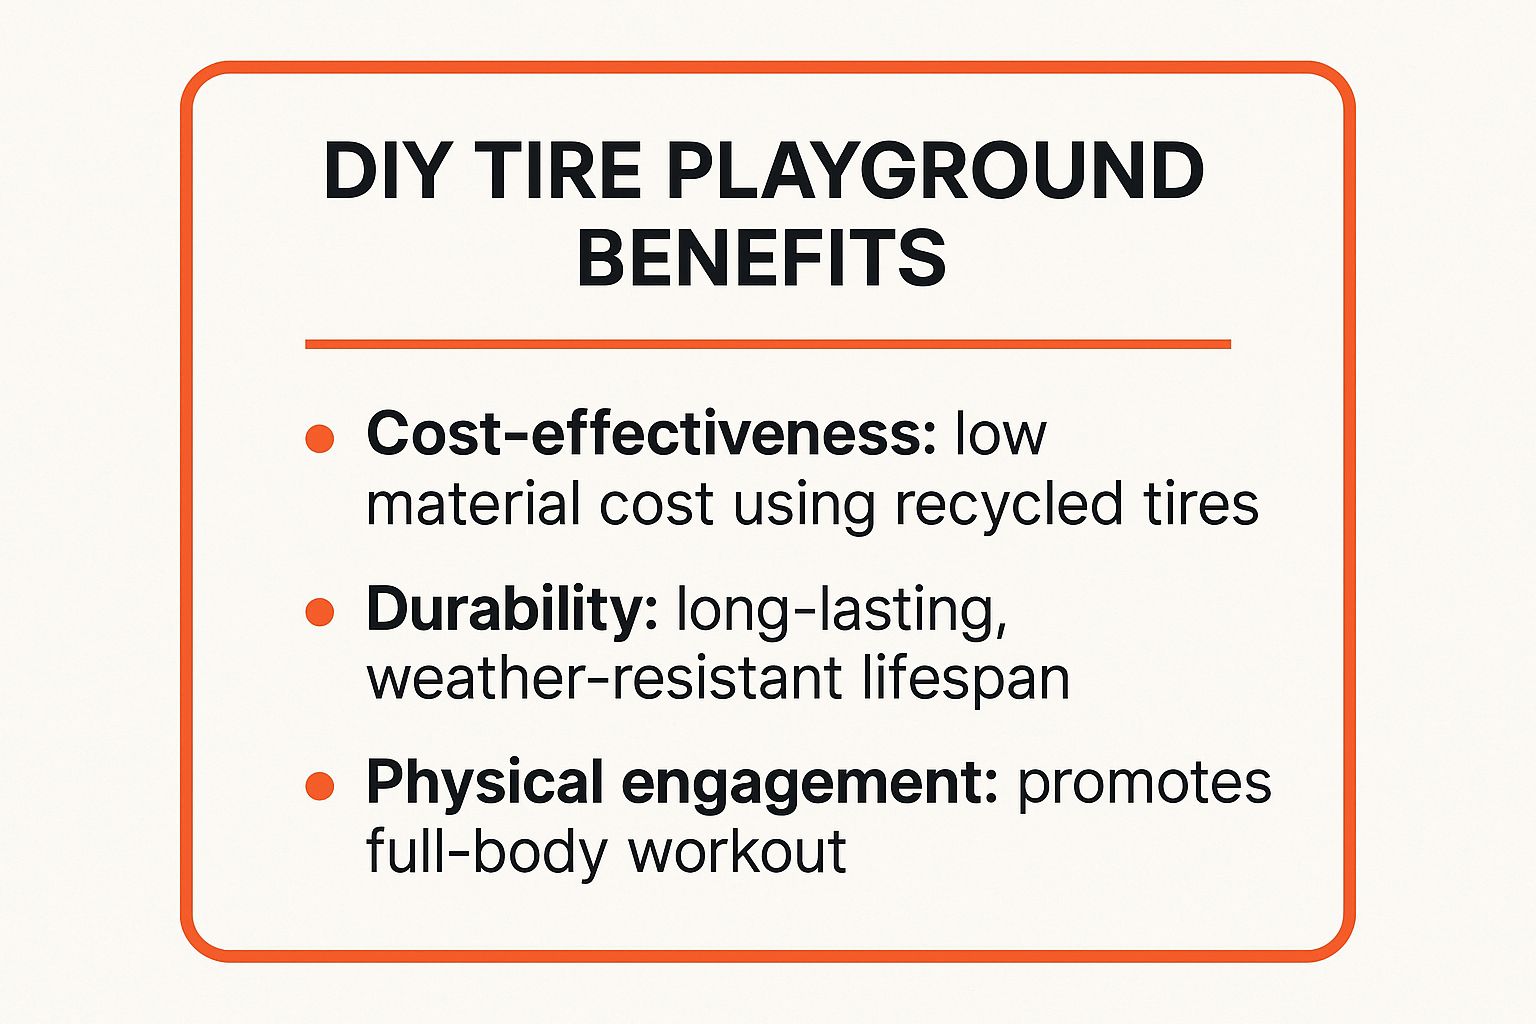
As the summary shows, the combination of low cost, extreme durability, and high physical engagement makes a tire-based playground a uniquely practical and beneficial choice for any family.
Safety is paramount when working with used materials. Follow these guidelines for a secure and long-lasting play area:
Building a custom wooden playset is one of the most rewarding diy backyard playground ideas, creating a central hub for activity that can grow with your children. This classic structure typically combines swings, a slide, and a raised fort or clubhouse, offering a multi-functional space for physical challenges and imaginative games. Unlike pre-fabricated kits, a DIY approach allows for complete customization in size, features, and layout to perfectly fit your yard and family's needs.
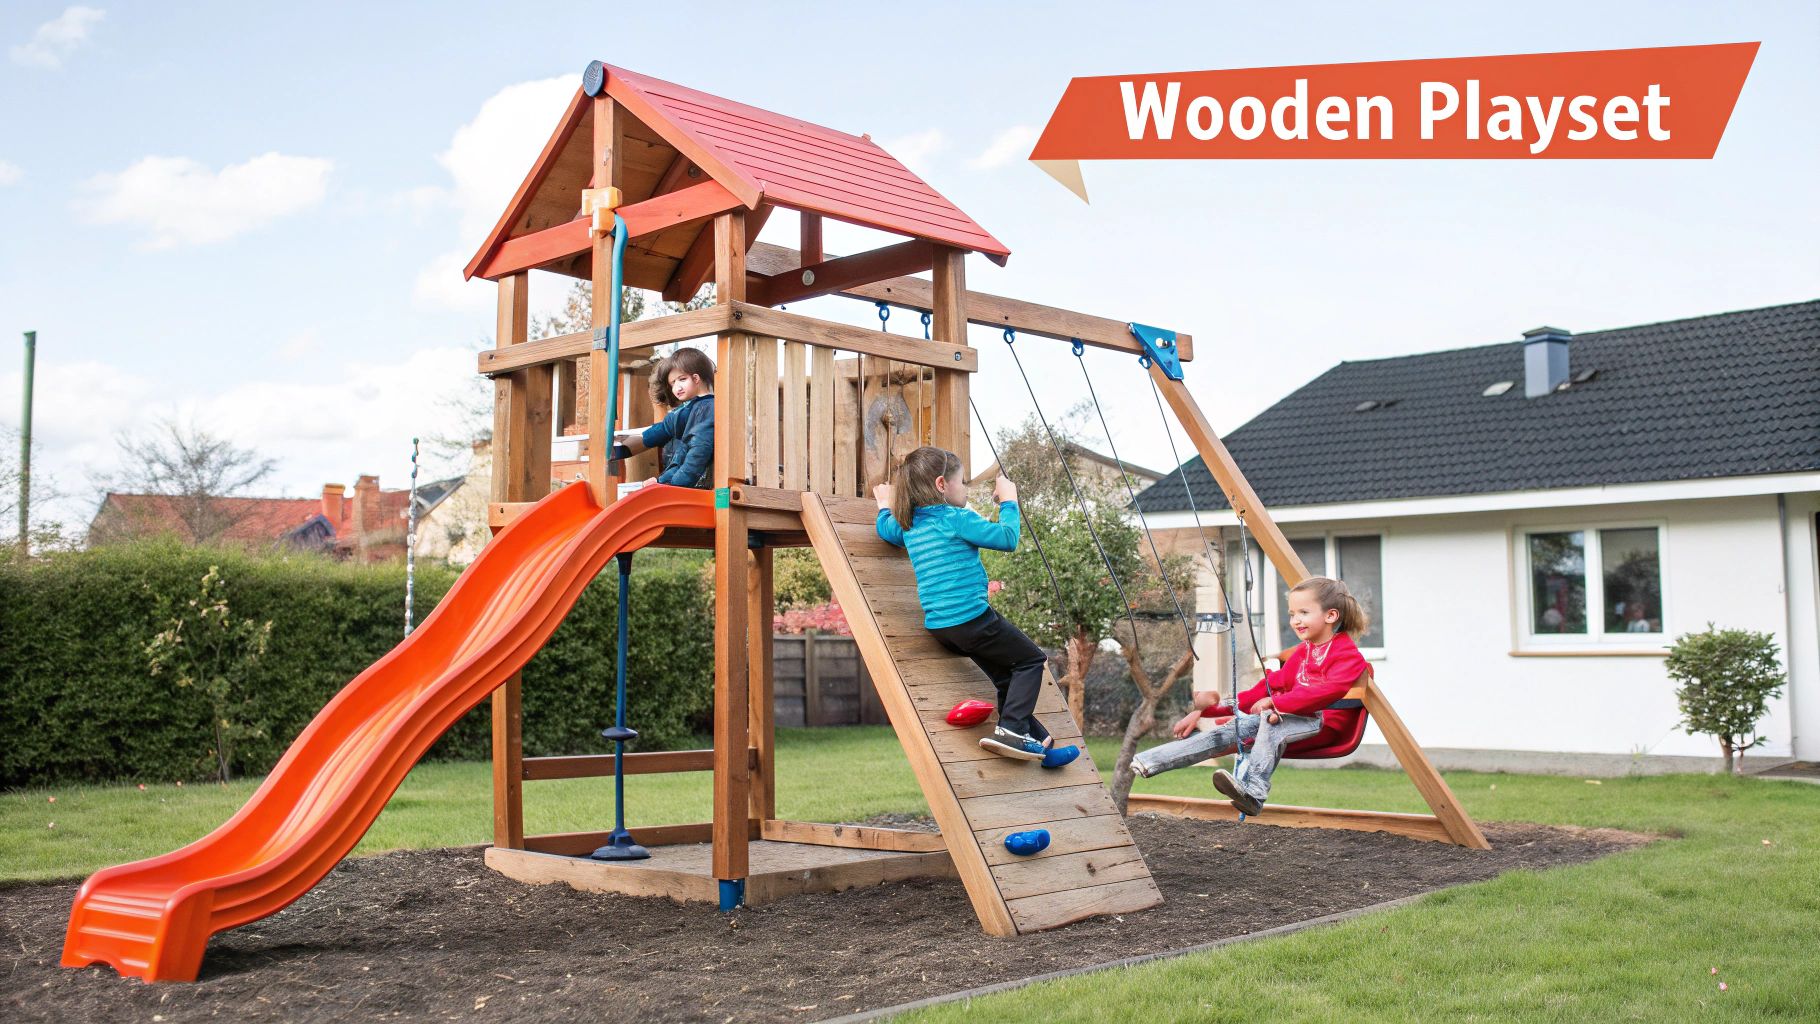
At its core, a DIY playset is an A-frame or four-post structure built from durable lumber like cedar or pressure-treated pine. You can start with a basic swing beam and fort platform, then add elements over time. Many builders draw inspiration from detailed online plans, such as those famously provided by Ana White, or adapt designs from popular woodworking channels like Steve Ramsey's. The project can be as simple as a swing set or as complex as a multi-level castle with a rock wall, rope ladder, and built-in sandbox.
This modular approach makes the project scalable. You can tackle the main structure one season and introduce new features like a tube slide or monkey bars the next, making it a manageable long-term investment in your family's outdoor enjoyment.
The following video provides a visual guide to the construction process, highlighting key steps from framing to finishing touches.
As shown, careful planning and correct assembly techniques are crucial for a structure that is both fun and secure for years of play.
A well-built wooden playset requires attention to detail and a commitment to safety. For those planning a project of this scale, understanding the specifics of outdoor playset installation can provide valuable insights.
Creating a dynamic obstacle course using natural elements is one of the most imaginative and adaptable diy backyard playground ideas. This approach moves beyond static equipment by transforming logs, stumps, rocks, and ropes into a challenging circuit that builds physical literacy. A natural obstacle course encourages kids to run, jump, balance, and climb, promoting agility, strength, and critical problem-solving skills in a constantly evolving environment.
At its simplest, this project involves arranging a series of natural challenges. You might use flat-topped stumps as stepping stones, a fallen log as a balance beam, or a sturdy low-hanging branch for pull-ups. For a more advanced setup, you can draw inspiration from American Ninja Warrior or scout camp courses, incorporating rope-based challenges like a slackline, a cargo net climb, or a rope swing between two points.
The beauty of this concept is its modularity. You can start small and add new obstacles over time, or rearrange existing ones to create new challenges. This keeps the play space exciting and prevents kids from getting bored, encouraging them to develop new strategies and physical skills.
Working with natural materials requires attention to their condition and placement. Follow these guidelines to ensure a safe and engaging course:
A dedicated sand and water play area creates a sensory-rich environment that encourages open-ended, creative exploration. This is one of the most effective diy backyard playground ideas for fostering early childhood development, as it combines tactile learning with imaginative play. By setting up a sandbox alongside a simple water table, mud kitchen, or water wall, you provide the fundamental tools for children to experiment with textures, volumes, and basic physics.
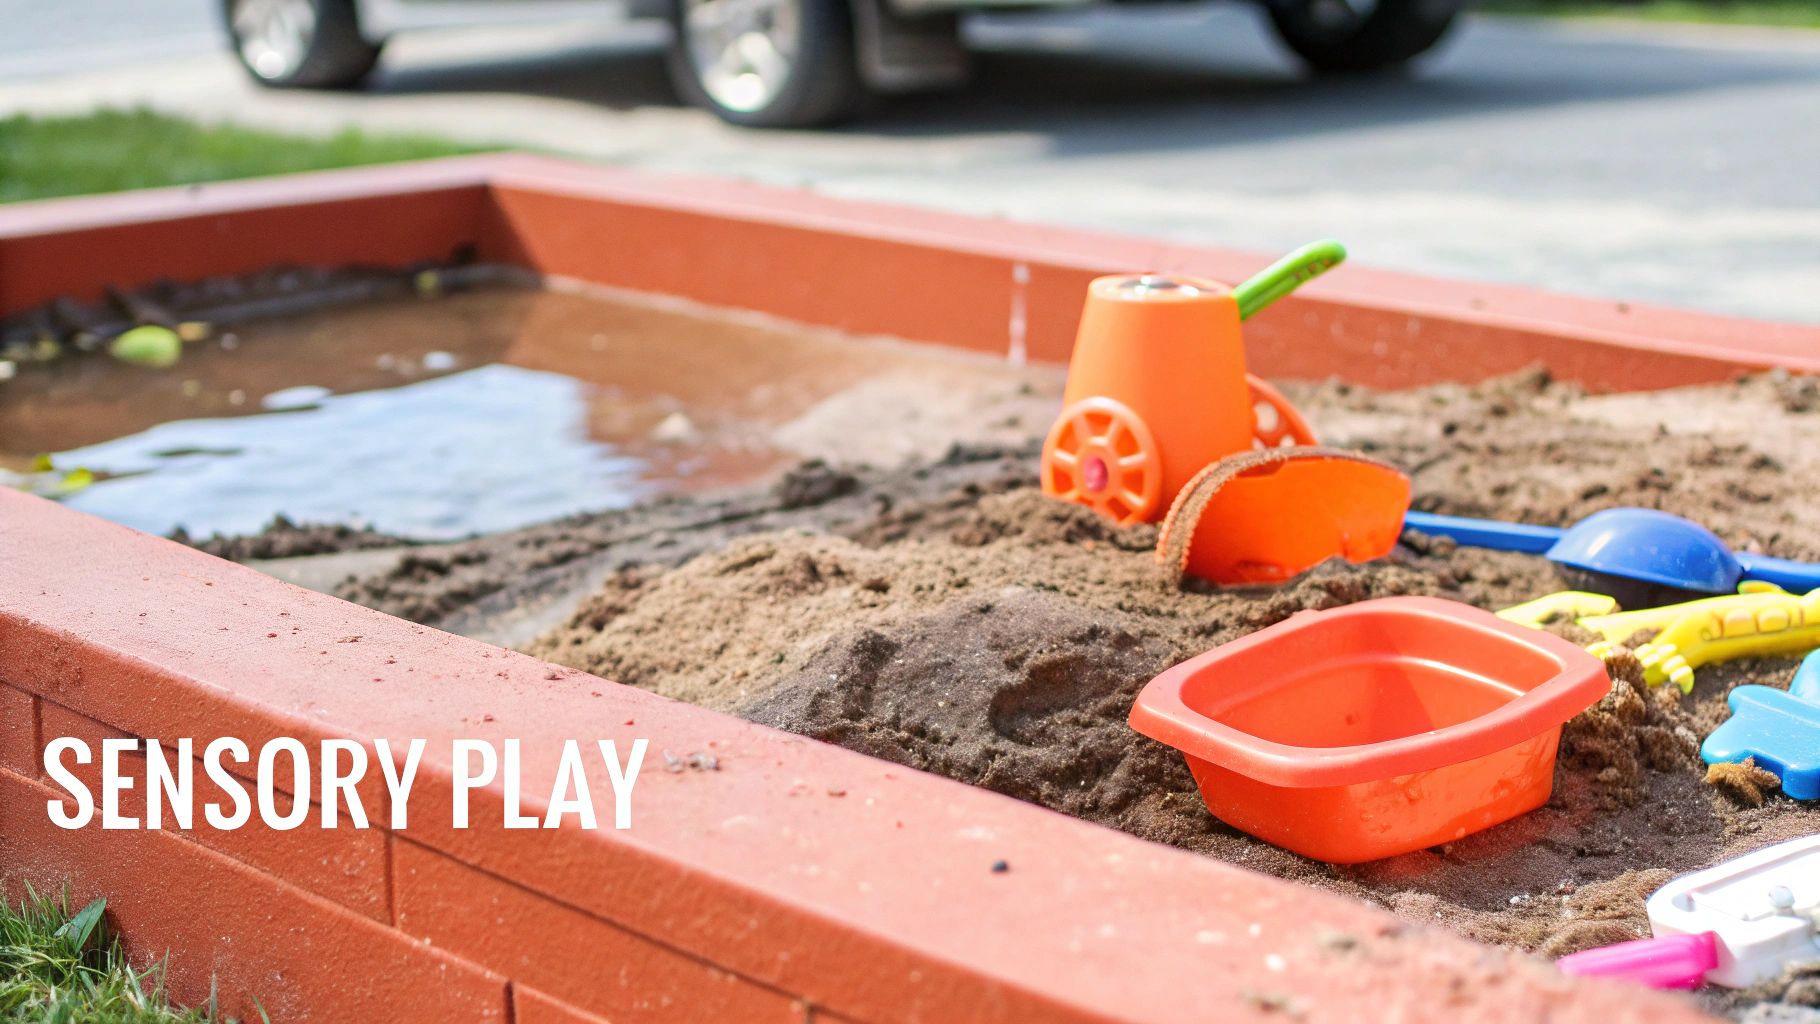
The core of this concept is combining two classic play elements. A basic sandbox can be built from timber or a repurposed container, while a water feature can be as simple as a durable plastic tub or an elaborate "mud kitchen" built from scrap wood and old sinks. The combination allows children to mix materials, build structures like sandcastles, and engage in role-playing scenarios like cooking or construction.
This approach is heavily influenced by educational philosophies like Reggio Emilia, which emphasize child-led discovery and interaction with the natural world. The goal is not to provide a structured toy, but rather a versatile space where kids can direct their own play, making it a highly engaging and educational addition to any backyard.
This type of play area is more than just fun; it is a developmental powerhouse. The following graphic breaks down the primary advantages of integrating a sand and water zone into your backyard.
As summarized, the blend of sensory input, creative freedom, and foundational STEM skill-building makes this play area a uniquely valuable and enriching choice for young children.
To ensure your sand and water station is safe, clean, and durable, adhere to these essential guidelines:
An elevated fort or treehouse is the ultimate backyard escape, offering a magical, private space for children to play, imagine, and observe their world from a new perspective. This quintessential childhood dream is one of the most rewarding diy backyard playground ideas, creating a landmark that fosters independence and a sense of ownership. Whether nestled in the branches of a mighty oak or built as a freestanding raised platform, a treehouse becomes the heart of backyard adventures.
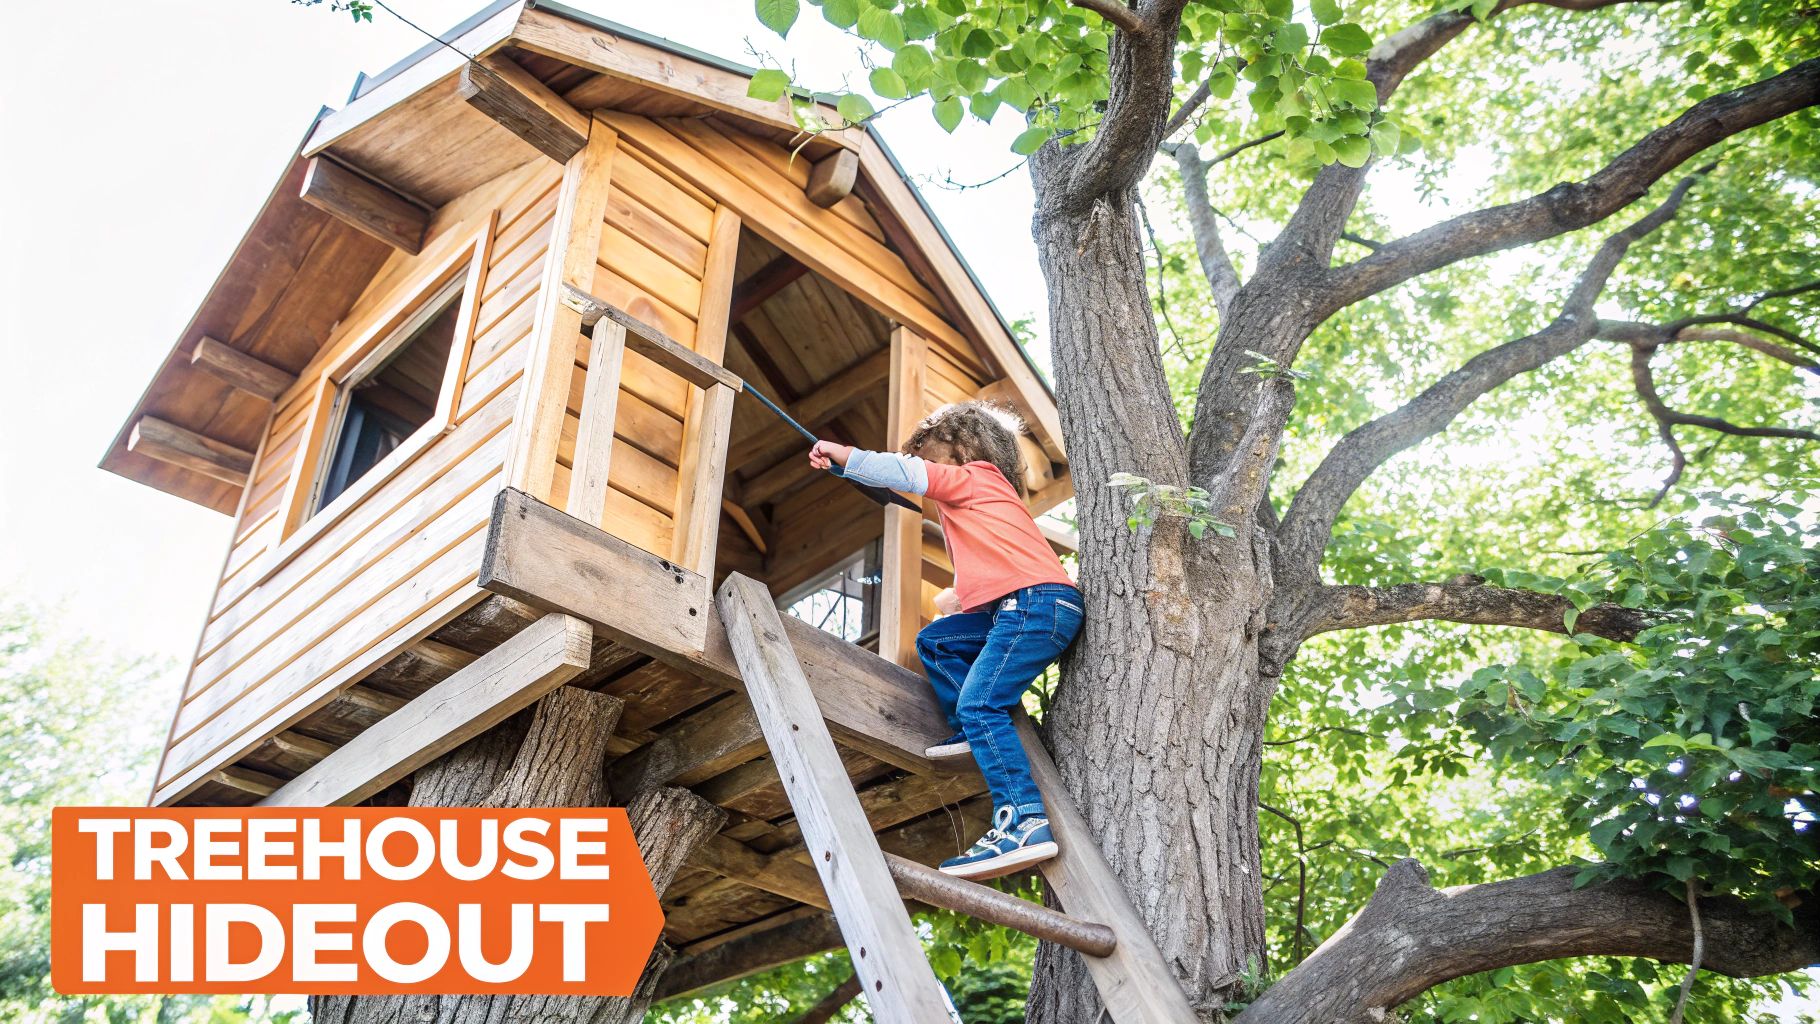
The complexity of a treehouse can range from a simple, sturdy platform with a rope ladder to an elaborate, multi-level structure inspired by masters like Pete Nelson of Treehouse Masters. You can design a modern, minimalist cube on posts or aim for a whimsical, Swiss Family Robinson-style hideaway with multiple access points like ladders, climbing walls, or even a zipline exit.
The core idea is to create a secure, elevated space that serves as a base for imaginative play. It can be a pirate ship's crow's nest, a castle turret, or a secret clubhouse. The design is limited only by your skill, budget, and creativity, but even the most basic fort provides an invaluable retreat for kids.
Building a treehouse is a significant undertaking, but its unique advantages make it a worthwhile project. The following summary outlines its primary benefits.
| Feature | Description |
|---|---|
| Imaginative Play | Provides a dedicated space that encourages storytelling, role-playing, and creativity away from screens. |
| Sense of Ownership | Gives children their own special zone to personalize and care for, fostering responsibility and independence. |
| Unique Perspective | Offers a physical and mental escape, allowing kids to view their environment from a new vantage point. |
As shown, the combination of promoting deep imaginative play and fostering a strong sense of independence makes a treehouse a uniquely impactful addition to any backyard.
Given the height involved, safety is the most critical aspect of building a treehouse or elevated fort. Adhere to these guidelines for a secure structure:
Adding a vertical challenge with a climbing wall or natural rock features introduces an exciting, skill-building element to your diy backyard playground ideas. This type of installation provides a fantastic workout, enhancing grip strength, problem-solving skills, and physical confidence. Whether you opt for a sleek, modern climbing wall or a more rustic arrangement of boulders, you can create a centerpiece that grows with your child's abilities.
The most common approach is a DIY climbing wall built from a sheet of sturdy plywood fitted with professional-grade climbing holds. This can be a freestanding structure or attached to a playset or a sturdy fence. For a more natural aesthetic, large, strategically placed boulders can form an organic climbing area that blends seamlessly into the landscape.
These designs are inspired by everything from professional climbing gyms to the natural challenges found in public parks and even "American Ninja Warrior" courses. The objective is to provide a safe yet demanding activity that encourages kids to think strategically about their movements while getting a full-body workout.
Building a vertical play structure requires strict attention to safety. Adhere to these guidelines to ensure a secure climbing experience:
A backyard zipline offers an unparalleled thrill, turning a simple outdoor space into a personal adventure park. This exciting addition is one of the more ambitious diy backyard playground ideas, allowing kids to experience the exhilarating sensation of gliding through the air. A properly installed cable ride system provides a unique form of play that builds confidence and delivers a rush unlike any standard playground equipment.
The core concept involves a strong, tensioned steel cable running from a higher anchor point to a lower one. A trolley with handlebars or a seat rolls along the cable, propelled by gravity. While professional adventure courses feature long, high-speed lines, residential kits like those from Slackers have made this experience safe and accessible for home use. The goal is to replicate the excitement of a commercial zipline on a smaller, safer scale suitable for children.
This idea is perfect for yards with mature, healthy trees or sturdy posts that can serve as anchor points. It introduces an element of managed risk, helping kids develop courage and an understanding of physics in a controlled environment. The ride itself provides a powerful sensory experience and a major "wow" factor for any backyard.
Given the nature of a zipline, safety is the absolute top priority. Meticulous installation and regular maintenance are non-negotiable.
A designated sports court transforms a simple yard into a hub for active play, making it one of the most engaging diy backyard playground ideas for kids and adults alike. Instead of a single-use play structure, a multi-game area provides a versatile space for basketball, soccer, tetherball, or even court games like four square. This approach encourages friendly competition, skill development, and healthy, active habits for the entire family.
The core concept is to create a dedicated, often hard-surfaced, flat area ready for various activities. This can range from a simple concrete slab with a basketball hoop to a more complex setup with marked boundaries for multiple games. You can start small with a portable soccer goal on the grass or install a permanent tetherball pole. The goal is to create a zone that invites movement and structured play, channeling the energy of a community park into your own backyard.
This idea draws inspiration from professional sports facilities and schoolyards, scaled down for residential use. It promotes not just physical fitness but also social skills like teamwork and sportsmanship, providing a lasting source of entertainment as children grow.
To better understand why this is a valuable long-term investment, the following graphic highlights its core advantages.
As the summary shows, the combination of multi-age appeal, long-term usability, and promotion of an active lifestyle makes a sports court a uniquely beneficial addition to any family's outdoor space.
Proper planning is key to creating a safe and functional sports area. Follow these guidelines for a successful project:
Merging imaginative play with the natural world, a garden playhouse and fairy garden combination is one of the most enchanting diy backyard playground ideas. This project transforms a corner of your yard into a whimsical retreat where children can nurture plants, host imaginary tea parties, and create miniature worlds. It fosters a connection to nature, encourages creativity, and teaches basic gardening skills in a fun, hands-on environment.
The core of this idea is a child-sized playhouse, which can be built from a kit, from scratch, or by upcycling a large shed. The real magic happens when you integrate it into a living landscape. Surround the structure with raised garden beds, miniature pathways made of stepping stones, and designated areas for fairy gardens built from moss, twigs, and tiny accessories.
This concept is inspired by the immersive children's gardens found at botanical gardens and the outdoor classrooms of Montessori schools. The goal is to create an interactive environment that stimulates all the senses and empowers children to take ownership of their own little piece of the natural world.
To understand why this magical project is a fantastic choice, the following graphic summarizes its key advantages.
As the summary shows, the blend of creative play, educational opportunities, and sensory engagement makes a garden playhouse a uniquely enriching addition to any backyard.
Creating a safe and thriving garden play area requires thoughtful planning. Follow these guidelines for a successful project:
Lightweight, affordable, and incredibly versatile, PVC pipe offers a fantastic medium for creating a modular and reconfigurable backyard obstacle course. Unlike permanent wooden structures, a PVC-based system allows you to build a variety of challenges like hurdles, tunnels, and agility poles that can be rearranged or expanded over time. This makes it one of the most adaptable diy backyard playground ideas for growing kids whose skills and interests are constantly changing.
The beauty of a PVC obstacle course lies in its scalability. You can start with simple, low-to-the-ground hurdles for toddlers to step over, then graduate to taller jumps for older children. By connecting pipes with various fittings like elbows and tees, you can construct crawl-through tunnels, weave poles for agility drills, or even a low-level balance beam. The entire setup can be disassembled for easy storage or reconfigured into a new layout to keep the challenges fresh and exciting.
This concept borrows from the adaptability seen in everything from kids' summer camp activities to dog agility courses. The goal is to create an engaging physical puzzle that promotes coordination, problem-solving, and speed, all within a safe and customizable framework.
To better understand why this is a top-tier DIY project, the following graphic highlights its core advantages.
As the summary shows, the combination of extreme customizability, low cost, and ease of modification makes a PVC obstacle course a uniquely practical choice for families seeking a dynamic play solution.
Building with PVC is straightforward, but following these tips will ensure a safer and more durable result:
| Playground Type | Implementation Complexity 🔄 | Resource Requirements ⚡ | Expected Outcomes 📊 | Ideal Use Cases 💡 | Key Advantages ⭐ |
|---|---|---|---|---|---|
| Tire Swing and Tire Obstacle Course | Moderate – requires tire prep and setup | Low cost, recycled tires, marine rope | Durable full-body workout, versatile play | Backyard boot camps, adventure playgrounds, military style | Eco-friendly, cost-effective, customizable |
| DIY Wooden Playset with Swings and Slide | High – carpentry skills and tools needed | Medium-high – lumber, hardware, tools | Multi-activity engagement, increases property value | Family play areas, phased building projects | High play value, customizable, long-lasting |
| Backyard Obstacle Course with Natural Elements | Moderate – ongoing maintenance for natural parts | Low – natural materials like logs/rocks | Physical & mental development, creative problem solving | Scout camps, seasonal backyard courses | Creative, inexpensive, physically & mentally engaging |
| Sand and Water Play Area | Low to moderate – drainage & setup needed | Low-medium – sand, water features | Sensory development, sustained engagement | Sensory play, educational outdoor classrooms | Sensory-rich, low maintenance, wide age appeal |
| Treehouse or Elevated Fort | High – structural, safety, permits | High – lumber, hardware, engineering | Imaginative private space, independence | Tree-rich yards, imaginative play | Unique, adventurous, efficient use of vertical space |
| Climbing Wall and Rock Climbing Features | Moderate – safety surfacing, hold installation | Medium – plywood, climbing holds | Upper body strength, confidence building | Compact yards, fitness-focused play areas | Compact footprint, challenging, professional level |
| Zipline and Cable Ride System | High – must meet safety standards | Medium-high – cables, anchors | Thrilling outdoor activity, coordination | Adventure playgrounds, connecting play zones | Exciting, small footprint, outdoor engagement |
| Sports Court and Game Area | Moderate to high – surface prep & equipment | Medium-high – court materials & gear | Physical fitness, teamwork, competitive play | Multi-sport family activities, year-round use | Multi-sport functionality, fosters teamwork |
| Garden Playhouse and Fairy Garden | Moderate – landscaping and plant care | Low-medium – plants, garden structures | Imaginative, nurturing, educational play | Gardening education, quiet imaginative play | Educational, aesthetically pleasing, promotes care |
| Backyard Obstacle Course with PVC Pipe | Low to moderate – simple tools, assembly | Low – PVC pipes & fittings | Customizable, physical exercise | Therapy courses, camps, adaptable backyard courses | Affordable, light, modular, easy to repair |
You've journeyed through a world of creative possibilities, from the rustic charm of a tire swing to the adventurous heights of a custom treehouse. The plans are sketched, the materials list is growing, and the excitement is palpable. Transforming your backyard into a hub of imaginative play is one of the most rewarding projects a homeowner can undertake. The array of diy backyard playground ideas we’ve explored showcases that with a bit of planning and elbow grease, you can create a truly magical space that will be the source of cherished memories for years to come.
As you transition from dreaming to doing, it's crucial to shift your focus to the foundational pillars of any successful playground project: safety, longevity, and smart execution. The ultimate goal is not just to build something fun, but to build something that is fundamentally safe and will stand up to years of enthusiastic play and harsh weather.
Before the first post is set or the first screw is driven, take a final moment to review your plan through a safety-first lens. This proactive step can prevent costly mistakes and, more importantly, potential injuries down the line.
A DIY playground is not a "set it and forget it" project. Regular maintenance is the key to ensuring its safety and durability for the long haul. A well-maintained structure is a safe structure.
Key Insight: Think of your playground like a car. It needs regular check-ups to perform safely and reliably. Schedule seasonal inspections to catch minor issues before they become major hazards.
Here's a simple maintenance schedule to adopt:
The spirit of DIY is about empowerment and saving money, but true wisdom lies in recognizing your limits. For certain projects, the risk associated with improper installation far outweighs the potential savings.
Complex installations that involve significant heights, structural loads, or specialized mechanics, such as a multi-level treehouse, an intricate playset, or a zipline system, often benefit from professional expertise. A professional installer not only has the specialized tools and experience but is also insured, providing you with an essential layer of protection and peace of mind. Investing in professional help for the most critical parts of your project ensures it is built to the highest safety standards, giving your family a secure environment for play.
Your backyard is a canvas, and these diy backyard playground ideas are your palette. By combining your creativity with a steadfast commitment to safety, you can build an extraordinary play space that nurtures imagination, encourages physical activity, and becomes the heart of your home's outdoor life.
Feeling excited about the ideas but overwhelmed by the thought of complex assembly? For intricate playsets, climbing structures, or any project where safety and precision are paramount, let the experts at Assembly Smart handle the heavy lifting. Their professional, insured technicians specialize in assembling playground equipment correctly and safely, so you can enjoy the final product with complete peace of mind. Visit Assembly Smart to get a quote and turn your playground vision into a professionally-built reality.
