-
CALL US:
- (866) 952-3456
When you hear "DIY bike storage," you might just picture a couple of hooks screwed into a stud. But it’s so much more than that. It’s about creating a custom solution—whether that’s a slick wall mount, a simple floor rack, or an ingenious ceiling hoist—that perfectly fits your bikes and your home.
Building it yourself is a fantastic, budget-friendly way to finally reclaim that valuable space and stop worrying about your bikes getting damaged.
If your bikes are currently propped against a wall, blocking a hallway, or just adding to the garage clutter, you already know the frustration. A dedicated storage system is a total game-changer. It goes beyond just tidying up; it actively protects your investment from those accidental scratches, dings, and bent parts that happen all too easily.
This guide is your first step toward turning that messy corner into a functional, and maybe even stylish, bike haven.
Before you start cutting wood or drilling any holes, the most critical part of the process is taking stock of your unique situation. A truly successful DIY bike storage project is one that’s perfectly tailored to your environment and your life.
First, ask yourself a few key questions. How many bikes are we talking about? The needs of a solo road cyclist are completely different from a family juggling mountain bikes, heavy e-bikes, and a couple of kids' scooters. The type of bike matters, too—a hefty e-bike demands a much more robust solution than a feather-light carbon fiber road bike.
Next, it's time to grab a tape measure and really analyze the space you have to work with. Are you looking at a spacious garage, a narrow apartment hallway, or a tiny shed? Measure the height, width, and depth of where you want to put this thing.
This isn’t just about making sure the bikes fit. It's about ensuring you can still walk around them and get to them without a struggle. Proper planning now will prevent you from building a rack that looks great but makes your space feel even more cramped than before. Getting creative is key here, and you can find a ton of great ideas in our guide to https://assemblysmart.com/storage-solutions-for-small-spaces/.
The real goal is to create a system that’s so convenient you'll actually use it every single time. If storing your bike is a hassle, it’s going to end up right back in the hallway.
This push for smarter storage isn't just about getting a tidier home; it's part of a much bigger trend. The global bike storage racks market was valued at around USD 1.2 billion in 2023 and is expected to grow like crazy.
What’s fueling this? It's a combination of more people moving to cities and the explosion in cycling for fitness and eco-friendly transportation. All those bikes need to go somewhere, making efficient storage a real necessity, especially in dense urban areas.
When you create your own DIY bike storage, you're not just organizing your home. You're tapping into a growing movement toward smarter, more sustainable living. You can dig into these trends in this bike storage racks market analysis.
Alright, you’ve measured your space and know what you're working with. Now comes the fun part: picking a design that actually fits your needs, your skill level, and your home’s look.
Let's be real, not every DIY bike storage idea you see online is going to work. What looks great in a huge, airy garage could be a complete disaster in a cramped apartment hallway. The trick is finding that sweet spot between saving space, making your bike easy to grab, and choosing a project you can actually finish in a weekend.
So, let's break down some of the most popular approaches I've seen and built over the years.
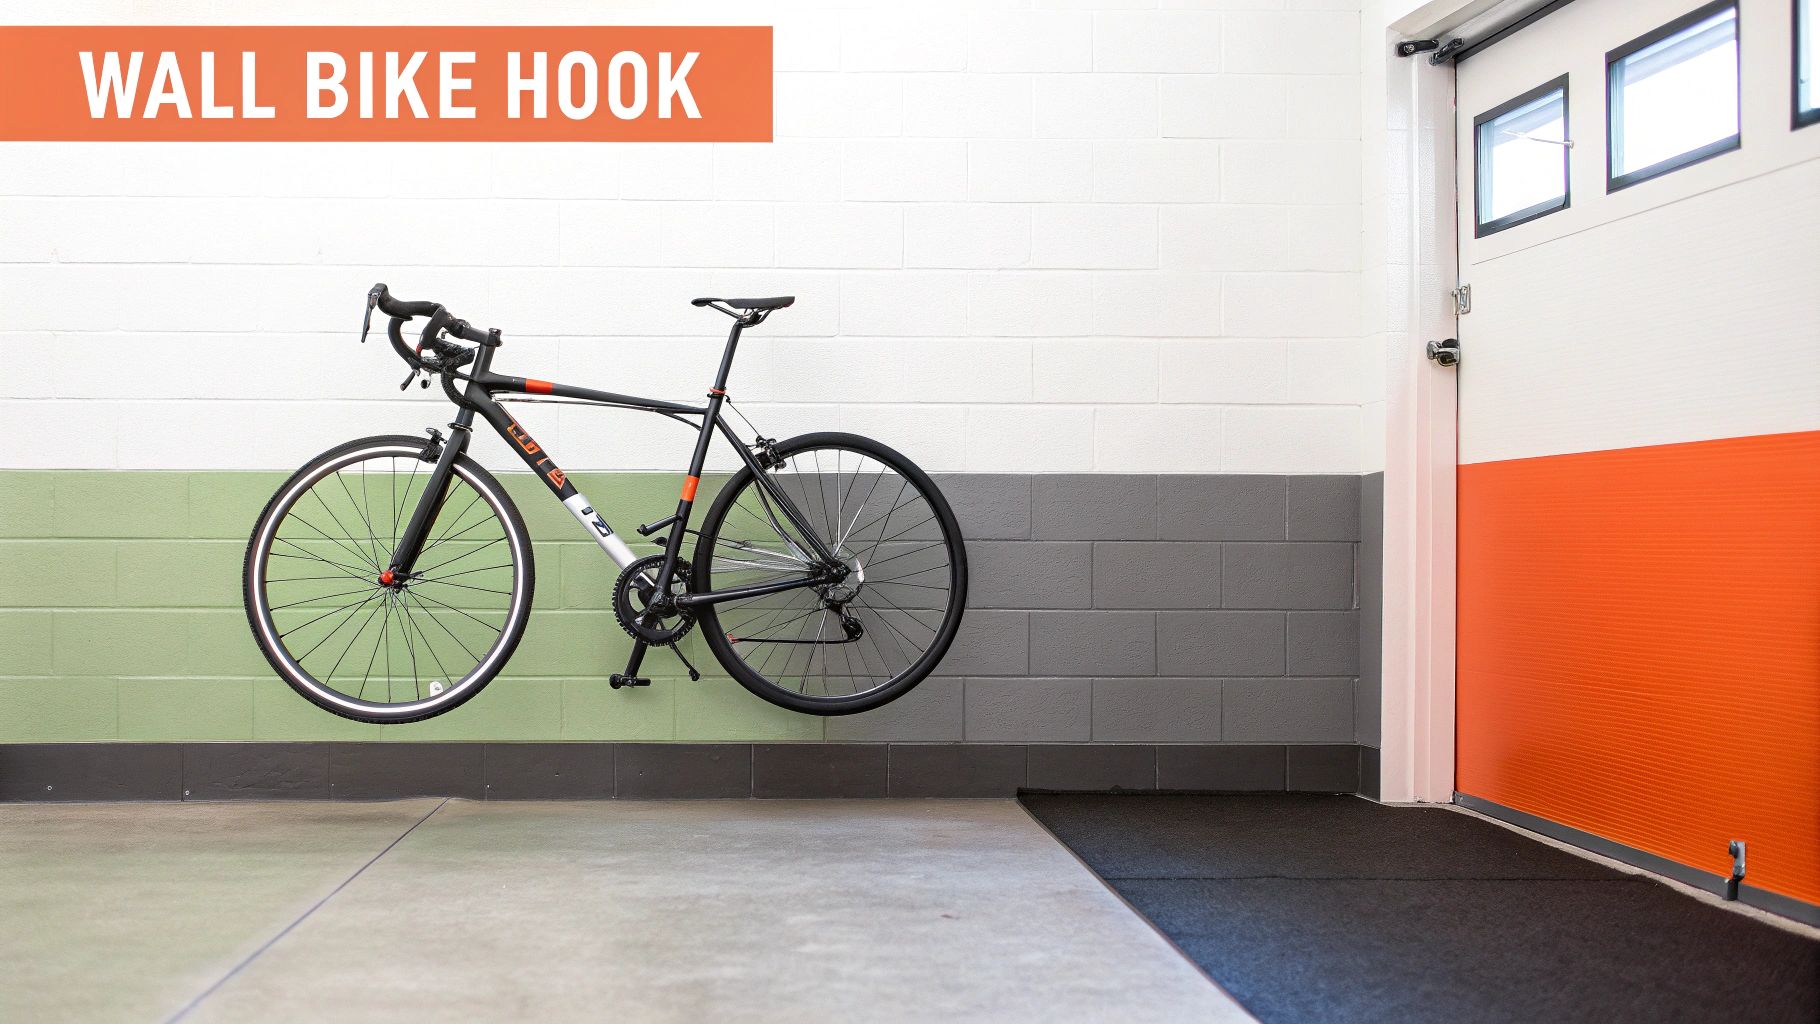
Getting your bike up on the wall is the most common DIY route, but how you hang it makes all the difference.
Vertical mounts, where the bike hangs from one of its wheels, are absolute champs when it comes to saving floor space. They barely use any horizontal wall real estate, which makes them perfect for skinny garages, sheds, or that awkward spot behind a door. The one thing to keep in mind is that you'll have to lift the bike into place, which can be a bit of a workout with heavier rides like e-bikes.
Horizontal mounts, on the other hand, cradle the bike's top tube. These are often much easier for daily use since you don't have to do much lifting. They can also look really sharp, turning your prized bike into a piece of wall art. The trade-off is that they eat up a lot of horizontal wall space, so you'll need a nice, long, clear wall to make it work.
Pro Tip: If you're hanging multiple bikes with vertical mounts, stagger the hook heights. This simple trick stops handlebars from tangling and lets you tuck the bikes much closer together, maximizing your wall space.
If you're really squeezed for room, it's worth checking out some creative ideas online. You can find some ingenious bike storage solutions for small apartments that really think outside the box.
But what if you can't—or don't want to—drill into your walls? Renters, I'm looking at you.
A freestanding bike rack is a fantastic choice if you want to keep your security deposit. These can be as simple as a wooden stand that holds the wheel, or "gravity" stands that lean against the wall to hold two bikes. The best part? No holes, no mess, and you can take it with you when you move.
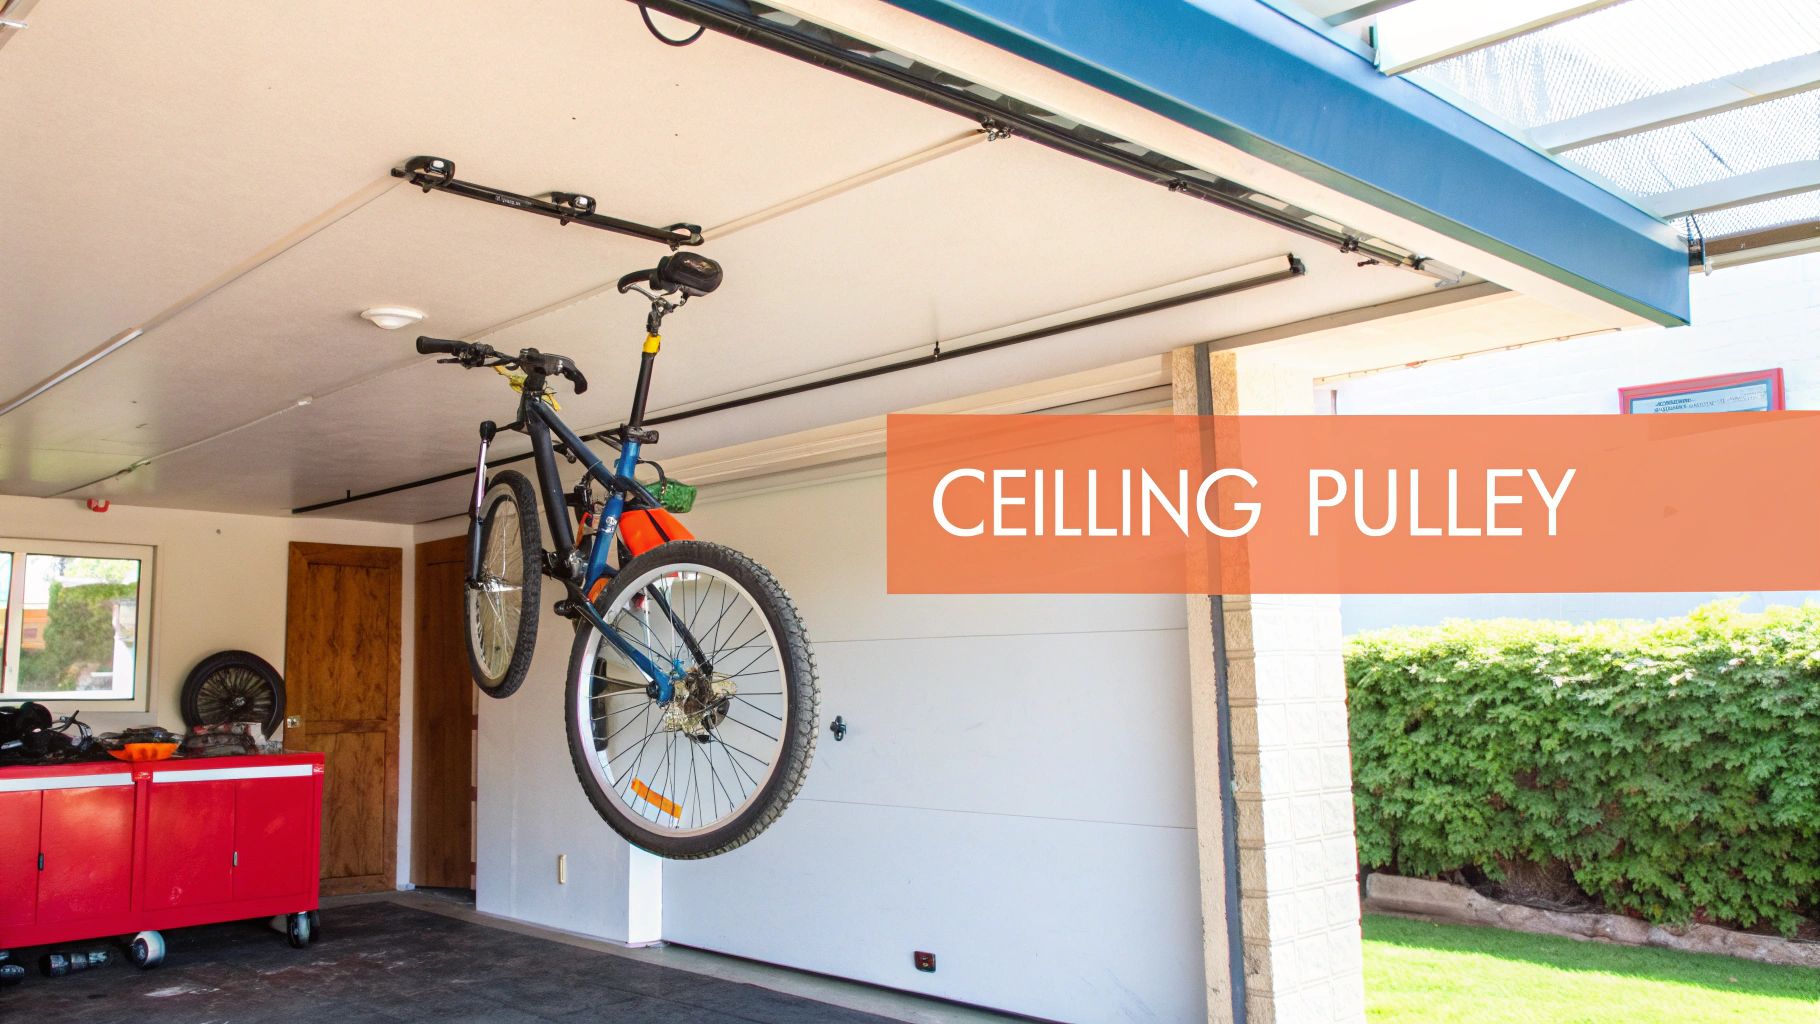
If you’re lucky enough to have high ceilings, especially in a garage, a ceiling pulley system is a brilliant way to get your bike completely out of the way. It lifts the bike up and over everything, freeing up 100% of your floor and wall space. While it's incredibly effective, this is a more involved build and you absolutely need to anchor it into a sturdy ceiling joist for it to be safe.
To help you visualize which path to take, I’ve put together a quick comparison. Think about your space, budget, and how often you'll be grabbing your bike.
| Storage Type | Best For | Skill Level | Space Impact |
|---|---|---|---|
| Vertical Wall Mount | Small footprints, garages, sheds | Beginner | Low (uses vertical space) |
| Horizontal Wall Mount | Easy access, displaying your bike | Beginner | Medium (uses wall length) |
| Freestanding Rack | Renters, apartments, no-drill needs | Beginner to Intermediate | High (uses floor space) |
| Ceiling Pulley System | High ceilings, long-term storage | Intermediate | Very Low (uses overhead space) |
Ultimately, the best design comes down to what you value most. Is floor space your number one priority, or is the convenience of grabbing your bike without any heavy lifting more important? Answering that question will point you right to your perfect weekend project.
Any successful DIY project really hinges on having everything you need before you start. Trust me, proper prep is the best way to avoid those frustrating, project-halting trips to the hardware store. Think of it as setting up your workshop for a smooth, efficient build.
The good news? Most DIY bike storage solutions don't require a professional-grade woodshop. You can get a surprising amount done with a few trusty power tools and some basic hand tools you probably already have.
Having the right gear doesn't just make the job easier—it makes it a whole lot safer. Before you even think about making your first cut, make sure you've got these core items ready to go:
If your design involves any angled cuts, a miter saw can be a massive help for getting those clean, professional-looking results. For a more complete look at what you might need, you can check out our guide on essential https://assemblysmart.com/furniture-assembly-tools/.
Seriously, avoid the temptation to just "eyeball it." Taking an extra minute to measure twice and use a level will save you from a crooked rack and a whole lot of potential safety headaches down the line.
The materials you pick will define the strength, durability, and overall look of your rack. This is where you can really start to customize the project to fit your space, your style, and your budget.
For a DIY bike rack that’s truly robust, especially if it’s going to hold a couple of bikes, it’s worth looking into the strongest types of wood. Cedar is a fantastic choice if your rack will live in a garage or even outdoors, thanks to its natural resistance to moisture. For indoor projects, you can't go wrong with pine; it's sturdy and very cost-effective.
Don't forget the hardware—it’s just as important as the wood. The screws you use are critical for a secure mount. Long wood screws are what you'll need for anchoring into drywall and studs. But if you’re drilling into a concrete or brick wall, you absolutely need specialized masonry screws and anchors to do it right.
Lastly, think about the small details that protect your bike. Adding some simple rubber or foam padding where the frame makes contact with the rack is a brilliant little touch. It prevents scratches and keeps your bike's finish looking pristine for years to come. It’s solutions like these that are driving major growth in the bike storage market; in fact, the global bicycle racks market is projected to hit USD 2.1 billion by 2032 as more people embrace urban cycling.
Alright, let's get building. We're going to walk through creating one of the most popular and space-saving designs out there: a vertical wall-mounted rack. This kind of rack is a lifesaver for garages, sheds, and even narrow apartment hallways where every inch of floor space counts. We'll focus on a simple but rock-solid wood-based rack that you can knock out in an afternoon.
The single most critical part of this whole project is making sure your DIY bike storage is anchored securely to the wall. This isn’t just about making it stable; it's a basic safety requirement. All the weight of your bike needs to be supported by the wall's internal frame—the studs—not just the drywall.
Before you even think about cutting any wood, you have to find the wall studs. A stud finder is your best friend here. Just slide it along the wall, and it'll beep or flash when it finds the edge of a stud. I like to mark both edges with a pencil and then find the center point. That center mark is exactly where you want to drill.
For a single bike rack, you'll need to fasten your wooden backplate to at least one stud. If you're building a wider rack for multiple bikes, you absolutely want to span it across two or even three studs to get maximum support. Once you've marked the center of each stud you'll be using, grab a level and draw a straight vertical line to guide where your backplate will go.
Safety first, always. The most common mistake I see is people skipping the stud-finding step. This can lead to the entire rack pulling right out of the wall, which could wreck your bike, your wall, and anything sitting below it. Seriously, take the extra five minutes to get this right.
With your wall all marked up, it's time to build the rack itself. A really simple and effective design just uses one piece of wood, like a 2×6 or a 2×8, as the backplate. Go ahead and measure and cut this piece to the length you want—a height of 12-18 inches is usually plenty for a single bike.
The actual process of putting your DIY bike storage together is pretty straightforward. This image gives you a good visual of the core steps for a secure installation.
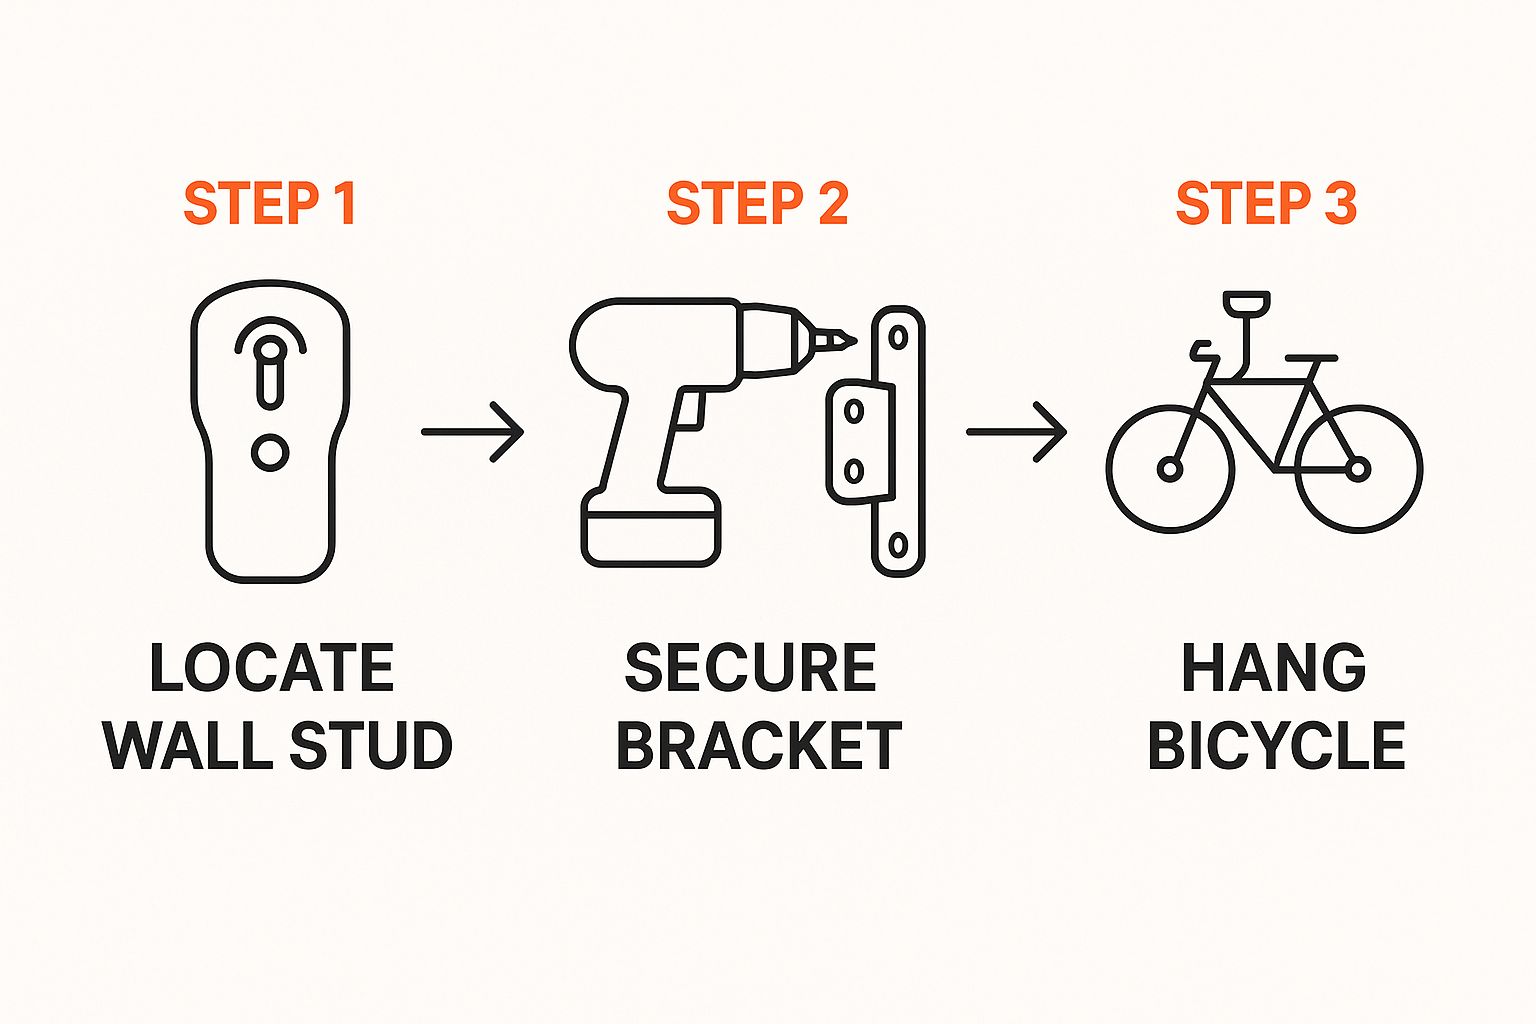
As you can see, the whole thing relies on anchoring your hardware into a solid structural part of the wall before you hang your bike on it.
Next up is attaching the bike hook. It’s way easier to do this before you mount the backplate to the wall.
Once the hook is attached, you're ready to secure the whole unit to the wall. If you're new to mounting heavy things, Assembly Smart has a great guide on how to secure furniture to wall, and a lot of the same safety principles apply here.
Before you throw your bike up there, take a moment for the details. A quick sanding of the wood's edges will get rid of any potential splinters and give it a much cleaner, more professional look.
You can leave the natural wood as is, or you could apply a coat of stain or paint to match the room. This simple step can take your DIY bike storage from being just a functional garage item to a stylish piece you’re actually proud to have on display.
You've built a beautiful rack, but that's only half the job. The real test comes down to how you install it. A rock-solid mount is what separates a reliable storage solution from a disaster waiting to happen. This is where you need to get serious about strength and stability to protect your bike and your walls.
Your first move is picking the right hardware. When you’re mounting a wooden rack into wall studs, forget standard screws and grab some heavy-duty lag bolts. They have a much thicker shaft and deeper threads, which gives them serious holding power. That’s exactly what you need to support the shifting weight of a bike being lifted on and off the rack day after day.
Always, always pre-drill a pilot hole that's just a bit smaller than the bolt's diameter. This simple step is your best insurance against splitting the wood stud.
Once your pilot holes are drilled smack in the center of the studs, it’s time to drive the lag bolts through your rack’s backplate and into the wall. Reach for a socket wrench for this part, not a drill. A wrench gives you way more control to get the bolts snug without the risk of over-tightening and stripping the wood.
As you tighten everything down, keep a level handy to make sure the rack isn't tilting. A crooked rack isn't just an eyesore; it creates uneven stress points that could lead to failure down the road. This kind of attention to detail is more important than ever.
Think about it: the global indoor bicycle storage market is expected to balloon to an estimated $850 million by 2033. This boom is driven by people in apartments and cities who need safe, smart ways to store their bikes. You can dig into the numbers yourself in the full indoor bicycle storage market report.
Before you even think about hanging your prized possession, you have to do a thorough safety check. Grab the rack firmly with both hands and give it a solid tug in every direction—down, out, and side-to-side. It should feel completely immovable, like it’s become part of the wall.
If you feel any wiggle, movement, or hear any creaking, stop right there. Go back and re-check your lag bolts. Make sure they're fully tightened and properly anchored in the studs.
Crucial Takeaway: Do not hang your bike until the rack passes this wiggle test with zero movement. A tiny wobble now will only get worse under the bike's weight, creating a major safety hazard.
Finally, when you're ready for that first hang, think about your body mechanics. Even with a perfectly installed rack, lifting a bike can put a real strain on your back if you do it wrong. Our guide on safe lifting techniques has some great tips that are just as useful here. Taking these last few steps ensures your new DIY storage is not just functional, but fundamentally safe.
Even a project that looks simple on paper can throw you a curveball. And when that project is responsible for holding your pride and joy off the garage floor, it pays to get the details right. Let's walk through some of the most common questions that pop up when building a DIY bike storage solution.
When you're tight on space, think vertical. Using your wall space is almost always the winning strategy in a smaller apartment because it keeps your floor clear and your bike out of the way.
One of the most popular and effective projects is simple: mount a nice-looking wood plank to the wall (make sure it's anchored into studs!) and then attach a rubber-coated bike hook. This gets your bike completely off the floor, freeing up that valuable real estate.
But what if you can't drill into the walls? You still have some great options:
This is a big one. Nobody wants to scratch their frame. The golden rule is to make sure any spot where the rack touches your bike is padded with something soft and non-abrasive.
If you’re using hooks that hold a wheel, always buy the vinyl-coated kind to protect your rims. For racks where the bike's top tube rests on two arms, you'll want to cover those arms. I've seen people use foam pipe insulation, leftover handlebar tape, or even pieces of an old rubber inner tube. They all work great.
A special note if you own a carbon fiber bike: Be very careful about how you hang it. You should never hang a carbon frame in a way that creates a sharp pressure point. For these bikes, hanging by the wheel or using a rack that supports it under the saddle is a much safer bet.
Of course! This is where a DIY approach really shines—you get to build something that perfectly fits your family's collection of bikes.
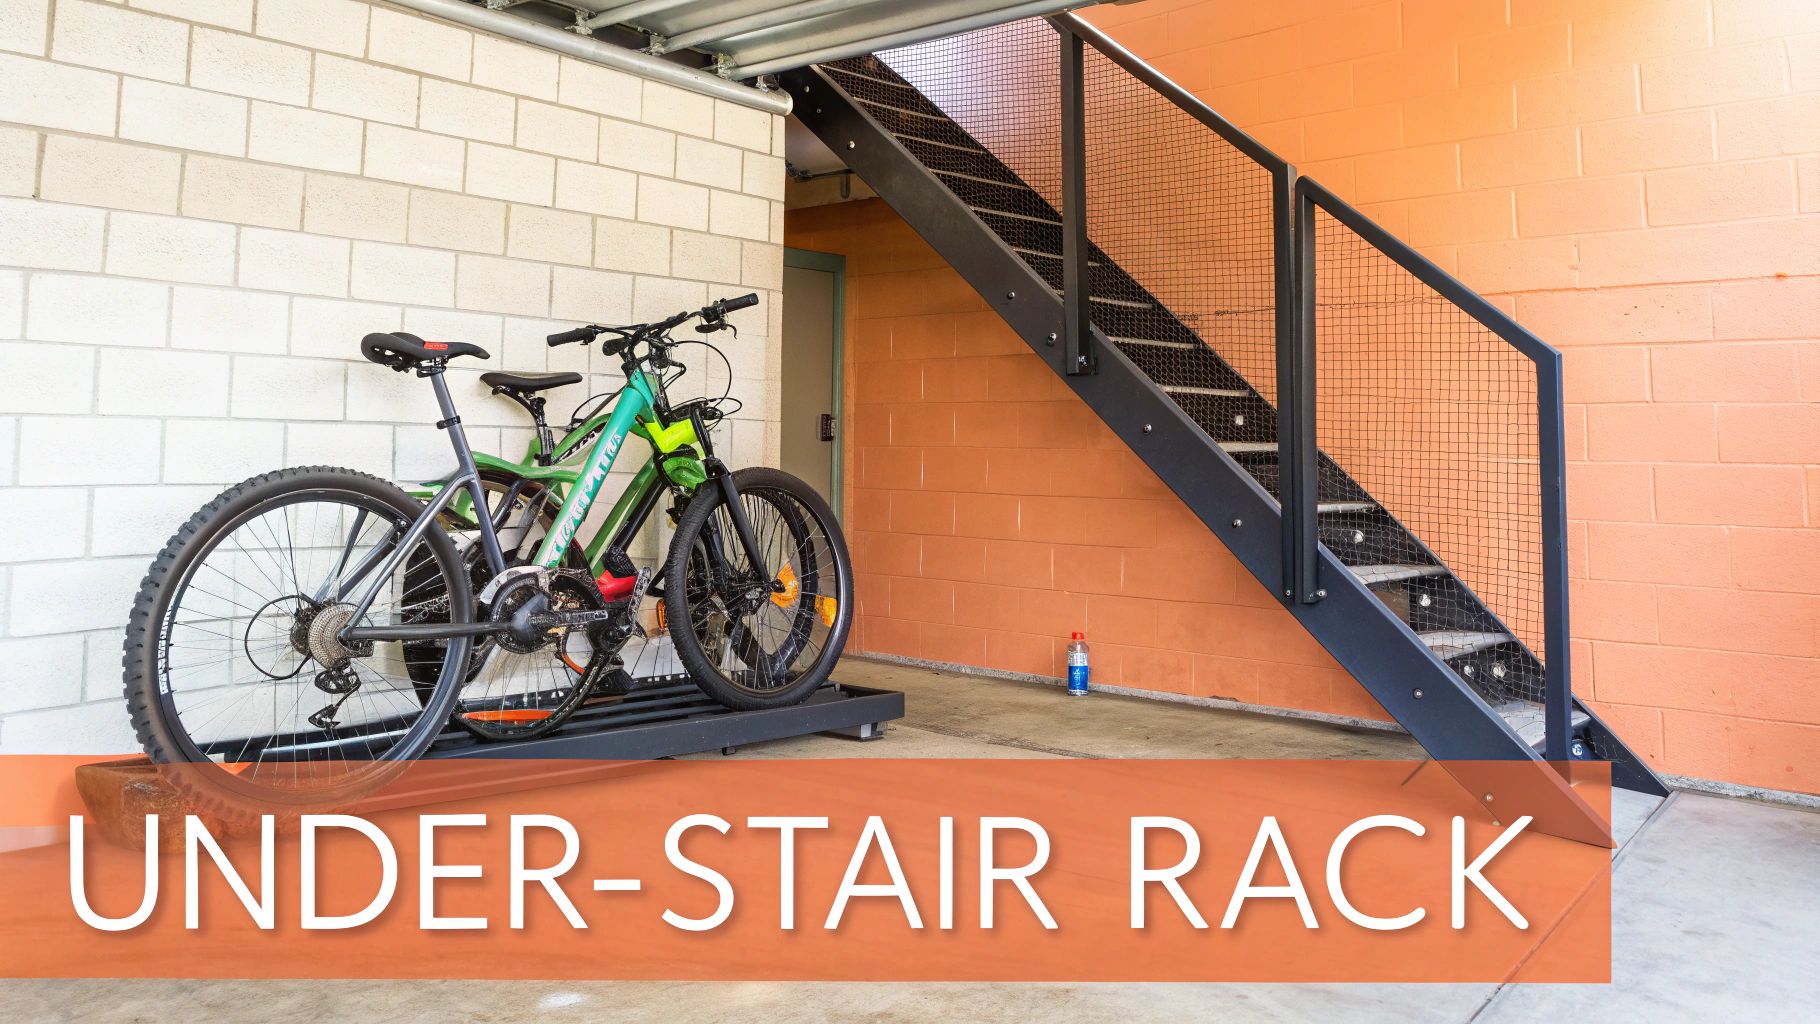
For a garage, a floor rack is often the easiest path. You can build a simple wooden rack with slots spaced out for each bike's tires, kind of like the public racks you see downtown. The best part about this design is that it's easy for everyone, even kids, to park their own bike.
If you'd rather go with a wall-mounted system for multiple bikes, here's my favorite trick: install a long ledger board (a 2×6 works well) horizontally across several wall studs. From there, you can hang multiple J-hooks. The secret is to stagger the heights of the hooks, which lets you nestle the bikes closer together without the handlebars clashing. Just do the math on the total weight of your bikes and use heavy-duty anchors to make sure that board isn't going anywhere.
This is non-negotiable: you must securely anchor the rack into wall studs. Never, ever trust drywall alone to hold the weight of a bike. It will fail, and your bike will come crashing down.
Use a stud finder to locate the center of the wooden studs behind your wall. If you're hanging a heavy bike or any kind of multi-bike rack, skip the standard screws and go straight for lag bolts. They provide far superior holding power.
Once you’ve installed it, give it a good, firm tug before you even think about hanging your bike on it. It shouldn't wiggle, flex, or move at all.
Building your own bike storage can be a really satisfying weekend project. But if you’d rather leave the assembly to the experts, Assembly Smart is here to help. From bike racks to complex furniture, our professional team ensures everything is put together safely and correctly. Get a free estimate today and let us handle the hassle.
