-
CALL US:
- (866) 952-3456
Let’s face it, the standard closet systems you buy off the shelf just don't cut it. They almost never fit your space or your life perfectly. Building your own DIY closet shelves is the ultimate solution, giving you the power to create a custom-fit system that squeezes the most out of every single inch of space. This is more than just a storage project; it’s about transforming a cluttered, frustrating area into a truly organized and functional part of your home.
Those pre-made closet organizers always seem to leave you with weird gaps, wasted vertical space, and shelves that are just a little too shallow or narrow for what you actually own. When you take on a DIY closet shelf project, you get to ditch the one-size-fits-all approach for something completely personalized. This is your chance to design a space that genuinely works for you.
Imagine shelves designed specifically for your stuff:
A custom-built system turns a chaotic closet into a streamlined, functional space that makes your daily routine that much easier.
There's a huge sense of satisfaction that comes from finishing a home improvement project. Building your own shelves adds real, tangible value to your home by creating highly desirable, built-in storage. This isn't just about saving a few bucks; it's a smart investment in your home's functionality and overall appeal. The move toward customized home organization is picking up speed, and for good reason.
A custom closet doesn't just hold your clothes—it organizes your life. By building it yourself, you ensure that every shelf and every rod serves a specific purpose, eliminating clutter at its source.
This shift toward personalized storage is a big deal in the home improvement world. In fact, the global home built-in closet market, which includes DIY solutions, was valued at around USD 8.5 billion and is expected to climb to USD 13.2 billion by 2033. That growth points to a clear preference for tailored storage that makes homes more efficient and valuable.
Ultimately, a DIY closet project is about taking back control of your space. It’s an opportunity to apply some smart design to a part of the house that often gets ignored. For any homeowner trying to make the most of every square foot, custom shelving is one of the most effective ways to do it.
And if you're working with particularly tight quarters, be sure to check out our other storage solutions for small spaces for more ideas.
A great DIY closet shelf project starts long before you ever pick up a saw. It all begins with a smart, functional plan that can transform a basic storage space into one of the most efficient parts of your home. It’s a common mistake to rush this stage, but that’s how you end up with shelves that just don’t quite work.
First things first: take a thorough inventory of what you actually need to store. And I don’t mean just peeking in and guessing—pull everything out. Are you wrangling bulky sweaters, stacks of shoe boxes, or long coats that need plenty of clearance? Knowing what you're dealing with dictates every single decision from here on out.
This initial audit is what stops you from building a generic, one-size-fits-all system. Instead, you can design shelves specifically for your stuff, like taller sections for boots or shallower shelves for t-shirts. That's how you maximize every last inch.
Once you know what you're storing, it's time to measure your closet with absolute precision. Don't just get the width of the back wall and call it good. Closets are almost never perfect little boxes, so you have to account for every quirk and imperfection.
To get it right, take multiple measurements:
Getting these details right is non-negotiable. For a deeper dive into this critical step, our guide on how to measure furniture has some great techniques that apply perfectly here, ensuring your custom shelves fit like a glove.
With your measurements and inventory list ready, it's time to create a simple sketch. This doesn't need to be some professional blueprint—a quick drawing on a piece of paper works just fine. This visual plan helps you map out where each shelf will go and how much space you’ll dedicate to different items.
Think about the ergonomics of the design, too. Things you grab every day should be at eye level, roughly between your shoulders and knees. Stuff you use less often, like holiday decorations or luggage, can be stored up high. A well-designed closet really starts with this kind of strategic thinking. To get the most out of every inch, it's worth digging into the principles of effective space planning.
Pro Tip: Grab some painter's tape and mark the shelf locations directly on the closet walls. This is a game-changer for visualizing the layout in the actual space and lets you make adjustments before you commit to cutting any wood.
Figuring out the right shelf depth is also huge. For folded clothes, a depth of 12 to 14 inches is the sweet spot; it’s deep enough to hold a decent stack without things getting lost and forgotten in the back. For bigger storage bins, you might need 16 or 20 inches, but just be aware that shelves this deep can make it harder to see and reach what's behind. Nailing down these details now ensures your finished DIY closet shelves aren't just good-looking but are genuinely functional for years to come.
Alright, with your layout sketched and a plan in hand, it's time to gather your supplies. This is the part where the project starts to feel real. But let's be honest, walking into a massive hardware store without a clear list is a recipe for wandering aimlessly and definitely overspending. Let's break down exactly what you’ll need to build shelves that are sturdy and look like they were done by a pro.
The material you pick for your shelves is the single biggest factor affecting their strength, look, and final cost. This choice will determine how well your project holds up over the years, especially when loaded down with heavy stacks of sweaters or those big storage bins.
You've got a few great options for shelving material, and each one has its pros and cons. The best choice really boils down to your budget, the style you're going for, and just how much weight those shelves are going to have to support.
To help you visualize the trade-offs, here’s a quick comparison of the most common materials you'll find at the hardware store.
| Material | Average Cost (per sq. ft.) | Strength & Durability | Best For |
|---|---|---|---|
| Plywood | $2.50 – $4.50 | High: Resists sagging, very durable. | Heavy-duty storage, long spans, and a smooth paintable surface. |
| MDF | $1.50 – $3.00 | Medium: Prone to sagging under heavy loads. | Budget-friendly projects, painted finishes, and shorter shelf spans. |
| Solid Wood (Pine) | $3.00 – $6.00+ | High: Strong and sturdy, but can warp if not sealed. | Stained finishes where you want the natural wood grain to be the star. |
Choosing the right one from the start saves a lot of headaches later. Think carefully about what you’ll be storing—books and winter clothes weigh a lot more than T-shirts and shoes.
It's no surprise that the demand for smart, durable storage is booming. The home organization market in the United States was recently valued at around USD 12.05 billion, and modular storage—exactly like what you're building—accounts for a massive 34.56% of that. This trend is a good thing for us DIYers, as it pushes manufacturers to create better materials, making it easier than ever to get fantastic results.
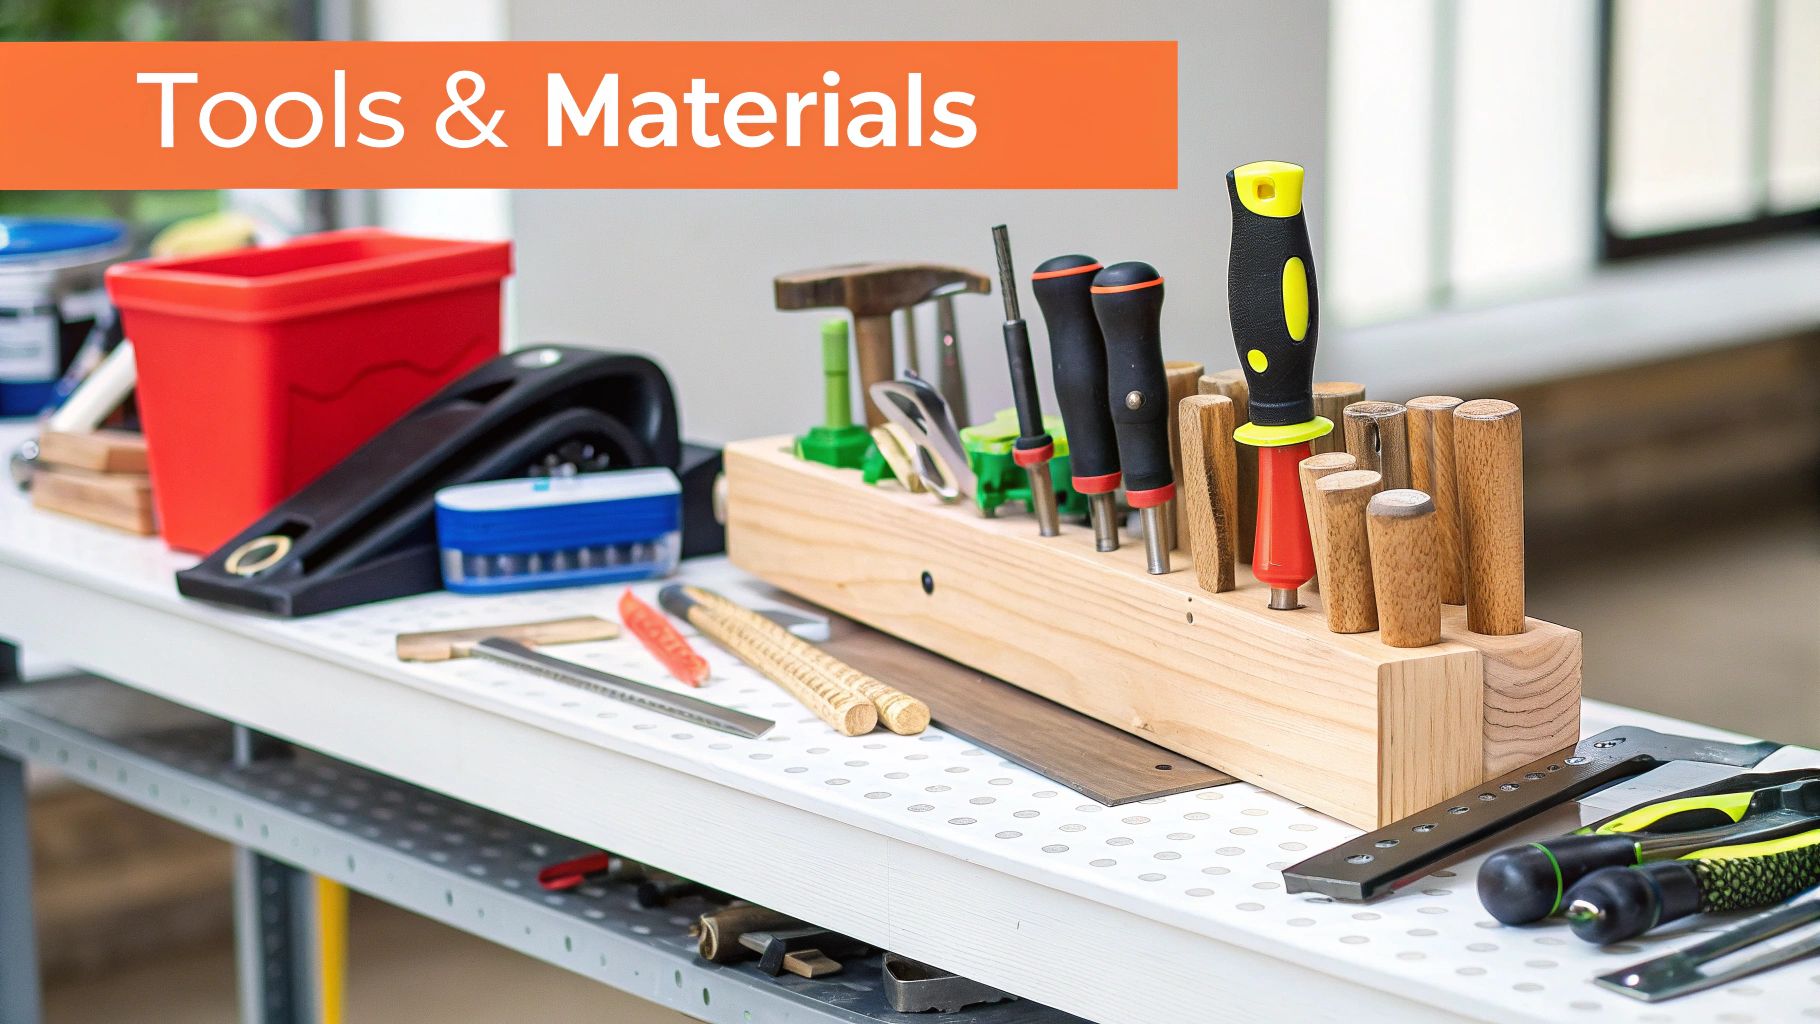
You don't need a full-blown workshop to build great DIY closet shelves, but having the right tools on hand will make the entire process easier, safer, and a lot more precise. The hardware is just as important; it’s the stuff that actually holds your shelves to the wall.
A level isn't just a tool; it's a promise to yourself that you won't have to look at crooked shelves for the next ten years. Take the extra minute to get it right—you'll thank yourself later.
Here’s a quick rundown of what you’ll need to grab.
Must-Have Tools:
Essential Hardware:
Having your tools organized and ready to go is half the battle. If you're just starting to build out your toolkit, our guide on essential furniture assembly tools is a great place to see what every DIYer should have ready.
Okay, you've got your materials stacked up and a solid plan in hand. Now for the fun part: bringing it all to life. This is where we turn that pile of wood into the sturdy, functional DIY closet shelves you pictured. We'll walk through it methodically, focusing on getting those clean, professional results without needing a pro-level workshop.
First things first, let's get those shelves cut down to the exact sizes you figured out earlier. Precision is everything here. Even a tiny mistake can lead to wobbly shelves or awkward gaps against the wall. You know the old saying: measure twice, cut once. It’s a classic for a reason.
Clean cuts are the secret to a polished, store-bought look. Your best friend for this job is a circular saw with a fine-tooth blade, which is much less likely to splinter the wood. I've got a great trick for you, especially if you're working with plywood or melamine: lay down a strip of painter's tape right over your cut line. It sounds simple, but it does an amazing job holding the wood fibers together for a super crisp edge.
Once everything is cut, it's time to sand. Even if the wood feels pretty smooth, a quick once-over with medium-grit sandpaper (something around 120-grit) will take down any rough spots and get the surface ready for its finish. Always follow up with a finer grit, like 220-grit, to get that silky-smooth feel that's perfect for paint or stain.
Ready to add some color? Whether you're painting or staining, here are a few tips I've learned for getting a durable, even coat:
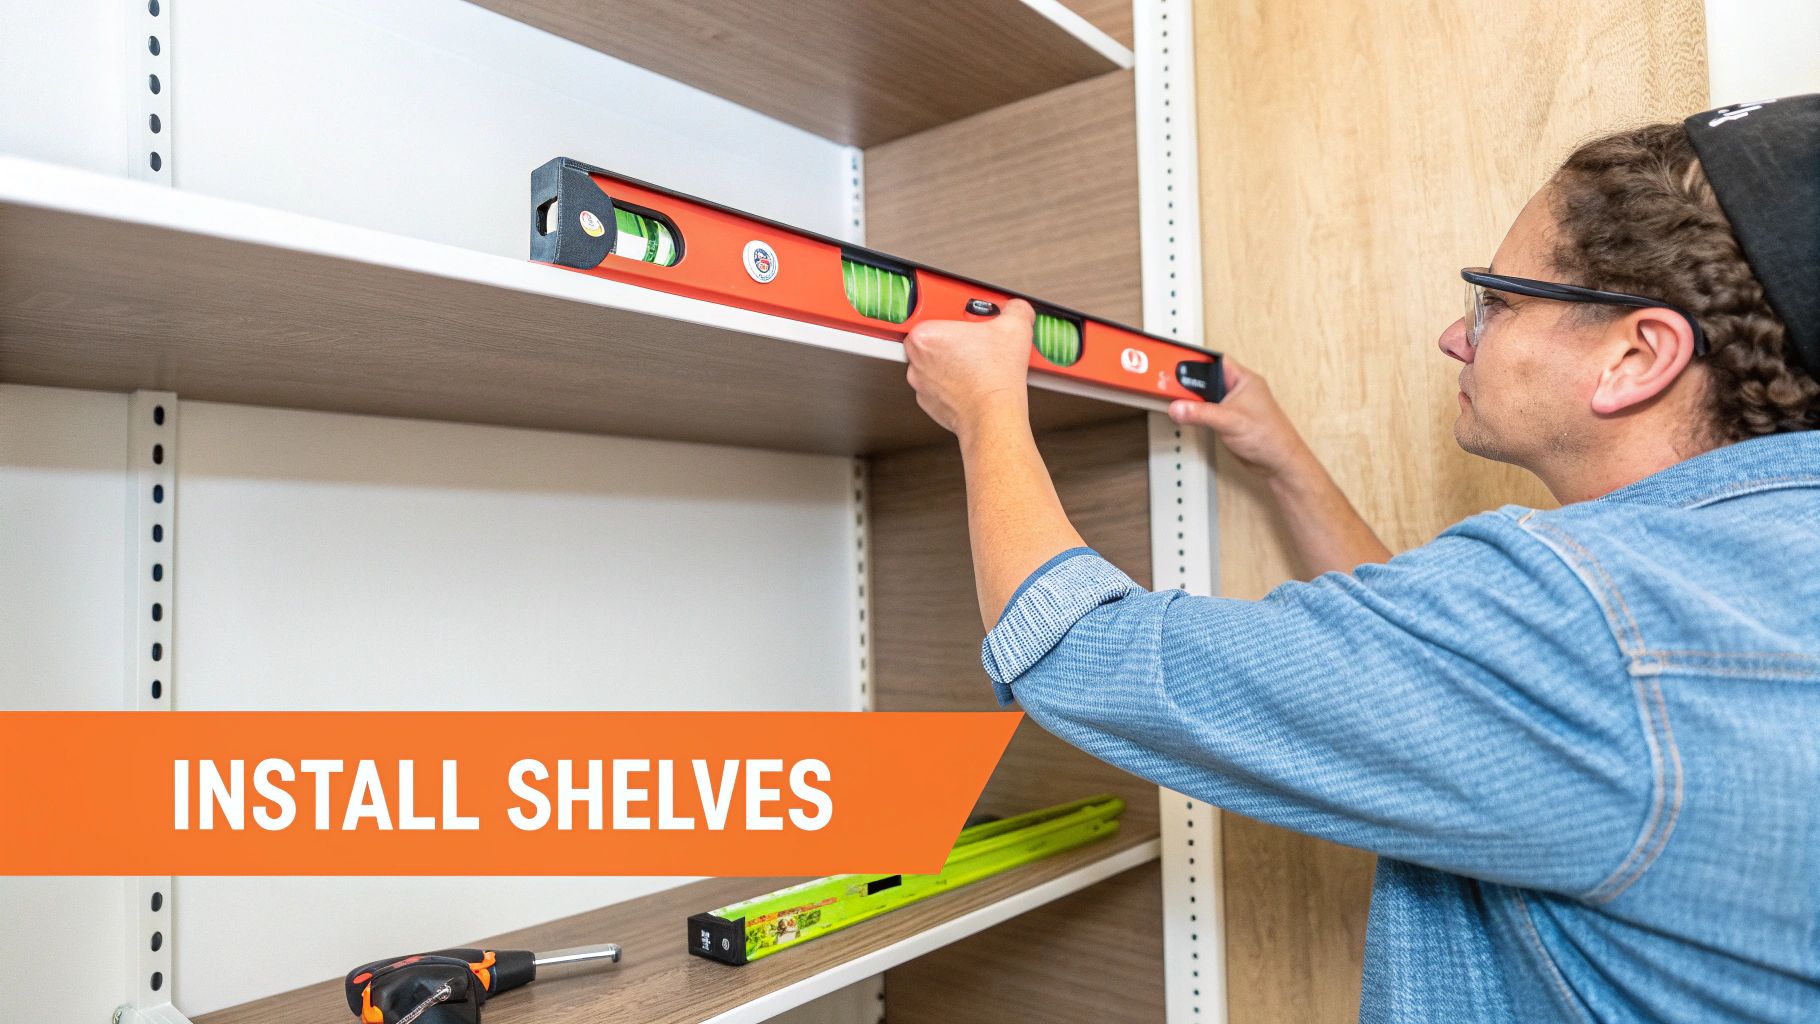
With your shelves looking sharp, it's installation time. The single most important part of this whole process is anchoring them securely to the wall. This isn't optional—it means finding the wall studs and fastening your supports directly into them. Those vertical wood beams are the backbone of your wall for a reason.
A good stud finder is worth its weight in gold here. Just slide it along the wall where you plan to install your supports and mark the center of every stud it locates. Attaching your brackets or wood cleats to these studs is what gives your shelves the strength to hold serious weight without ever pulling away from the wall.
This image gives you a good idea of how a basic shelf frame comes together, which is a core part of many DIY shelving projects.
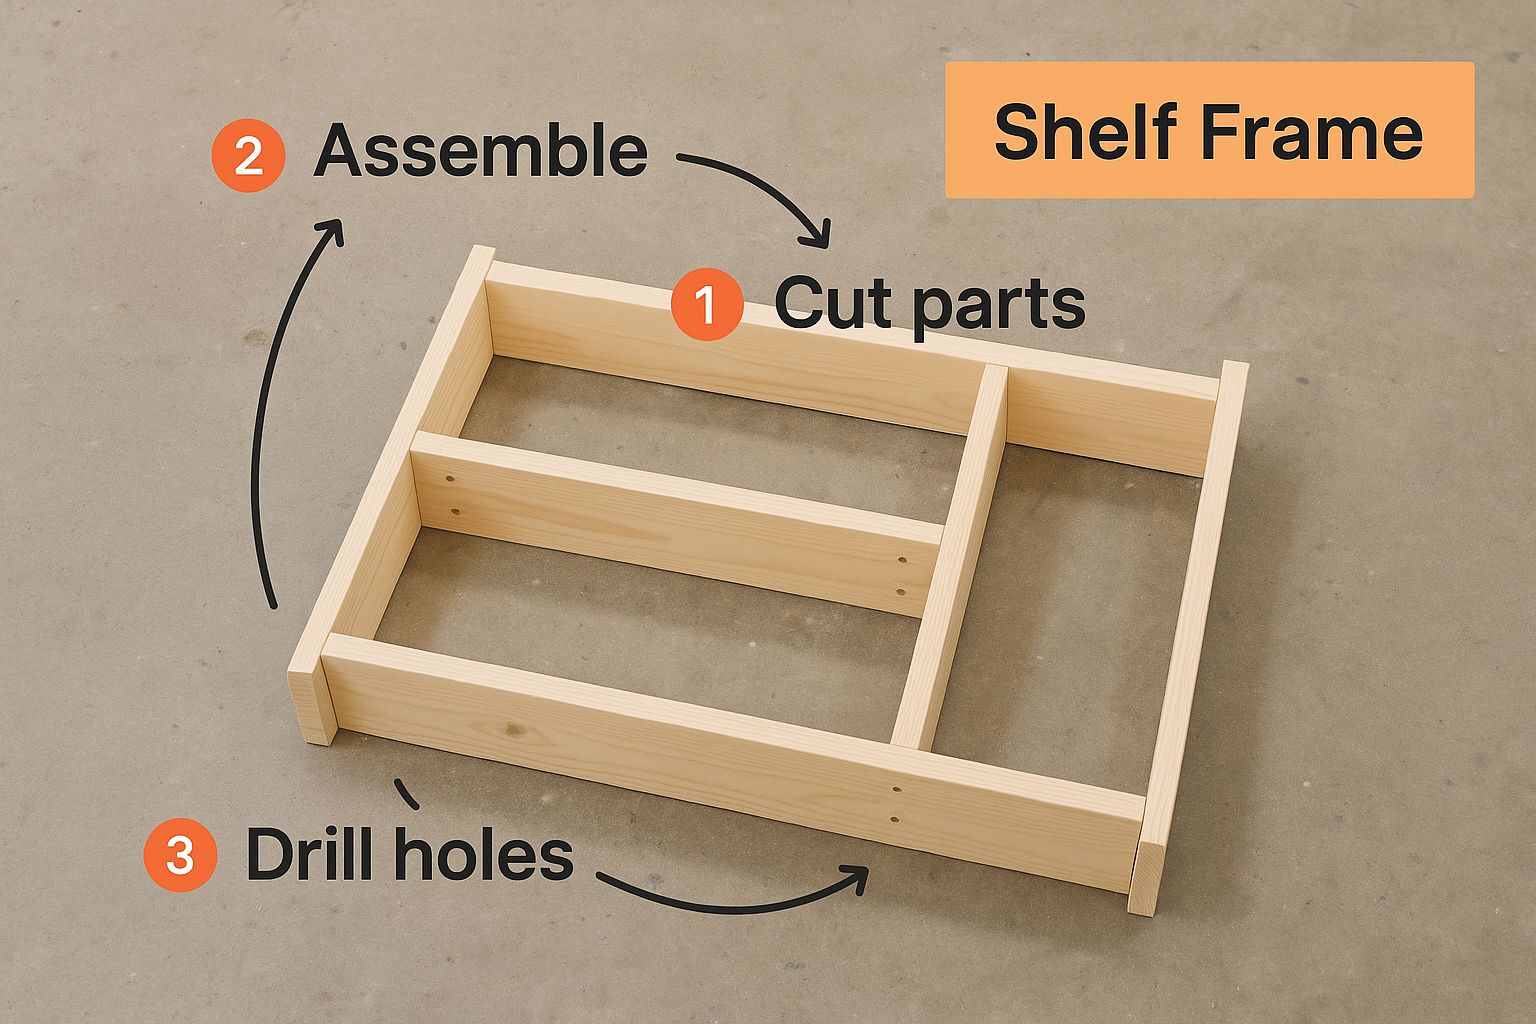
Seeing how the pieces connect really helps you understand why those secure anchor points are so critical for a stable, long-lasting installation.
Here’s a trick to get your brackets perfectly aligned: make a quick drilling template from a piece of scrap cardboard. Just measure and punch holes where your screws need to go, then use that template to mark the drill spots on the wall. This guarantees every bracket is installed at the exact same height, which is essential for level shelves.
Pro Tip: Once your first support is screwed into a stud, pop your level on top of it and draw a faint pencil line across the wall. Use this line as your guide for the rest of the supports. Boom—perfectly level shelves.
Properly securing any new structure to the wall is just fundamental home safety. If you want a more detailed look at the best practices, you can learn more about how to secure furniture to the wall in our dedicated guide; a lot of the same principles apply. By taking the time to find studs and use the right hardware, you're not just building shelves—you're creating a safe, reliable storage solution you can trust for years to come.
Once your basic shelves are up, the real fun begins. You see, effective closet organization is about much more than just adding flat surfaces; it’s about making every single inch work smarter for you. Thinking beyond a simple stack of shelves is what elevates your project from basic storage to a truly customized system that actually adapts to your life.
A simple but game-changing upgrade is adding shelf dividers. These little slide-on additions are perfect for keeping those stacks of sweaters or jeans from toppling over into a messy pile. They create instant cubbies without any extra construction, maintaining order with almost zero effort.
One of the biggest mistakes I see in closet design is ignoring all that glorious vertical space. Don't stop your shelving a foot or two from the ceiling!
Extending your DIY closet shelves all the way up creates the perfect spot for things you don't need every day, like out-of-season clothing, luggage, or extra bedding stashed in bins. This approach not only maximizes storage but also draws the eye upward, which can make a small closet feel much larger than it is.
Consider a few of these strategic additions to your design:
If you're looking to take your DIY project to the next level with some seriously sophisticated solutions, it's worth checking out professional custom cabinet designs just for inspiration on maximizing both storage and style.
Let's be real: your storage needs are going to change over time. Building a system that can adapt is a smart move that ensures all your hard work pays off for years to come.
By incorporating adjustable shelving from the start, you give yourself the freedom to reconfigure your closet as your wardrobe evolves. The extra step of drilling shelf pin holes is a small price to pay for long-term flexibility.
This kind of forward-thinking is a huge driver in the custom storage world. The demand for smart solutions like DIY closet shelves contributes to a custom closets market that's projected to hit USD 28.14 billion. This growth is really fueled by our collective desire for stylish, efficient storage that supports a more organized, minimalist lifestyle. These clever design ideas will ensure your project meets that modern standard.
Even the most detailed plans can leave you scratching your head at some point. It happens to all of us. When you're in the middle of a project, questions always pop up. To help you push through with confidence, I’ve put together a few answers to the most common things people ask when they're tackling DIY closet shelves.
Getting these little details right is what separates a wobbly, short-lived project from one that's sturdy, functional, and looks fantastic for years to come.
This is a big one. Nobody wants droopy shelves a few months down the line. For shelves that will stay straight and strong, my go-to is 3/4-inch plywood. It’s just in a different league compared to MDF or particleboard, especially when you're spanning a longer distance. It has real structural integrity.
Now, if you're planning on some extra-long shelves—anything over 36 inches—it's a very smart move to add a center support bracket. Here’s another pro trick: attach a 1×2 board flat against the front edge of the shelf. This simple lip adds an incredible amount of rigidity and is the best defense against that dreaded bowing you see from the weight of heavy clothes.
Don't ever underestimate the weight of folded clothes. A stack of jeans or a pile of winter sweaters gets heavy, fast. Building for strength from the very beginning is the only way to guarantee your shelves will last.
There’s no single magic number here, because the "right" depth completely depends on what you're storing. But after countless projects, I can give you some solid guidelines that work for almost everyone.
The real secret to rock-solid shelves is finding and using the wall studs. Don't skip this. A good stud finder is your best friend here—use it to locate the studs before you even think about drilling. Once you know where they are, use a level to draw a very light, straight guideline on the wall where your supports (whether they're brackets or wooden cleats) will go.
Before you drive the final screws, do one last check by placing the level right on top of the shelf board itself. Make sure you're using screws that are long enough to bite at least 1.5 inches into the actual stud. This will give you an incredibly secure hold and the peace of mind that your shelves aren't going anywhere.
Feeling like the assembly part is more than you bargained for? The expert team at Assembly Smart can lift that weight off your shoulders. From simple shelving units to the most complicated furniture, we provide professional, reliable assembly to make sure the job is done right, every single time. Book your hassle-free appointment at https://assemblysmart.com.
