-
CALL US:
- (866) 952-3456
A DIY loft bed is one of the smartest ways to reclaim precious floor space, especially in a tight room. This isn't just another weekend project; building your own lets you create a truly custom piece of furniture—maybe with a desk, some extra storage, or even a cozy reading nook—for a tiny fraction of what you'd pay at a store.
A typical DIY build can run anywhere from $150-$400. When you compare that to pre-made beds that often soar past the $1,000 mark, the savings really start to add up.

Trying to furnish a small bedroom, a cramped dorm, or a tiny apartment can feel like a losing battle. A DIY loft bed does more than just give you a place to sleep. It completely changes how you can use your room by tapping into all that unused vertical space. By simply lifting the bed, you instantly carve out a whole new functional zone underneath.
This idea isn't exactly new, but loft beds have come a long way from their industrial-style origins to become a must-have for modern urban living. Their popularity really took off during the 2020 pandemic lockdowns. In fact, Google searches for "DIY loft bed" shot up by over 300% as everyone scrambled for affordable ways to make their homes work better.
Cost is the most obvious win. Commercial loft beds carry a hefty price tag, but when you build it yourself, you're only paying for materials—no labor costs or retail markups. But beyond the wallet-friendly aspect, the real magic is in the customization. You're not stuck with off-the-shelf options.
Just think about the possibilities:
There's a unique satisfaction that comes from building something with your own two hands that perfectly fits your space and your life. It's more than just furniture; it’s a functional piece of art that solves a real problem.
A well-planned DIY loft bed is truly one of the most practical and stylish solutions for small bedrooms, letting you use your room's height to your advantage. With clear instructions and the right preparation, this project is totally within reach for anyone with some basic tool skills.
Following a solid plan takes out all the guesswork. It ensures you create a structure that not only looks great but, more importantly, is safe and sturdy enough for everyday use. This guide is here to walk you through every step.
Every solid DIY project starts long before you make the first cut. That prep work is the thin line between a smooth, satisfying build and a weekend full of frustration and extra trips to the hardware store.
Taking the time now to get everything you need lined up will save you a ton of headaches later. It’s also the first and most critical step to making sure your loft bed is sturdy, safe, and ready for years of use.
You don't need a pro-level workshop to build a great loft bed, but a few key tools are absolutely non-negotiable for safety and accuracy. Others are just really, really nice to have—they make the job cleaner and a whole lot faster.
The Must-Haves:
The Nice-to-Haves:
If you're looking for a more detailed breakdown of what to buy, our complete guide on essential furniture assembly tools can help you build out your toolkit.
Choosing the right wood is what separates a rock-solid loft bed from a wobbly disaster. For this project, you'll mostly be working with standard construction-grade lumber—it's affordable, widely available, and plenty strong.
For the main frame that holds the mattress, 2×6 boards are the go-to choice. When it comes to the legs, 4×4 posts offer maximum stability, though you can also double up 2x4s to achieve a similar result.
When you get to the lumber yard, take your time. Don't just grab the first few boards off the top of the stack.
Pro Tip: Inspect every single piece of lumber. Sight down the edge to check for any warping or bowing. You'll also want to avoid boards with large, loose knots or significant cracks. Straight, clean lumber is the foundation of a quality build.
The table below is a quick-reference guide to help you estimate the lumber and hardware you'll need for your DIY loft bed based on your mattress size. Think of it as a starting point, and always double-check against your specific plans.
| Mattress Size | Main Frame (2x6s) | Legs & Supports (4x4s or 2x4s) | Slats (1x4s) | Required Lag Bolts (3/8") | Required Wood Screws (2.5") |
|---|---|---|---|---|---|
| Twin (38"x75") | 4 boards (8 ft) | 2 posts (8 ft) | 12 boards (8 ft) | ~16 bolts | ~150 screws |
| Twin XL (38"x80") | 4 boards (8 ft) | 2 posts (8 ft) | 13 boards (8 ft) | ~16 bolts | ~160 screws |
| Full (54"x75") | 4 boards (8 ft) | 2 posts (8 ft) | 12 boards (10 ft) | ~20 bolts | ~200 screws |
When it comes to fasteners, 3/8" lag bolts are what you'll use to connect the main frame to the legs—they provide immense structural strength. For just about everything else, from attaching slats to adding braces, a box of high-quality 2.5-inch wood screws will be your best friend.
Getting all these materials organized and ready to go will make the actual construction phase flow smoothly from one step to the next.
Alright, you've got your tools laid out and a neat stack of lumber ready to go. This is the fun part—where all that planning and measuring finally takes shape. We're going to tackle this in a few logical phases to keep things from getting overwhelming.
This simple workflow is the heart of pretty much any woodworking project, and our loft bed is no exception.
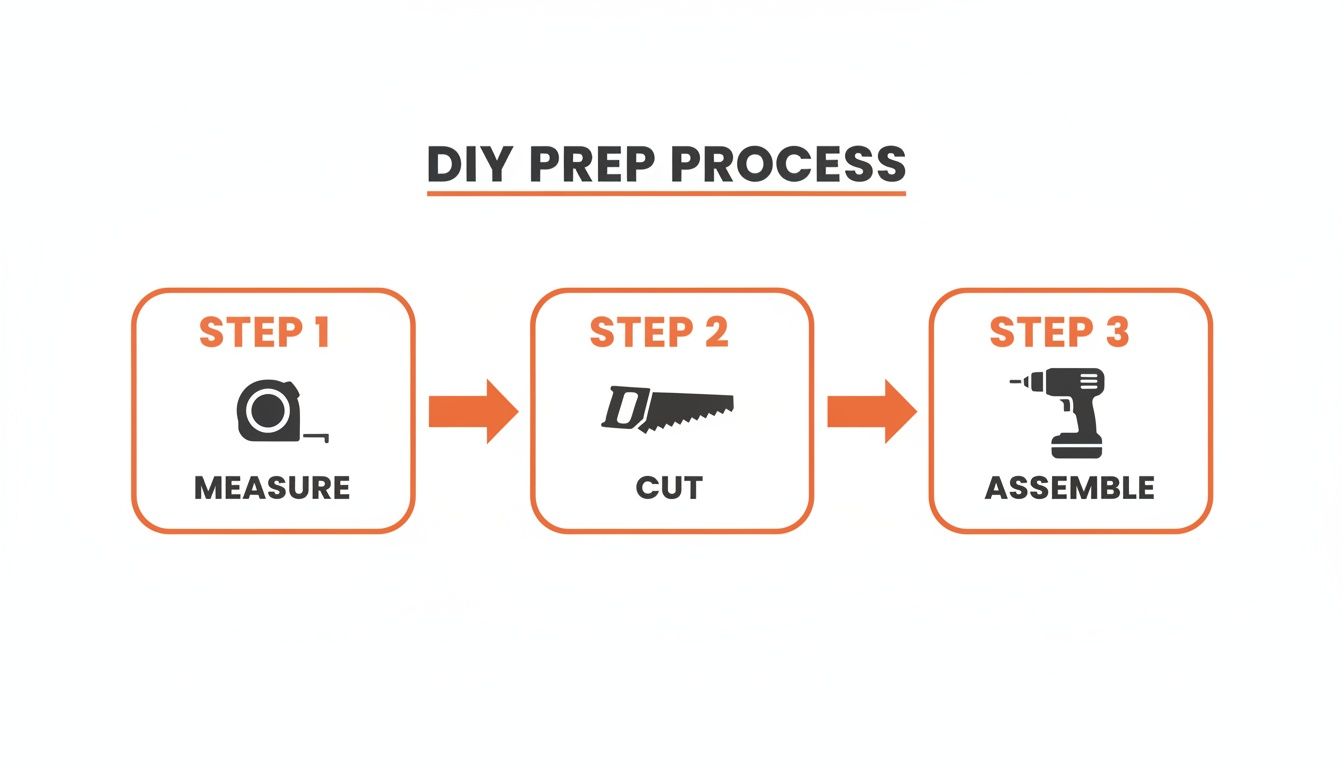
Measure, cut, and assemble. Getting into that rhythm is what makes a project go smoothly and ensures everything fits just right.
First up is the mattress box. Think of it as the core of the whole structure. This rectangular frame has to be perfectly square and seriously strong, since it’s carrying all the weight. We're using 2×6 lumber here for its strength, so it won’t be sagging anytime soon.
Lay your four main frame pieces out on a flat, level surface—your garage floor is perfect for this. Form a rectangle with the two shorter end rails fitting right inside the two longer side rails.
Now, grab your speed square. This tool is non-negotiable for making sure every corner is a true 90-degree angle. If your corners are even a little bit off, you'll run into major stability problems down the line.
Pro Tip: Before a single screw goes in, run a bead of wood glue along every joint. A good glue joint is often stronger than the wood itself, adding a level of rigidity that screws alone just can't match.
Once you’re sure the frame is square, it's time to lock it all together.
With the rectangle assembled, do one last check. Measure diagonally from one corner to the opposite one, then repeat for the other two corners. If those two measurements match exactly, congratulations—your frame is perfectly square.
With the mattress box done, it's about to start looking like an actual bed. Attaching the legs properly is what gives your loft its height and, more importantly, its stability. Wobble is the enemy here, and this is where we fight back.
You'll probably want a helper for this part. Have them hold the mattress frame steady on its side while you position the first 4×4 leg post into an inside corner. Make sure the top of the leg is perfectly flush with the top of the frame.
Clamp that leg tightly in place. This will keep it from shifting around while you work and free up your hands. For this connection, we're upgrading from wood screws to heavy-duty lag bolts.
Mark and drill pilot holes for your 3/8-inch lag bolts straight through the frame and into the leg. You'll want two bolts per leg, placed diagonally for the best holding power. Use a ratchet to tighten them down until they're good and snug. Do this for all four legs.
Once all the legs are on, stand the bed upright. You’ll probably notice some side-to-side sway. We'll fix that with diagonal braces. Cut some 2x4s to run from the legs to the underside of the mattress frame at a 45-degree angle. Secure these braces at both ends with wood screws. They might seem small, but these braces provide a massive boost in lateral stability.
If you want more tips on frame construction, our guide on putting together bed frames has some great pointers that apply to all sorts of builds.
Next up are the mattress slats. These provide a supportive base for the mattress and allow for critical airflow to keep things fresh and prevent mildew. We’ll use 1×4 boards for this job.
Start by marking out where your slats will go on the inside of the long side rails. A spacing of 2.5 to 3 inches between each slat is perfect—it gives plenty of support without adding a ton of extra weight.
Here's a little trick to make spacing a breeze: cut a scrap piece of wood to your desired gap width. Lay down your first slat, butt the spacer block against it, then place the next slat. It's way faster and more accurate than breaking out the tape measure for every single gap.
Secure each end of every slat to the frame's support ledger (a 2×2 or 2×4 rail you should install along the inner bottom edge of the frame) with two wood screws. Don't just lay them across; screwing them down makes them part of the frame and adds to the overall structural integrity.
When you’re building an elevated bed, safety has to be your top priority. That means guardrails are an absolute must, and the ladder needs to be rock-solid.
Guardrail Construction:
For the ladder, 2x4s work great for the side rails, and 1x4s or 2x3s make for comfortable rungs.
Ladder Building Tips:
Finally, attach the completed ladder to the loft bed frame with heavy-duty bolts. When you're done, it should feel completely solid with zero wiggle.
No matter how sturdy your build is, a freestanding loft bed is always going to have some potential for sway. The last and most critical safety step is anchoring the whole thing to the wall. This gives you ultimate stability and peace of mind.
Use a stud finder to locate at least two studs in the wall where the bed will sit. Mark their locations.
Push the bed frame flush against the wall, lining it up with your marked studs. Use long lag bolts with washers to secure the frame directly into the wall studs. This essentially makes the bed part of your house's structure, completely eliminating any risk of tipping or major movement.
Seriously, don't skip this step. A securely anchored loft bed is a safe loft bed. Give it a good shake when you're done—it should feel as solid as a rock.
You’ve built the main structure of your loft bed, and it’s tempting to just toss the mattress on and call it done. But hold on—this last phase is where a good build becomes a great one. It’s arguably the most important part of the entire project.
This is where you turn a solid wooden frame into a truly finished, personalized, and—above all—safe piece of furniture you can trust. It’s a two-part process: running through some non-negotiable safety checks, then adding the personal touches that make it yours. Don't even think about skipping the first part, and missing the second means you’re missing out on the best part of any DIY project.
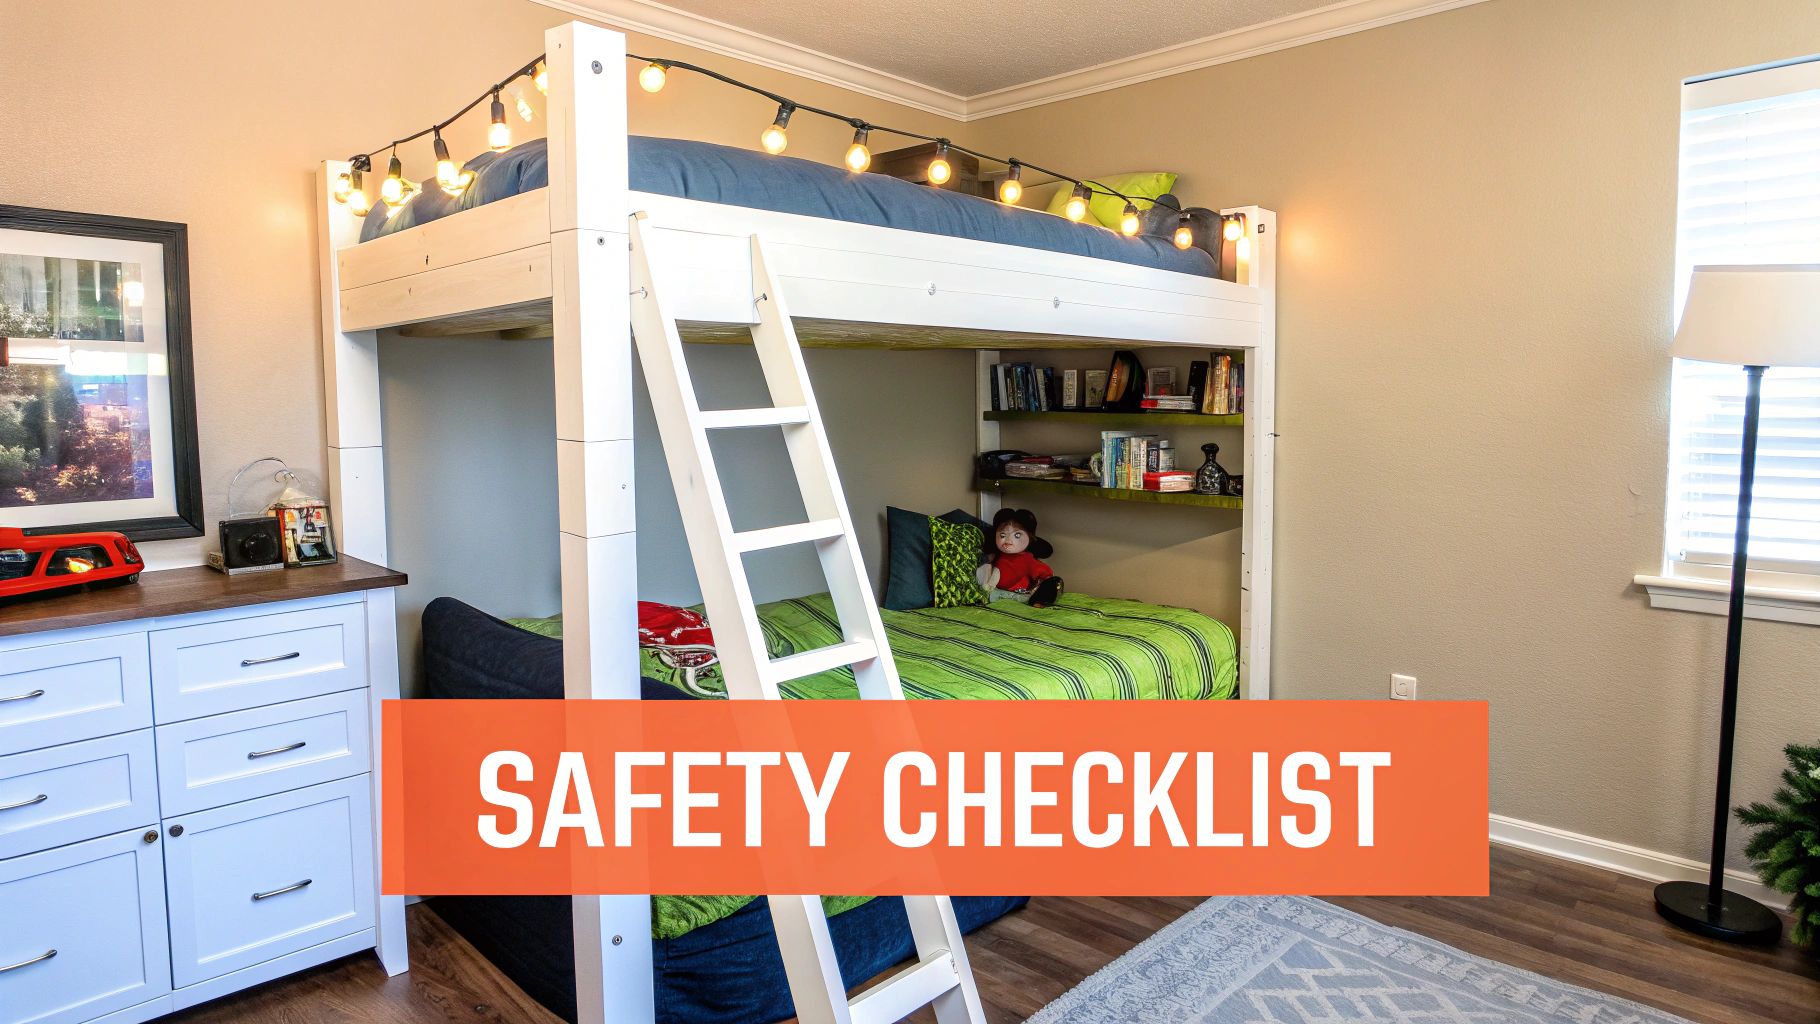
Before anyone even thinks about climbing that ladder, it’s time to play inspector. This isn't just a quick look-over; it's a hands-on audit to make sure every single component is ready for daily use.
Start with what I call the "wobble test." Seriously. Grab one of the main posts and give the whole structure a firm shake from a couple of different angles. You’re looking for zero give. If you feel any sway or hear creaks, it's time to investigate. Double-check your diagonal braces and make sure every lag bolt is cranked down tight. A rock-solid frame is the only acceptable outcome here.
Next, get into the finer details with this quick checklist:
Quick pro tip: After about a week of use, grab your tools and re-tighten every single bolt and screw. Wood can settle and compress a little, and this quick five-minute check ensures your loft bed stays perfectly secure for the long haul.
Even the most well-built, freestanding piece of furniture has its limits. Anchoring your loft bed to the wall is the final step to making it completely bombproof. This takes it from being just a piece of furniture to being an integrated, stable part of the room itself.
This step is non-negotiable if the bed is for an active child or if you've built a particularly tall design. Securing the frame to a couple of wall studs with heavy-duty lag bolts completely eliminates any risk of tipping. For a detailed guide on getting this right, check out our article on how to secure furniture to a wall—it's the single best thing you can do for total peace of mind.
It’s worth noting that a huge chunk of loft beds are built for kids—the children's segment makes up 55% of the market. And when it comes to kids, you can't overdo safety. Research shows there are 85% fewer bunk-related injuries in builds that include proper 36-inch guardrails. If you want to dig deeper into keeping kids' sleeping spaces safe, you might find a guide to kids' house beds and safety to be a helpful resource.
Alright, now for the fun stuff. With all the safety checks in the bag, you can finally focus on making this space your own. This is your chance to add the kind of function and personality you'd never find in a store-bought model.
Here are a few ideas to get you started:
It's easy to get swept up in the excitement of a new DIY project, but let's talk brass tacks. Before you even look at a 2×4, you need a realistic game plan for the cost, the time commitment, and most importantly, your own skill level.
One of the biggest draws of building it yourself is, of course, the savings. A 2023 survey showed that a whopping 42% of urban millennials are jumping into DIY, and loft beds are a popular first big project. It's easy to see why. The materials for a solid DIY loft bed typically run between $200-$400. That's a huge win compared to the $800+ you could easily spend on a pre-made one of similar quality. You can dive deeper into these market trends in this detailed report on loft beds.
Lumber prices can be all over the map depending on where you live, but for a standard twin-size build, your shopping list will probably look something like this:
This keeps the total in a very reasonable range, especially when you factor in the pride of building something custom with your own two hands.
A quick heads-up: this budget assumes you already have the basic tools. If you have to go out and buy a circular saw or a good power drill, your upfront cost will be higher. Think of it as an investment in future projects!
Don't let the 30-minute home improvement shows fool you. For most people, this is a solid weekend project, not a quick afternoon build. A beginner should probably plan for a bit longer. Here’s a more realistic timeline:
Let’s be honest for a second. Your most important tool is a clear understanding of your own limits. A DIY loft bed might not be the right move if:
If any of those sound familiar, it’s a much smarter (and safer) move to call in a pro. A service like Assembly Smart has the experience and the right equipment to get the job done right. They'll make sure your bed is assembled perfectly and anchored securely, giving you total peace of mind without you having to spend a weekend covered in sawdust.
Jumping into a DIY loft bed project is exciting, but it almost always kicks up a few questions. Getting those sorted out before you start sawing is the key to a smooth build instead of a weekend of frustration. Let's walk through the most common things people ask so you can move forward with confidence.
These are the questions that cover the nuts and bolts—from picking the right lumber to the critical details on height and making sure the whole thing is safe. Getting these answers locked in now will help you plan better and build a loft bed that's solid for years to come.
When you need a structure that’s both strong and won't cost a fortune, standard construction lumber is your best bet. I always recommend looking for Douglas Fir or Southern Yellow Pine; they offer fantastic rigidity without you having to splurge. For the main frame that holds the mattress, go with 2×6 boards. For the legs, you'll want beefy 4×4 posts to make sure it's absolutely rock-solid.
For the slats that the mattress rests on, simple 1×4 boards do the job perfectly, giving you plenty of support and airflow. A little pro-tip: steer clear of softer woods like basic pine for the main frame pieces. They're just more likely to sag over time. Always spend a few extra minutes at the hardware store inspecting each board for big knots, cracks, or warping. Picking straight, quality lumber is a small step that makes a huge difference in the final product.
Finding the right height is all about striking a balance. You want enough headroom up top without sacrificing the usable space underneath. A good rule of thumb is to leave at least 30 to 36 inches of space between the top of your mattress and the ceiling. This is the sweet spot that keeps it from feeling claustrophobic and lets you sit up comfortably.
Here’s a practical way to double-check: before you make your final cuts, have the person who’ll be sleeping in the bed actually sit up on the mattress while it's on the floor to see how much space they need. Getting this right usually leaves you with plenty of room for a standard desk and chair below, which is the whole point of a loft bed, right? And it goes without saying—measure your ceiling height first!
Yes. Absolutely, one hundred percent. Anchoring your loft bed into at least two wall studs is a safety step you simply can't skip. A freestanding loft bed, especially a tall one, is naturally wobbly. It can sway or even tip over, which is a serious risk.
Screwing the frame into the wall studs provides the lateral stability it needs to be genuinely safe and sturdy. Don't skimp here—use heavy-duty lag bolts to connect the frame directly to the studs. This creates a powerful, trustworthy connection that won't budge.
You can, but it's a whole different ballgame. Building a loft for a Queen or King mattress is a much more advanced project. These mattresses are way heavier and wider, which means the frame has to be seriously beefed up to handle the load. You'd need to upgrade to thicker lumber (like 2x8s for the frame), add a center support leg, and reinforce every single joint.
The plans and materials in this guide are dialed in specifically for the weight and size of Twin or Full-size mattresses. If you're dead set on building a bigger version, I strongly recommend finding a set of advanced woodworking plans designed to safely support that kind of weight.
If you've read through these and are thinking the project might be more than you want to bite off, that's perfectly fine. For a safe, professional, and completely stress-free installation, the experts at Assembly Smart are ready to step in. They’ll make sure your new bed is built perfectly and anchored securely, giving you total peace of mind. You can learn more about their services.
