-
CALL US:
- (866) 952-3456
We’ve all been there. That gut-wrenching moment when your screwdriver just spins, completely useless, in the head of a screw. It’s the kind of problem that brings any project—from putting together a simple bookshelf to a major home renovation—to a dead stop. When the grooves on a screw head get chewed up, your tools have nothing to grab onto, and you’re stuck.
This guide is going to walk you through a tried-and-true method for getting out of this jam: drilling out the stripped screw.
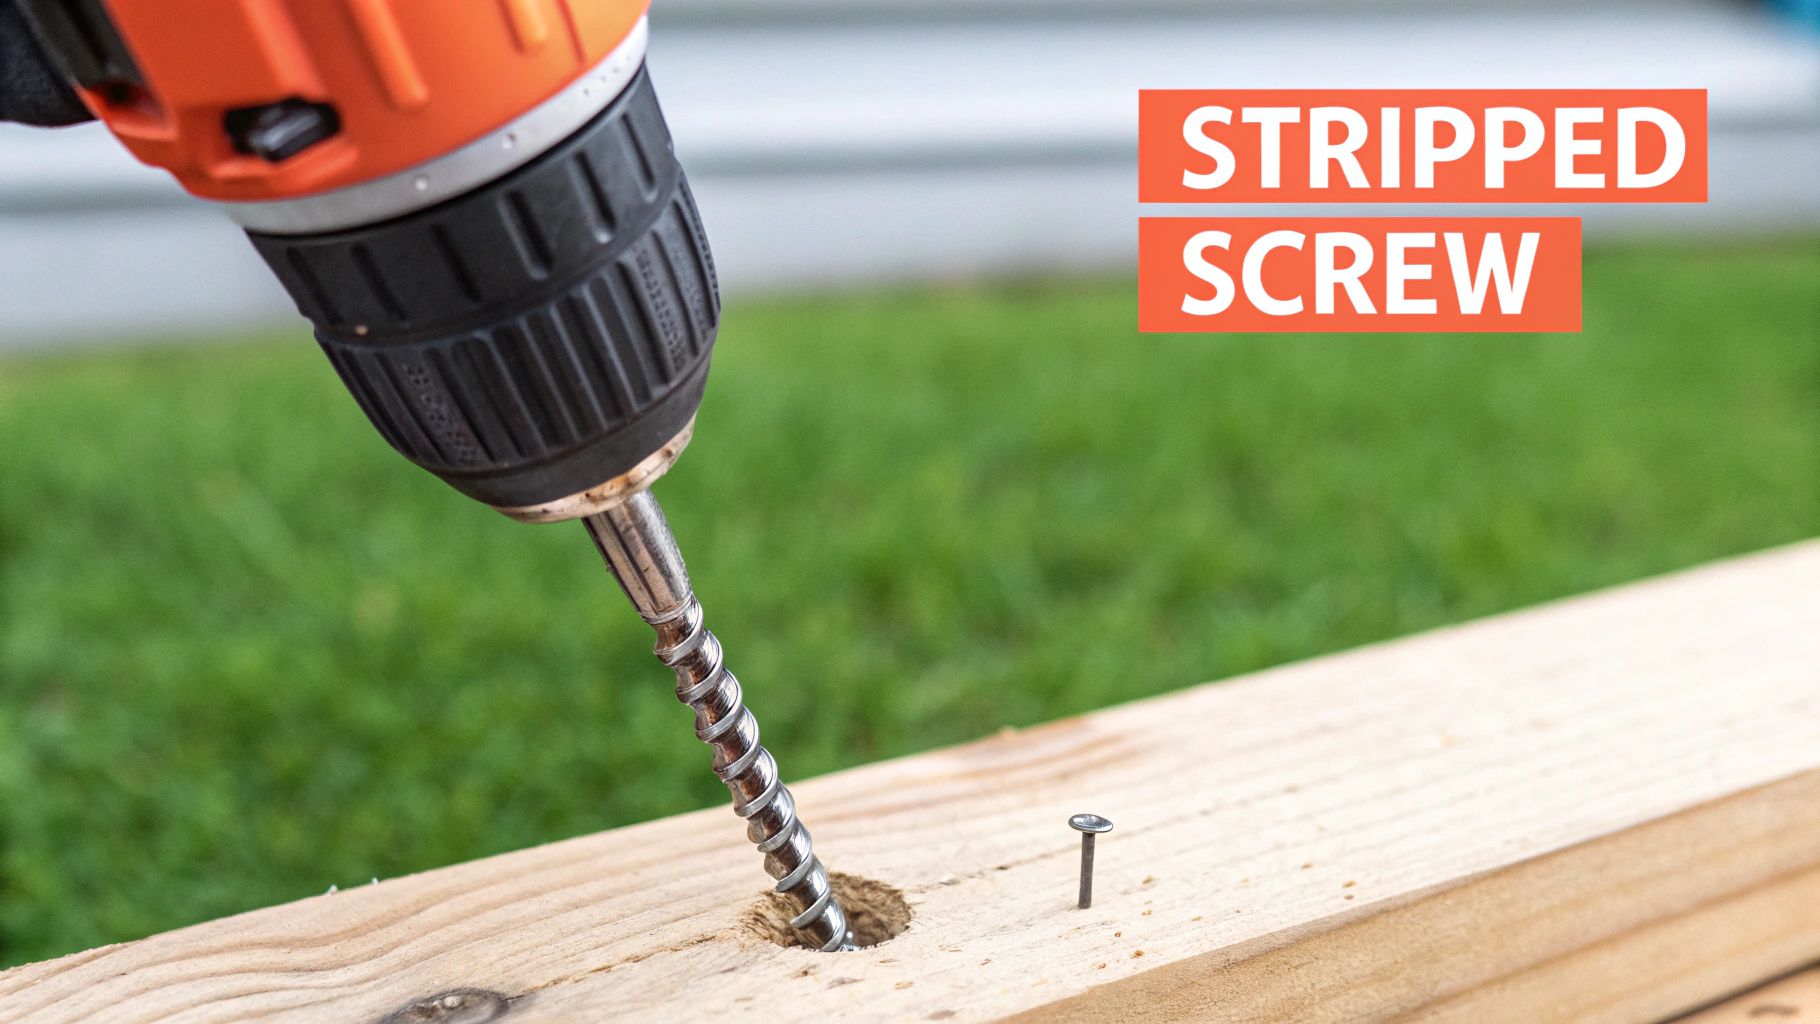
A stripped screw is more than just a minor hiccup; it’s a total project killer. Whether you’re trying to fix a loose door hinge or tear down an old fixture, one bad screw can derail everything. The problem boils down to a complete loss of torque. Your screwdriver can no longer transfer the twisting force needed to turn the screw.
So, how does this even happen? I see it all the time, and it’s usually for one of a few reasons:
It helps to know exactly what you’re dealing with. There’s a big difference between a stripped head and stripped threads. A stripped head is what we're talking about here—the part you put the screwdriver into is worn out. Stripped threads are when the spirals on the screw’s body are damaged, which is a whole different beast. Luckily, the stripped head is the far more common headache.
Think about a big outdoor project, like one of our decking installation services. A single stripped screw in a deck board can throw the whole day’s schedule off. At this point, trying to apply more muscle is the worst thing you can do. It just grinds away what little is left of the screw head, making the situation worse and potentially damaging the material around it.
The only way forward is to forget about using the screw head the way it was designed. You have to create a new way to get a grip on that fastener. That’s exactly why knowing how to drill out a screw is such a crucial skill for any DIYer.
This problem isn’t going away, either. The fastener market was valued at around USD 22.07 billion in 2024, and with screws holding together everything from our cars to our phones, stripped heads are just a fact of life. The sheer volume of screws used every day means you’re bound to run into this. Knowing why it happens is the first step to confidently fixing it.
Trying to tackle a stripped screw without the right gear is a recipe for disaster. You’ll just end up making a frustrating situation worse and likely damaging whatever you’re working on. A little prep work now, gathering the right tools for the job, will save you a massive headache later.
The star of this show is your power drill. You don't need a beast of a machine, but one with variable speed control is a must-have. Starting slow gives you the precision you need to drill right into the center of the screw without letting the bit overheat or wander off course. Control is everything here.
Of course, a drill is only as good as its bits. For drilling out a screw, you’ll want a quality set of high-speed steel (HSS) drill bits. These are built to cut into common metals without dulling instantly. Make sure you have a range of sizes—you'll start with one much smaller than the screw's diameter and work your way up.
Here’s a quick list of the other essentials you'll want within arm's reach:
For those truly stubborn screws that refuse to budge, it might be time to bring in the specialist: a left-hand drill bit. These are game-changers. They’re designed to cut while spinning counter-clockwise—the same way you turn a screw to loosen it. As the bit digs in, the friction and torque it creates will often grab the broken screw and back it right out. It's an awesome two-in-one solution.
A well-organized toolkit isn't just about convenience; it’s about strategy. When you have everything from your drill bits to your safety glasses laid out and ready, you can focus 100% on the delicate task at hand without stopping.
Below is a quick checklist of the tools that will set you up for success.
| Tool | Primary Purpose | Pro Tip |
|---|---|---|
| Power Drill | Provides the rotational force needed for drilling. | A model with variable speed and a clutch offers the best control. |
| HSS Drill Bits | To drill a pilot hole or remove the screw head entirely. | Always start with a bit smaller than the screw shaft diameter. |
| Screw Extractor Set | To bite into the drilled-out screw and reverse it out. | Use with a T-handle for better feel and to avoid breaking the extractor. |
| Center Punch | Creates an indent to guide the drill bit. | A sharp punch is critical for accuracy. An automatic one is even easier. |
| Safety Glasses | Protects eyes from flying metal shards. | Don't skip this! Wrap-around styles offer the best protection. |
| Cutting Oil | Lubricates and cools the bit and screw. | Just a few drops will do. It makes the job easier and saves your bits. |
| Locking Pliers | To grip and turn the screw shaft after the head is off. | The tighter the grip, the better. Look for a pair with sharp teeth. |
| Left-Hand Drill Bits | Drills and extracts simultaneously by turning counter-clockwise. | An excellent first choice for very stuck screws before moving to extractors. |
Having the right tools is fundamental in both weekend DIY projects and massive industrial operations. The global industrial fasteners market was valued at around USD 90.57 billion in 2023, and a huge part of maintaining all that machinery involves dealing with stripped and broken fasteners. You can read more about the growth of the industrial fasteners market to see how big this really is.
Many of these items are things you’d find in any well-stocked toolbox, like the ones we cover in our guide to essential furniture assembly tools. Taking a moment to gather them before you start ensures you’re ready for a clean, successful extraction.
Alright, you've tried the other tricks, and that stubborn screw is still mocking you. It's time to bring out the big guns and drill it out. When nothing else works, this is the most direct—and frankly, most satisfying—way to get rid of a mangled fastener. Success here isn't about brute force; it’s about a methodical, patient approach that saves your project from collateral damage.
This flowchart lays out the game plan for a clean extraction.

As you can see, it boils down to three simple but crucial actions: safety first, creating a guide with a center punch, and then starting the drilling. Follow this sequence, and you'll sidestep common frustrations and get that screw out cleanly.
Your first move is probably the most critical one of the whole process. You have to give your drill bit a place to start. A drill bit, no matter how sharp, will skate all over the slick, rounded head of a stripped screw. That leads to ugly scratches on your workpiece and makes the job ten times harder.
This is where a center punch becomes your best friend. Set the sharp tip of the punch right in the middle of the screw head. Give it a solid tap with a hammer, and you'll create a small, cone-shaped divot. This little indentation is the perfect guide to keep your drill bit right on target. For more ideas on handling stubborn hardware, check out our guide on how to get a screw out when it just won't budge.
Now, grab a drill bit that’s much smaller than the screw's shaft—not the head, but the threaded part. A good rule of thumb is to pick a bit that's about half the diameter of the screw shaft. Lock this pilot bit into your drill.
Put a drop of cutting oil on the screw head; this keeps things cool and reduces friction. Settle the tip of your bit into the divot you made and start drilling at a low speed. The name of the game is accuracy, not speed. Keep firm, steady pressure straight down into the screw. You're not trying to destroy the screw just yet, only create a clean, centered pilot hole.
Pro Tip: Let the drill do the work. Jamming it down with all your might is a great way to snap a small bit, and then you've got a real problem. If you see smoke or the bit starts glowing, you're going too fast or pushing too hard. Stop, add more oil, and slow down.
Once you've drilled your pilot hole about halfway through the screw's head, it's time to go bigger. Swap out the pilot bit for one that is just slightly smaller than the full diameter of the screw head itself.
Now, just repeat the process. Using this larger bit, drill into the pilot hole you already created. Go slow and controlled, with that same steady pressure. As you drill, the bit will grind away the metal, and your goal is to go just deep enough to shear the head clean off the threaded shaft. You'll often feel a little "pop" or release when it lets go.
Once the head is off, you can pull the two pieces of your project apart. You'll be left with the headless screw stud, which you can now easily grab with a pair of locking pliers and twist right out. It's a progressive technique, but it's the most reliable way to handle a stripped screw without wrecking your workpiece.
While drilling out a stripped screw is a surefire way to get it out, it’s not always the best place to start. Sometimes, a less aggressive approach can save you a ton of time, effort, and potential damage to whatever you're working on.
Before you reach for the drill, it’s worth considering these clever alternatives. They're especially handy when you’re dealing with delicate materials, tiny screws, or situations where the screw head is still somewhat accessible. Think of these as the tricks of the trade that seasoned pros use to avoid making a bigger mess.
One of the most reliable tricks in the book is to physically alter the screw head so a different tool can grab it. If the screw head is raised or even just flush with the surface, you can grab a rotary tool (like a Dremel) with a thin metal-cutting wheel and carefully slice a new slot right across the top.
Imagine you're trying to fix an old piece of furniture, but a Phillips head screw is completely mangled. By cutting a straight, shallow groove across the head, you’ve just turned it into a flathead screw. This gives a flathead screwdriver a fresh, deep channel to bite into, often providing all the torque you need to break it free.
The key here is patience. You only need to cut deep enough for the screwdriver to get a solid hold. Go too deep, and you risk weakening the screw head so much that it just snaps off—and that's a much bigger headache.
Sometimes, the simplest solutions are the best. For screws that aren't horribly stripped or rusted in place, all you might need is a little extra friction.
These simpler methods are always worth trying first. They require almost no setup, carry very little risk of damaging the surrounding material, and can save you from the more involved process of drilling.
The scale of fastener production is staggering; for example, 30 billion self-drilling screws are made every year. Even with modern designs, using the wrong tool or too much force leads to stripping, which is why having a few removal tricks up your sleeve is so valuable. You can read more about the self-drilling screw market and its surprising size.
Of course, these aren't the only ways to tackle this common problem. Our full guide has a more detailed breakdown to help you figure out how to get a stripped screw out with a whole range of tools. Knowing when to drill and when to try something different is what separates a frustrating afternoon from a quick, successful fix.
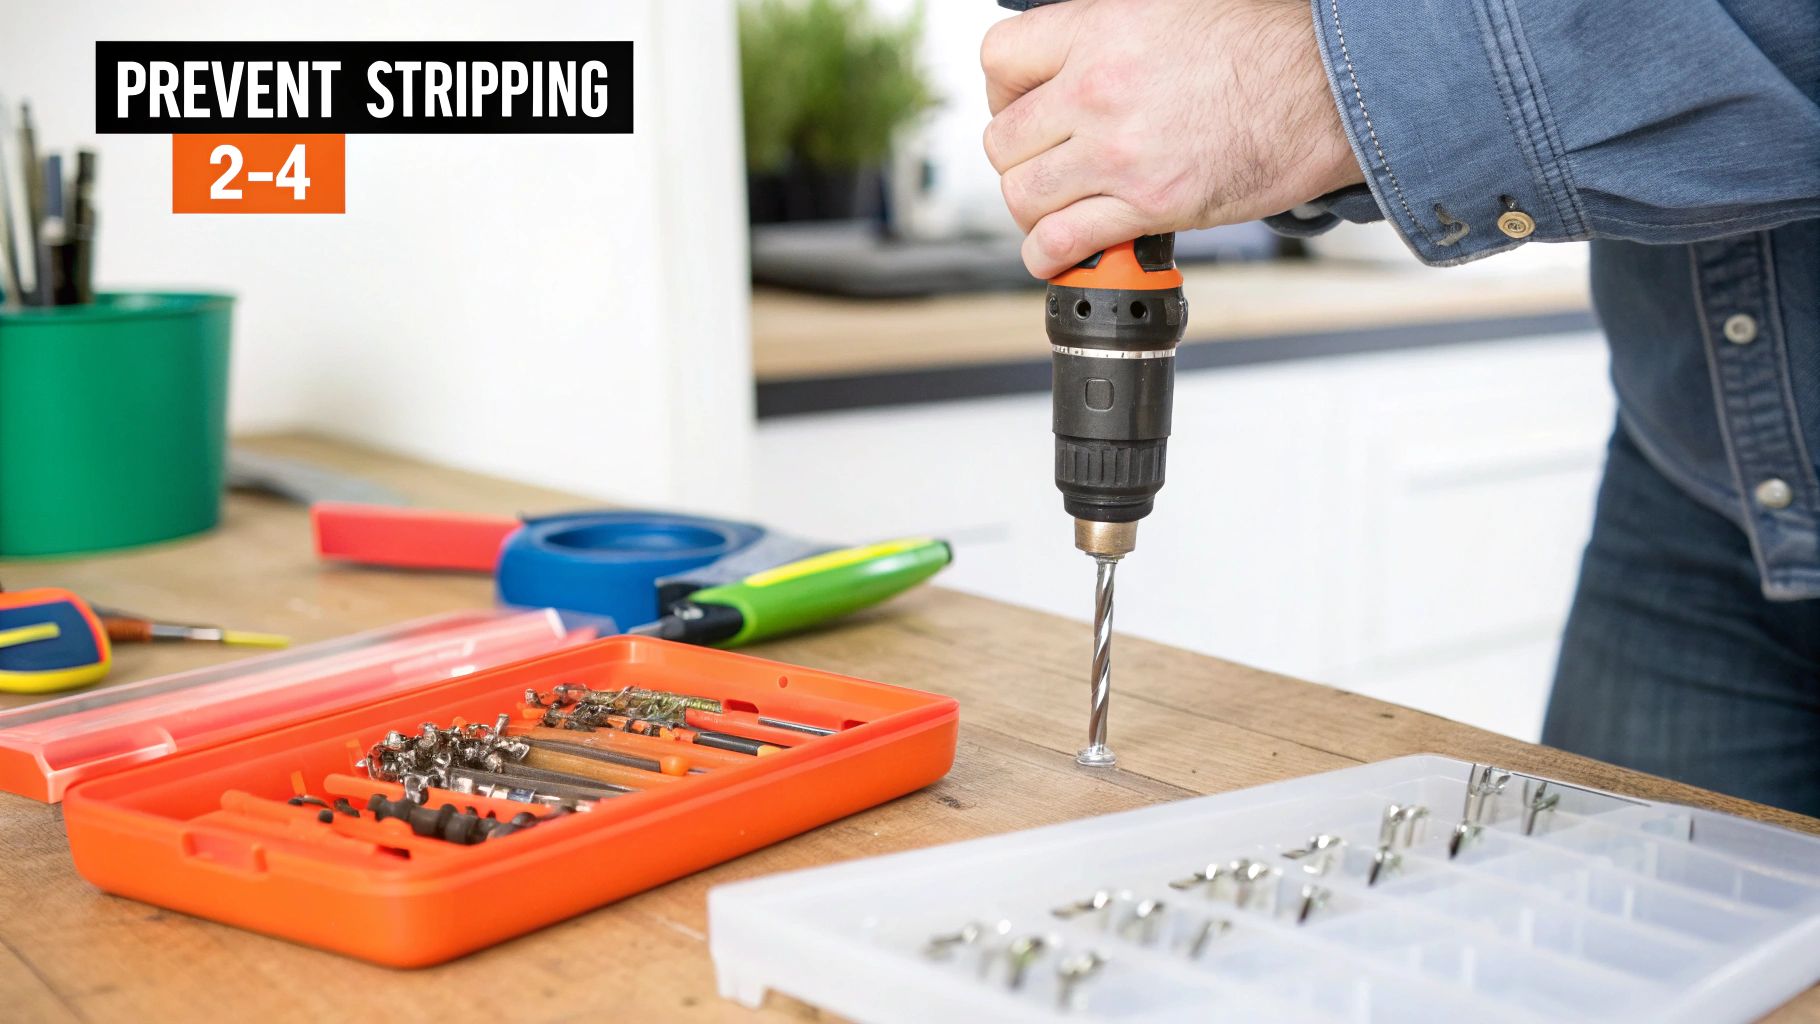
While knowing how to perform surgery on a mangled screw is a great skill to have in your back pocket, it’s far better to never need it. Preventing a stripped screw from the start saves you a massive headache, protects your project from damage, and honestly, it’s just a mark of good craftsmanship.
Most stripped screws aren't just bad luck. They're usually the direct result of a few common, and easily avoidable, mistakes.
The biggest culprit, by far, is using the wrong screwdriver bit. Trying to drive a #1 Phillips screw with a #2 bit (or the other way around) is a recipe for disaster. That tiny bit of slack is all it takes for the driver to slip under pressure and start chewing up the screw head. This is what's known as "camming out."
Before you even think about pulling the trigger on your drill, test-fit the bit. It should drop right into the screw head and feel solid, with almost no wiggle room. If it’s loose, grab a different bit. Simple as that.
Once you’ve got the right bit, it’s all about technique. You need to apply firm, direct pressure straight down into the screw. The goal is to keep that driver bit fully seated in the head the entire time it’s turning. Think of it as pushing the screw into the wood, not just spinning it.
Another classic mistake is just plain over-tightening. There's a reason modern drills have that adjustable torque clutch. Use it!
Prevention really boils down to control and precision. Taking two extra seconds to choose the right bit and apply steady pressure can save you thirty minutes of pure frustration later.
A few good habits will make stripped screws a thing of the past. For one, always start screws by hand. Just a few turns are all it takes to make sure the threads are properly aligned and not cross-threaded, which is a huge deal when you're working with machine screws and metal.
Also, if you're driving screws into any kind of hardwood or dense material, drilling a pilot hole isn't optional—it's essential. A pilot hole clears a path for the screw, which dramatically reduces the force needed to drive it. Less force means a much lower risk of stripping the head.
These simple disciplines are part of good workmanship. And to avoid future stripped screws and other common household problems, it's always wise to follow these essential home maintenance tips. These preventative measures are also highlighted in our guide covering https://assemblysmart.com/12-helpful-tips-for-assembling-ikea-furniture/, where using the right tool for the job is absolutely critical.
Even with the best tools and a solid plan, a stubborn stripped screw can throw a wrench in your project. It's those tricky situations that separate a quick fix from a day-long headache. Let's tackle some of the most common curveballs you might face.
A little know-how here can make all the difference.
This is the one every DIYer hopes to avoid. A broken extractor is a real problem because it’s made from incredibly hard steel—usually much harder than any of your standard drill bits.
Your best bet here is to switch to a rotary tool, like a Dremel, equipped with a carbide grinding bit. You'll have to very carefully grind the broken piece out. Be warned: this is slow, painstaking work that requires a steady hand.
If the piece you're working on is valuable or you're worried about causing more damage, it's time to stop. A professional machinist has specialized tools to remove broken extractors without destroying the surrounding material. It's often the smartest move.
You absolutely can, but it’s a whole different ballgame. Put the power drill away—it's way too aggressive for this kind of precision work.
For this, you’ll need a micro drill bit set and a handheld pin vise. This simple tool lets you drill with manual, fingertip control. The process is the same as with a larger screw, just miniaturized. The key is to work slowly, use a magnifying glass if it helps, and focus on control, not force.
In many cases, yes. A left-handed bit is a fantastic first choice because it often solves the problem in one go. As it drills in a counter-clockwise direction, the cutting action and friction can create just enough torque to bite into the stripped screw and back it right out.
And if it doesn't remove the screw completely? You're still in a great spot. You’ve just drilled the perfect pilot hole for a screw extractor to grab onto and finish the job. For this reason, many pros reach for a left-handed bit before anything else.
Knowing your limits is a skill in itself. It's probably time to bring in a pro if:
A professional has equipment designed to remove fasteners without causing collateral damage. It might just save you from a very expensive mistake.
When you're facing a project that's more than just a single stripped screw, Assembly Smart is here to help. From complex furniture builds to outdoor equipment, we provide professional assembly services to get the job done right, stress-free. Let us handle the hassle so you can enjoy the results. Get your free estimate from Assembly Smart today!
