-
CALL US:
- (866) 952-3456
The real secret to a smooth, stress-free gazebo build doesn't come from the instruction manual—it's all about the prep work you do before you even think about lifting a tool. Honestly, the most important gazebo assembly instructions are the ones you follow before you start: preparing your site, organizing your parts, and getting your tools in order.
Getting this foundation right is what separates a frustrating weekend-long headache from a genuinely rewarding backyard upgrade.
So many people get excited and jump right into connecting posts and beams. I've seen it time and time again, and it's a huge mistake. Proper prep is the single most critical phase of the whole project, and it directly affects the stability, safety, and longevity of the final structure. Think of it as creating a blueprint for success before the first piece comes out of the box.
This proactive approach helps you sidestep the common traps that plague so many DIY projects. It's a big market—the global pop-up gazebos industry is expected to hit USD 4.3 billion by 2032. But despite their popularity, surveys show that up to 70% of DIY assemblies run into issues like misaligned frames, usually because the initial site prep and parts check were skipped.
Where you put your gazebo determines how much you'll use it and how long it will last. Before you commit to a spot, walk around your yard and think about a few key things.
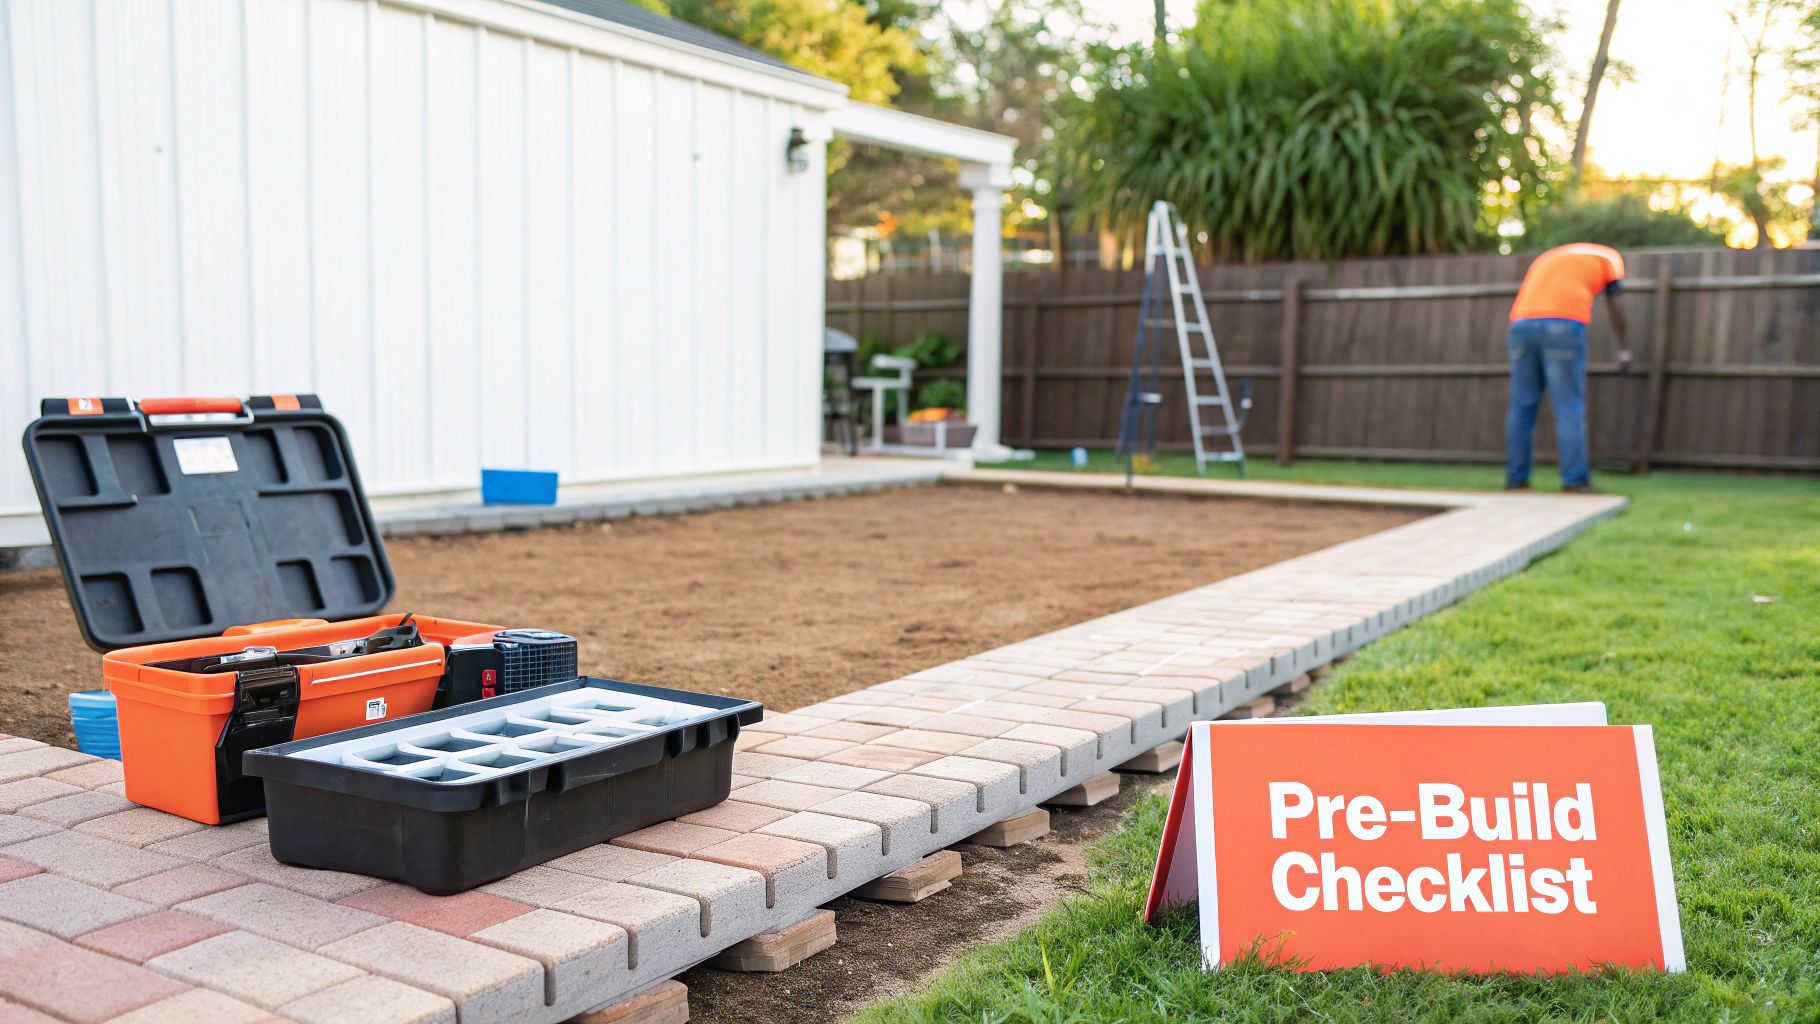
Once you've picked your spot, the next critical step is to unbox everything and do a careful inventory. Do not skip this. Open every box and lay out all the components.
Grab the manufacturer's parts list and check off each and every item—every post, panel, screw, bolt, and washer. Doing this accomplishes two things. First, you confirm you have everything you need before you're halfway through the build. Second, you get familiar with all the pieces, which makes the assembly steps much easier to follow. The clarity of your gazebo assembly instructions is vital, and good technical writing best practices can make a world of difference.
Pro Tip: Organize all the small hardware like screws and bolts into labeled containers or magnetic trays. It's a simple step, but it keeps those tiny, essential parts from disappearing into the grass and saves you from a frantic search later on.
Most kits come with a tiny Allen wrench, but trust me, relying on that alone will make the job incredibly slow and frustrating. Having the right tools on hand completely transforms the experience.
Here’s a quick table of the tools and supplies I recommend having ready before you even open the first box.
| Category | Essential Tools | Recommended Extras |
|---|---|---|
| Power Tools | Power Drill or Impact Driver | Extra Battery Packs |
| Hand Tools | Socket Wrench Set, Rubber Mallet, Utility Knife | Magnetic Parts Tray |
| Measuring | 4-foot Level, Tape Measure | Carpenter's Square |
| Safety | Work Gloves, Safety Glasses | First-Aid Kit |
| Access | Sturdy Step Ladder (or two) | Sawhorses for support |
Having these items within reach from the start means less time searching and more time building. It’s a small bit of prep that pays off big time.
Let's be clear: not all gazebos are created equal. The skills you need to put together a heavy-duty wooden structure are worlds apart from what it takes to get a lightweight pop-up ready for a party. Understanding these differences from the get-go is the key to a successful build, helping you sidestep the common headaches that trip up so many DIYers.
These backyard structures are more popular than ever. The patio gazebo market is expected to rocket from $2487.36 million in 2025 to almost $4 billion by 2033. But here's the reality check: despite the boom, a surprising number of projects go off the rails. A recent survey found 65% of builders spent over five hours on assembly, and a frustrating 40% ran into confusing instructions or defective parts.
Knowing the specific challenges tied to your gazebo's material can make all the difference. You can read more about the growing patio gazebos market here.
Wooden gazebos have that timeless, sturdy appeal, but putting one together is a real test of muscle and precision. The first thing you'll notice is the weight. We're talking seriously heavy components.
The main posts, usually solid cedar or treated pine, are incredibly cumbersome. This is absolutely not a one-person job. You’ll need at least one friend, and preferably two, just to safely lift and position these posts without hurting yourself or damaging the wood.
Once the posts are up, the single most critical step is making sure the frame is perfectly square. If it's even slightly off, you're in for a world of pain later on, especially when it's time to fit the roof. Everything will be misaligned.
Expert Insight
Use the classic 3-4-5 method to check your corners. Measure 3 feet down one beam and 4 feet down the adjoining one. The diagonal line between those two points must be exactly 5 feet. If it isn't, nudge the frame until it is. It's a simple trick that guarantees a square foundation.
Lifting and securing the roof sections is another major hurdle. These panels are often pre-assembled and can be just as heavy as the posts. A pro tip is to use sawhorses to support the panels at the right height before you try to hoist them into place. This is a real back-saver and makes the whole process much safer.
Metal and aluminum gazebos look sleek and modern, but they have their own assembly playbook. From the moment you unbox, your top priority should be protecting the finish.
Unlike wood that you can sand and re-stain, a deep scratch on a powder-coated metal frame is there for good.
The other big thing with metal gazebos is how you tighten the bolts. It’s so tempting to wrench down every bolt as you go, but that's a classic rookie mistake. Keep all the connections just a little loose until the entire frame is pieced together. This gives you the wiggle room you need to align holes that might seem slightly off.
Once the whole thing is built and squared up, go back and tighten every single bolt. A socket wrench will give you much better control for this final step than a power driver, which can easily overtighten and strip the threads or even warp the frame.
Pop-up gazebos are all about convenience, but a fumbled setup can quickly lead to pinched fingers and a lopsided canopy. The secret to a smooth, pain-free experience is working methodically with a partner.
Start with two people on opposite sides of the folded frame. Each person should grab the middle of the outer legs and simply walk backward, letting the frame expand like an accordion.
Whatever you do, don't push up from the center truss bars! That’s where most people pinch their fingers. Focus on expanding the frame outward first. Once it's about 75% of the way open, it's time to drape the canopy over the top.
Make sure to secure the canopy's corners before you fully extend the legs. It’s so much easier to do while the frame is still low to the ground. With the canopy on, each person can move to a corner leg and push the slider mechanism up until it clicks into place. This coordinated lift ensures the structure rises evenly and the canopy sits perfectly, without putting any unnecessary stress on the fabric.
You’ve wrestled with the posts, beams, and roof panels, and your gazebo frame is finally standing. It's a great feeling, but the job's not done. In fact, the most critical safety step is next: anchoring. It's the one part of the manual people tend to skim over, and that’s a huge mistake. Think of your gazebo like a ship; without an anchor, the first strong wind could turn your beautiful backyard retreat into a dangerous neighborhood projectile.
Securing your structure isn't just about keeping it in place—it’s about protecting your investment and, more importantly, your family. The market for outdoor living structures is booming, expected to hit USD 6.2 billion by 2035. But here's a sobering statistic: a staggering 35% of injuries from these structures come from faulty installations. Taking the time to anchor your gazebo correctly is the single best way to avoid becoming part of that statistic.
This diagram gives you a quick visual breakdown of the common gazebo types, which is a big factor in how you'll anchor them.
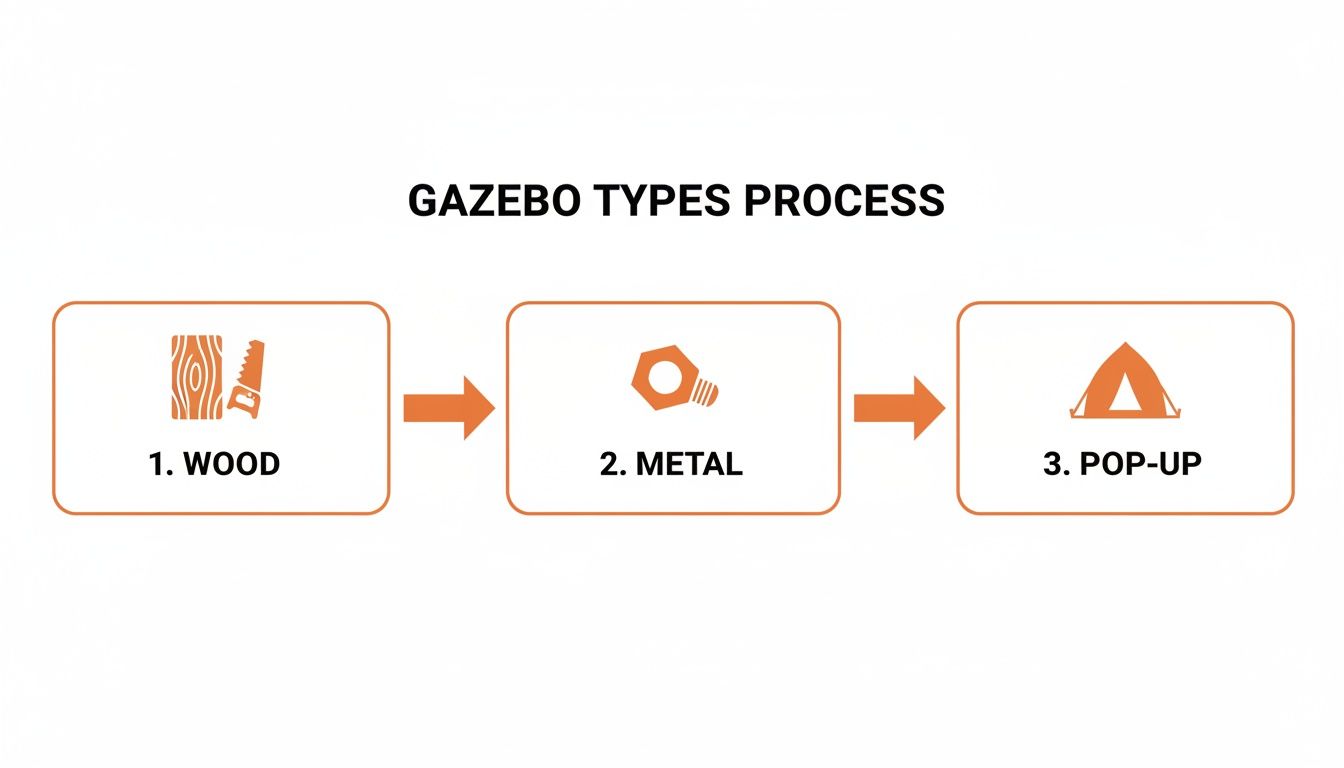
As you can see, the materials range from heavy, permanent wood structures to lightweight, temporary pop-ups. Each one demands its own anchoring strategy.
The ground your gazebo sits on dictates everything. Using the wrong hardware for your surface is like trying to use a paperclip to hold a door shut—it might look like it’s working, but it’ll fail the moment it's tested.
For Concrete Patios and Slabs:
Your best friends here are wedge anchors or concrete sleeve anchors. You drill a hole, tap them in, and as you tighten the nut, they expand and lock into the concrete. It creates an incredibly strong, permanent bond. You’ll absolutely need a hammer drill and a masonry bit for this; a standard drill just doesn’t have the muscle.
For Wooden or Composite Decks:
The go-to choice is the lag bolt (sometimes called a lag screw). The key is to drive these heavy-duty screws through the deck boards and deep into the underlying joists. Just screwing into the surface boards won't cut it. Attaching to the structural joists provides the real strength needed to fight wind uplift. Always pre-drill your holes to keep the wood from splitting.
For Grass, Soil, or Gravel:
Soft ground calls for a different tactic. You’ll need long ground stakes or auger-style anchors that screw deep into the earth for a firm grip. For the best hold, drive the stakes in at a slight angle, pointing away from the gazebo. If you’re in a high-wind area or have loose, sandy soil, I’d seriously consider pouring small concrete footings for each post. This creates the most permanent base you can get. A lot of the same principles apply to securing playsets, which you can read more about in our guide on https://assemblysmart.com/swing-set-ground-anchors/.
Critical Safety Check
Before you dig a single hole for any kind of stake or footing, you have to know what's underground. Call 811 (the national "Call Before You Dig" hotline) a few days beforehand. It’s a free service, and it will prevent you from hitting a buried gas line, water pipe, or electrical cable—a mistake that can be both dangerous and incredibly expensive.
A gazebo, with its big roof and open sides, essentially acts like a giant sail. A powerful gust of wind can create thousands of pounds of upward force, easily lifting an unanchored structure right off the ground. This is why any permanent, hardtop gazebo must be permanently anchored. Sandbags and weight plates are fine for a temporary pop-up tent you’re taking down in a few hours, but they are not a safe solution for a permanent structure.
The long-term integrity of your gazebo often comes down to the little things—specifically, the hardware holding it all together. Spending a little extra on high-grade, corrosion-resistant quality fasteners is one of the smartest investments you can make. It pays off in both safety and longevity. Always use the hardware that came with your kit, or if you have any doubts about its quality, upgrade to a better equivalent from the hardware store.
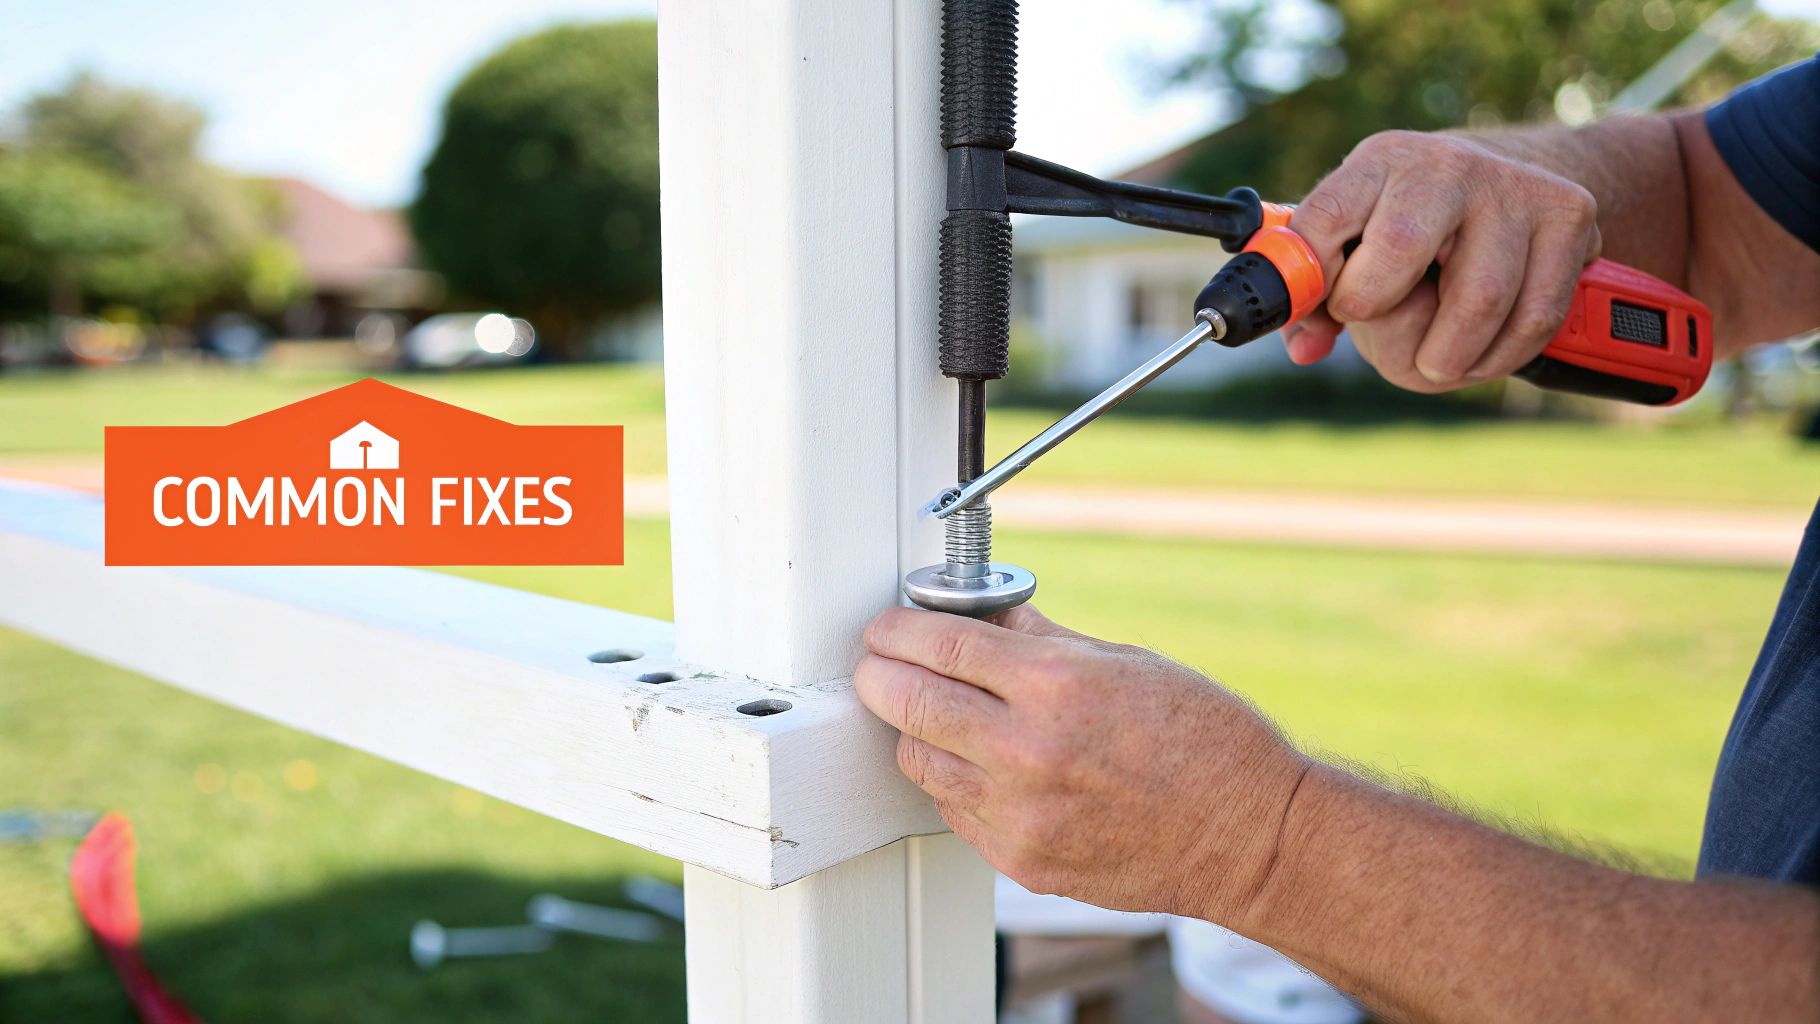
Even when you follow the instructions to the letter, a gazebo build can hit a snag. It just happens. You're cruising along, and suddenly a bolt hole is off by a hair, or you hear that dreaded zzzzzip of a stripped screw head. This is the exact moment a fun weekend project can start to feel like a total nightmare.
But don't throw in the towel just yet. Most of these common headaches have pretty straightforward fixes that, for some reason, the manual never seems to mention. We’ve seen it all, so here’s how to get through those frustrating moments.
One of the most frequent complaints we hear is about misaligned holes. You’re trying to fit a crossbeam to a post, and the holes are just a fraction of an inch off—but it's enough to stop the bolt from going through.
Nine times out of ten, this happens because other bolts in the frame were tightened down too early. The fix is to just go back and slightly loosen all the bolts on that part of the frame. This gives you just enough wiggle room to get the stubborn piece aligned. Sometimes, a gentle tap from a rubber mallet is all it takes to nudge it right into place.
If you're dealing with a bigger alignment issue, especially with heavy posts, a bar clamp can be your best friend.
Takeaway: Patience is your best tool here. Loosening nearby connections almost always solves the problem. Trying to force parts together is the fastest way to cause permanent damage to your new gazebo.
Another thing that will stop a project in its tracks is damaged hardware, especially stripped screws and bolts. It's usually caused by being a little too aggressive with a power drill, leaving you with a screw you can’t tighten or get out.
If you run into a stripped screw head and need to back it out, don't worry. It's a fixable problem. Depending on how bad it is, there are several ways to tackle it. For a full rundown, our guide on how to get a screw out walks you through detailed solutions for this exact situation.
As a quick tip, sometimes just placing a wide rubber band over the screw head before putting your drill bit on it can give you the extra grip needed to back it out.
Stretching the canopy over that last corner can feel like a full-on wrestling match. The fabric is meant to be tight, so that final pull is always the hardest.
Instead of trying to yank it from one corner with all your might, grab a partner. You each take an opposite corner and pull the fabric diagonally at the same time. This spreads the tension out evenly and makes it much easier to hook that last corner where it needs to go.
And if a small tear happens while you're setting it up, don't panic. A simple, clear fabric repair patch from any hardware or outdoor store will create a durable and almost invisible fix.
There’s a real sense of pride that comes from a successful DIY project. But when we’re talking about a massive, heavy structure like a gazebo, the line between a rewarding weekend and a costly, frustrating disaster can be razor-thin.
Deciding whether to tackle the assembly yourself or call in a professional is a critical choice. It's not just about having the right tools; it’s about honestly sizing up the project's complexity against your own skills, time, and patience.
Let's be clear: hiring a pro isn't admitting defeat. It's making a smart, strategic decision to get the job done right the first time. There are a few situations where calling for backup is absolutely the wisest move you can make.
You should seriously think about professional help if your situation involves any of these:
Beyond just saving you a weekend of work, professional services bring real-world benefits that protect your investment. An experienced technician knows how to install every last component exactly to the manufacturer's specs—something that is often a requirement to keep your warranty valid.
But the biggest advantage? Peace of mind.
A pro ensures the gazebo is perfectly square, level, and, most importantly, securely anchored to handle whatever weather your area throws at it. This isn't just a suggestion; it's a fundamental safety requirement.
An insured and experienced technician transforms a potentially risky project into a worry-free experience. Knowing your structure is built correctly by someone who does this every day provides confidence that simply can't be matched by a first-time build.
When weighing your options, a side-by-side comparison can make the choice much clearer.
| Factor | DIY Assembly | Professional Service (e.g., Assembly Smart) |
|---|---|---|
| Cost | Lower upfront cost (materials only). Potential for hidden costs from mistakes or tool purchases. | Higher upfront cost for labor. Predictable pricing with no surprise expenses. |
| Time | Can take 1-3 full days, depending on skill and complexity. | Typically completed in 3-8 hours. You get your weekend back. |
| Skill & Tools | Requires a good understanding of instructions, plus a comprehensive set of tools. | No skill or tools required from you. Experts arrive with everything needed. |
| Safety Risk | Higher risk of personal injury or improper assembly, especially with heavy parts. | Low to no risk for you. Professionals are insured and trained for safe installation. |
| Warranty | Mistakes during assembly could potentially void the manufacturer's warranty. | Correct assembly protects your warranty. Reputable services also offer their own labor warranty. |
| Peace of Mind | Lingering doubts about stability, especially in bad weather. | Confidence that the structure is secure, level, and built to last. |
The financial side is also worth a closer look. While there's an upfront cost for a pro, it can be more economical than you think. You avoid buying specialized tools you might only use once, and you eliminate the risk of making a costly mistake—like cracking a roof panel or stripping a critical bolt—that requires expensive replacement parts.
To get a better idea of what to expect, learning more about the factors that influence gazebo installation cost can provide a clearer picture. Making an informed choice now ensures you can enjoy your new backyard retreat for years to come without any worries about its stability or safety.
Even after you've tightened the last bolt, a few questions can linger. We've put together answers to the most common things we hear from DIYers, drawing from countless real-world projects to give you some practical advice.
This is about more than just what's in the manual; it's about the little details that make sure your new gazebo is safe, sturdy, and ready for years of backyard parties.
This is always the first question, and honestly, it really depends. A simple pop-up canopy? You can have that ready to go in less than 30 minutes. But for a standard 10×12 ft metal or aluminum gazebo, you should definitely plan on 3-5 hours, and that's with a helper.
If you've bought a more complex kit, like a big wooden or hardtop gazebo, you're looking at a serious project. These often turn into a full weekend commitment, taking anywhere from 8 to 12 hours of real, focused work.
My Two Cents: Whatever the box says, add 30-50% more time to your plan. This gives you a realistic buffer for sorting through all the parts, re-reading the instructions, and handling any little surprises without getting stressed out.
This is a huge one, and you can't make assumptions. The answer depends entirely on where you live and what your local HOA rules are.
A lot of towns don't require a permit for smaller structures—often anything under 120 square feet—especially if it isn't physically attached to your house. But even if you don't need a permit, you still have to follow rules about how far it is from your property line, how tall it can be, and how it needs to be anchored.
Before you even open the box, make a quick call to your local building department. It’s one simple step that can save you from a major headache, like a hefty fine or being told to tear the whole thing down.
Over the years, we've seen a few recurring mistakes that cause the vast majority of assembly-day nightmares. If you can sidestep these three common slip-ups, you'll dodge about 90% of potential problems.
We really, really advise against it. It might seem possible with a tiny model, but it’s just not a safe bet.
Most gazebo kits have you lifting heavy, awkward pieces like roof panels or long support posts. Trying to wrestle with those on your own is a great way to damage the kit or, even worse, get yourself hurt.
For your own safety and the life of your gazebo, you absolutely need at least one other person helping. For the bigger kits, a team of three is even better for lifting and positioning the heavy parts without a struggle.
Don't let a confusing manual and a mountain of parts keep you from enjoying your backyard. The expert techs at Assembly Smart can turn what might be a multi-day headache into a few hours of professional, worry-free work. We'll make sure your gazebo is built right and built safely. Get your free, transparent quote today and start enjoying that new outdoor space.
