-
CALL US:
- (866) 952-3456
A successful gym machine assembly starts long before you ever touch a bolt. The real key is in the prep work—clearing out your space and doing a full audit of every single part in that giant box. Trust me, spending this time upfront is the single best thing you can do to avoid headaches and make sure the whole build goes smoothly.

When that massive, heavy box lands on your doorstep, it's a mix of feelings, right? You're excited for the workouts to come, but maybe there's a little bit of dread about the project staring you down. You’re definitely not alone.
More people are building their own home gyms than ever before. It's all part of a huge shift towards at-home wellness. In fact, the global fitness equipment market is expected to jump from about USD 13.19 billion in 2025 to a whopping USD 18.69 billion by 2032, all because of a worldwide health kick. That means a lot more people are figuring out assembly instructions right in their living rooms. You can find more data on the booming fitness equipment market and what it means for consumers like you.
Good preparation is what turns this potentially stressful job into a genuinely rewarding one. Let's start with getting your space ready.
Before you even think about cutting the tape on that box, pick your spot. I can't stress this enough: you will need more room than you think. A good rule of thumb is to clear an area at least twice the size of the machine's final footprint. This gives you plenty of space to lay out all the parts and walk around the frame as you put it together.
Try to pick a spot as close as possible to where the machine will live permanently. I've seen clients try to move a fully built, 250-pound treadmill across their house, and it's never easy or safe. Also, build on a hard, level surface. If you're working on carpet, do yourself a favor and lay down a piece of plywood or a firm mat to create a solid, stable base.
My Pro Tip: Protect your floors! Put a blanket, some of the cardboard from the box, or a tarp down first. This will save your flooring from scratches and makes cleaning up all those tiny bits of styrofoam a breeze later on.
Look, that little multi-tool they include in the box is a nice gesture, but it’s rarely enough for a proper build. Using your own tools will make the job go faster and, more importantly, let you tighten everything down correctly for a much safer machine.
Before you start, it's a good idea to gather your toolkit so you're not scrambling mid-project.
| Essential Tool | Why You Need It | Helpful Upgrade |
|---|---|---|
| Ratcheting Socket Set | The #1 time-saver. It makes tightening nuts and bolts infinitely faster and easier than a standard wrench. | A set with both metric and standard (SAE) sockets. |
| Screwdrivers | You'll need both Phillips and flat-head. Many machines use various screw types for plastic covers and consoles. | A multi-bit screwdriver with a comfortable, ergonomic handle. |
| Adjustable Wrench | Perfect for holding a nut still while you tighten the bolt with your ratchet. A true team player. | A second adjustable wrench or a set of combination wrenches. |
| Utility Knife | For safely and cleanly opening the box and unwrapping all those plastic-covered parts without damaging them. | A self-retracting safety box cutter to protect your fingers. |
| Rubber Mallet | Great for gently tapping stubborn plastic end caps or other friction-fit parts into place without causing damage. | A dead-blow hammer, which provides more force with less rebound. |
Having these tools right next to you means you can keep your momentum going instead of stopping to hunt for what you need.
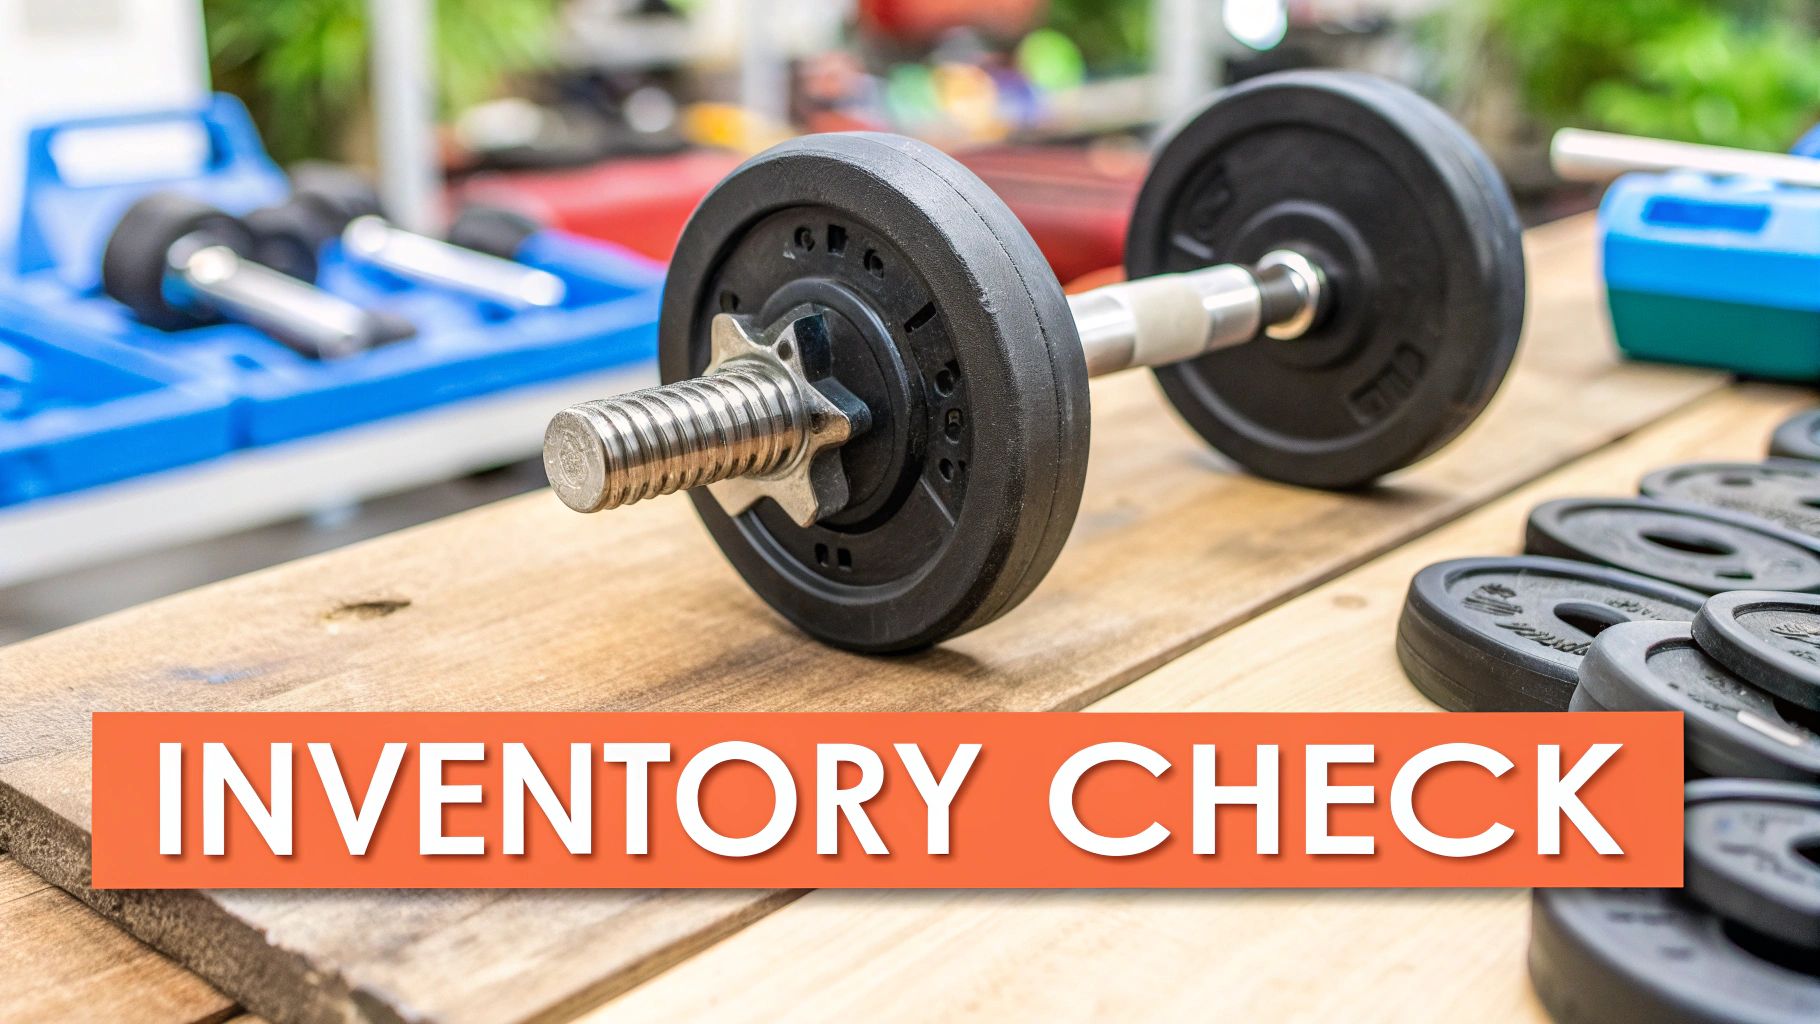
I've been doing this a long time, and I can tell you the single biggest cause of assembly frustration is getting halfway through and realizing a part is missing. You can avoid this entire nightmare with one simple but critical step: do a full inventory check before you start.
Carefully unpack every single piece and lay it all out. Open that blister-packed hardware card—the one with all the bolts sealed in plastic—and compare every nut, bolt, washer, and screw to the parts list in the manual. Count everything. Seriously.
This step does two crucial things for you. First, it confirms you actually have everything. If a bolt is missing, you can call customer service now, not after you've got a half-built machine sitting in your living room for a week. Second, it gets you familiar with all the components, which makes the instruction diagrams a whole lot easier to understand when you get to them.
Let's be honest, treadmills can look pretty intimidating right out of the box. With all the motors, wires, and that big, heavy frame, it's easy to see why some people get overwhelmed. But I've put together countless treadmills, and I can tell you the process is more logical than it looks. The real secret is to break it down and focus on one thing at a time. Don't rush, and you'll avoid those simple, frustrating mistakes.
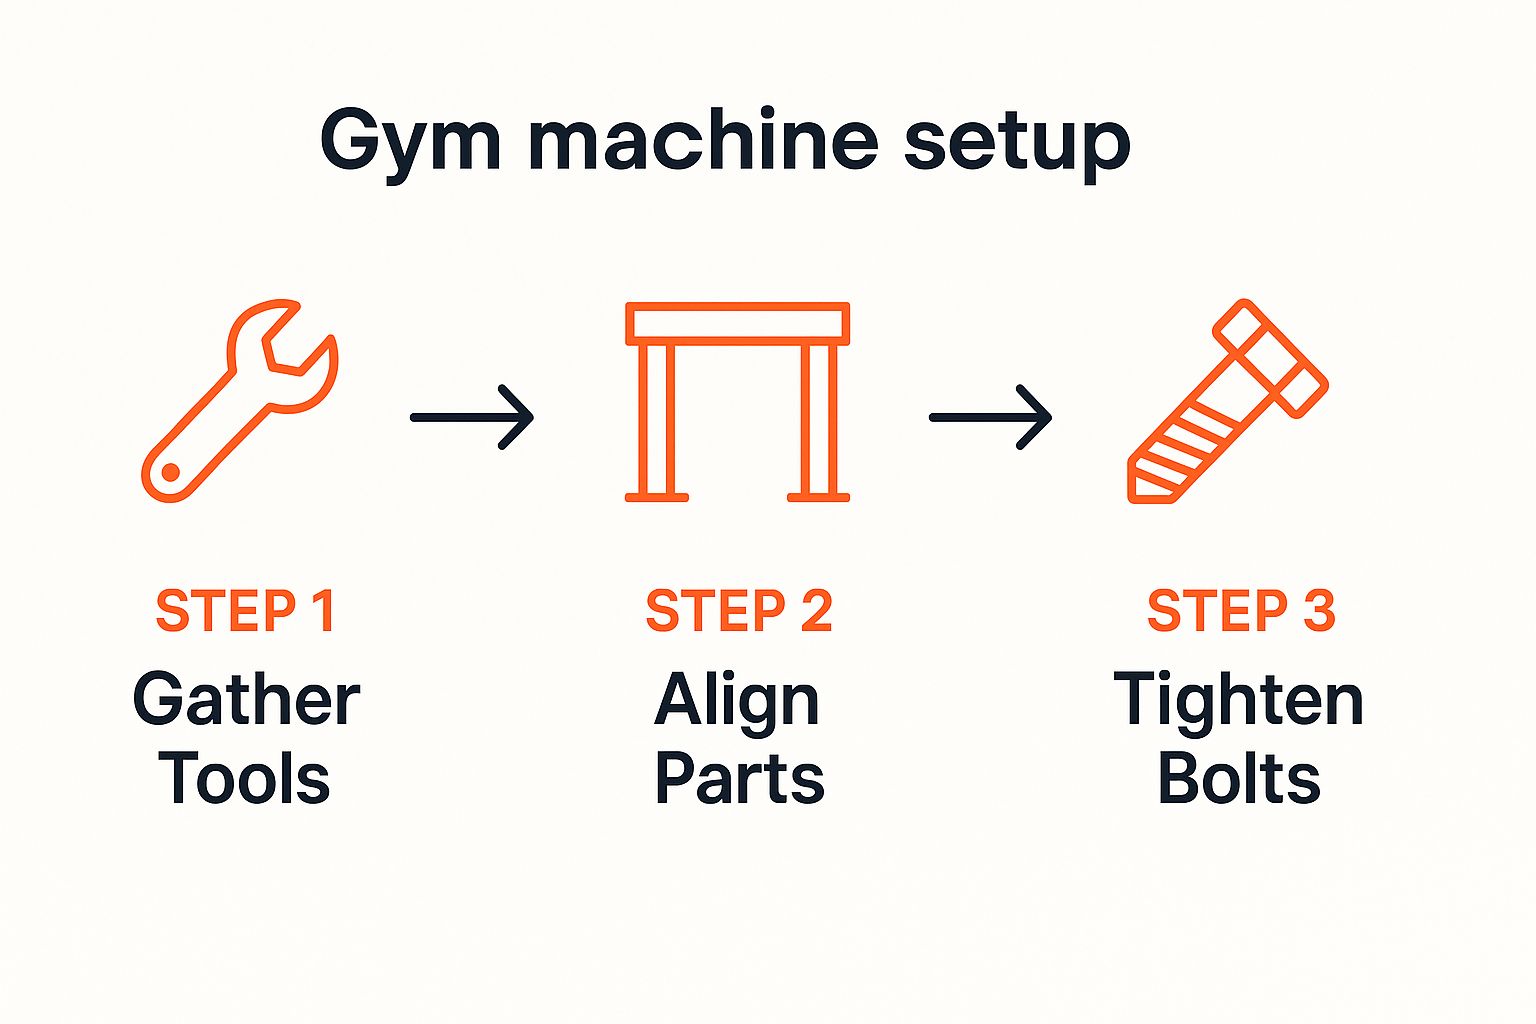
Most big assembly jobs follow the same basic flow. This visual breaks it down perfectly.

See? It’s all about getting your tools ready, lining everything up just right, and then locking it all down. If you stick to that order, you won't have to backtrack and fix things later—which, trust me, is where most of the headaches come from.
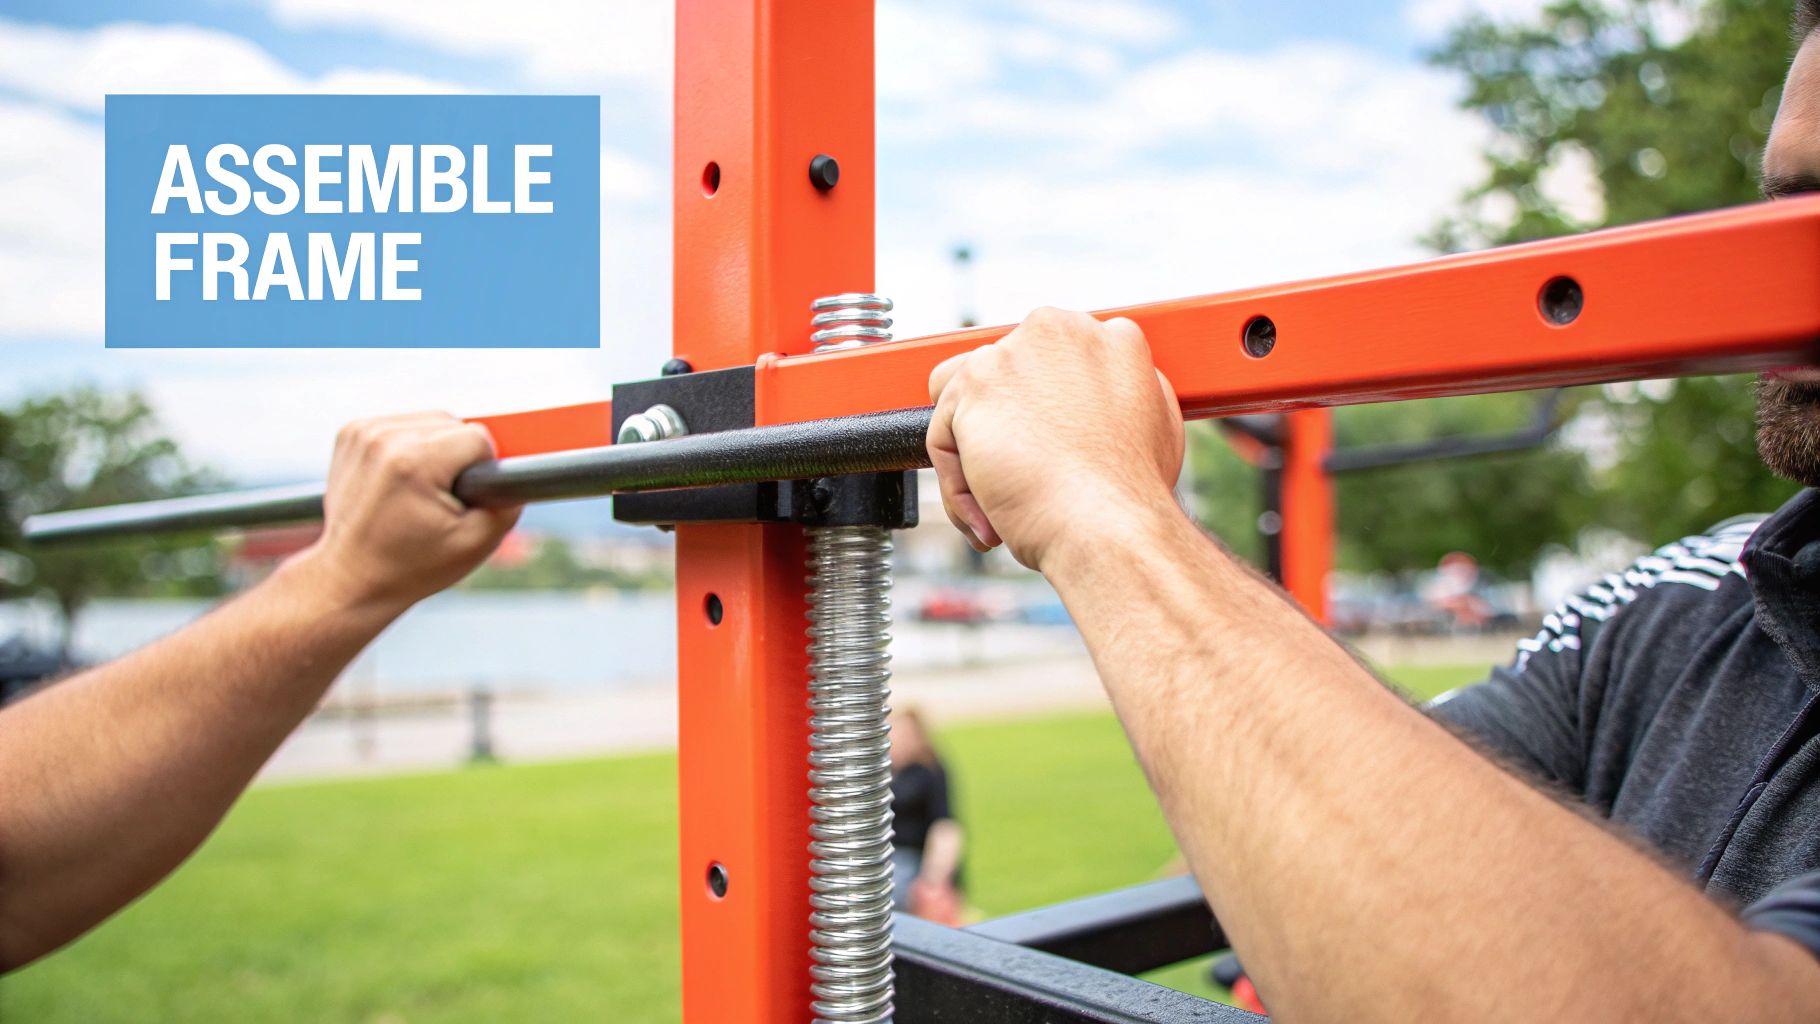
The first real construction step is always attaching the two vertical uprights to the base frame. This is the skeleton of your treadmill, so getting this part rock-solid is non-negotiable.
You'll usually slide the uprights onto mounting brackets and secure them with a few beefy bolts. Here's a pro tip that will save you a world of hurt: thread every single bolt by hand first. Don't even touch your wrench yet. This ensures you don't cross-thread the bolts, which can strip the frame and completely derail your project.
Once they're all hand-tight, you can grab your socket wrench and snug them down. I like to tighten them in a crisscross pattern, just like you would with lug nuts on a car. This distributes the pressure evenly and helps pull the uprights into a perfectly straight position.
A wobbly frame is the most common issue I see at this stage. If the uprights don't feel perfectly vertical, just loosen the bolts a bit, give them a wiggle until they're square, and then re-tighten. A tiny adjustment here prevents a major problem down the road.
With the frame solid, it's time to install the console—the brains of the operation. This is where people get nervous because of the wiring, but it’s simpler than it looks.
You’ll typically need to guide the main wire harness up through one of the uprights. Go slow. If you just shove it through, you risk scraping the wire's insulation or, even worse, yanking a connection loose inside.
Before you mount the console itself, you'll connect the wires coming from the upright to the back of the console. These are almost always color-coded or shaped differently so you can't mix them up.
Listen for a "click" to know the connection is secure. Then, as you set the console onto its mounting bracket, be incredibly careful not to pinch those wires between the metal parts. A pinched wire is the #1 reason a brand-new treadmill appears "dead" right after assembly. For more tips on this crucial step, check out our guide to professional treadmill assembly.
You're in the home stretch! The last few steps are usually attaching the plastic motor cover and the side rails where you'll step on and off. The motor cover often uses smaller screws and just clips into place. Take a second to make sure it's aligned properly to prevent any rattling sounds once the machine is running.
The side rails are a key safety feature. Make sure they are totally flush with the walking deck and screwed down tight.
Now, before you hop on for your first run, do these quick safety checks:
By taking your time and following these steps, you can get your treadmill built correctly and safely, ready for thousands of miles.

Ellipticals bring their own unique brand of challenge to gym machine assembly. Unlike a treadmill, you're dealing with multiple complex linkages—swing arms, pedal arms, and pivot points—that all have to move together in perfect harmony.
The number one complaint I hear after a DIY elliptical build is about squeaking and clicking. Almost every time, this comes down to a few key steps being rushed or skipped entirely. Let’s focus on the critical connections that ensure your machine delivers a smooth, silent ride right from the start.
First up is getting the vertical console mast attached to the main base. This is the central pillar of your machine, but it also serves as a conduit for the sensor and control wires that run up to the console.
Before you even lift the mast, take a moment to look at how the wires are routed. Often, they come with a guide string or wire puller attached. Your job is to gently pull the main wire harness up through the mast as you slide it into place. Be extremely careful here—yanking too hard or catching the wire on a sharp metal edge can damage the connection, leading to a console that won’t power on.
Real-World Tip: Wrap a piece of masking tape around the wire connector and the pull string. This prevents them from separating inside the mast, which can be a huge headache to fix. Just slide the mast on, feed the wire through the top, and then secure the bolts to the base.
Now for the most frequently skipped step I see in the entire gym machine assembly process: lubrication. Most ellipticals come with a small tube of grease, and it's there for a reason. Every single pivot point where a metal bolt passes through a moving part needs a thin coat of this grease.
Think about the main swing arms and the pedal arms. Each one has multiple connection points. Before you slide a bolt or axle into place, apply a light layer of grease directly to the shaft and a little on the inside of the bushing it passes through. This simple action takes seconds but prevents the metal-on-metal friction that causes 90% of all squeaking issues.
I've seen people throw out perfectly good machines because of a noise that a dab of grease would have solved on day one. For a more detailed look at these key joints, our complete guide to elliptical machine assembly offers more in-depth visuals.
Once you start connecting the arms, you'll notice you have left-side and right-side components. This can be confusing, but there’s an easy way to tell them apart. Most manufacturers put a small sticker marked "L" or "R" on the parts. If not, look at the pedal threads—the right pedal tightens clockwise, while the left pedal is reverse-threaded and tightens counter-clockwise.
Here's how to attach them without getting mixed up:
This methodical approach prevents you from having to disassemble parts because you mixed up left and right.
With everything assembled, your last job is to make sure it's rock-solid. A wobbly elliptical isn't just noisy; it's unsafe.
Grab both swing arms and try to rock the machine side-to-side. It should feel planted. If you feel any wobble, the first place to check is the leveling feet on the bottom of the front and rear stabilizers. Adjust these until all feet are firmly in contact with the floor.
Next, give each arm a push and pull to check for play in the joints. If you notice any looseness, go back and tighten the specific bolt at that pivot point. Performing this final check ensures your hard work results in a quiet, stable, and safe machine for years to come.
At first glance, weight benches and power racks seem a lot simpler than a treadmill or elliptical. But don't let that fool you. These pieces are the absolute foundation of any serious strength training setup, and building them requires total precision.
Why? Because their structural integrity is directly tied to your safety. A wobbly rack isn't just annoying—it's a genuine hazard when it's holding heavy weight right over your body. There is zero room for error here. Let's walk through how to build these foundational items so they end up rock-solid and perfectly square.
If you only take one piece of advice from this guide, make it this one: never fully tighten any bolt until the entire frame is loosely assembled. I've seen this single mistake derail more home gym builds than anything else.
It feels more efficient to tighten bolts as you go, but it's a trap. Doing that locks the frame into place prematurely, often just slightly out of alignment. You'll get to that last cross-member and find the holes are off by a millimeter, forcing you to go back and loosen everything anyway. It’s beyond frustrating.
Instead, start every bolt by hand. Then, give it just a few turns with a wrench to make it snug—enough to hold, but with plenty of wiggle room. This lets all the parts settle into their natural, correct alignment. Once the whole frame is standing, then you can go back and systematically crank down on every single bolt. Trust me, this little trick makes the whole process so much smoother.
An adjustable bench is mostly a main frame, a couple of support legs, and the seat/backrest mechanism. The first thing you should always do is lay out all your pieces and make sure nothing is missing.
Typically, you'll start by attaching the front and rear support legs to the long central beam that acts as the spine of the bench. Keep those bolts loose for now!
Once the base is formed, you can attach the adjustment ladder and the padded backrest. Before that final tightening, set the bench on a level floor and give it a good shake to check for any wobble. Nudge it until it's stable, then tighten everything down for good.
Assembling a power rack can feel like you're building a small skyscraper in your gym space. This is almost always a two-person job, especially when it comes time to lift the heavy vertical uprights into place.
With the entire structure loosely built, grab a level and check that the uprights are perfectly vertical. Make small adjustments as needed, then begin the final tightening process. Work in a crisscross pattern from bottom to top to distribute the tension evenly. Making sure everything is assembled correctly is crucial; poorly built gear can lead to instability, bad form, and common exercise mistakes that lead to injuries.
The demand for home fitness equipment is exploding. North America makes up approximately 39% of the global market, and the growth is staggering. Valued at USD 4.14 billion in 2024, the U.S. fitness equipment market is forecast to hit USD 7.23 billion by 2034. This trend shows just how popular and complex home gyms are becoming.
Believe it or not, the skills you pick up building gym equipment are surprisingly useful elsewhere. If you can put together a perfectly stable power rack, you’re well on your way to tackling other projects. For more tips on similar builds, check out our comprehensive guide to furniture assembly.

Alright, the last bolt is tight and the tools are scattered across the floor. It’s so tempting to call it a day, but this last stretch is honestly the most critical part of the whole process. This is what separates a decent build from a great one, and it's your best chance to catch tiny issues before they become major headaches.
This isn't just about double-checking your work. It's about ensuring the machine is genuinely safe to use for years to come. A few systematic checks right now will give you total peace of mind in the equipment you just spent hours putting together.
First thing's first: the stability test. Grab the handlebars or the main frame and give the machine a good, firm shake from every angle—side to side, front to back. You should feel zero rocking or wobbling. None at all.
If it moves, the culprit is almost always an uneven floor. Take a look at the base of the machine for adjustable leveling feet; most equipment has them. Tweak each one until they all make solid, firm contact with the ground.
Once you've adjusted the feet, give it another shake. You're aiming for a machine that feels like it's bolted to the floor. A tiny wobble now can feel like a violent lurch when you're in the middle of a high-speed workout.
Next up is one final pass on all the hardware. Go back over every single bolt and nut with your wrench. You’re not trying to crank them down so hard you strip the threads, but you want to make sure everything is perfectly snug. Components can settle a bit as the entire frame comes together, and this final check locks it all down.
Even when you're careful, little issues can pop up. The good news? Most are simple fixes you can handle in a few minutes without a frustrating call to customer service. Here are a few common post-assembly problems I see all the time.
For a deeper look at fixes like these, our guide on professional workout equipment assembly has even more troubleshooting tricks from the field.
The boom in home gyms is no accident—it's tied to a massive global shift toward health and wellness. The World Health Organization reported that in 2022, approximately 650 million adults worldwide were obese, making fitness equipment a vital tool for personal health. It’s no surprise, then, that the fitness equipment market, valued at USD 15.03 billion in 2025, is expected to climb to USD 18.79 billion by 2029. You can explore more on these market trends and their impact on the fitness industry.
Finally, plug it in and run through a full systems check.
By taking a few extra minutes for these final checks, you’re not just finishing a job. You're guaranteeing your new gear is a safe, reliable, and effective partner for your fitness goals.
Even after you've successfully put together your new machine, a few questions might still be bouncing around in your head. It's a complicated job, and you want to be 100% sure you've done everything right for both safety and long-term performance.
We’ve pulled together the most common questions we hear from people who've just unboxed their new gear. Think of this as your final checklist for peace of mind.
This is the big one, and the honest-to-goodness answer is: it really depends. The complexity of the machine itself is the number one factor. A simple weight bench? You might be done in under an hour. A high-tech treadmill or a fancy elliptical with all the bells and whistles? You're probably looking at 3 to 4 hours, and sometimes even longer.
My best advice is to just block out an entire afternoon. Don't even try to squeeze it in between errands. The goal here is to be methodical, not fast. Rushing is how you end up overtightening a bolt and stripping it, or worse, pinching a delicate wire. Give yourself room to breathe and work without the pressure of a ticking clock.
A Pro’s Perspective: I always tell people to look at the time estimate in the manual and treat it as a best-case scenario—for someone who's built that exact machine before. If the manual says 90 minutes, plan for two and a half hours, minimum. This simple shift in mindset turns a stressful race into a manageable project.
Yes. Almost every single time. Those little stamped-metal "wrenches" and Allen keys they throw in the box are technically usable, but they make the job ten times harder and longer than it needs to be. They offer terrible leverage, they're a pain to hold, and you're far more likely to strip a bolt head with them.
A small investment in a few basic tools will pay you back immediately in saved time and sanity. At the very least, you should have:
Using proper tools isn't just about speed; it's about applying the right amount of torque for a solid, secure build that's actually safe to use.
There is zero shame in calling for backup. In fact, knowing when to call in a pro is a smart decision that protects your investment, saves you a massive headache, and ensures your safety.
You should seriously consider hiring a professional assembler if:
Ultimately, hiring a pro is about buying peace of mind. You know the equipment is built exactly to the manufacturer's specs and is as safe as it can be.
Hands down, the biggest and most frustrating mistake is fully tightening all the bolts as you go. It feels like the logical thing to do, but it's a trap. Doing this almost always locks the frame into a slightly incorrect alignment.
What happens next is infuriating. You'll get 90% of the way done and discover the holes for the last major part are off by just a hair, making it impossible to finish. Then you have to go back and loosen dozens of bolts you already cranked down.
Here’s the right way: Keep every single bolt loose until the entire frame is built. Hand-tighten them, and maybe give them one quick turn with a wrench. Once the whole machine is standing on its own, then you go back section by section and systematically tighten all the hardware. This lets the frame settle into its natural, perfectly aligned position first.
Feeling overwhelmed or just want the job done right without the hassle? Assembly Smart offers professional, insured, and reliable in-home assembly for all types of fitness equipment. Let our experts handle the tools and instructions so you can focus on your first workout. Get your free, transparent quote today by visiting https://assemblysmart.com and book your stress-free appointment.