-
CALL US:
- (866) 952-3456
Let's be honest—cleaning the grill is nobody's favorite part of a cookout. But I can tell you from years of experience, it's the single most important thing you can do for better-tasting food, safer cooking, and keeping your grill from an early grave.
A dirty, gunked-up grill is just a recipe for disaster. It leads to bitter food, dangerous grease fires, and those frustrating hot spots that burn one side of your steak while leaving the other raw.
This guide is going to cut right through the noise. I'll give you the practical, real-world methods that seasoned grill masters actually use. We'll cover everything you need to know for both gas and charcoal models, showing you exactly what to focus on—from the grates all the way down to the guts of the grill—to get the job done right. A little time spent on upkeep pays off big time.
Ultimately, a clean grill just performs better on every single level. The difference is night and day. You'll immediately notice it in the quality of your food and feel more confident in the safety of your setup. In fact, understanding why regular cleaning matters is just as crucial as knowing how to choose a grill in the first place.
This simple flow shows you how it all connects.
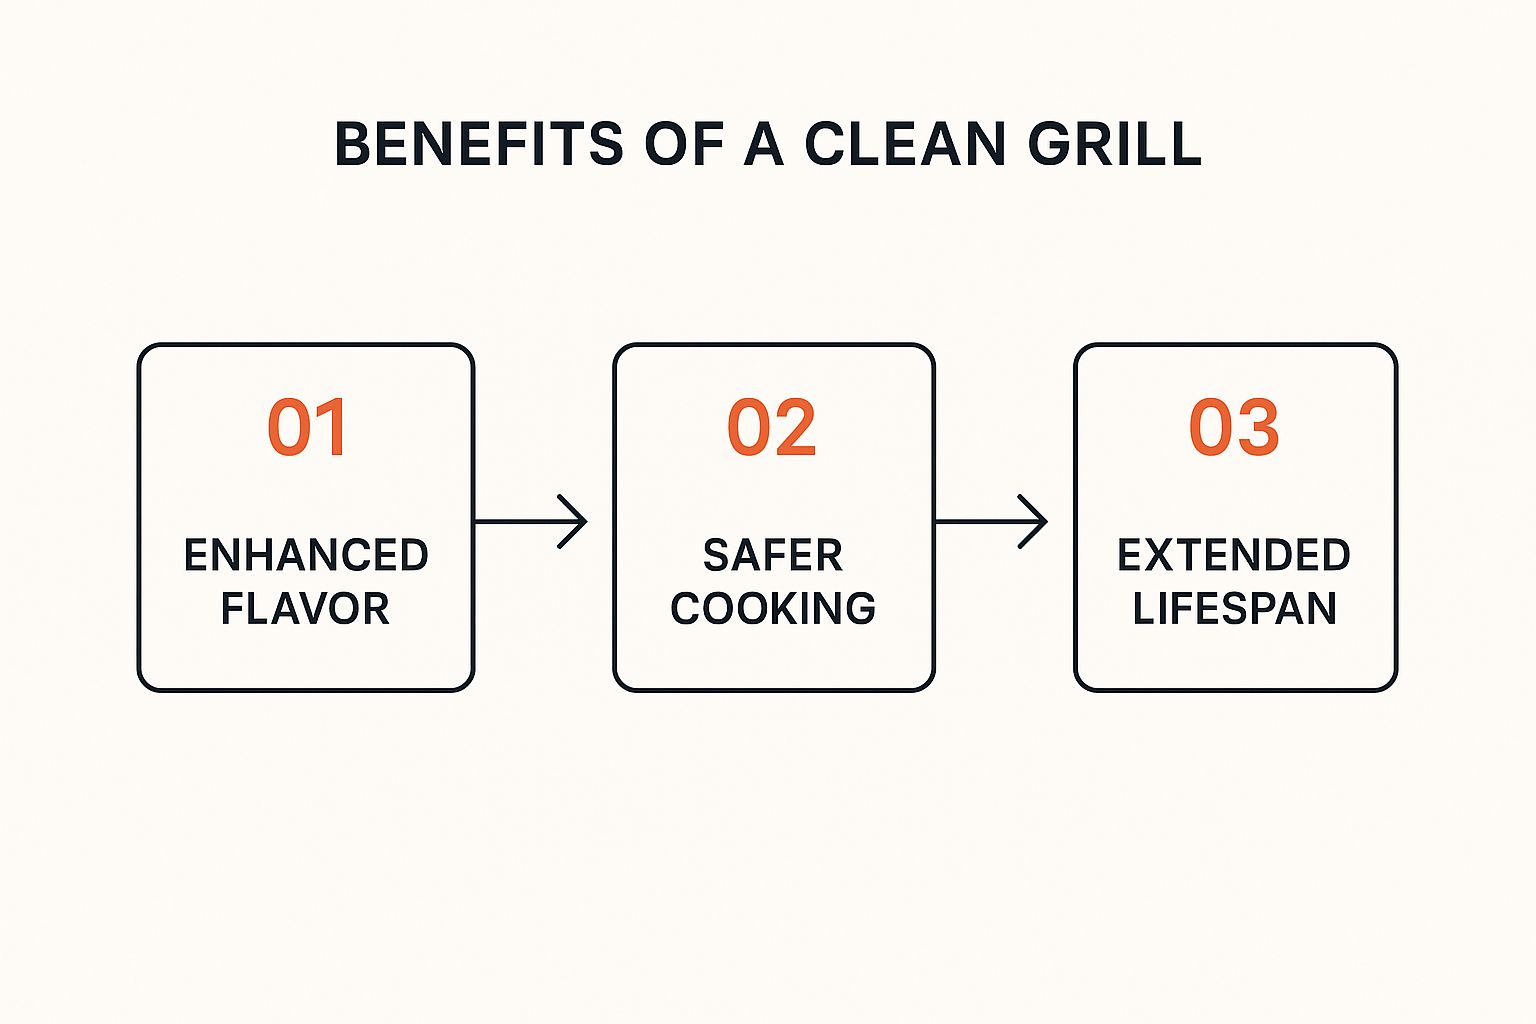
As you can see, one benefit leads directly to the next. Great flavor starts with a clean cooking surface, which helps prevent flare-ups for safer operation, and that in turn extends your grill's lifespan.
Before you dive in, it pays to have the right gear on hand. Fumbling for a scraper or a sponge mid-clean is just frustrating. Gather these essentials first to make the job faster and a whole lot more effective.
| Tool or Supply | What It's For | Insider Tip |
|---|---|---|
| Grill Brush | Scraping cooked-on gunk from the grates. | A heavy-duty, bristle-free brush is a safer bet. No one wants wire bristles in their burger. |
| Scraper | Chipping away stubborn, carbonized bits. | A putty knife or a dedicated plastic grill scraper works wonders on the inside of the cook box. |
| Shop Vacuum | Sucking up loose ash and debris. | The absolute fastest way to clean out the bottom of your grill, especially charcoal models. |
| Microfiber Cloths | Wiping down the exterior and polished parts. | Use one for cleaning and a separate dry one for buffing to a streak-free shine. |
| Bucket & Sponges | Soapy water for deep cleaning components. | Have one bucket for soapy water and another for clean rinse water to avoid spreading grime. |
| Grill Cleaner | Degreasing tough, baked-on residue. | Look for a citrus-based degreaser. It's effective without the harsh chemical smell. |
| Gloves | Keeping your hands clean. | A good pair of heavy-duty rubber or nitrile gloves is a must. Grill gunk is sticky. |
Having these items ready to go turns a messy chore into a streamlined process.
This focus on proper upkeep isn't just something grill nerds like me talk about; it's a massive trend. The global market for grill cleaning tools has ballooned to around USD 1.2 billion and is projected to hit USD 2.0 billion soon.
That growth is directly tied to the explosion of outdoor barbecuing culture, especially here in North America. People are getting serious about their cookouts, and that starts with a clean machine.
Key Takeaway: Start thinking of grill cleaning not as a chore, but as part of the cooking process itself. You wouldn't cook tonight's dinner in a dirty pan from last week, right? The same exact principle applies to your grill. It’s the foundation for every delicious meal you create.
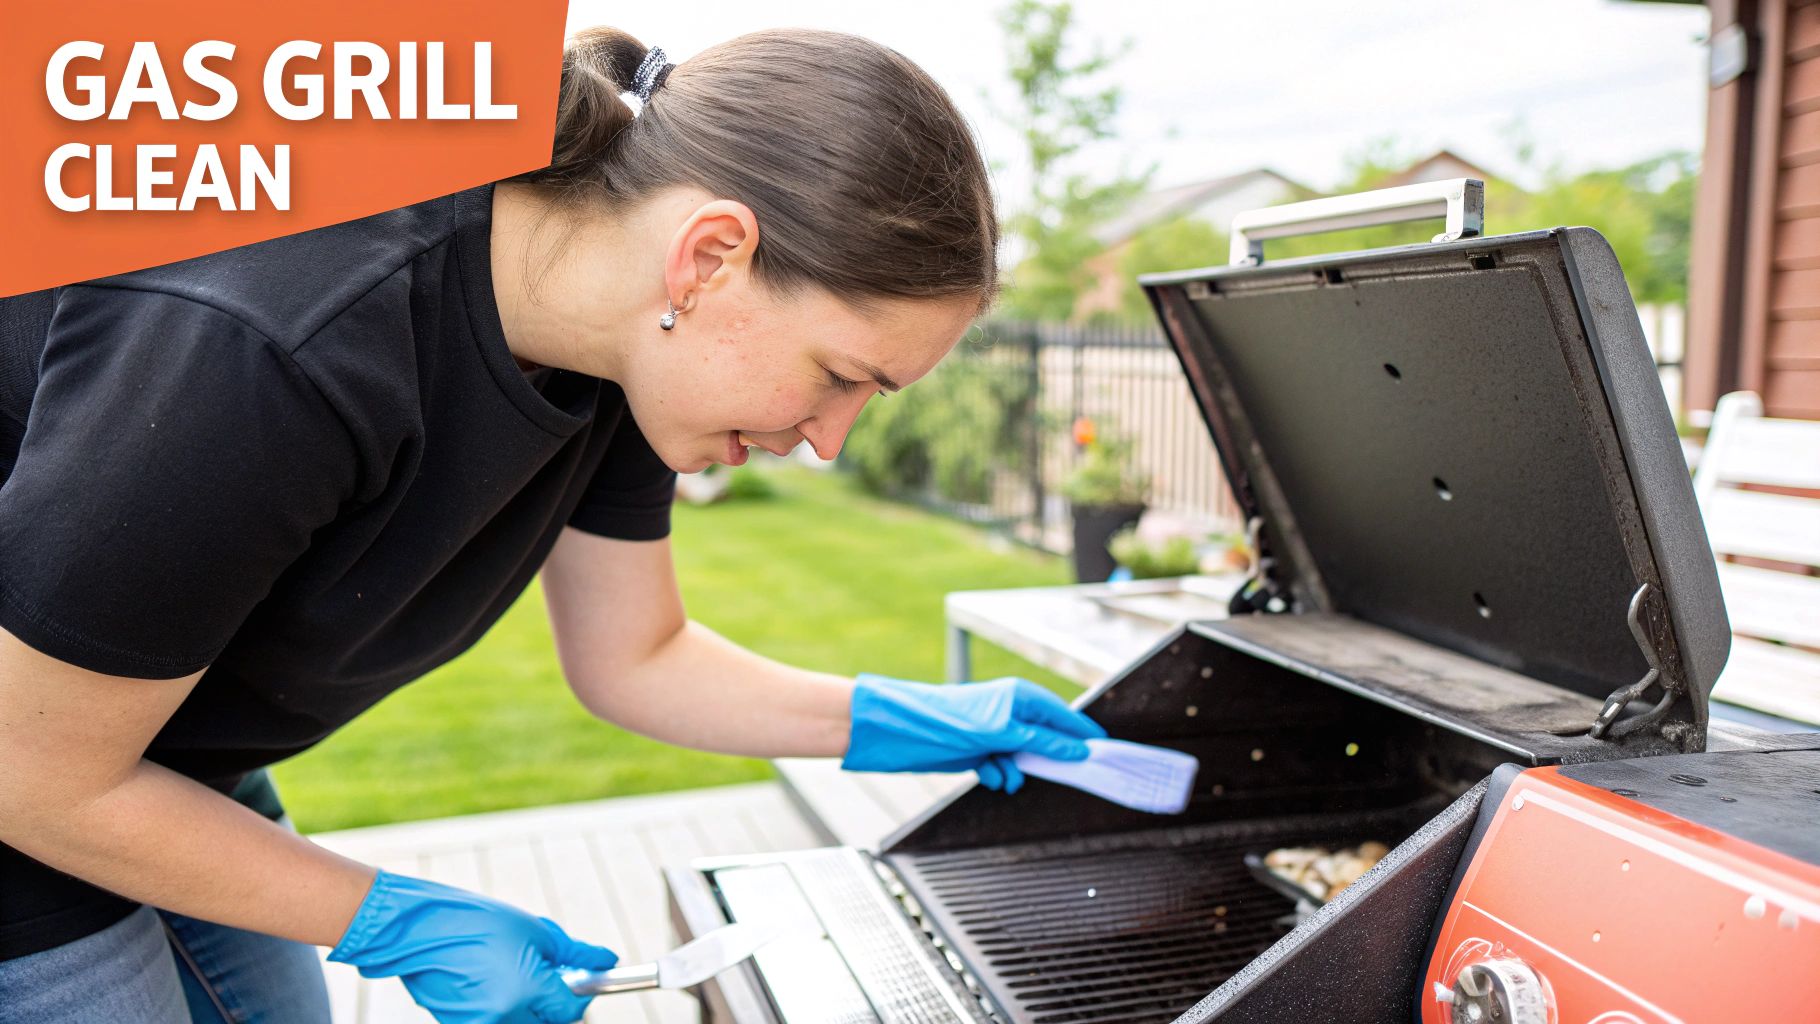
Gas grills definitely have more moving parts than their charcoal cousins—burners, heat shields, igniters, the works. But don't let that fool you; the cleaning process is surprisingly straightforward when you know what you're doing. The trick is to have a system and tackle each part individually, always working from the top down.
Before you even think about touching a brush, you need to disconnect the gas supply. It’s a non-negotiable safety step. If you've got a propane tank, that means closing the valve tight and unscrewing the regulator. For a natural gas line, find the shut-off valve that feeds the grill and turn it off. Safety first.
Your most powerful cleaning tool is the grill itself. Before you start scrubbing, crank all your burners to high, close the lid, and let it rip for a good 15-20 minutes. This blast of intense heat acts like a self-cleaning oven, incinerating all that caked-on food residue and grease, turning it into a brittle ash.
Honestly, this one simple step does about 80% of the work for you. Once the burn-off is done, kill the burners and let the grill cool down just enough so it's safe to handle, but still warm. That lingering heat makes the gunk come off so much easier. Now, grab your grill brush and give both sides of the grates a good, hard scrape to knock off all that ash.
With the grates out of the way, it's time to get into the guts of the grill. You'll need to carefully lift out the components sitting below them. Typically, you'll find:
Toss the grates and the heat deflectors into a big bucket or utility sink full of hot, soapy water. I like to add a splash of a good degreaser to really power through the stubborn grime. Just let them soak while you turn your attention to the grill's interior.
A huge mistake people make is grabbing harsh oven cleaners. Those chemicals can seriously damage your grill's finish and, worse, leave behind a residue that makes your food taste like a science experiment. Just stick to basic soap, water, and products specifically made for grills.
Now that the insides are accessible, you can really get to work on the cook box. A plastic scraper or a putty knife is perfect for breaking loose all the baked-on gunk from the sides and bottom. Just work it all down toward the grease tray.
Your secret weapon here? A shop vacuum. It'll suck up all that loose crud in seconds and leave the interior looking brand new.
Next, give the burner tubes a good look. Gently brush them horizontally with a stainless steel brush. This cleans the outside without accidentally pushing debris into the little gas ports. If you do spot a clogged port, a straightened paperclip or a small wire is all you need to clear it out. Getting that even, blue flame back is key for consistent cooking.
Finally, don't forget the grease collection tray and drip pan. A forgotten, overflowing grease tray is one of the biggest causes of grill flare-ups and fires. Once every part is sparkling, let everything air dry completely before you start putting it all back.
Getting your grill reassembled correctly is just as important as cleaning it. A properly put-together grill is safer and just plain works better. If you ever find yourself staring at a pile of parts and aren't sure where they go, our expert team can help with professional grill assembly services.
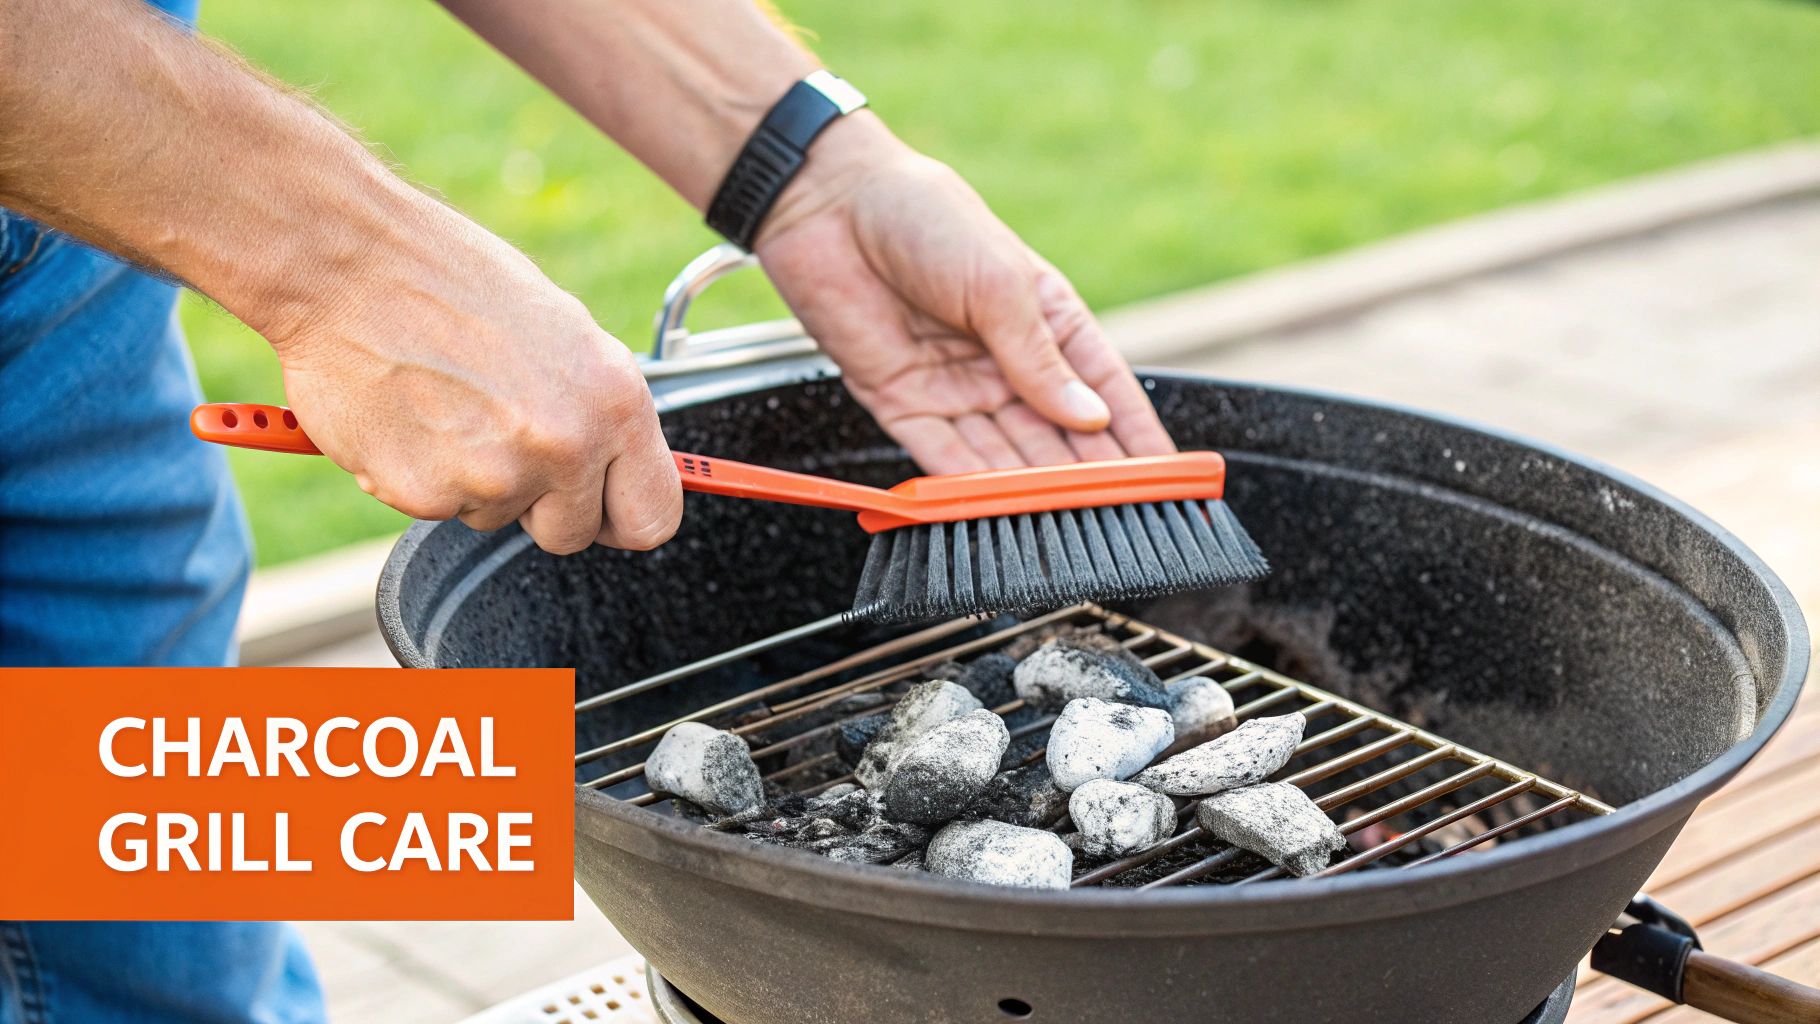
There's a beautiful simplicity to charcoal grills, but that doesn't mean you can just let ash and grease build up forever. All that accumulated gunk is a performance killer. It completely wrecks your temperature control and, worse, traps moisture that can rust your grill from the inside out.
A good deep clean brings back that original simplicity and makes sure every cook is a great one. The process itself is pretty straightforward. We’re going to focus on clearing out the old ash, scrubbing the cooking grates, and getting the kettle itself nice and clean. These steps are vital for maintaining proper airflow, which is the secret to hitting your target temperatures every time.
Before you even think about scrubbing, you have to deal with the old ash. A thick layer of it sitting at the bottom of your grill is basically a sponge for humidity. A rusty kettle is a fast track to buying a whole new grill.
Make sure the grill is completely cool before you start. Seriously, never try to clean out ash when embers might still be hot. This is a non-negotiable safety rule that applies to any open flame. You'll find similar common-sense advice in these fire pit safety tips.
Once you're 100% sure it’s cool, the best tool for the job is a shop vacuum. It’ll suck out every last bit of ash and charcoal dust in just a few seconds, leaving the bowl perfectly clean. If you don't have a shop vac, a simple scoop and brush will get the job done—it just takes a bit more elbow grease.
Your cooking grate takes the most abuse. It’s constantly catching marinades, fats, and little bits of food. Honestly, the best time to clean it is right after you finish cooking while it's still hot. A good scrape with a quality grill brush will knock off most of that debris without much of a fight.
For a true deep clean, though, you’ll need a bit more effort.
Here's a common mistake I see all the time: putting a wet cast iron grate back into the grill. That is an open invitation for rust. Always make sure your grates are bone-dry. If you have seasoned cast iron, applying a super-thin coat of cooking oil will give you some extra protection.
With the grates out of the way, you’ve got clear access to the inside of the kettle. Grab a plastic scraper or a putty knife to dislodge any of that carbonized grease clinging to the walls. Scrape everything down toward the bottom so you can easily wipe it all out with a paper towel.
Finally, wipe down the inside and outside of the lid and bowl with a cloth and some warm, soapy water. Pay special attention to the air vents. You need to make sure they're clear of any blockages. Clean vents open and close smoothly, which gives you the precise control you need over your fire and cooking temperature.
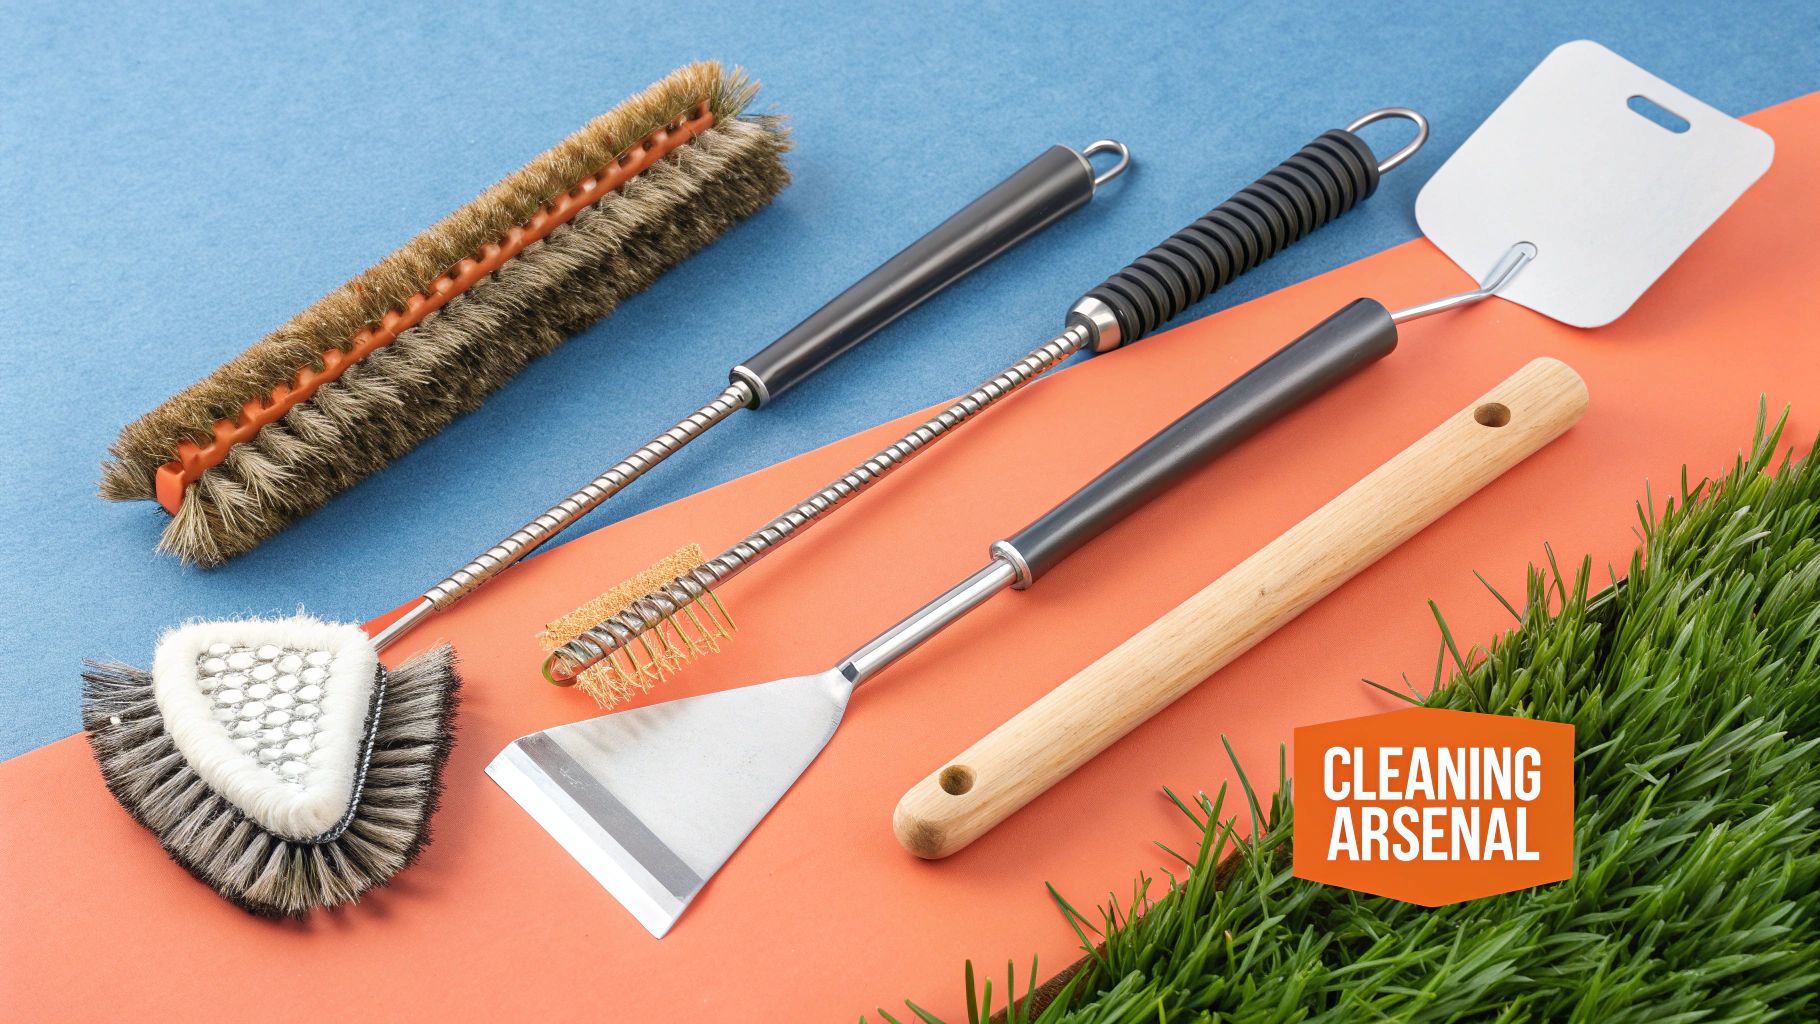
The right tool can turn a job you dread into a ten-minute task that’s actually pretty satisfying. But if you've ever walked down the barbecue aisle, you know it's a dizzying maze of brushes, scrapers, and all sorts of mystery gadgets.
Putting together the perfect cleaning kit is all about one thing: matching the tool to your grill grates. What works wonders on a tough stainless steel grate could completely ruin a delicate porcelain finish.
Your main weapon here is the grill brush, but the old-school wire-bristle model isn't your only option anymore. With all the talk about stray bristles ending up in food, a whole new generation of safer, super-effective alternatives has popped up. It’s no surprise the market for these tools is booming—grill brushes alone make up a market valued at nearly USD 800 million.
Before you buy anything, you need to know what your grates are made of. Seriously. Using the wrong brush is the fastest way to scratch, chip, and shorten the life of your cooking surface. The core idea is simple and applies to lots of things—just look at an ultimate car detailing supplies list, where matching the product to the car's surface is everything. Same principle here.
Here’s a quick guide for the most common materials:
A great brush is a must-have, but a couple of other tools can make your life so much easier. A good heavy-duty scraper—often built right into the head of the brush—is fantastic for chipping off that stubborn, burnt-on carbon.
Pro Tip: Don't sleep on the humble grill stone. These porous pumice blocks are amazing. They actually conform to the shape of your grates as you use them, giving you a safe and incredibly effective way to scrub off baked-on gunk without worrying about metal bristles.
For cleaning out the inside of the grill itself, a simple plastic putty knife is perfect. It's firm enough to scrape away all that grease buildup without scratching the interior paint or metal.
By picking out just a few of these key items, you can build a killer cleaning kit that will keep your grill in prime condition for years to come.
Truly mastering your grill isn't about one massive, back-breaking deep clean a year. It's about the small, consistent habits you build over time. These simple routines are what separate a grill that lasts a few seasons from one that becomes a reliable backyard fixture for a decade or more. Think of it as prevention, not just reaction.
The real goal is to keep your grill ready to fire up at a moment's notice. By working a few small tasks into your grilling process, you can stop grease buildup, rust, and performance issues before they even have a chance to start. This approach not only keeps your grill in prime condition but also leads to better-tasting food and a much safer cooking environment.
If your grill has cast iron grates, treating them right is a total game-changer. "Seasoning" has less to do with flavor and more to do with chemistry—it’s the process of creating a protective, non-stick layer of polymerized oil that shields the raw metal from moisture. That slick, black surface is something you build up cook after cook.
This is just as important as cleaning. For a deeper dive into this type of care, you can read about maintaining cooking surfaces like cast iron, as the principles are very similar. The process is surprisingly straightforward:
This simple step is what creates that beautiful, dark patina that well-loved cast iron is known for, making every cook just a little bit better than the last.
For anyone with a gas grill, this habit is absolutely essential: perform regular gas leak checks. Seriously, this isn't something to put off. It takes less than two minutes and can prevent a very serious accident.
All you need is a spray bottle filled with a little dish soap and water. Spray the soapy solution on the gas line, the valve, and every connection point. Next, turn on the gas (but do not light the grill). If you see any bubbles start to form, you’ve found a leak. Immediately turn off the gas at the tank and tighten the connections.
A good grill cover is one of the smartest, simplest investments you can make. It protects your grill from rain, snow, pollen, and bird droppings—all things that accelerate wear and tear and can lead to premature rusting.
Knowing what to do is only half the battle. Knowing when to do it makes all the difference and keeps grill maintenance from ever feeling like a chore. Just stick to a simple schedule.
By following this easy rhythm, you ensure your grill is always safe, clean, and ready for your next perfect cookout.
Even with a solid game plan, you're bound to hit a few snags when you're elbows-deep in last season's grill gunk. Getting the right answers can be the difference between a quick, satisfying clean and a frustrating, costly mistake.
So let's tackle the most common dilemmas grill owners face. Think of this as your quick-reference guide for cleaning with confidence and making sure you don't accidentally damage your grill.
This is probably the number one question people ask. While you should absolutely give your grates a quick scrape after every single cookout, a full-blown deep clean doesn't need to be a weekly chore.
A great rule of thumb is to schedule a deep clean twice a year. I find it's easiest to remember if I do it once in the spring before grilling season really kicks off, and again in the fall right before I put it away for the winter.
However, if you're a heavy user—firing up the grill multiple times a week—you'll want to do a deep clean every two to three months. It just keeps performance high and prevents nasty flare-ups.
The concern over wire brushes is totally legitimate. The real risk is a small metal bristle breaking off, sticking to the grates, and ending up in your food. It sounds rare, but it can cause serious injury, which has led a lot of grillers to look for safer options.
If you stick with a wire brush, you have to be diligent:
Safer alternatives work just as well these days. Look for coiled "bristle-free" brushes, abrasive grill stones, or even a wadded-up ball of heavy-duty aluminum foil held with tongs in a pinch.
It's so tempting to grab that can of oven cleaner, but please, step away from the grill. Oven cleaners are packed with extremely harsh chemicals formulated for a sealed, porcelain-coated oven interior—not the specialized materials of your grill.
Using oven cleaner can strip the paint right off, damage the finish on your cook box, and corrode sensitive parts like burners and igniters. Worse, it can leave behind a chemical residue that's unsafe for cooking and will make your next steak taste like a chemical factory. Stick to hot, soapy water or products specifically made for grills. For more answers to common equipment questions, check out our comprehensive FAQ page.
Cleaning cast iron is all about protecting that beautiful seasoning—that non-stick surface you've worked so hard to build up. The golden rule is simple: never use soap. Soap will strip that protective layer right off, leaving your grates vulnerable to rust.
Instead, let the heat do the heavy lifting. Fire up the grill on high for about 15 minutes to incinerate any leftover food bits. Let it cool down a bit so it's just warm to the touch, then scrub it with a stiff nylon brush (not wire).
Once it's clean and while the grate is still warm, wipe on an incredibly thin coat of a high-smoke-point oil like canola or vegetable oil. This re-seasons the iron and creates a barrier against rust, keeping your grates perfect for the next cookout.
Don't let a pile of parts and confusing instructions stand between you and your next barbecue. The experts at Assembly Smart offer professional, reliable grill assembly services to get you cooking safely and quickly. Get your free estimate today!
