-
CALL US:
- (866) 952-3456
Before you even think about picking up a drill, there’s one crucial decision to make: are you going for the brick or the mortar? It’s a choice that can make or break your project. For lighter stuff like small picture frames or decorative pieces, the softer mortar joint is usually your best bet. But for anything with serious heft, you’ll need the brute strength of the solid brick face. A little planning here goes a long way in preventing cracked masonry and making sure your prized possessions stay securely on the wall.

A little prep work now will save you a world of headaches later. The line between a clean, successful project and a costly mistake is often just five minutes of smart planning. This isn't just about marking a spot on the wall; it’s about really understanding the material you’re working with and respecting the forces at play.
First things first, get the exact weight of the item you want to hang. A simple bathroom scale will do the trick. Don't guess—that big mirror you think is 20 pounds might be closer to 40, which completely changes the type of hardware you’ll need.
Once you have the weight, you can decide on the perfect spot. This decision will tell you whether you should target the brick or the mortar.
Drilling into Mortar: This is the way to go for lightweight items, generally anything under 30 pounds. Mortar is much softer, which makes drilling a whole lot easier and seriously reduces the risk of cracking a brick. It's a fantastic option for gallery walls, small clocks, or light decorative shelves.
Drilling into Brick: For the heavy hitters—large TVs, floating bookshelves, or kitchen cabinets—you absolutely have to drill into the brick itself. The brick provides far superior structural integrity and pull-out resistance, especially when you use the right heavy-duty anchor.
While our focus here is on brick, it never hurts to review some general tips for hanging wall art to keep your decor safe, no matter what kind of wall you have.
Drilling into masonry kicks up fine silica dust, which you definitely don’t want to be breathing in. Always—and I mean always—wear safety glasses and a good dust mask.
Before you start, grab an electronic stud finder (one with a deep-scan mode is best) to check for any hidden surprises like electrical wires, pipes, or metal studs behind the wall. Hitting a live wire is no joke.
Here's a pro tip that’s often overlooked: check the condition of the brick and mortar. If the mortar is crumbling or the brick face is flaking off (a sign of "spalling"), it’s probably not strong enough to hold even a light load. Give the area a gentle tap; a hollow sound can indicate a weak spot that you’ll want to avoid.
With over 1.2 trillion bricks produced globally each year, knowing the right way to hang things is more important than ever. A failed mount isn't just frustrating; it can be expensive. The average repair for damage from a failed mount runs around $120 per incident, and almost a third of those repairs happen within the first year.
If a project feels like it's getting too complex, there's no shame in calling in a professional. Our contractor hiring checklist can help you find the right person for the job: https://assemblysmart.com/contractor-hiring-checklist/
Getting this right is the difference between a picture hanging securely for years and a frustrating afternoon staring at a cracked brick. This is your no-nonsense guide to walking into the hardware store with confidence and walking out with exactly what you need. The right tools don't just make the job easier; they're non-negotiable for a safe, solid installation.
First things first: you absolutely need a hammer drill. I know what you’re thinking—can’t I just use my regular drill? You could, but you'll burn out the motor, dull your bit, and probably make a mess of the brick. A hammer drill is designed for this. It spins and punches at the same time, pulverizing the masonry to create a clean, perfect hole without a fight.
Once you’ve got the hammer drill, you’ll need a carbide-tipped masonry drill bit. These are built tough to handle the gritty, abrasive nature of drilling into brick and mortar. Here’s the single most important rule to remember: your drill bit's diameter must match the diameter of the anchor you're using. A hole that's too big or too small is the #1 reason anchors fail. It's a simple step that people mess up all the time.
Next up is the main event: choosing the right masonry anchor. This is the little piece of hardware that does all the heavy lifting. The one you need depends entirely on what you're hanging and how much it weighs.
Before you buy anything, think about what you're hanging. For example, if you're mounting a custom piece, a good guide to choosing the perfect medal hanger will often specify the item's weight, which takes the guesswork out of picking your hardware.
It's wild how often people grab the wrong anchor for the job. You'd be surprised. A 2018 survey found that only 38% of DIYers used the correct hardware for brick, leading to 42% of them reporting some kind of wall damage. A modern hammer drill can punch a 1/4-inch hole in less than 30 seconds, but that speed is useless if the anchor can't do its job.
To make it even simpler, here’s a quick reference table to help you match the anchor to your project. Getting this right from the start saves you a world of headaches later on.
| Weight Category | Item Example | Recommended Anchor Type | Best For |
|---|---|---|---|
| Light (Up to 20 lbs) | Small art, smoke detectors | Plastic Sleeve Anchor | Provides plenty of grip for items that don't exert much downward force. |
| Medium (20-50 lbs) | Large mirrors, shelving | Lag Shield | The metal casing offers much better expansion and strength than plastic. |
| Heavy (50+ lbs) | TV mounts, cabinets | Sleeve or Wedge Anchor | Delivers maximum expansion for an incredibly secure, permanent hold in solid brick. |
Choosing the right anchor from this list will ensure your item stays put. A solid set of tools is the foundation for any home project, and you can see some of our other top picks for essential furniture assembly tools that come in handy for all sorts of jobs. By taking a few moments to select the right drill, bit, and anchor, you’re setting yourself up for a clean, secure result that looks like a pro did it.
Alright, you've got your tools and you've picked your spot. It's time to make it happen. The secret to a clean, secure installation on brick isn't about brute force; it’s all about a steady hand and a controlled technique. This is where all that planning really pays off, making sure the hole is perfect and your anchor is completely solid.
Before your drill even gets near the wall, precision is everything. Grab a pencil and make a small, clear mark on the brick or mortar right where you plan to drill. A level is your best friend here, especially if you're hanging shelves or a large picture frame. You want to be sure everything will hang perfectly straight.
Now, here's a simple trick I've used for years to avoid a massive mess. Brick dust gets everywhere. To catch it, just fold a sticky note in half to make a little ledge and stick it to the wall right below your mark. It’s a super easy, low-tech solution that works like a charm.
This simple infographic breaks down the essential tool selection process.
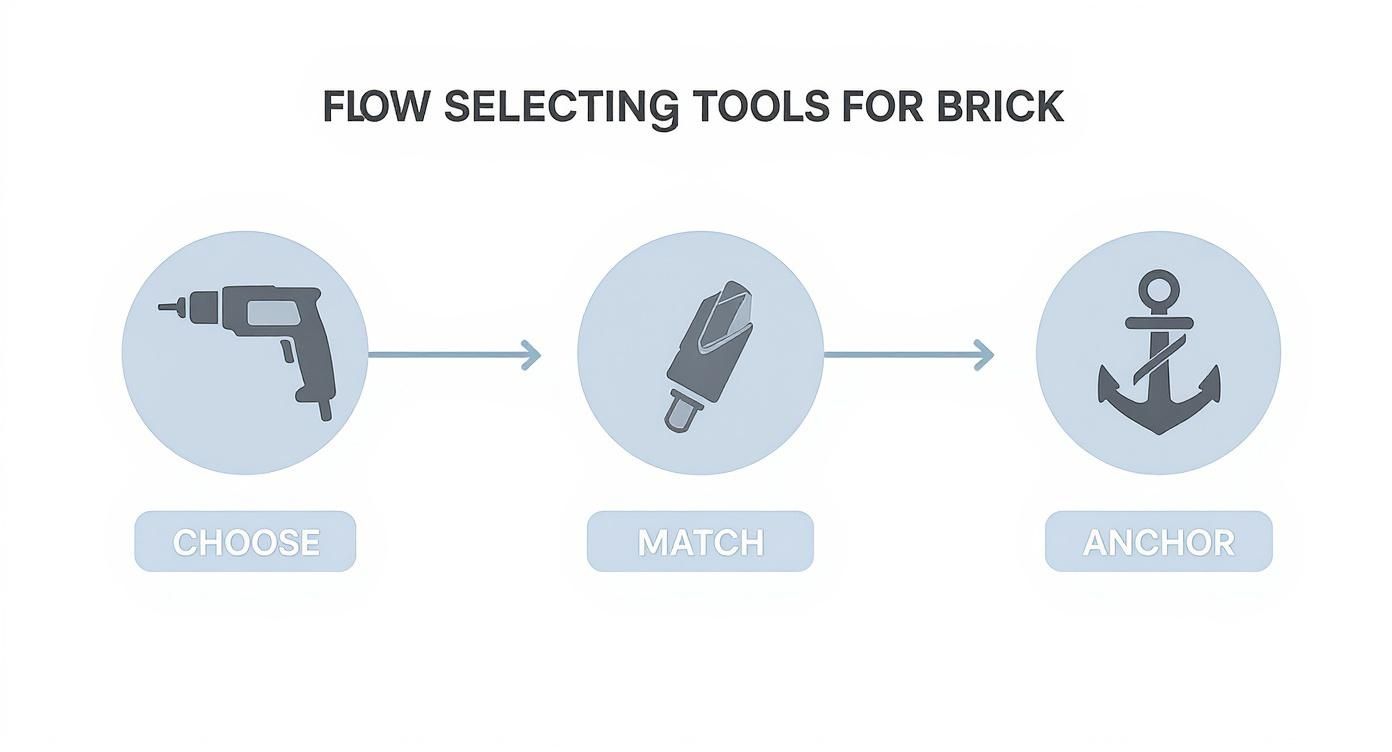
As you can see, matching the right drill, bit, and anchor is a straightforward sequence. Getting this part right prevents most of the common headaches people run into.
Set the depth stop on your hammer drill to match the length of your anchor, plus just a tiny bit extra. This is crucial for preventing you from drilling too deep, which can seriously weaken the anchor's grip. If your drill doesn’t have a depth stop, no worries—a piece of painter's tape wrapped around the drill bit works just as well.
Start drilling slowly. This creates a small divot that keeps the bit from "walking" or skipping across the face of the brick. Once you have a stable starting point, you can increase the speed and apply firm, steady pressure. Remember to let the hammer action do the work; don't try to force it.
One of the biggest mistakes people make is pushing too hard on the drill. You want to guide it, not shove it. Think of it like steering a car rather than pushing it up a hill. Let the tool do its job.
Once the hole is drilled to the right depth, cleaning it out is a critical final step. Use a can of compressed air or a small brush to get all the dust and debris out. An anchor needs a clean hole to expand properly and create that rock-solid fit.
With a clean hole, you're ready for the anchor. Gently tap the plastic sleeve or lag shield into the hole with a hammer until it sits completely flush with the surface of the brick wall. It should feel snug. If it feels loose or spins around, that means the hole is too big, and you’ll have to do a little troubleshooting.
Finally, place your item's bracket over the anchor and drive the screw in. You'll feel the resistance build as the anchor expands and really bites into the brick. Stop turning once the screw is tight. Overtightening is a classic mistake that can strip the anchor or even crack the brick itself.
For bigger projects, like mounting a heavy flatscreen TV, the process is the same but the stakes are obviously higher. If you're not feeling confident, looking into professional TV mounting services can give you some peace of mind and ensure your expensive electronics are totally secure. Follow these steps, and you'll get a professional-grade result every single time.
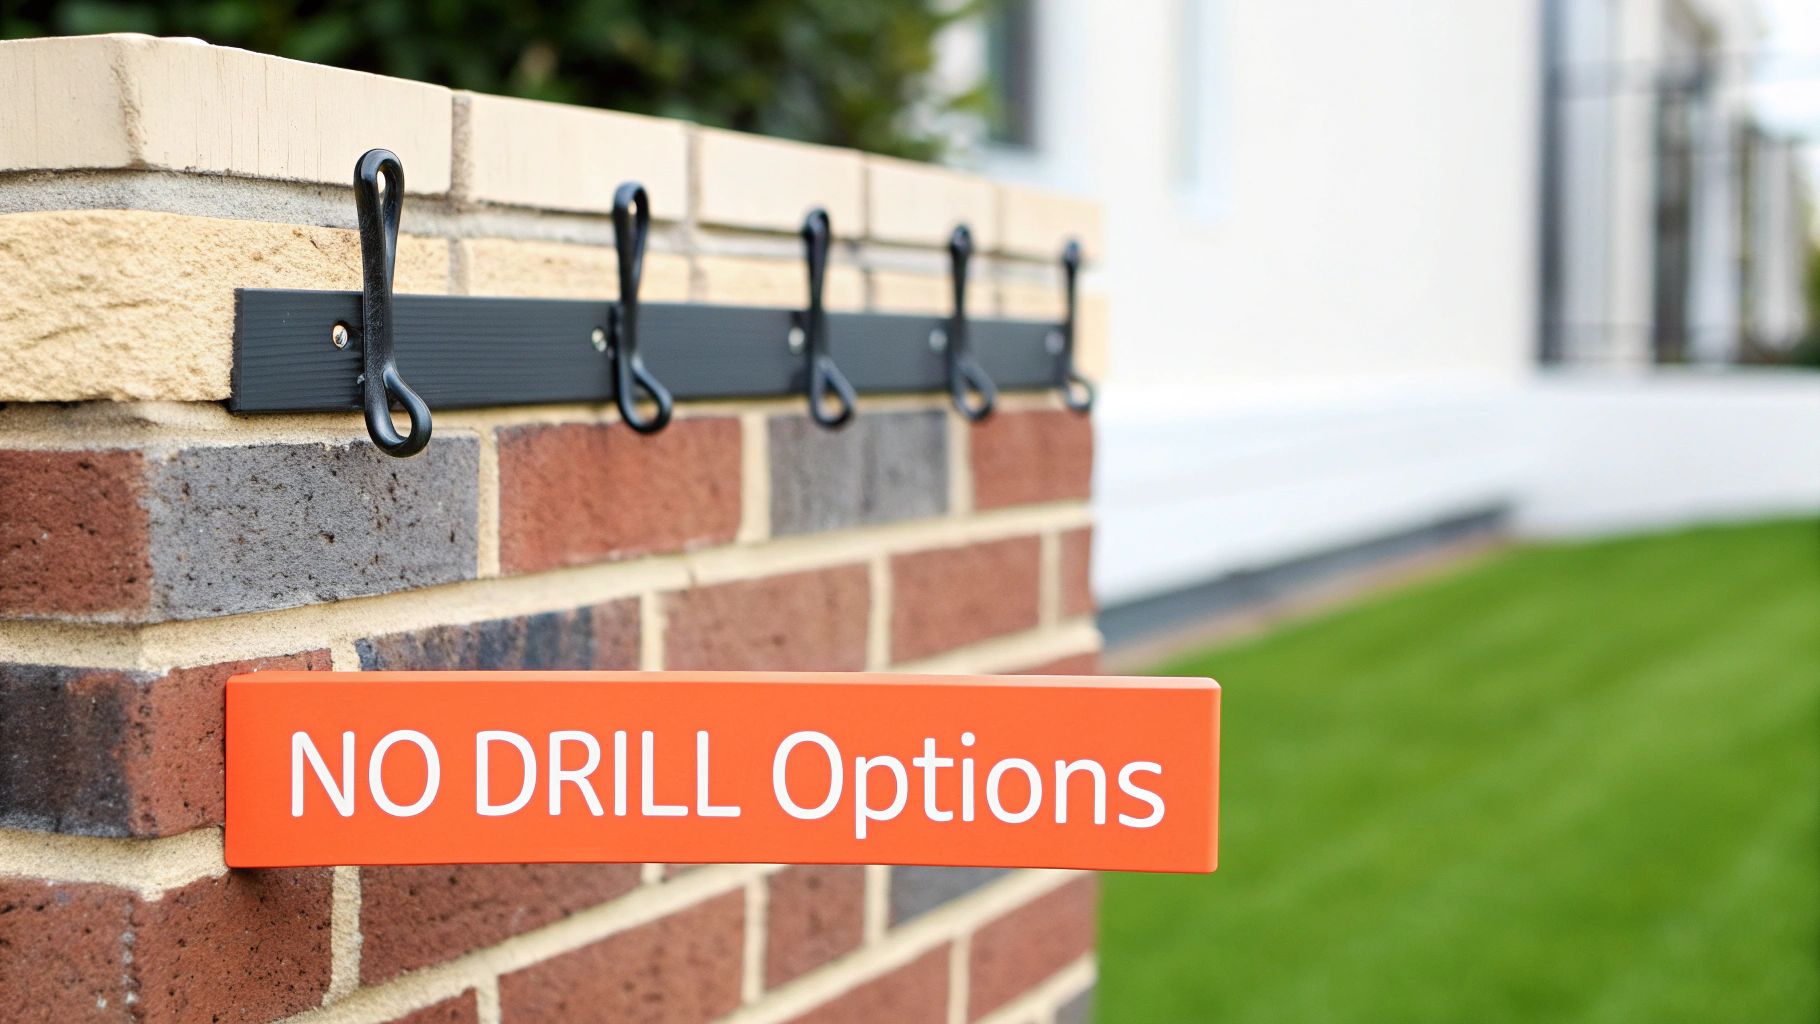
Drilling into brick isn't always the right move. I get it. Maybe you're renting, or maybe the thought of putting a permanent hole in a gorgeous old fireplace makes you cringe. The good news is, you don't have to give up on your decorating dreams. There are some really clever, damage-free ways to get things up on that wall without a single permanent mark.
These no-drill tricks are perfect for your lighter decor, giving you the freedom to personalize your space without the commitment—or the dust and mess—of drilling. The secret is simply picking the right product for your item's weight and the specific texture of your brick.
Modern adhesive tech has come a long way. Heavy-duty mounting strips and hooks are now engineered specifically for rough, uneven surfaces like brick and concrete. These are definitely not the flimsy strips you use in the office; they use seriously powerful adhesives that are formulated to grab onto textured materials and hold on for dear life.
The demand for these kinds of solutions has exploded, with the global market for adhesive mounting on brick and concrete hitting $2.3 billion. It's worth digging into these advanced systems to see what's possible and how to hang on brick without drilling to really understand their potential.
For these to actually work, though, you can't skip the prep work. It's non-negotiable.
Now, if your brick wall has recessed mortar joints—where the mortar sits a little farther back than the face of the bricks—brick clips are an absolutely genius solution. These are small metal hangers designed to hook right onto the top and bottom edge of a single brick, using tension to stay put.
Brick clips are surprisingly tough little things, often able to hold up to 25 pounds each. They are fantastic for hanging wreaths on a fireplace, stringing up holiday lights, or displaying lightweight art without ever touching the brick face itself.
Putting them on is ridiculously simple. You just clip the top part over the brick and then push the bottom until its little teeth bite into the lower edge. No tools, no glue, and zero residue left behind. They're a breeze to remove and reuse, making them a perfect go-to for seasonal decorations or for renters who need a hanging method that's 100% reversible.
Even when you’ve planned everything perfectly, a project can hit a snag. It's frustrating when you're trying to hang something on brick and things just don't go smoothly, but don't sweat it—most of these common issues have a simple, straightforward fix.
Knowing how to handle these little hiccups will keep your project on track and ensure your final installation is perfectly secure.
One of the most frequent problems is a drill bit that seems to hit a wall within the wall. If your bit stops making any progress, you’ve likely hit an unusually hard part of the brick, maybe a piece of aggregate. Whatever you do, don't try to force it. You could easily burn out your drill's motor.
Instead, pull the bit out and let it cool down for a minute. Then, try again at a slightly slower speed, applying firm, steady pressure. If it still won't budge, the easiest solution is to just move your hole slightly up, down, or to the side and start fresh.
Another common headache is an anchor that just spins in the hole instead of gripping tightly. This almost always means one thing: your pilot hole is a little too big. Fortunately, you don't need to patch the hole and start all over again.
A classic DIY trick is to add just a bit of bulk to secure the anchor. A few of these quick fixes work wonders:
Don’t be tempted to fill an oversized hole with caulk or glue and then shove the anchor in. This creates a weak bond that's almost guaranteed to fail under load. The whole point is to create mechanical friction, not to rely on an adhesive filler to do the anchor's job.
Once your anchor is snug, you can drive the screw in. The screw should expand the anchor, locking it and your chosen filler material firmly into place.
However, if the screw itself becomes difficult to turn or the head starts to wear down, stop immediately. Pushing through is just going to create a brand new problem. If you’ve ever wondered how to get a stripped screw out, it’s best to avoid that situation in the first place by applying slow, controlled torque.
Even after you've got a game plan, a few questions always seem to pop up right when you're about to start drilling. Let's tackle some of the most common ones I hear. Think of this as your quick reference guide for those last-minute "what if" moments that can make or break a project.
This is the classic debate, and honestly, the answer comes down to one thing: weight.
For your lighter items—think small picture frames, lightweight clocks, or a modest gallery wall, anything under 30 pounds or so—the mortar is your best friend. It’s a softer material, which makes drilling a whole lot easier on you and your tools. Plus, you sidestep any risk of accidentally cracking the face of a good brick.
But when you're talking about heavy-hitters like a large flat-screen TV, sturdy floating bookshelves, or kitchen cabinets, you must drill directly into the brick. No exceptions. The brick itself offers far more structural strength and pull-out resistance, which is exactly what you need to make sure those heavy items stay put for good.
Quick heads-up: Always give your mortar a once-over before you drill. If it looks old, crumbly, or feels soft when you poke at it, don't trust it. In that situation, you'll want to drill into the solid brick, even if you're only hanging something light.
Technically, you could try. But trust me, you don't want to. Using a regular drill, even with a brand-new masonry bit, is a recipe for frustration. You’ll spend ages fighting the wall, putting immense strain on your drill's motor and likely burning it out. A standard drill just doesn't have the "oomph" needed to get through masonry efficiently.
The right tool for this job is a hammer drill. It's a game-changer. A hammer drill spins the bit while also delivering a rapid "hammering" action, which pulverizes the brick as it drills. This makes the whole process faster, easier, and results in a much cleaner hole—which is critical for getting your anchor to fit snugly and securely.
When you need maximum holding power and there's zero room for error, you bring in the big guns: sleeve anchors and lag shields.
Sleeve anchors, in particular, are beasts. As you tighten the bolt, the metal sleeve expands with incredible force against the inside of the hole you drilled. This creates a powerful mechanical grip that can support extremely heavy loads.
These are what you reach for when failure is simply not an option. We're talking about mounting brackets for a 75-inch TV, heavy-duty shelving in the garage, or securing a permanent awning to the side of your house. They're engineered specifically for ultimate pull-out resistance in solid masonry.
Fixing an old drill hole is a simple repair that makes a huge difference visually. First things first, get all the dust and loose gunk out of the hole. A little brush or a quick blast from a can of compressed air works perfectly.
For a seamless patch, find a latex or acrylic caulk that's been color-matched to your mortar. A dedicated masonry repair epoxy also works great. Just apply your filler with a small putty knife, press it firmly into the hole, and smooth the surface so it’s flush with the surrounding wall. It'll look like the hole was never there.
Feeling like this is a bit more than you want to tackle? Let the pros handle it. The team at Assembly Smart offers expert in-home services, ensuring your shelves, TV mounts, and other items are installed safely and securely on any wall surface. Book your stress-free installation today at https://assemblysmart.com.
