-
CALL US:
- (866) 952-3456
Before you even think about unboxing that new trampoline, we need to talk about the ground it’s going to sit on. Getting the ground perfectly level isn't just a suggestion to make it look tidy—it's the single most important safety step you'll take. This is about creating a stable, predictable foundation by digging down the high spots and making sure the entire surface is flat before a single spring gets attached.
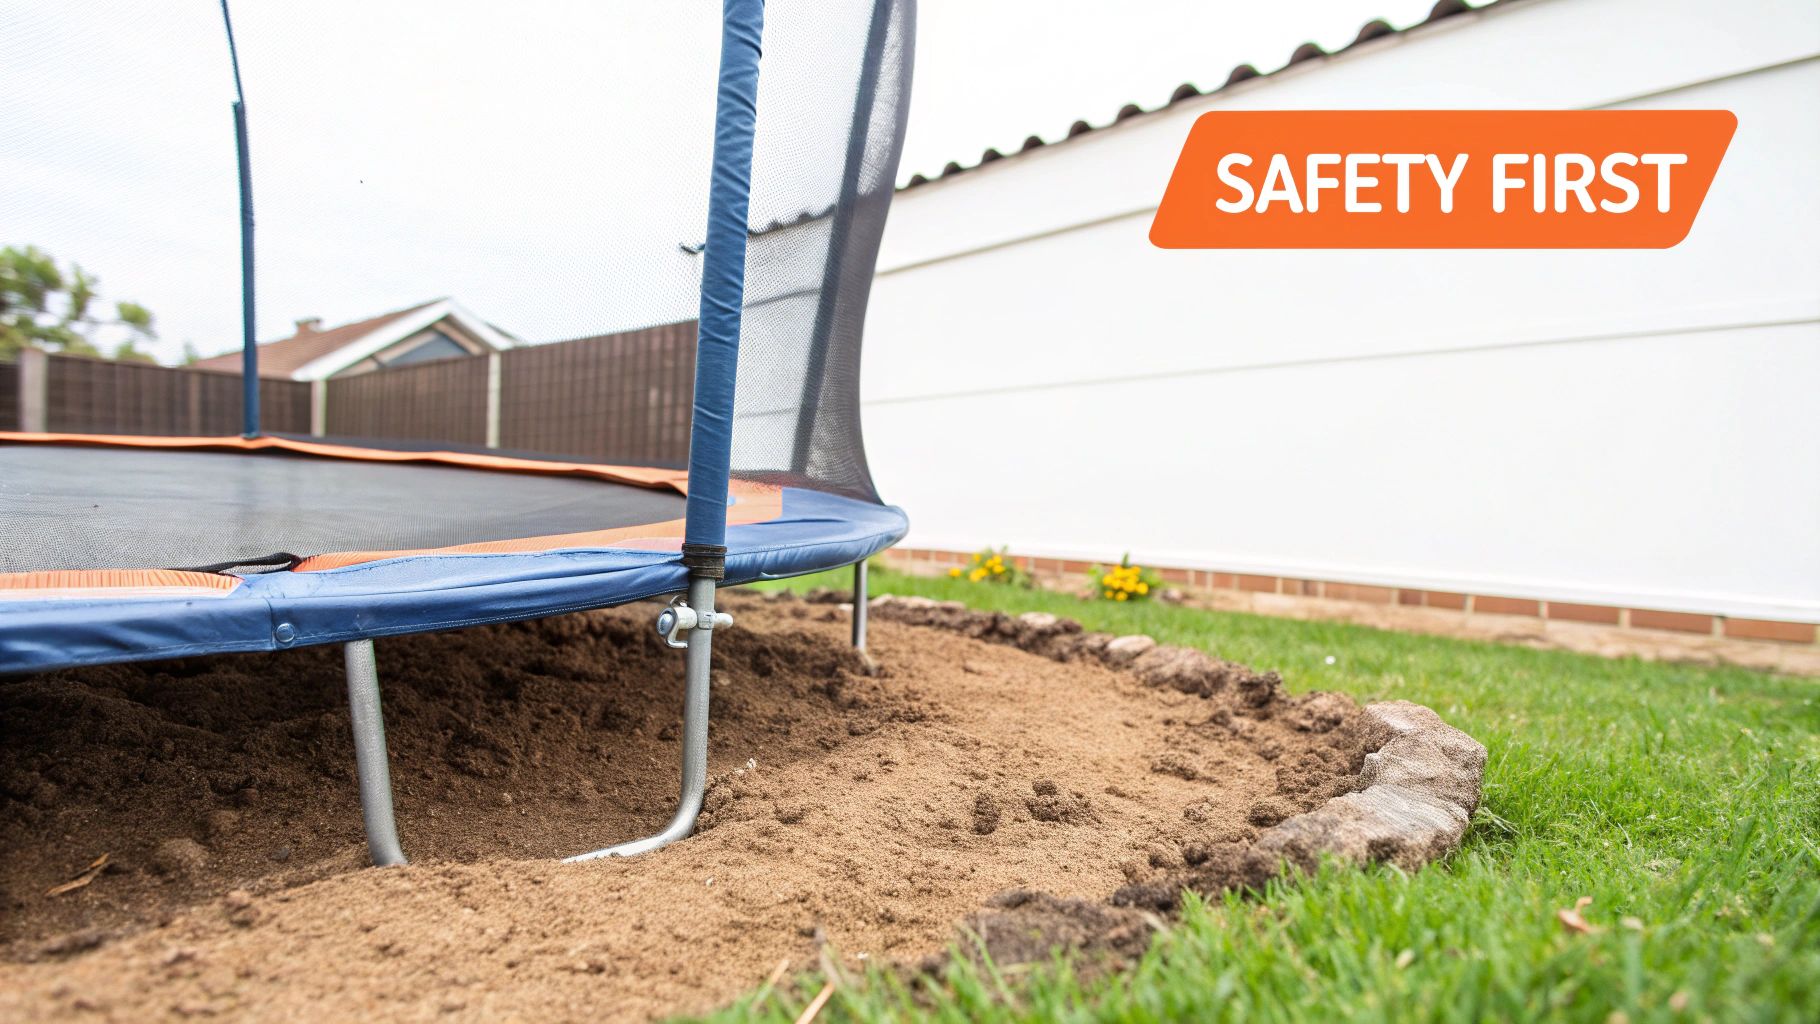
It’s easy to underestimate just how crucial a level base is, and many people treat it as an optional step. This is a huge mistake. An unlevel surface creates an unstable, wobbly bouncing experience that puts anyone who uses it at serious risk.
Picture the trampoline’s legs like the pillars holding up a bridge. If one is even slightly lower than the others, the whole structure becomes compromised. It's the exact same principle here. Every single jump on uneven ground sends jarring, unequal forces through the frame, springs, and mat.
This constant, unbalanced stress will eventually lead to some serious problems:
The numbers don't lie. The Consumer Product safety Commission reported over 288,000 trampoline-related injuries in 2022 alone, with a staggering number of them linked directly to installation mistakes. Even a slight slope can make a huge difference—studies have shown that unlevel ground can increase bounce instability by up to 65%.
The table below breaks down exactly what's at stake.
| Factor | Impact on Level Ground (Proper Setup) | Impact on Uneven Ground (Improper Setup) |
|---|---|---|
| Jumper Stability | Bounces are predictable and centered, keeping the jumper in control. | Bounces pull toward the low side, causing loss of balance and falls. |
| Frame Stress | Weight and force are distributed evenly across all legs and joints. | Uneven stress is placed on specific legs and welds, leading to bending or breaking. |
| Spring Longevity | Springs stretch and recoil uniformly, wearing out at a normal, even rate. | Springs on the low side overstretch and wear out prematurely, reducing bounce quality. |
| Overall Safety | Reduces the risk of falls and structural failure, creating a safe play environment. | Significantly increases the risk of injury from falls and sudden equipment failure. |
| Warranty Validity | Manufacturer's warranty remains intact. | The warranty is typically voided due to improper installation. |
As you can see, the consequences of a poor setup ripple through every aspect of the trampoline's performance and safety.
A wobbly, uneven bounce is more than just an annoyance—it's a direct threat to safety. A level base ensures every jump is predictable and the forces are distributed evenly across the entire structure, protecting both the jumpers and your investment.
To really grasp this, it helps to read about the critical importance of leveling for stability in other applications, like travel trailers. The physics are surprisingly similar: true stability always starts from the ground up. In fact, adhering to a proper setup is a core principle in all established playground safety standards, which rightly point to a level foundation as the first and most important defense against accidents.
Before a single shovel of dirt gets turned, your first mission is to scout the perfect location. How you level the ground for your trampoline is directly influenced by where you put it, and a smart choice now will save you hours of back-breaking work later. The ideal spot isn’t just about looks; it's a careful balance of safety, clearance, and the natural terrain of your yard.
Walk your property and look for an area that is already as flat as possible. A slight slope is manageable, but a steep incline is going to require a whole lot more digging—maybe even a small retaining wall. As you scout, look up. You need a location with zero overhead obstructions. That means no tree branches, power lines, or roof eaves hanging over your jump zone.
Once you have a few potential spots in mind, it's time to get serious about clearance. Trampoline manufacturers are very specific about the minimum safe zone you need around the entire perimeter for a reason.
This entire open area should be covered in a soft, impact-absorbing material like grass, wood chips, or rubber mulch—never concrete, brick, or asphalt. An accidental fall onto a hard surface can turn a fun afternoon into a trip to the emergency room. If the spot you’ve picked is a bit wild, you might need some help to clear land without heavy equipment before you can get started.
The best place for your trampoline is the flattest, most open area of your yard that requires the least amount of correction. Choosing wisely at this stage minimizes your workload and maximizes safety from day one.
For those with larger properties or more complex landscaping, our guide on how to level a yard shares foundational principles that apply here, too. The goal is always the same: create a stable, predictable surface.
With your spot selected, it’s time to gather your gear. Having everything on hand before you start makes the process much smoother and prevents those frustrating mid-project trips to the hardware store. This isn't just a job for a shovel; you need specific tools to get a precise, level finish.
Core Leveling Tools:
Marking and Compacting Gear:
Having these specific tools ready to go will make the physical work of leveling the ground for your trampoline far more efficient and accurate. Each one plays a key role in transforming a sloped patch of grass into a solid, safe foundation for years of fun.
Alright, you've picked the perfect spot and have your tools ready to go. Now it's time to get your hands dirty. This is where the real work begins—transforming that slightly sloped patch of lawn into a perfectly flat, safe foundation for your trampoline. It's not rocket science, but it does demand a bit of patience and a good eye.
Here's the single most important rule to remember: always dig down the high side, never build up the low side. I've seen people try to prop up trampoline legs with loose dirt, pavers, or even chunks of wood, and it’s a recipe for disaster. The only way to get a truly stable, safe base is to remove soil from the higher ground to create one solid, level plane.
The basic principles here are pretty universal for any big backyard project. It’s a lot like the work involved in setting up other outdoor play equipment, which you can see in our guide on how to level the ground for a swing set. The end goal is always the same: create a foundation that won’t shift or settle under pressure.
This flowchart gives a quick visual of the first few moves.
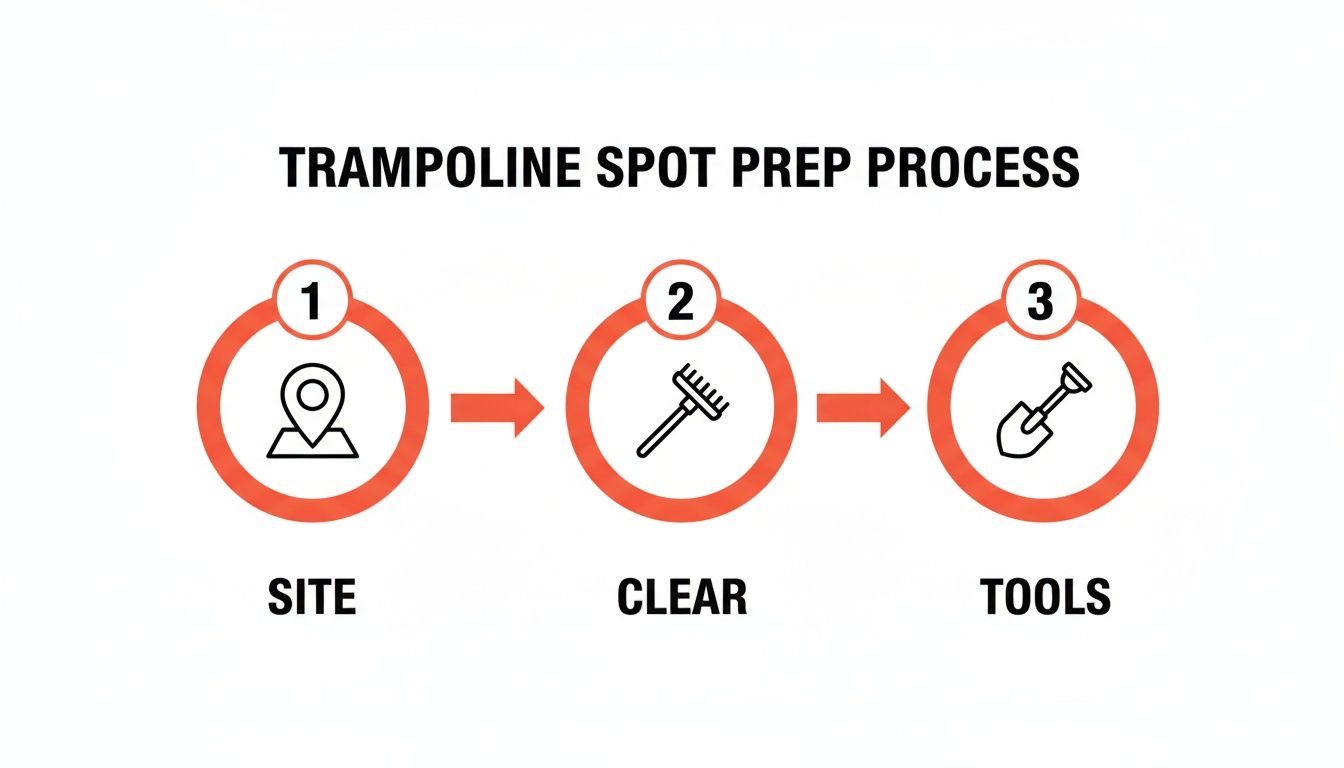
It really boils down to getting your prep work right. Choosing the site, clearing the area, and having your tools handy are the non-negotiable first steps before a single shovel of dirt gets moved.
Before you start digging, you need a crystal-clear outline. Grab your tape measure, a stake, and some string to mark the exact circle where the trampoline will live.
This circle is now your work zone. Everything inside this line needs to be perfectly level.
With your circle marked, find the highest point of the ground within it. This is your starting line. The whole point is to bring this high spot down to match the level of the lowest point in your circle.
Start by peeling off the sod with a flat spade. I like to slice it into manageable squares and set them aside—you can often patch up other bare spots in your yard with them later. Once the grass is gone, you can start removing the topsoil. Don't get overeager here. Take off a little at a time.
This is where your long, straight 2×4 and carpenter's level become your best friends. After digging out some soil, lay the board across the circle, running from the low side to the high side you're working on. Pop the level right in the middle of the board.
If that bubble isn't perfectly centered, you've got more digging to do. This 'dig a little, check a lot' rhythm is key to avoiding the mistake of removing too much soil.
Keep at it, working your way around the high areas of the circle. Use a garden rake to break up any clumps and move the loose dirt around. And don't forget to keep checking with your board and level from all angles—north to south, east to west, and diagonally. A spot that looks flat from one direction can still be hiding a slope when viewed from another.
If you're staring down a more serious slope, just digging might not cut it. For these tougher spots, you might need to create a small, terraced area to get that stable, level surface you need.
Don't be tempted to cut corners on a slope. An uneven setup isn't just about a wonky bounce; it’s a major safety issue. Poor leveling can turn a leader in the $884.9 million trampoline market into a serious liability. A 2024 report linked unlevel installations to 55% of all trampoline frame collapses. In the U.S. alone, CPSC data from 2020-2024 shows over 100,000 injuries each year, with 28% of them happening when jumpers land on tilted pads caused by bumpy ground. Pros will often remove 6-8 inches of sod and backfill with compacted material just to be sure the base won't sink.
By taking your time to dig correctly and check your work, you're not just setting up a trampoline—you're building a foundation for safe fun that will last for years.
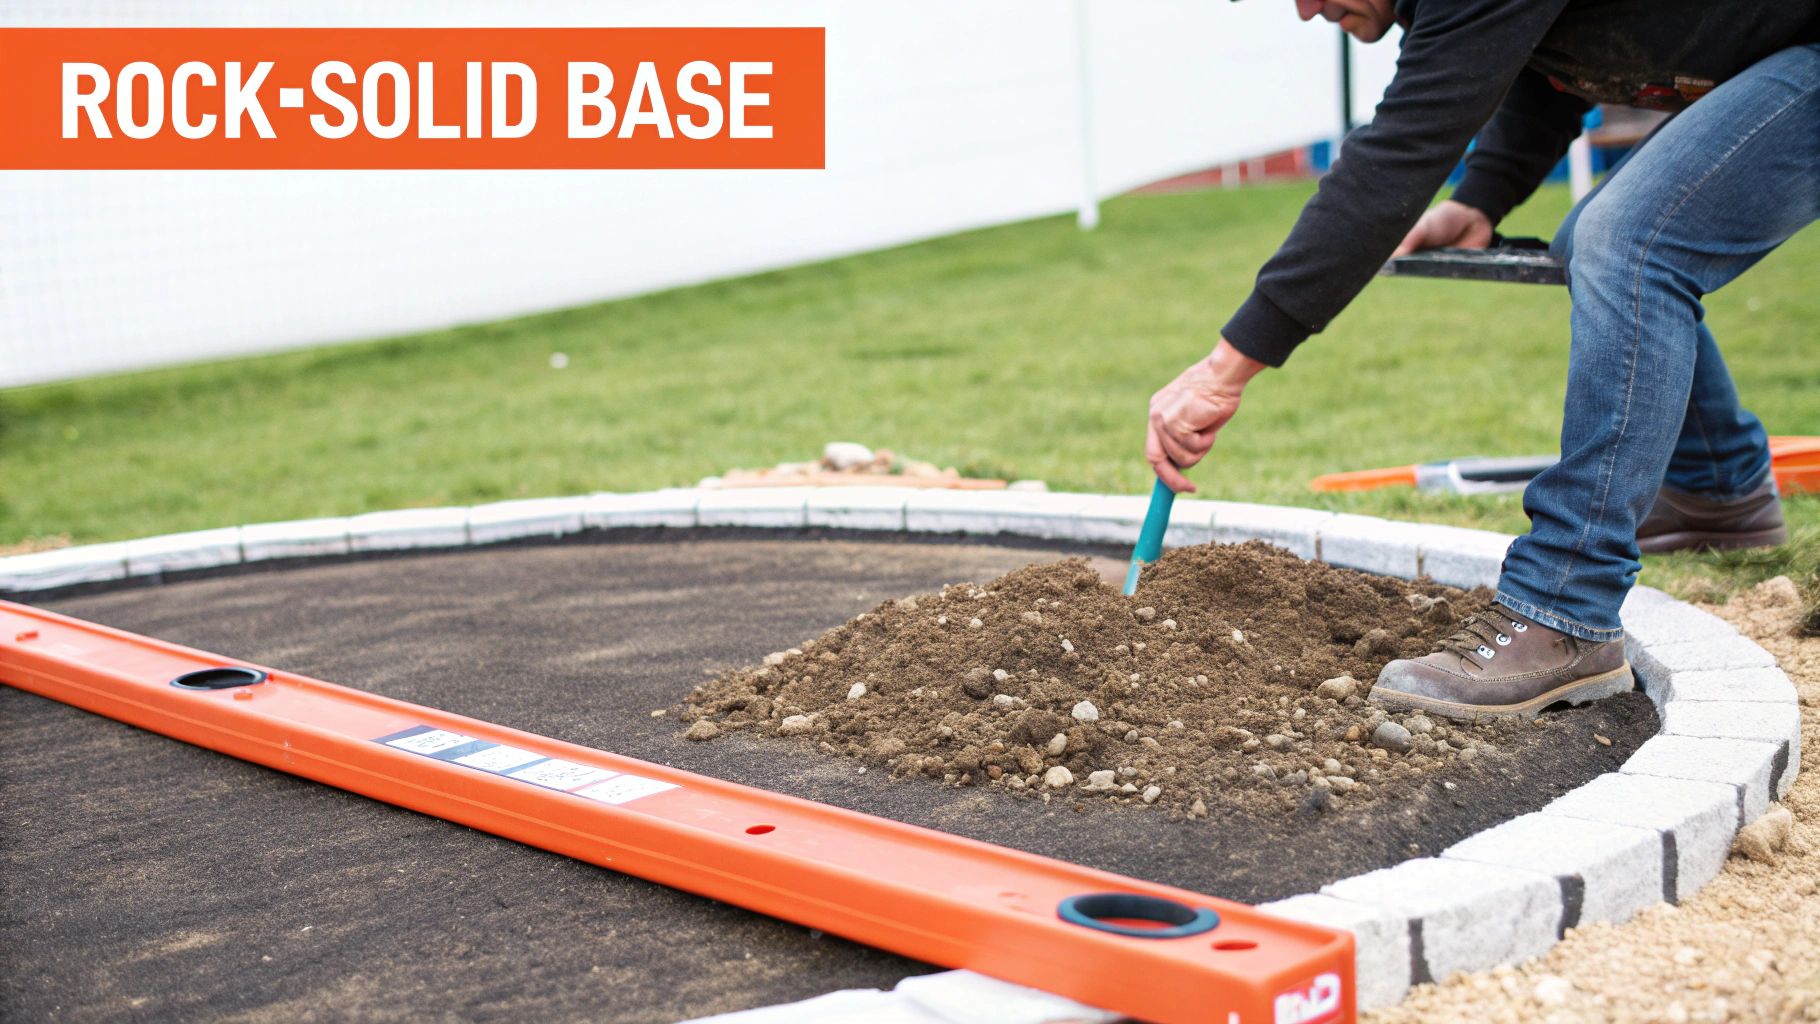
Getting the ground flat is a huge milestone, but the job isn't quite finished. These final touches are what separate a good foundation from a great one—the kind that stays level and secure for years, not just a few weeks. It's tempting to skip these last steps, but trust me, they're absolutely essential for preventing headaches down the road.
Right now, you're looking at a lot of loose, freshly moved soil. This next phase is all about locking in your hard work. Without proper stabilization, the constant, repetitive impact from jumping will cause the ground to settle unevenly. Before you know it, you’ll be right back where you started with a wobbly, unsafe trampoline.
This is probably the most critical final step. Freshly moved or tilled soil is full of air pockets. If you just build the trampoline on top of it, the legs will slowly sink as the soil compresses under the weight and force of every jump.
This is where a hand tamper becomes your best friend. A hand tamper is a simple piece of gear with a heavy, flat base made specifically for this job. Go over every square inch of the leveled area, using firm, overlapping stomps to press the ground down. You’ll actually feel the soil getting firmer under your feet.
For a bigger trampoline area, or if you had to bring in a lot of fill dirt, renting a plate compactor from a local hardware store can give you a more professional-grade finish. The whole point is to create a base so dense that it resists shifting and sinking over time.
Think of it like building a road. Crews don't just pour asphalt on loose dirt; they compact the ground beneath it to create a solid sub-base that won't collapse. Your trampoline foundation deserves the same level of preparation to ensure it holds up season after season.
Water is the natural enemy of a level trampoline base. If water has nowhere to go, it will pool around the legs, turning the ground into a soft, muddy mess. Once the soil gets saturated, the legs can easily sink, throwing the whole thing off-balance.
Even a perfectly compacted area can fail if it’s constantly waterlogged. A simple but incredibly effective solution is to spread a thin layer of a drainage-friendly material over your compacted soil.
Effective Drainage Materials:
Before you spread your chosen material, I highly recommend laying down a weed barrier fabric. This will stop grass and weeds from growing up through the sand or gravel, keeping your trampoline area looking clean and easy to maintain.
Before a single pole or spring comes out of the box, it's time for one last quality control check. This final inspection ensures every detail is perfect, giving you total confidence that you know how to level ground for a trampoline correctly and safely.
Once these last checks are done, your foundation is officially ready. You’ve built a rock-solid, stable, and well-drained base that will provide a safe platform for countless hours of fun.
Even with a solid plan, a small misstep during the leveling process can undermine the safety of your entire trampoline setup. I’ve seen my fair share of DIY projects, and a few common mistakes pop up time and time again. Knowing what they are ahead of time is the best way to keep a fun project from turning into a major headache.
It’s incredibly tempting to see a small dip on one side and think, "I'll just slide a few bricks under that leg." It seems like a quick fix, but this is easily the most dangerous shortcut you can take.
Wooden blocks, paving stones, or bricks create intense pressure points on the trampoline’s frame. More importantly, they aren’t designed to handle the dynamic, shifting forces of jumping. A single hard bounce can crack a block or cause it to slip out, leading to a sudden, lopsided collapse. The only correct way to level a trampoline is to level the earth beneath it, so every leg rests on solid, compacted ground.
Another classic mistake is doing all the hard work of digging and leveling, only to skip the final compaction step. You might have a surface that looks perfectly flat, but if it’s just loose, aerated soil, it won’t stay that way.
The constant impact from jumping will cause that loose dirt to settle unevenly. Before you know it, the legs will start sinking, and you’ll be right back where you started with an unlevel trampoline. Always take the time to use a hand tamper on the entire area. This gets rid of air pockets and creates a dense, stable foundation that will hold up for years.
Getting the ground perfect is only half the job. It's easy to get so focused on the dirt that you completely forget to look up and around the site you’ve chosen.
Make sure you have adequate clearance on all sides. That means:
Placing a perfectly level trampoline right next to a fence is a common error. It ignores the real-world risk of a jumper falling off and hitting a hard obstacle.
Leveling the ground is half the battle; ensuring the surrounding area is safe completes the mission. A level trampoline in a hazardous location is still a major risk.
There comes a point where the job moves beyond a simple weekend project. Being honest about the scope and your own limits is crucial. It’s far better to recognize when you’re in over your head than to push forward and end up with an unsafe setup.
So, when should you put down the shovel and pick up the phone? A few key scenarios make hiring a pro the smarter, safer bet. This table should help you make the call.
Deciding whether to tackle this yourself or call in the experts really depends on your yard's specific challenges and how much time and energy you're willing to invest. Here’s a breakdown of common scenarios to help you figure out the best path forward.
| Scenario | Recommended DIY Approach | When to Hire a Professional (like Assembly Smart) |
|---|---|---|
| Slight Slope (1-3 inches) | This is a manageable project for most DIYers. Just use the 'dig from the high side' method and be thorough with your hand tamper. | If you're short on time or the physical work is too demanding, a pro can knock this out quickly and perfectly. |
| Moderate to Steep Slope (4+ inches) | This is a significant earth-moving job. It often requires a small retaining wall or proper terracing to be done safely and effectively. | Highly recommended. A professional service has the right equipment and knowledge to handle steep grades and build a stable, long-lasting foundation. |
| Poor Soil Conditions | If your soil is extremely rocky, full of thick roots, or very sandy, it’s going to be a tough and frustrating job to get right. | Pros can bring in the right kind of fill material and have power tools like tillers to manage difficult soil and ensure proper compaction. |
| Time and Physical Constraints | If you've got a free weekend and are comfortable with a good workout, a mild slope is definitely within reach for a DIY project. | If you have a busy schedule, physical limitations, or just want a guaranteed-perfect result, hiring an expert is a wise investment. |
Ultimately, if your yard presents a serious challenge or you just don't feel confident you can get it perfectly level and safe, there's no shame in calling for backup.
A team that offers professional trampoline installation can handle everything from the initial site assessment and ground leveling to the final assembly. Think of it as a practical investment that buys you total peace of mind and saves you a weekend of back-breaking labor.
Even after following all the steps, you probably still have a few questions rolling around in your head before you call it a day. That's completely normal. Getting the ground just right for a trampoline involves some fine-tuning, and knowing those details is what guarantees a safe, long-lasting setup.
Let's walk through some of the most common questions I hear from homeowners, so you can finish this job feeling like a pro.
This is the big one, and the answer is pretty simple: get it as close to perfect as you possibly can. While you'll drive yourself crazy trying to achieve mathematical perfection with dirt, your goal should be a tolerance of no more than 1-inch across the entire trampoline diameter.
Anything more than that, and you're asking for trouble. An uneven base puts a constant, lopsided strain on the frame, which can lead to warped metal over time. More importantly, it creates a dangerous bouncing surface that subtly pulls jumpers toward the low side, increasing the risk of a fall.
The best way to check your work is with a long, straight 2×4. Lay it across the leveled circle, place a carpenter's level on top, and check it from multiple angles—think of it like the hands of a clock.
I'm going to be blunt here: absolutely not. Propping up trampoline legs with wood blocks, bricks, paving stones, or anything else you can find is one of the most dangerous shortcuts you can take.
These loose items create unstable pressure points. Under the dynamic, shifting force of someone jumping, they can easily slip, crack, or get pushed into the ground. When that happens, the trampoline can suddenly collapse, creating a huge risk for serious injury. The only safe way is to level the earth itself to provide solid, uniform support under every single leg.
With the ground level and packed down, you’ve got a few choices for what goes directly under the trampoline. Each one has its own perks when it comes to drainage and safety.
Before you add any of these, do yourself a favor and lay down a quality weed barrier fabric first. It will save you a ton of maintenance by stopping grass and weeds from taking over the area underneath.
The real answer is, it depends. The biggest variable by far is the current state of your yard.
If you're starting with a relatively flat patch of lawn and are installing a standard 12- or 14-foot trampoline, a focused person can probably knock it out in 2 to 4 hours.
But if you're looking at a noticeable slope, wrestling with rocky soil, or digging through dense clay, be ready for a longer haul. A challenging site can easily eat up a full day. My advice is to always block out more time than you think you'll need—you’ll thank yourself later.
Don't let a tough yard or a packed schedule put your family's safety at risk. If you want a perfectly level foundation without the back-breaking labor, the team at Assembly Smart is here to help. Our pros can handle everything from the initial site prep and leveling to the complete trampoline assembly, ensuring a flawless and safe installation. Get your free estimate today at https://assemblysmart.com.
