-
CALL US:
- (866) 952-3456
Leveling a yard is more than just smoothing out a few bumps. It’s the process of filling in the low spots, shaving down the high ones, and strategically creating a gentle slope that directs water away from your home's foundation. Done right, it solves nagging drainage problems, gives you a truly usable outdoor space, and makes your entire lawn healthier and better looking.
Thinking about leveling your yard might sound like just another back-breaking weekend project, but the benefits go way beyond simple aesthetics. An uneven lawn isn't just an eyesore; it can be a real threat to your home's foundation and a safety hazard for your family. A properly graded yard is the unsung hero of a healthy, functional, and valuable property.
The most critical reason to tackle this is improved drainage. When your yard slopes back toward the house or has deep low spots, rainwater has nowhere to go but down. It pools right up against your foundation. This constant moisture can lead to a host of expensive problems, from foundation cracks and leaks to a full-blown flooded basement. A well-graded yard acts as a natural defense system, guiding all that water safely away from the most vulnerable parts of your home.
Beyond protecting your foundation, a smooth lawn completely transforms your outdoor living space. It makes it a much safer place for kids to run and play, getting rid of those treacherous dips and bumps that are just waiting to cause a twisted ankle.
Lawn maintenance also gets a whole lot easier. Mowing a bumpy yard is a real pain. You end up scalping the high spots and completely missing the low areas, which leads to a patchy, unhealthy-looking lawn.
A level surface is also the essential first step for pretty much any future landscaping project. Whether you're dreaming of a new paver patio or learning how to build a fire pit, starting with even ground is non-negotiable if you want a stable, professional-looking result. And don't forget about the financial payoff.
It's estimated that uneven lawns are a problem for about 60% of US homes. But here's the good news: fixing the issue can boost your home's curb appeal by 12-15%. That often translates to adding $5,000-$10,000 to a home's resale value, turning all that hard work into a smart investment. You can find more details on landscaping ROI by reviewing market trends.
Before you even think about moving a single shovelful of dirt, you need to play detective. A good grading job starts with a solid assessment, not just eyeballing it. This first step is your game plan, and it'll tell you the real scope of the work ahead.
The main things you’re looking for are the high and low spots. More importantly, you need to confirm that your yard slopes gently away from your house foundation. This is your number one defense against water damage. A good rule of thumb is a drop of one to two inches for every 10 feet you move away from your home. That little bit of slope is all gravity needs to pull rainwater safely away.
The simplest, most reliable way to figure this out is with a few wooden stakes, a ball of string, and a line level. It’s a tiny, cheap tool that clips onto the string and tells you when it's perfectly level. Easy.
Here’s how you do it:
Now, measure the distance from the string down to the ground at both stakes. If the ground at the second stake is an inch or two lower than at the first one, you’re in good shape. If it’s level or, worse, higher, you’ve found a problem area. Just repeat this process across your whole yard, and you'll have a clear grid showing you exactly where the issues are.
Pro Tip: Before you dig anything, make the free and absolutely essential call to 811. This service sends a pro out to mark all the underground utility lines—gas, water, electric, you name it. Hitting one of those can be incredibly dangerous and expensive. Don't skip this.
Getting this right pays off in more ways than one. A properly leveled yard isn't just about avoiding puddles.
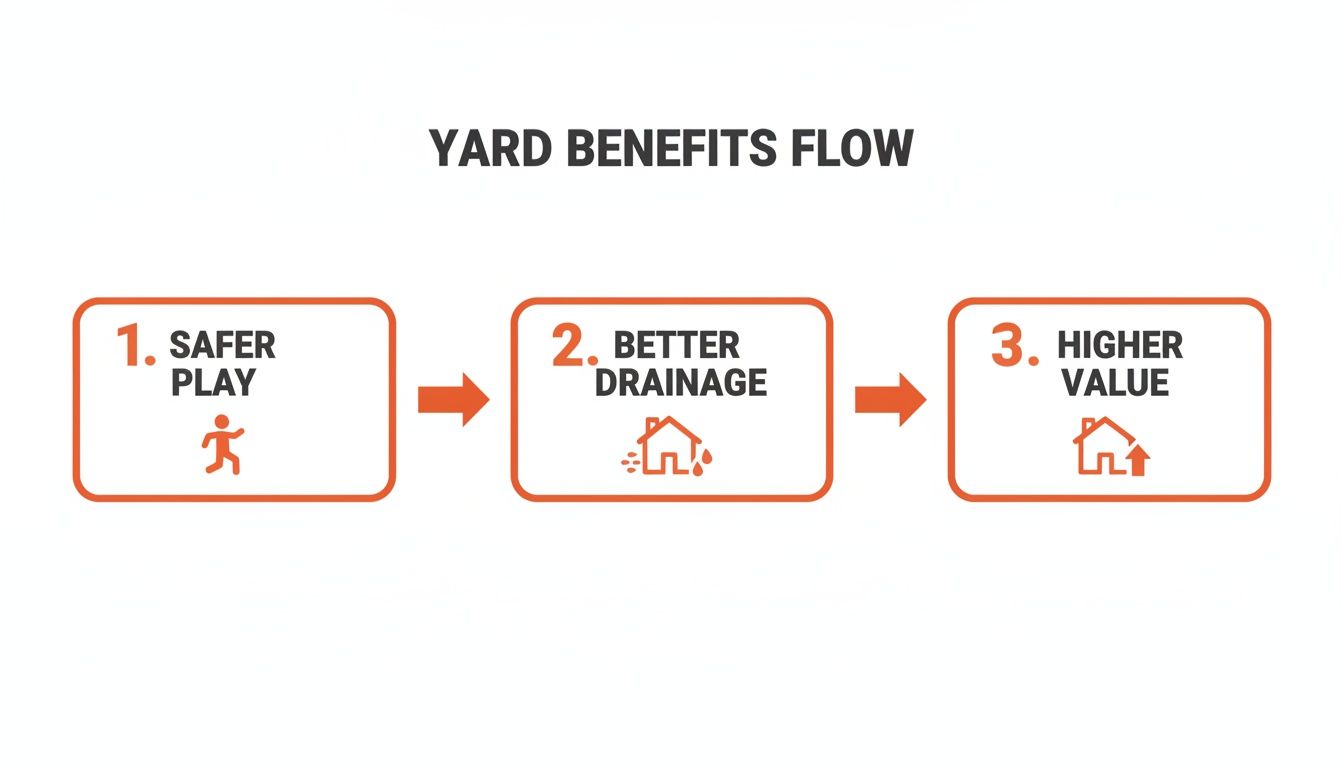
As you can see, a level yard leads directly to a safer, better-draining, and more valuable property.
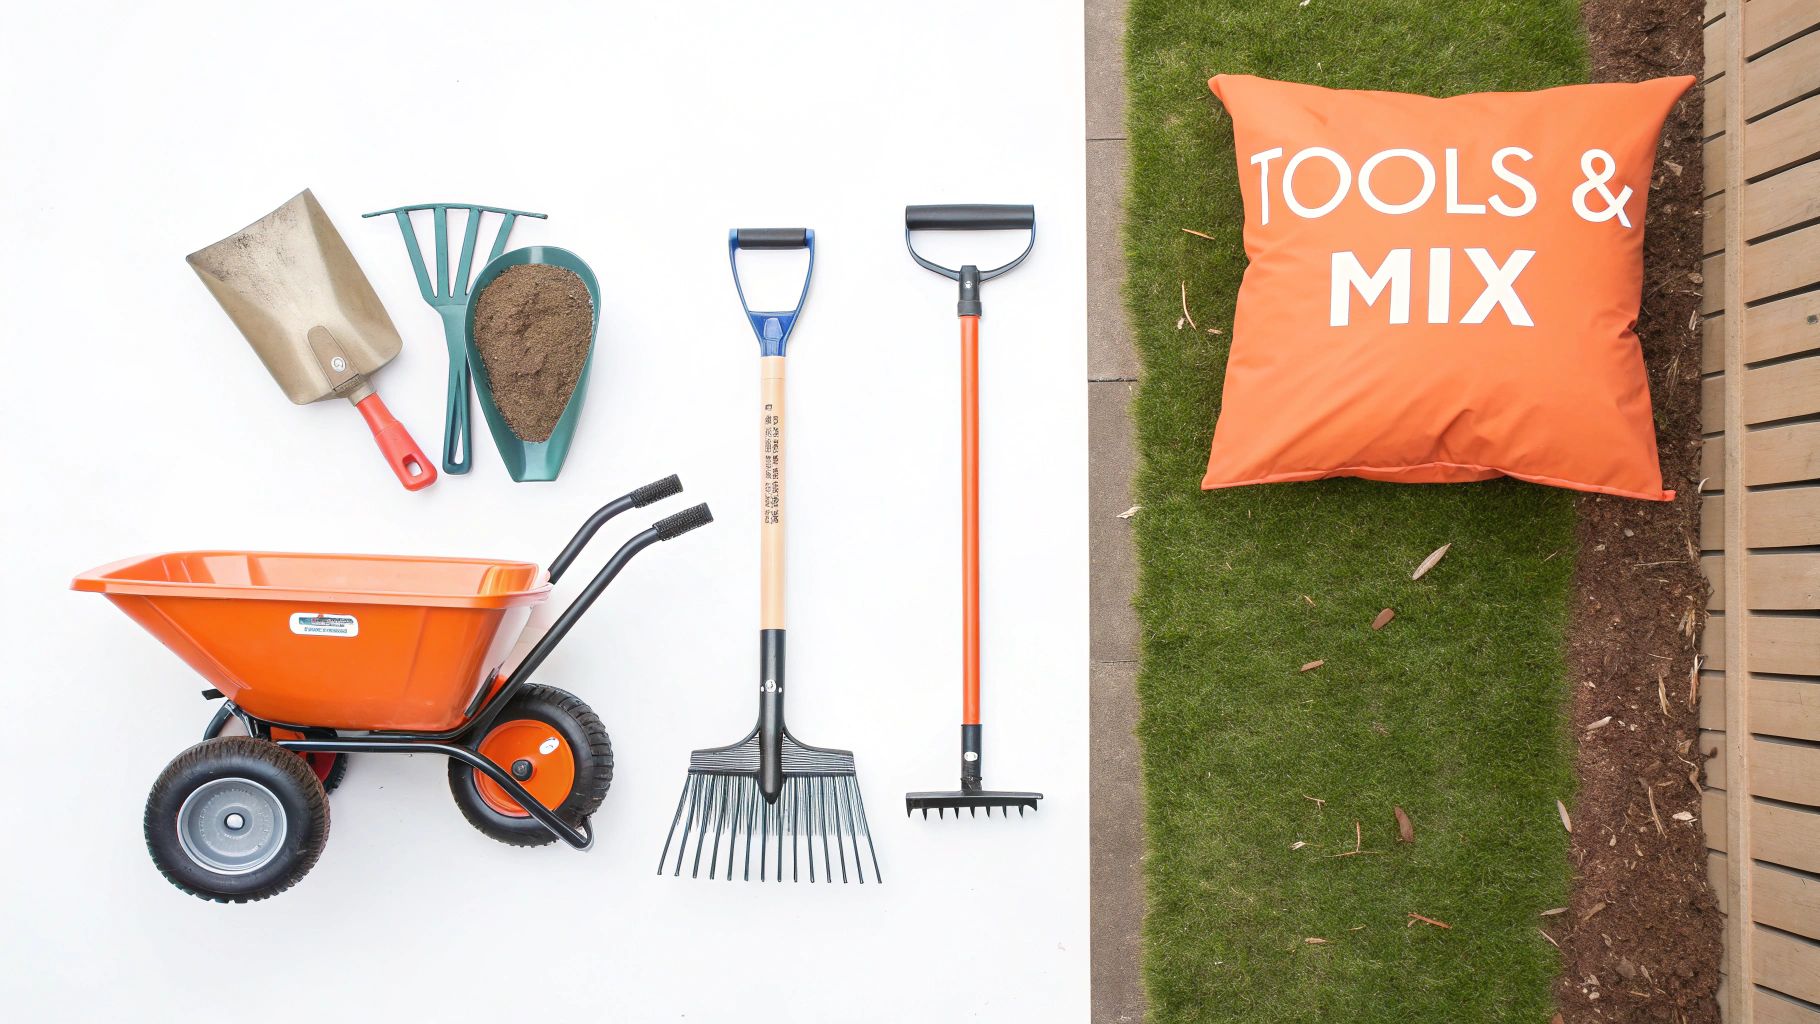
Alright, with your yard's highs and lows all mapped out, it’s time to get your gear in order. Believe me, having the right equipment and soil mixture ready to go is what separates a frustrating weekend chore from a project that runs like a well-oiled machine. What you’ll need really boils down to the scale of your leveling job.
If you're just fixing a few small, annoying dips, your shopping list will be pretty simple. But for a bigger overhaul, you might want to bring in some heavier muscle to make the work manageable.
No matter how big or small the project, a few trusty tools are completely non-negotiable. These are the workhorses you'll be reaching for again and again as you work your way across the lawn.
When you're looking at more significant projects, you may need to look into renting. A rototiller, for instance, can chew through compacted soil in large high areas way more efficiently than a shovel ever could. For a full-yard regrade, renting a skid steer might be the only practical path forward.
Deciding whether to buy a tool or just rent it for the weekend can be tricky. Here’s a quick guide to help you make the call.
| Tool | Best for Small Patches (Purchase) | Best for Full Yard Regrade (Rental) | Key Considerations |
|---|---|---|---|
| Shovels & Rakes | Yes, these are must-have basics for any homeowner. | N/A | A solid landscape rake is an investment you won't regret. |
| Wheelbarrow | Worth buying if you have a decent-sized yard or garden. | Not usually a rental item, but borrow one if you can! | Your back will thank you for getting one with a good tire. |
| Rototiller | Only if you break new garden beds annually. | Absolutely. Perfect for tilling up large, compacted areas. | Rental is very cost-effective for a one-off project. |
| Skid Steer | Not practical for homeowner purchase. | The only way to go for moving massive amounts of dirt. | Requires some skill to operate; watch some tutorials first. |
| Lawn Roller | Not usually needed for small patches. | Highly recommended for compacting soil before seeding/sodding. | Rent this for a day; you won't need it often. |
Ultimately, buying the hand tools makes sense for ongoing maintenance, while renting the heavy machinery for the big, one-time jobs is the smartest financial move.
Here’s one of the biggest mistakes I see homeowners make: they try to fill in low spots with nothing but pure topsoil. It seems to make sense at first, but topsoil on its own compacts way too easily. Before you know it, those perfectly level spots have sunk down, and you’re right back where you started.
The real secret to a fix that lasts is creating a balanced mix that gives you structure, drainage, and nutrients. You're aiming to blend materials that will support healthy grass while standing up to compaction.
The ideal leveling mix is often called a "70/30 blend." This is roughly 70% coarse sand (for structure and drainage) combined with 30% high-quality topsoil or compost (for nutrients and holding a bit of moisture).
This recipe creates a stable base that won't easily wash away or get squished down, giving your new grass seed or sod the absolute best shot at establishing a strong root system. You can mix it yourself in a wheelbarrow or on a big tarp. If you need a lot, many landscape supply yards will sell a pre-mixed leveling blend, which can save you a ton of effort. Just be sure to calculate the cubic feet you need before you head out so you can get it all in one trip.
Alright, you've assessed the situation and gathered your tools. Now we get to the fun part—the actual work of transforming your yard. When it comes to leveling your lawn, you're looking at two main strategies. One is more of a surgical strike for small problems, while the other is a full-blown renovation.
Choosing the right approach is everything. It's the key to getting the results you want without making a mountain of extra work for yourself. If you've just got a few annoying low spots, you can take a gentle approach. But if your yard is a drainage nightmare, it's time to bring out the heavy equipment.
Let's break down both methods so you know exactly what your project needs.
Think of topdressing as the go-to fix for the little imperfections in your lawn. This approach is perfect for those shallow low spots, usually only one to two inches deep, where the grass is still in decent shape. It's by far the least invasive way to get things level, since you're working with the lawn you’ve already got instead of starting over.
The idea is simple: you're just adding a thin layer of a leveling mix over the sunken areas. The grass you already have is tougher than you think—it will push right up through the new soil, locking it into place and leaving you with a seamless, flat surface.
Here's how you can get started with topdressing:
If you're leveling a spot for a specific reason, like getting ready for a new patio set or playset, this method is often all you need. For a project like that, precision really matters. You might want to check out our guide on how to level ground for a swing set, as it uses a lot of these same principles on a smaller scale.
Now we're talking about the big guns. You'll need to do a complete regrade when you're dealing with serious, widespread problems—things like chronic poor drainage, big humps and hills, or a yard that's pitched toward your house foundation. It's a much bigger job, no doubt about it, but it's the only real way to permanently fix those major grading headaches.
This method means you'll be stripping off the old turf, completely reshaping the soil underneath, and basically starting your lawn from scratch. It’s a lot of sweat equity, but the payoff is huge: a perfectly sloped, uniform yard that solves those deep-rooted problems for good.
The global landscaping products market actually hit an impressive $88.6 billion in 2024, and that number includes all the tools and materials—like tillers and topsoil—that a big project like this requires. With the average U.S. household spending around $503 a year on lawn care, investing in a proper regrade can be a smart move, potentially preventing about 25% of common erosion issues down the line.
A full regrade is a multi-step operation:
For yards with really significant slopes, just moving dirt around might not be enough. You may need to learn how to build retaining walls to create a series of level terraces. It's a more structural solution, but it can turn a useless hillside into a beautiful and functional part of your landscape.
The heavy lifting is done and your yard is graded to perfection. Now for the fun part—turning that expanse of bare dirt into a lush, green lawn. This is where all your hard work pays off, but there’s one small but critical task left before you break out the grass seed.
You’ve got to gently compact the soil. Trust me on this: renting a lawn roller for a few hours is non-negotiable. A quick pass over the whole area presses the soil down just enough to collapse any sneaky air pockets. Skip this, and you'll find your brand-new, perfectly level yard sinking into an uneven mess after the first good rain.
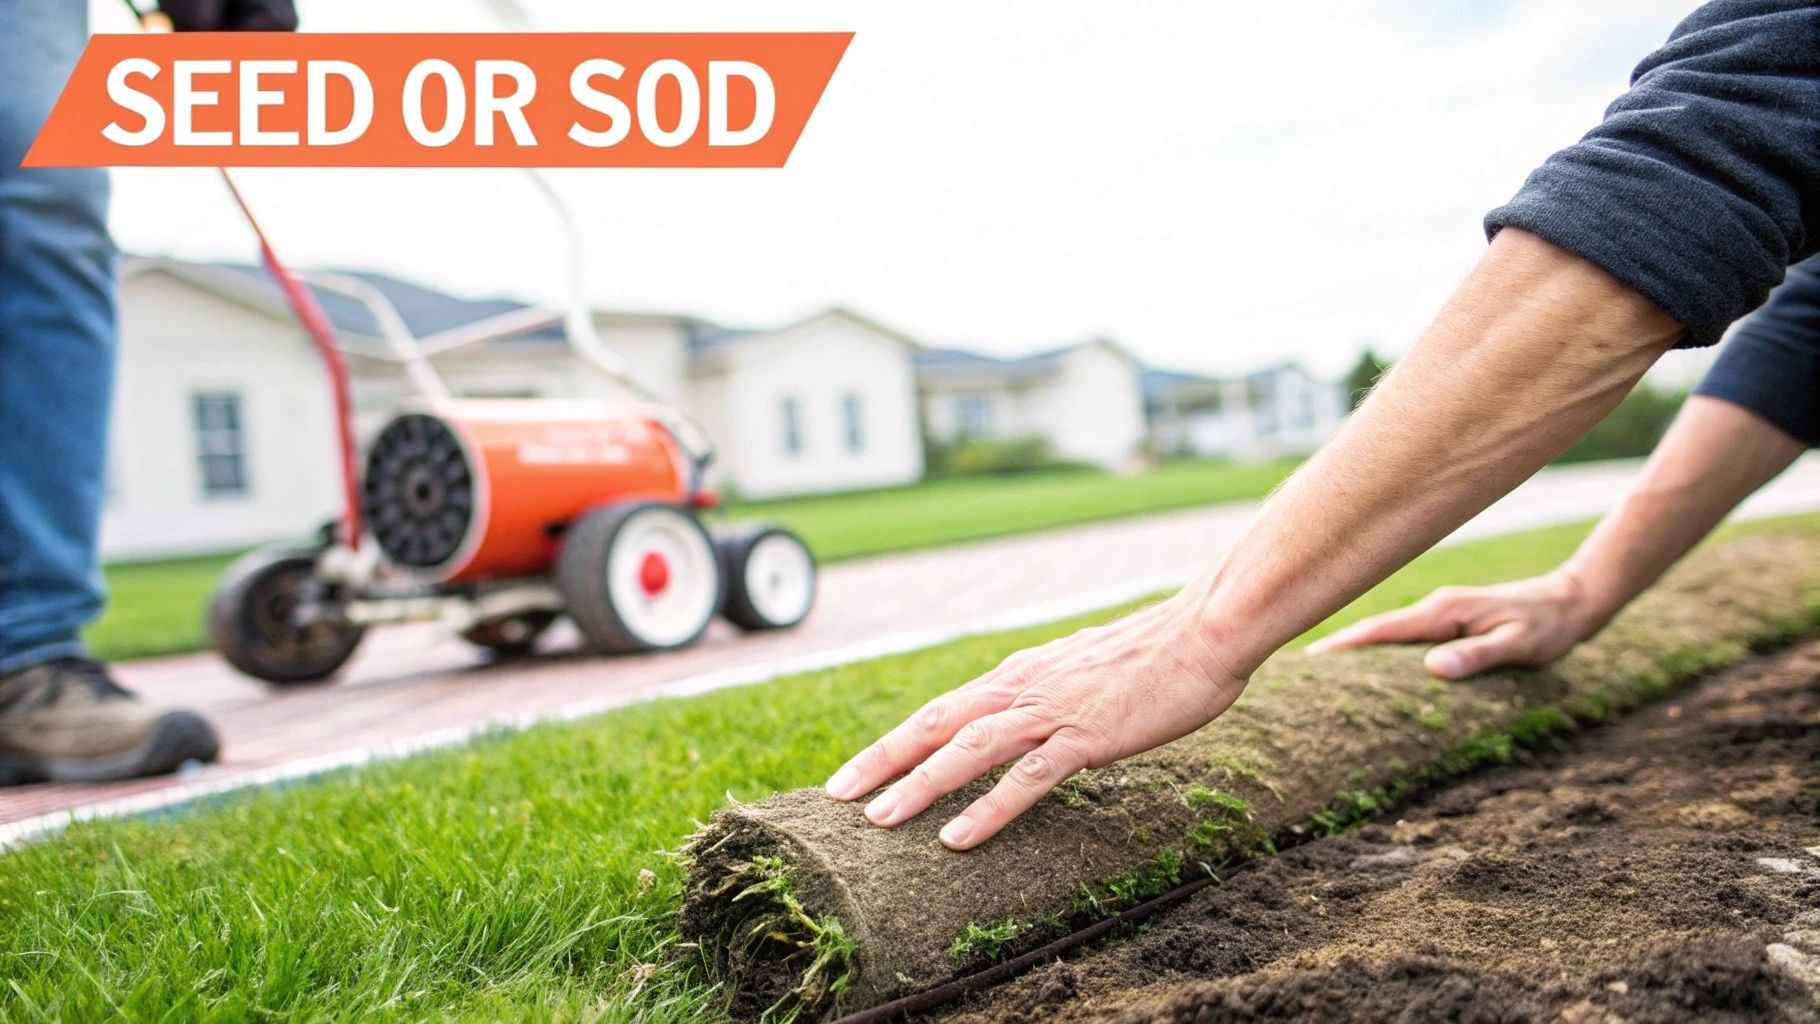
This is the big decision that shapes the next few months for your lawn. Grass seed or sod? Both get you to the same place eventually—a beautiful lawn—but they take completely different routes when it comes to cost, effort, and how fast you see results.
Grass Seed: This is definitely the budget-friendly path. It demands more patience and a consistent watering schedule to get established, but the trade-off is a much wider selection of grass types. For tricky climates or specific sun conditions, checking out a guide to native grasses for your lawn can help you pick a species that's both hardy and low-maintenance.
Sod: Think of this as your "instant lawn." It costs a good bit more and takes some real muscle to install, but the payoff is a dense, green carpet of grass from day one. It's a fantastic option if you need to stop soil erosion in its tracks or just want a usable backyard in a few short weeks.
A well-finished lawn is more than just a pretty sight. Properly leveling your yard can prevent up to 40% of common lawn issues like pooling water, which can save homeowners more than $500 annually on potential fixes.
If you went with seed, grab a broadcast spreader for even coverage. You’ll want to lightly rake the seeds into just the top quarter-inch of soil.
For sod, the trick is to lay the pieces in a staggered pattern, almost like you’re laying bricks. Make sure the edges are pressed tightly together, but don't let them overlap.
A freshly leveled area is also the perfect canvas for adding new outdoor features. If a play structure is in your plans, our professional swing set assembly services can make sure it’s built safely and correctly on your newly perfected ground.
No matter which route you took, your last move is to apply a starter fertilizer—one that's high in phosphorus—to give those new roots a big head start. Then, just add water. For a seeded area, keep it consistently moist until you see sprouts. For new sod, give it a good watering every day for the first couple of weeks to help the roots take hold in the soil below.
Even the best-laid plans run into hiccups, and every yard has its own quirks. When you're learning how to level a lawn, a few questions always seem to pop up. Getting the right answers can save you a ton of time, money, and a whole lot of frustration. Let's tackle some of the most common ones.
The timing of your project is a huge factor in whether it succeeds or fails. The absolute best time to level your yard is during the milder weather of early spring or late fall. These seasons give you cooler temperatures and more consistent rain, which helps new seed germinate or sod take root without the stress of constant watering. Trying to get a new lawn going in the brutal heat of mid-summer is just asking for trouble.
A question I hear all the time is whether you can just toss some topsoil over the existing grass to fix a low spot. For really shallow dips—we're talking less than an inch deep—you can absolutely use a method called topdressing. You just rake a thin layer of a soil mix over the grass, and the existing blades will grow right through it.
But for anything deeper, that's a shortcut you don't want to take. You need to cut out and remove the sod, fill the hole properly, and then put the sod back. If you don't, the fill will just settle and you'll have the same dip again in no time.
Using the right soil mix is also critical for a fix that actually lasts.
When you're looking at major drainage problems, water pooling up against your foundation, or a yard full of big bumps and valleys, spot-fixing just won't cut it. A full regrade is the only real, long-term solution for those kinds of issues.
Knowing when to call in the cavalry is a smart move. A full-yard regrade is a massive job. It involves heavy equipment and a real understanding of how water flows across a property. If the project feels like it's way over your head, it's almost always cheaper and safer in the long run to hire a professional landscaper.
If you decide to go that route, our contractor hiring checklist offers great advice for finding and vetting a reliable expert for the job. Getting it done right the first time is always the best approach.
If a huge landscaping project doesn't sound like your idea of a fun weekend, let the professionals handle it. For other outdoor projects like putting together that new patio furniture, grill, or playset for your beautifully leveled yard, Assembly Smart provides fast, reliable service. Head over to https://assemblysmart.com to get a free estimate and start enjoying your outdoor space without the headache.
