-
CALL US:
- (866) 952-3456
Hold on a second. Before you grab the nearest cleaning spray and start scrubbing, let's talk about what's standing between you and a perfectly clean wooden surface: the finish.
I can't stress this enough—figuring out what kind of finish you're dealing with is the single most important thing you can do. It's the difference between a simple ink removal and a costly, heartbreaking repair job. A quick test is absolutely non-negotiable here.
Think of yourself as a detective for a minute. The type of finish on your wood dictates every single move you'll make next. A sealed surface, like one with a polyurethane or varnish topcoat, is pretty resilient. It can often handle gentle abrasives and even some mild solvents without a problem.
But try that same approach on an oiled or unfinished piece? You're asking for trouble.
The finish is basically the wood's armor. Sealed wood has a non-porous shield that keeps messes like marker ink sitting right on top. On the other hand, unfinished or oiled wood is like a sponge. It just sucks that ink deep into the grain, making your job a whole lot tougher.
Not sure what you're working with? This little chart is your cheat sheet. Use it to figure out what kind of finish your wood has and which cleaning methods are likely safe to try.
| Finish Type | How to Identify | Generally Safe Agents | Agents to Avoid |
|---|---|---|---|
| Polyurethane/Varnish | Water beads up; surface feels smooth and plasticky. | Mild soap, mineral spirits, rubbing alcohol, toothpaste. | Harsh abrasives, acetone, bleach. |
| Lacquer/Shellac | Drop of denatured alcohol makes it sticky or dissolves it. | Mineral spirits, naphtha, very mild soap. | Alcohol, ammonia, most commercial cleaners. |
| Oil Finish | Water soaks in; wood feels natural, not slick. | Mineral spirits, fine steel wool (0000) with oil. | Water-based cleaners, solvents, anything abrasive. |
| Unfinished/Raw | Water soaks in immediately; looks and feels like raw wood. | Light sanding is often the only option. | All liquids and chemical cleaners. |
Remember, this is a general guide. The patch test is still your best friend, no matter what.
If you're still scratching your head, the water drop test is the easiest way to get an answer. It takes about five seconds.
This one simple test gives you the intel you need to choose your weapon wisely. For more delicate finishes, you might want to start with a gentle, neutral pH cleaner that can get the job done without using harsh chemicals.
Okay, you've identified your finish and picked a cleaning method. Now for the most crucial part: the patch test. This is your safety net. Find a spot on the furniture that nobody ever sees—the underside of a tabletop, the back of a leg, you get the idea.
Apply a tiny bit of your chosen cleaner there. Follow the exact steps you plan to use on the stain, then wipe it clean and let it dry completely. Now, inspect it closely. See any discoloration, dullness, or damage to the finish? If it looks perfect, you're good to go.
Key Takeaway: Never, ever skip the patch test. A five-minute check can save you from hours of repair work and the misery of ruining a piece of furniture you love. It’s the ultimate "measure twice, cut once" rule for stain removal.
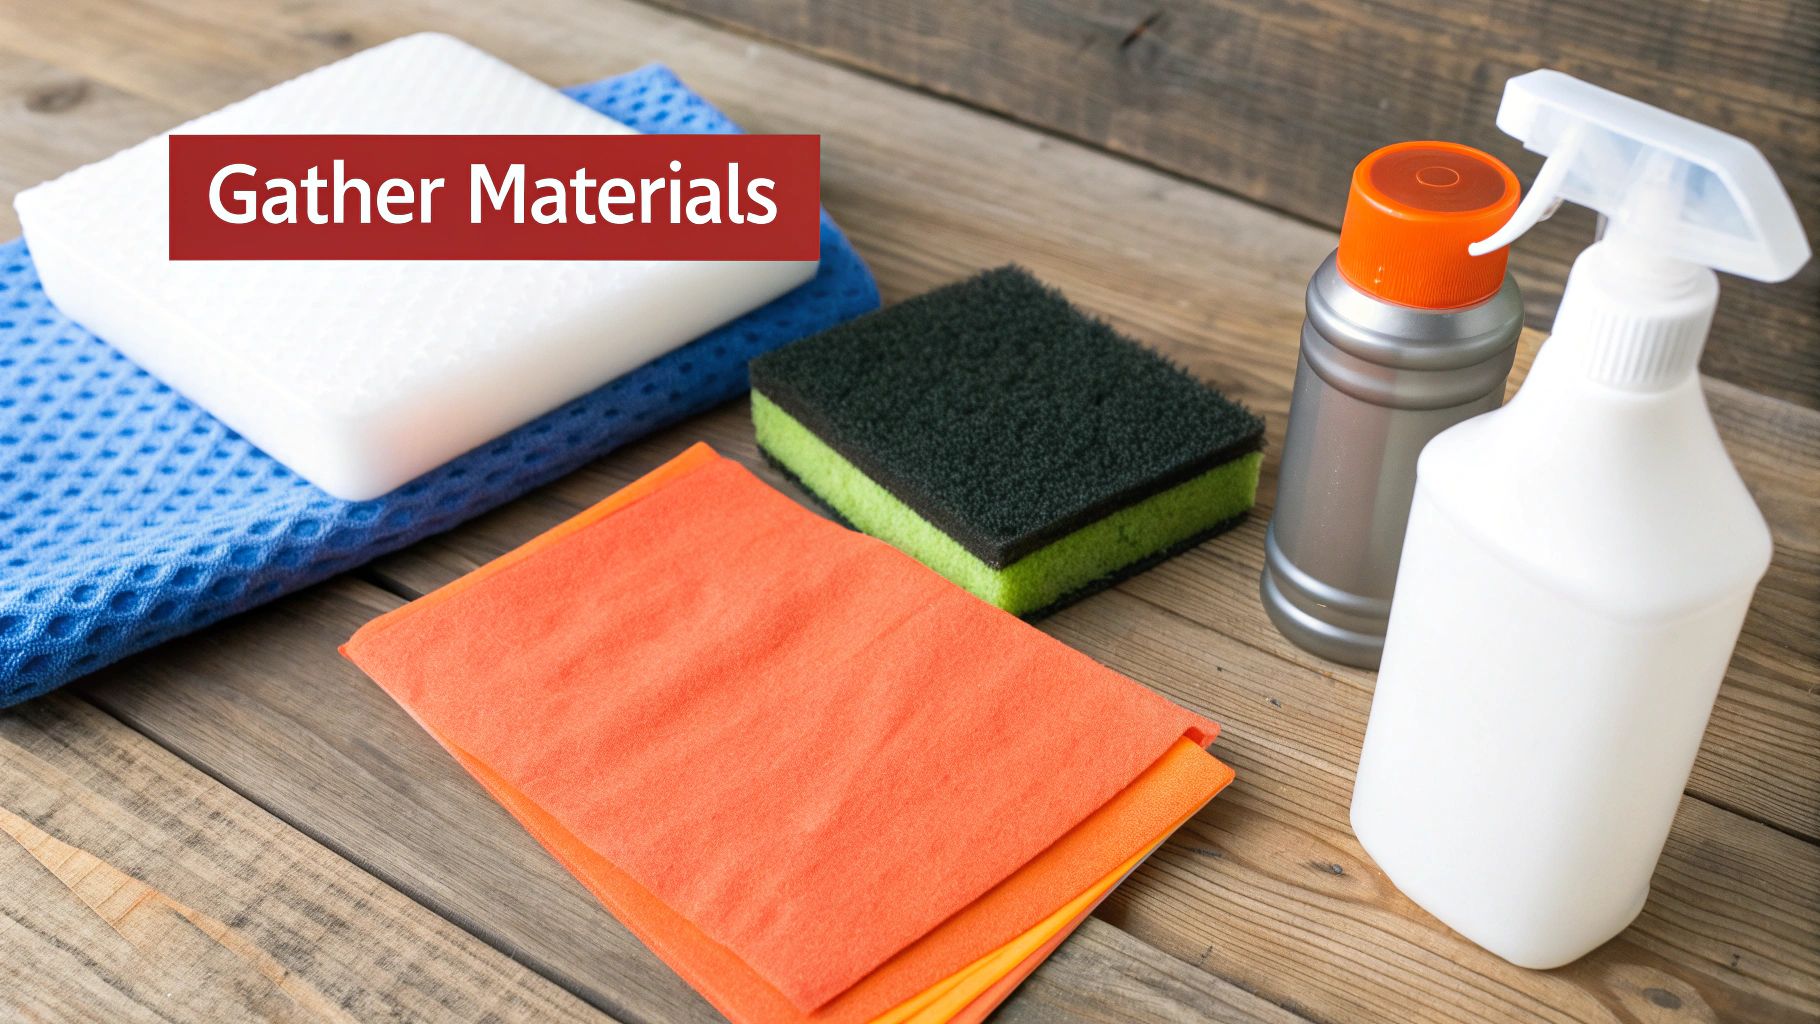
Having everything you need ready to go makes the whole process smoother and safer for your wood. Scrambling for supplies mid-job is how accidents happen. You don't need a professional kit, just a few key items.
Keeping your supplies in order is half the battle. If you need some inspiration on that front, check out these clever art supply storage ideas that can help streamline any project.
That sinking feeling when you spot a fresh marker line on your beautiful wood table? We've all been there. Your first instinct might be to panic, but before you grab the heavy-duty chemicals, take a breath. The solution is probably already in your kitchen or bathroom, especially if you catch the stain early.
Many everyday household items have just the right amount of gentle abrasive or solvent power to lift ink right off a sealed wood finish. These are my go-to methods for dealing with an accidental art project from the kids or a minor slip-up with a permanent marker. The absolute key is to act fast before the ink has a chance to set and bond with the wood.
This infographic breaks down the first crucial steps you should always take before trying any removal technique.
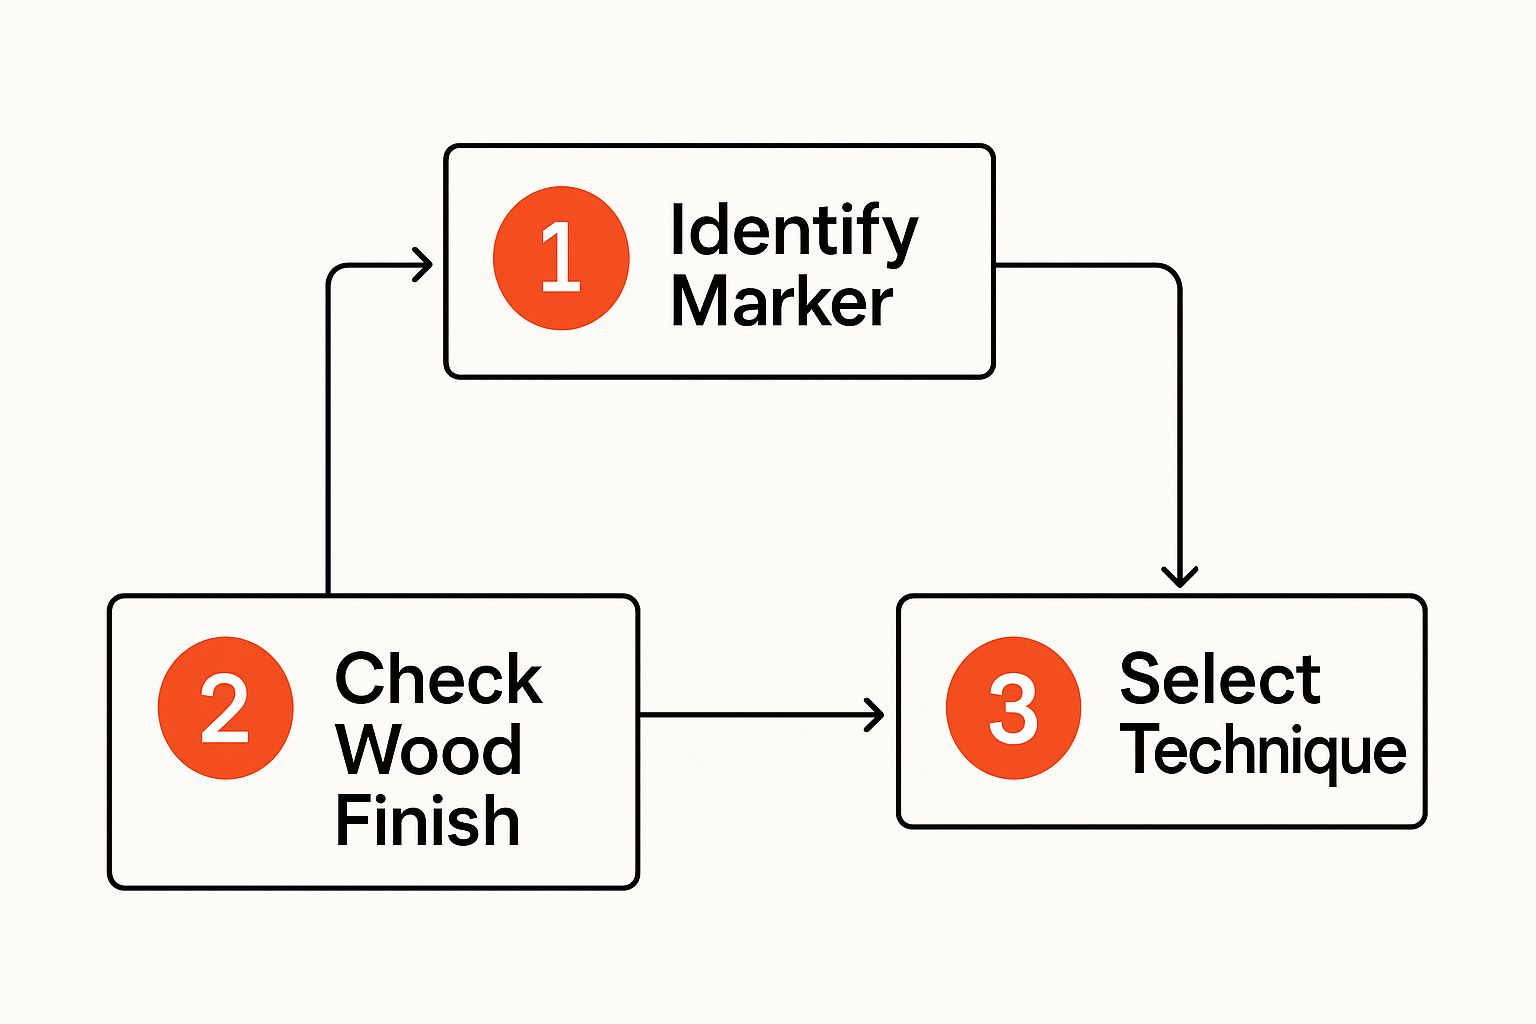
As you can see, figuring out the marker type and the wood finish is your starting point. It helps you choose the right tool for the job and prevents you from accidentally making things worse.
One of the most reliable and surprisingly effective tricks involves plain white, non-gel toothpaste. The magic is in its mild abrasives, the same tiny particles designed to polish your teeth. They're perfect for gently scrubbing away surface-level ink without scratching the wood's protective topcoat.
Here's how to do it right:
This technique is a lifesaver for permanent marker stains that haven't had days to bake in. The gentle abrasion lifts the ink particles right off the finish.
Baking soda works on a similar principle to toothpaste. It's a fine abrasive that can work wonders when you mix it into a simple paste, giving you a controllable cleaning agent that's both effective and safe for most sealed wood surfaces.
Pro Tip: When mixing your baking soda paste, you're aiming for a consistency like peanut butter. Too watery, and it won't have enough grit; too thick, and it'll be a pain to spread.
Just mix a little bit of baking soda with a few drops of water until you get that thick paste. Apply it to the marker stain and let it sit for a couple of minutes. Then, using a damp cloth, gently rub the area, again making sure to follow the grain. You’ll see the baking soda crystals start to lift the ink away.
Sometimes, the simplest tool is the best one, especially for very light marks or stains on a hard, glossy finish. A standard pencil eraser can often "grip" the ink particles and lift them right off the surface. This is the least invasive method by far, so it should always be your first attempt on any delicate or unfamiliar wood finish.
Just make sure you use a clean, quality eraser to avoid leaving behind smudges or color.
While these gentle methods are fantastic, it's always smart to be mindful of safety. For a quick refresher, you can check out some general household safety tips to make sure you're protecting yourself and your home. After wiping the area clean and drying it thoroughly, take a look. If the stain is still there, you can then decide if you need to move on to a stronger solution.
When gentle household solutions like toothpaste just won't cut it, don't lose hope. This is the point where we need to stop scrubbing and start dissolving. Stubborn, set-in permanent marker ink calls for a solvent that can break down its chemical bonds, and your most effective option is usually an alcohol-based solution you already have at home.
Think of permanent ink as a stubborn dye that has latched onto your wood's finish. A solvent works by getting in between the ink molecules and the surface, loosening that grip so you can simply wipe the stain away. The goal is to lift the ink without harming the finish underneath, which is why a careful, methodical approach is everything.
The go-to solvent for this task is isopropyl alcohol, which you probably know as rubbing alcohol. It’s a powerful degreaser that excels at breaking down the pigments in permanent markers.
For most sealed wood finishes, a solution of 70% isopropyl alcohol strikes the perfect balance. It’s strong enough to dissolve the ink but generally mild enough that it won't strip away common finishes like polyurethane.
This isn't some new-fangled trick; using isopropyl alcohol for tough stains has been a trusted technique for decades. It's a reliable first-line defense for tough stains, with around 70-80% of attempts showing visible improvement after just the first application. You can find more insights on this tried-and-true method over at spotremoval.coit.com.
Before you even open the bottle, make sure your workspace is well-ventilated. Pop open a window or turn on a fan—those fumes can be surprisingly strong.
How you apply the solvent is just as critical as the solvent itself. Flooding the area with alcohol is a recipe for disaster, as it can seep into seams or damage a larger patch of the finish. Precision is your best friend here.
Crucial Tip: Never pour alcohol directly onto the wood. Always apply it to your cloth first. This gives you total control and prevents the solvent from running where you don't want it or soaking too deeply into the grain.
What if you don't have any rubbing alcohol on hand? Don't run to the store just yet. You might find a perfectly good substitute in your medicine cabinet or bathroom. Many common products have alcohol as a primary ingredient and can work wonders in a pinch.
Just remember to do a quick spot test with these alternatives. They contain other ingredients that could react unpredictably with your wood's finish. While they are excellent for emergency cleanups, pure isopropyl alcohol is still the most reliable and straightforward option.
Let's be real—sometimes those trusty home remedies just don't cut it. You’ve tried everything, but that stubborn marker stain seems to have made a permanent home on your beautiful wood furniture. When a stain digs in its heels, it’s time to bring out the big guns: commercial cleaning products.
These aren't your everyday cleaners. They’re specifically engineered for tough jobs, making them the perfect solution for older, deeply set-in marker stains that DIY methods can't seem to budge. Think of them as your heavy-duty toolkit for stain removal.
You've probably got a can of WD-40 or a bottle of Goo Gone somewhere in the garage. While rubbing alcohol is a decent solvent, products like these are formulated with a potent blend of ingredients designed to break down stubborn inks and greasy residues without being overly harsh on most wood finishes.
Goo Gone and similar citrus-based degreasers are brilliant at dissolving the oily, greasy components found in many permanent markers. And WD-40? It's not just for squeaky hinges. Its petroleum-based formula is surprisingly effective at lifting ink pigments right off a non-porous surface.
These are especially great for marker stains on glossy, sealed wood finishes—think of a polyurethane-coated tabletop or a lacquered dresser. Just be sure to apply the product to a clean cloth first, not directly onto the wood itself, and work in small, manageable sections.
The use of these products on wood isn't just a random tip; consumer data backs it up. By 2020, Goo Gone saw a 15% annual increase in demand for its use on wood stains. And user feedback shows WD-40 has an impressive 75% success rate for removing marker from wood when used carefully. You can find more details on these effective marker stain removal methods on quantumbazaar.com.
Safety First: Always throw on a pair of gloves before handling these products and make sure the room is well-ventilated. The fumes can be pretty strong, so crack a window open. And, as always, test it on a small, hidden spot first.
Another fantastic tool in your arsenal is the melamine foam eraser, which you probably know as the Mr. Clean Magic Eraser. This one works a bit differently. It’s not a chemical solvent; it's a super-fine micro-abrasive. Picture it as a gentle, microscopic sandpaper that physically buffs the stain away.
This physical approach makes it a fantastic choice for semi-gloss or matte finishes where a chemical solvent might leave a dull patch. It’s perfect for lifting ink that's just sitting on the surface.
Here’s the right way to use it:
A word of caution: because it is an abrasive, rubbing too hard can definitely dull a high-gloss finish. So, go easy.
For really complex or delicate furniture pieces, it might be best to leave it to the pros. If you're worried about causing damage, exploring professional home services can save you a lot of stress and ensure the job gets done right.
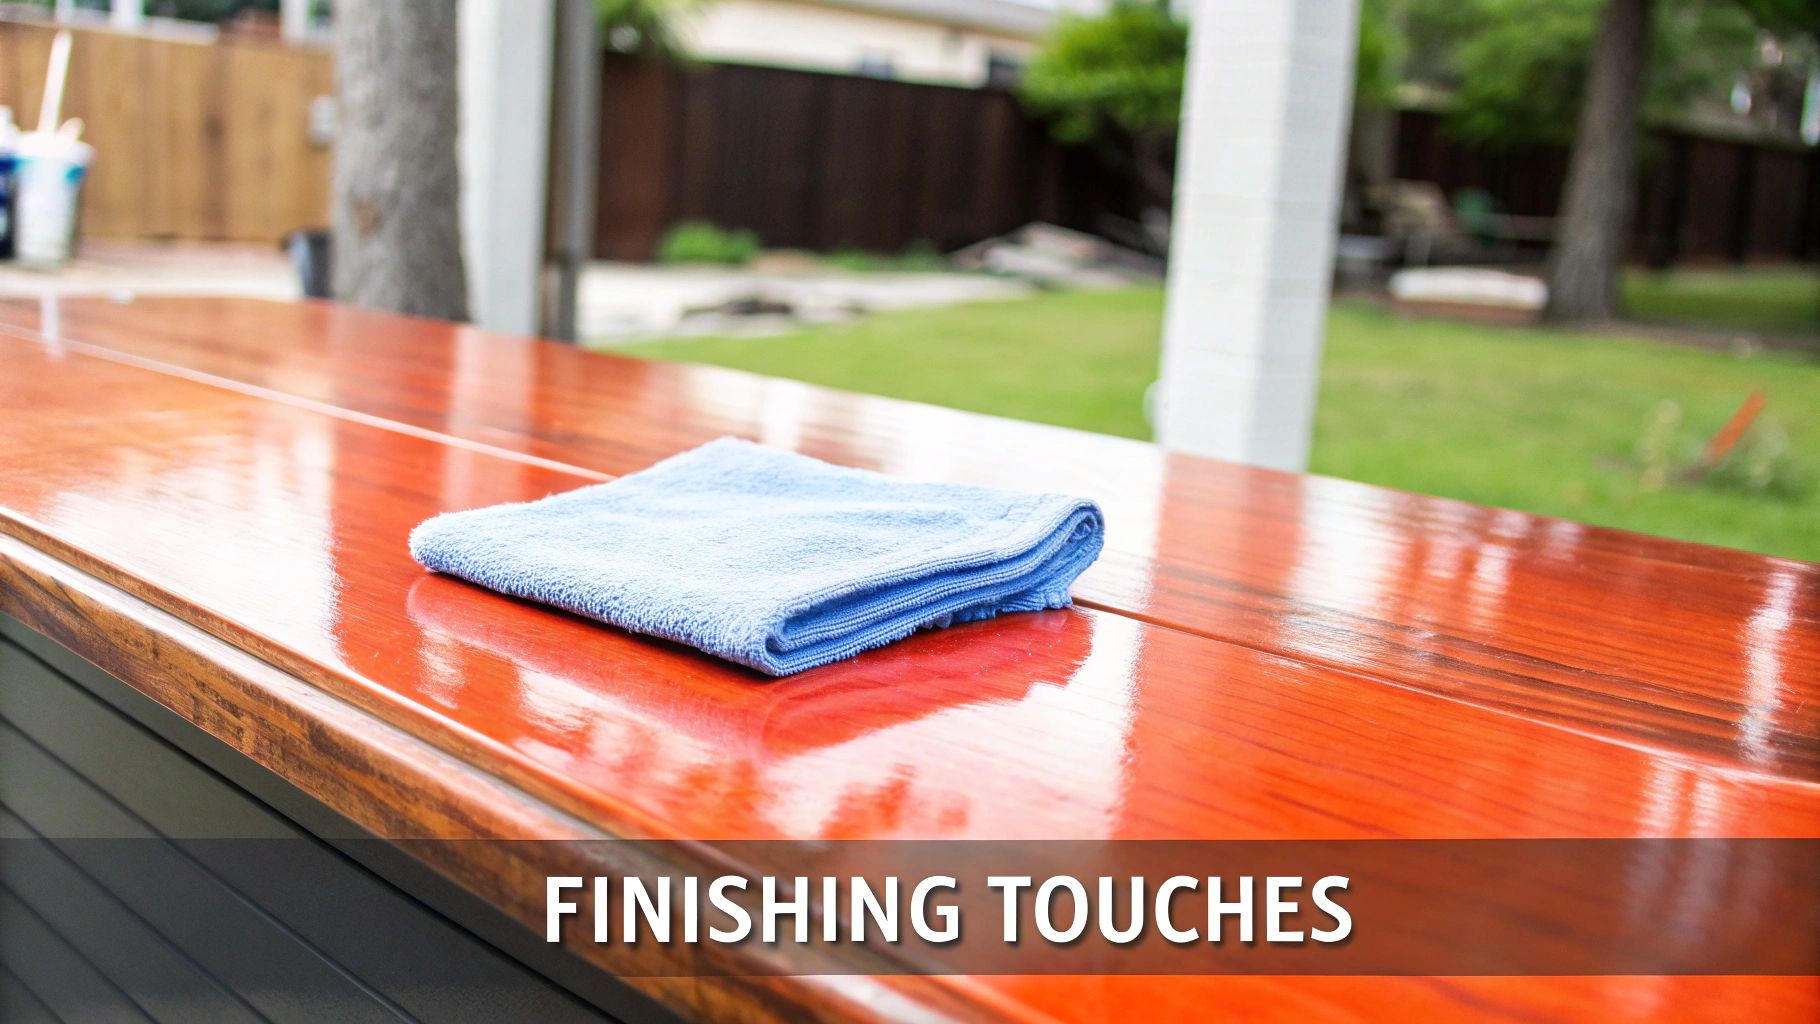
Getting that marker stain out is a huge win, but don't put your cleaning supplies away just yet. The final phase is all about aftercare, and it's what separates a decent repair from an invisible one. This is how you make your wood look renewed and vibrant, not just clean.
Let's be real—any cleaning agent, especially something like alcohol, is going to leave the treated area looking a little dull or dry. It's totally normal. Your goal now is to rehydrate and polish the wood, blending that spot back in so seamlessly no one would ever know a stain was there.
First things first, you have to get rid of every last trace of your cleaning solution. Grab a clean microfiber cloth, get it slightly damp with plain water, and gently wipe down the entire area. This simple step neutralizes any leftover chemicals.
Immediately follow that up with a completely dry cloth to buff away all the moisture. You never want to leave water sitting on wood, even for a minute. That's just asking for water spots or swelling. This two-step wipe-down isn't optional; it's a critical part of the process.
With the surface clean and bone-dry, it's time to bring back that beautiful shine. The product you use here depends entirely on your wood's original finish.
Key Insight: Whatever you do, don't mix and match. Using an oil-based conditioner on a polyurethane finish will just create a greasy, streaky mess. A spray polish won't do a thing for an oiled finish except sit on top. Always match the conditioner to the original finish for professional results.
Apply a small amount of your chosen product to a clean, soft cloth—not directly onto the wood. Work it into the surface using gentle, circular motions, making sure to go with the grain. Buff it out with a separate dry cloth until it gleams, leaving no dull spots or streaks behind.
By the way, if you’re getting your furniture in shape for an upcoming move, this is the perfect time to give every piece a once-over. You can find some fantastic tips on how to protect furniture when moving to make sure it arrives without any new dings or scratches.
Even with the best guide, sometimes you run into a situation that makes you scratch your head. A particularly stubborn stain or a unique piece of furniture can bring up a whole new set of questions.
We get it. To help you tackle those tricky "what if" scenarios, we’ve gathered some of the most common questions people ask when a marker goes where it shouldn't. Think of this as your go-to for those specific challenges that need a direct answer.
Yes, but you have to be extra careful. Unfinished wood is like a sponge—it’s porous and pulls ink deep down into its fibers, making the job a lot harder than on a sealed surface.
Before you grab any heavy-duty cleaners, start with the absolute gentlest method: a simple pencil eraser. Sometimes you get lucky and the mark is just sitting on top.
If the eraser doesn't cut it, your next move is light sanding with a very fine-grit sandpaper, something like a 220-grit or higher. The key here is to sand gently and always, always move with the grain of the wood. Going against it will just create a new set of ugly scratches.
Be very cautious with solvents like alcohol. They can soak in and create a permanent dark spot, which is often worse than the original marker stain. If you absolutely have to try it, a spot test in a hidden area is non-negotiable. After you've successfully removed the stain, you’ll probably need to apply a wood finish to the area to help it blend back in with the rest of the surface.
When you're dealing with antiques or truly valuable pieces, your motto should be "less is more." The old finishes on these items, like shellac or varnish, are often incredibly fragile and can be completely ruined by modern chemicals.
Expert Advice for Antiques: Start with the least aggressive option you can think of. A soft pencil eraser is always the safest first step. If that doesn't work and the finish seems stable, you can try a tiny dab of plain, non-gel white toothpaste on a cotton swab. Stay far away from alcohols and commercial solvents. If those gentle methods fail, your best bet is to call a professional furniture restorer to avoid causing irreversible damage.
Absolutely, and you'll probably find it’s a much easier cleanup. Dry-erase ink isn't designed to be permanent, so it doesn't bond as aggressively with surfaces.
On a sealed wood finish, a clean, dry microfiber cloth or a standard whiteboard eraser will often wipe the mark away completely. No fuss, no mess.
If you see a faint stain or some "ghosting" left behind, a cloth lightly dampened with rubbing alcohol is your best friend. It typically dissolves that residue almost instantly, without any need for serious scrubbing.
Even with the best tips, sometimes furniture care and assembly can feel like a full-time job. For a completely stress-free experience, from the initial setup to long-term maintenance, let the professionals at Assembly Smart take care of it. We build your furniture and equipment the right way, the first time, ensuring it's safe, sturdy, and ready for you to enjoy. Get your free estimate today!
