-
CALL US:
- (866) 952-3456
Before you even think about grabbing a shovel or a drill, the most important part of your home court project is picking the right hoop. This one decision sets the stage for everything that follows—the tools you’ll need, how much work is involved, and ultimately, how much fun you'll have.
Your choice really boils down to your space, your budget, and how you plan to play. Are you looking for a permanent, gym-quality setup for serious games, or something flexible for a shared driveway? Getting this right from the start is the key to a smooth installation and years of enjoyment.
The market for home basketball hoops is booming. What was a $760 million industry in 2025 is expected to grow to $1.14 billion by 2034, and that growth means you’ve got more options than ever. But it also means you need to be smart about your choice.
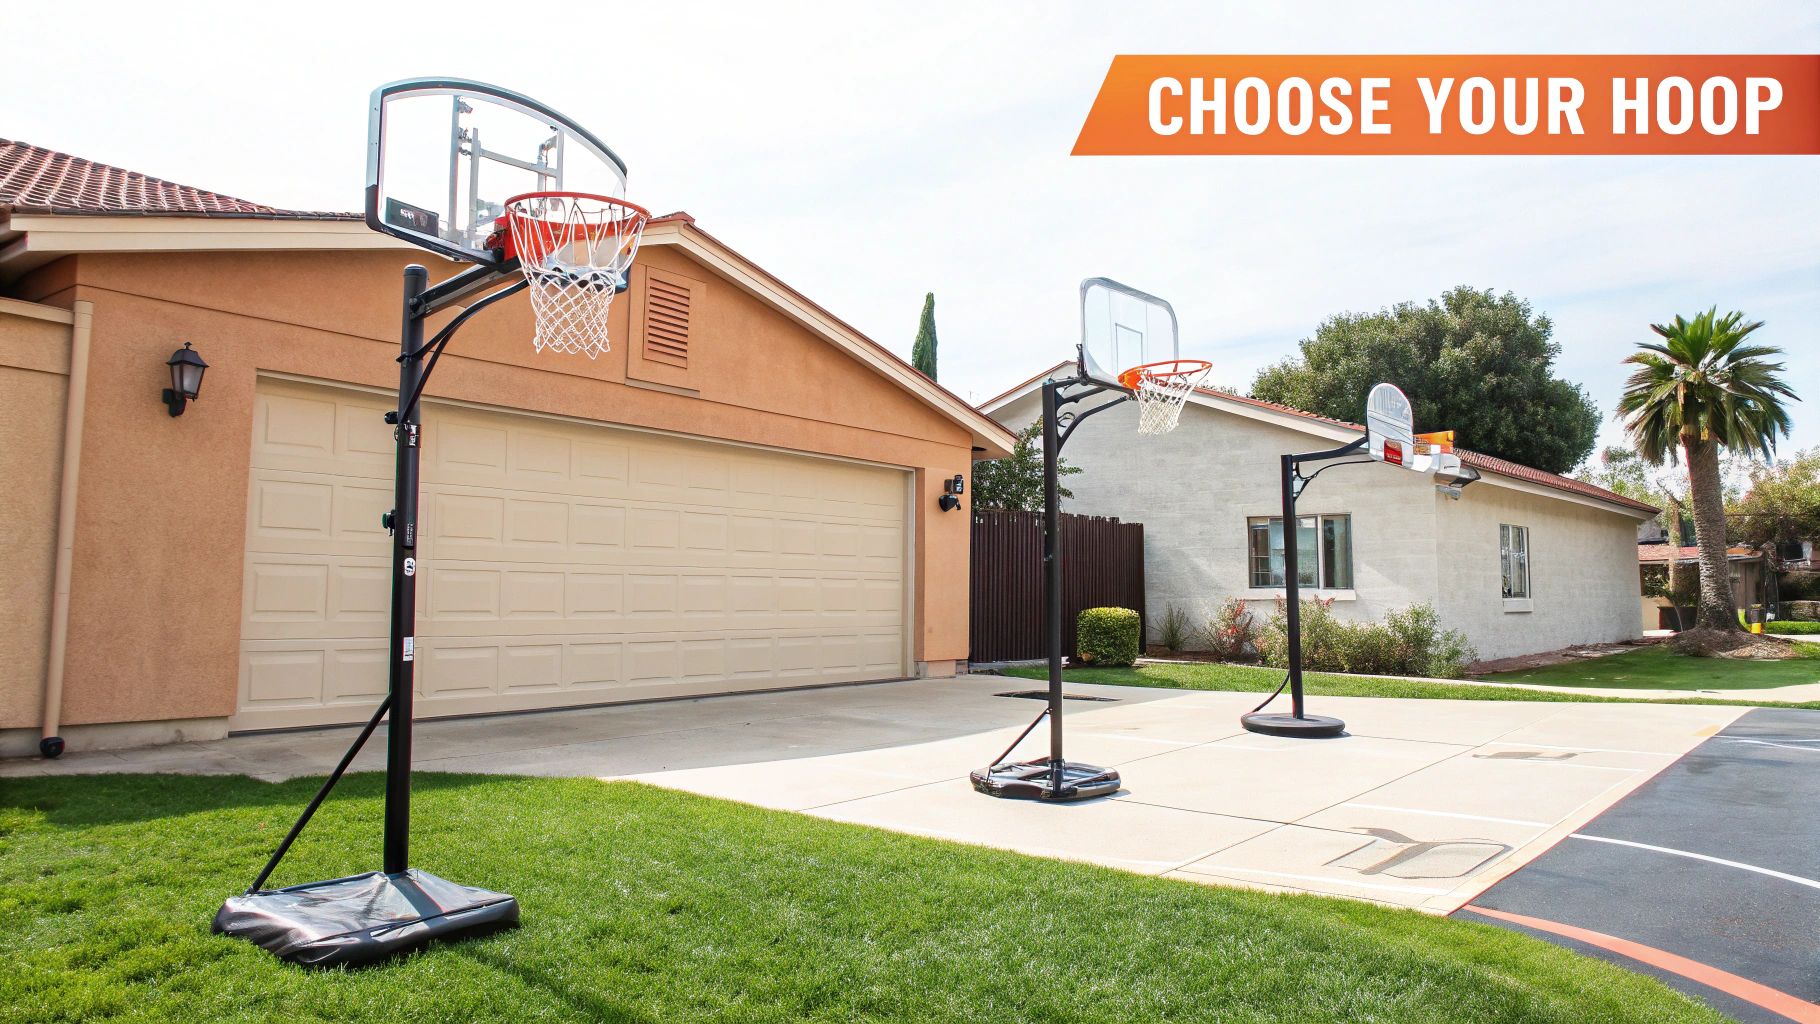
You're essentially looking at three kinds of hoops, and each one fits a different kind of space and player.
In-Ground Hoops: This is the real deal. If you want unmatched stability and performance, an in-ground hoop is the way to go. They’re anchored in concrete, so you get that solid, gym-like feel with minimal shaking on bank shots. They’re perfect for homeowners who have a dedicated spot and want a permanent, top-tier setup.
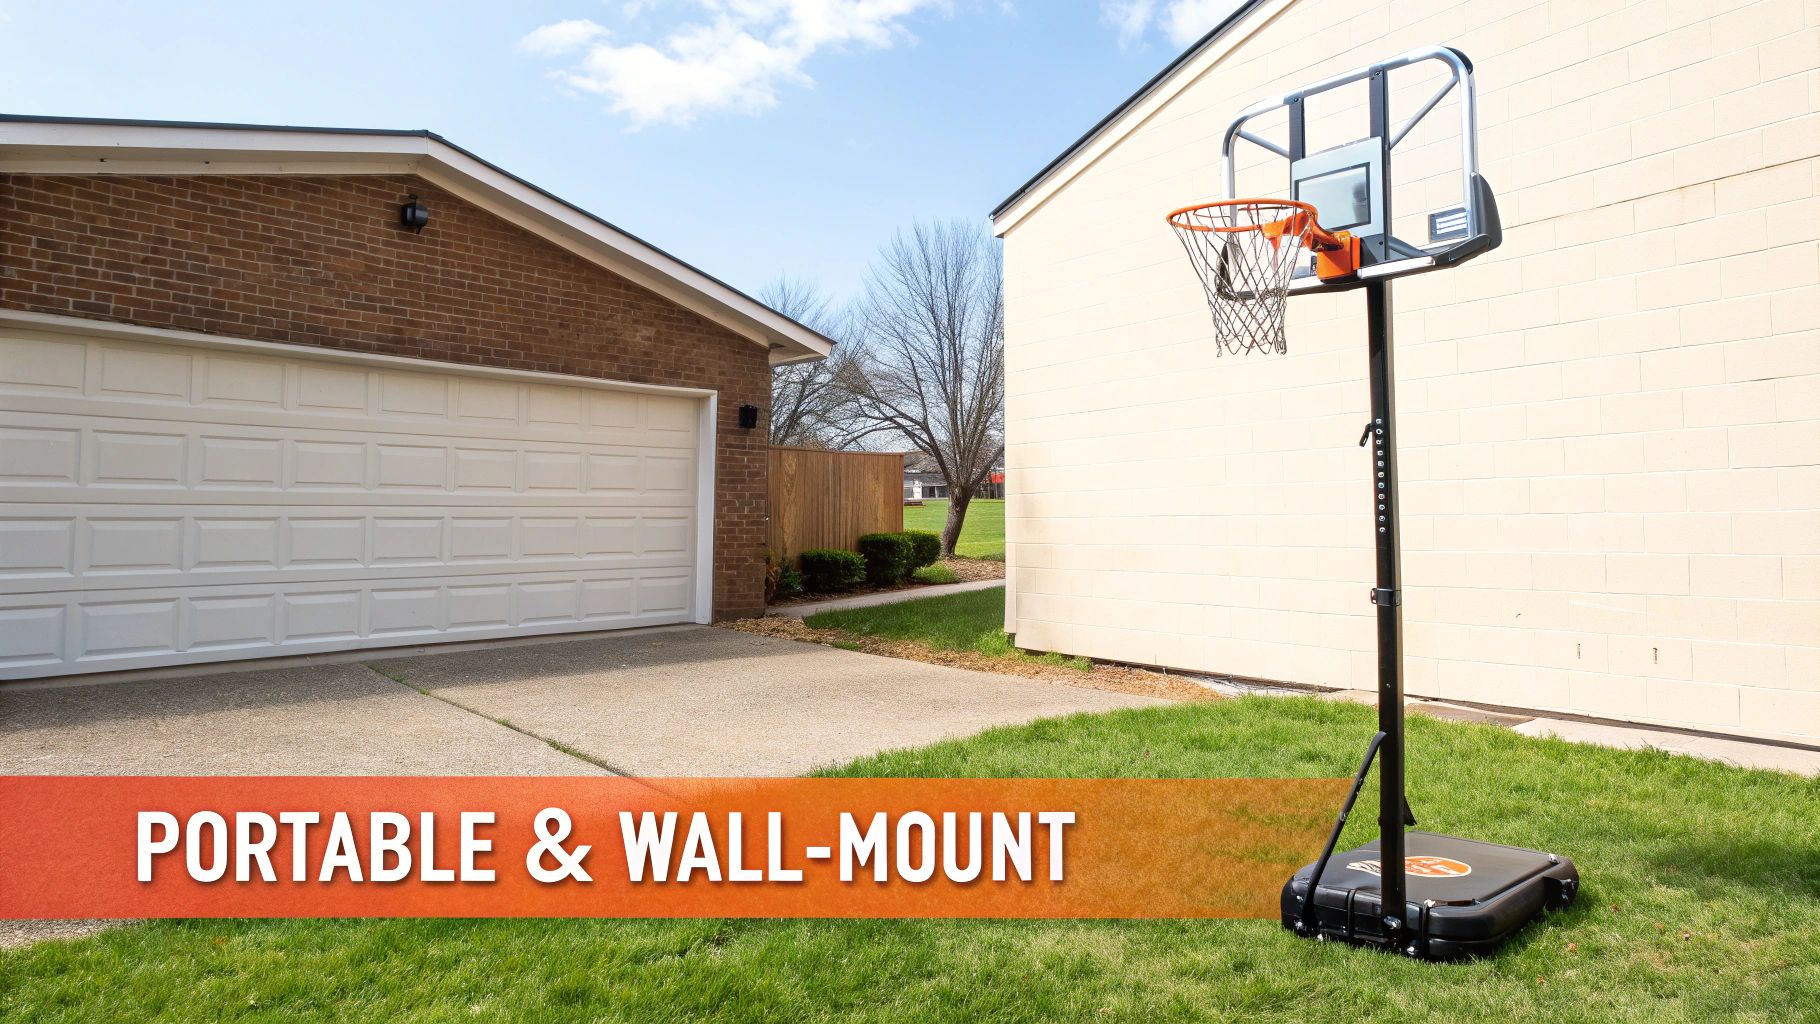
Portable Hoops: Just like the name says, these offer total flexibility. They're the go-to for shared driveways, renters, or anyone who can't install a permanent structure. The base is filled with water or sand to keep it steady. They're super convenient, but they don't have the same rock-solid feel as an in-ground model and can be a tip-over risk in high winds if not weighed down properly.
Wall-Mounted Hoops: Got a sturdy garage wall but not a lot of ground space? A wall-mounted hoop is a fantastic solution. You get to save all that valuable driveway real estate while getting a very stable backboard, as long as it’s mounted correctly to wall studs or masonry.
To make things a little easier, here's a quick comparison to help you decide which hoop is the best fit for your home.
| Hoop Type | Best For | Stability | Installation Difficulty |
|---|---|---|---|
| In-Ground | Dedicated playing areas, serious players | Excellent | High (involves digging, concrete) |
| Portable | Shared driveways, renters, flexibility | Good | Low (assembly required) |
| Wall-Mounted | Limited ground space, garages | Very Good | Medium (requires finding studs) |
This table gives you a bird's-eye view, but the real decision comes down to your specific playing area.
Okay, so you have an idea of the type of hoop you want. Now it’s time to take a hard look at your space.
First, get out the tape measure. While a high school half-court is a sprawling 50 feet long, you just need a flat, level surface with enough room to shoot and move around. Concrete is the best surface for a consistent bounce, but asphalt works well too (it can just get a bit soft in the summer heat).
Key Takeaway: Look up! Always check for overhead obstructions. You need plenty of clearance from power lines, tree branches, and the edge of your roof. A regulation hoop is 10 feet tall, but the arc of a basketball goes much higher, so you'll want several extra feet of clear space above the rim.
Finally, do a little homework before you buy. Check with your Homeowner's Association (HOA) or local municipality about any rules on permanent structures. Some neighborhoods have strict guidelines on placement, or they might not allow in-ground hoops at all. A quick phone call can save you a world of trouble later.
If you want to dive deeper into specific models and their features, check out our comprehensive basketball hoop reviews to help you find the perfect match.
I've seen it a hundred times: a successful basketball hoop installation is 90% preparation and only 10% execution. Jumping straight into the assembly without a solid plan is a recipe for a long, frustrating afternoon. Think of this section as your project blueprint—it’s the huddle before the big game where you scout the court, check your equipment, and make sure you know the play.
Getting these details right now prevents major headaches later. Trust me on this.
The very first, and most important, decision you'll make is where your hoop will live. This choice affects everything from player safety to how long your hoop will last. A poorly chosen spot can lead to a wobbly setup, a cracked driveway, or even dangerous accidents.
First, find a level surface. A slight slope might not look like a big deal, but it will absolutely mess with dribbling and can make a portable hoop dangerously unstable. Grab a long level and check the area you have in mind. Concrete and asphalt are your best friends here, giving you a consistent bounce and solid footing.
Next, look up. This is a non-negotiable safety check. Make sure your spot has plenty of clearance from any overhead obstructions.
Crucial Safety Warning: Before you even think about digging for an in-ground hoop, you absolutely must call 811 in the U.S. This is a free service that gets local utility companies to come out and mark underground lines for water, gas, and electric. Digging without this check is illegal in most places and incredibly dangerous.
Once you've locked down your location, it's time to gather your gear. Nothing grinds a project to a halt faster than realizing you're missing a crucial tool halfway through. My advice? Unpack the hoop box first and organize all the parts. This simple act can save you an hour of frantic searching for that one specific bolt later on.
The tools you'll need will obviously change depending on what kind of hoop you're putting together.
For In-Ground Hoops:
For Portable Hoops:
For Wall-Mounted Hoops:
Having everything laid out and ready to go transforms the job from a chaotic scramble into a streamlined process. While you're getting your supplies together, it's a good moment to think about the budget. To get a feel for what the pros charge, you can learn more about the cost to install a basketball hoop and see how it stacks up against your DIY expenses.
Finally, do yourself a favor and take 15 minutes to actually read the instruction manual. I know, I know—it’s tempting to skip it. But those guides have specific measurements, torque settings for bolts, and safety warnings that are unique to your model. This isn't just about following directions; it's about making sure your hoop is built correctly for maximum stability and safety.
An in-ground basketball hoop is the gold standard for any home court, bringing the kind of stability and pro-level performance you'd find at a real gym. This is the setup for serious play. While installing one is a bigger project than a portable hoop, it's definitely something you can handle with the right plan.
This isn't just about putting pieces together; it's about building a permanent foundation that can take aggressive dunks and years of competitive games. Getting the groundwork right is everything. The effort you put into that concrete base directly impacts the safety and quality of your court for years to come.
The foundation for your hoop all starts with a hole in the ground. But this isn't just any hole—its dimensions are critical for stability. Always, and I mean always, check your manufacturer's manual for the exact depth and diameter they require. These numbers are carefully calculated based on the hoop's total weight and height.
As a general rule, a heavier hoop with a bigger backboard is going to need a deeper and wider hole. For example, a massive 72-inch glass backboard system might call for a hole that's 48 inches deep and 24 inches wide.
The type of soil in your yard also plays a huge role here. If you're dealing with loose or sandy soil, you'll probably need to dig a wider hole to give the concrete anchor more to grab onto. On the other hand, dense clay provides a more solid base, but good luck digging through it without a fight.
Before you ever break ground, it's crucial to have a clear picture of the prep work.
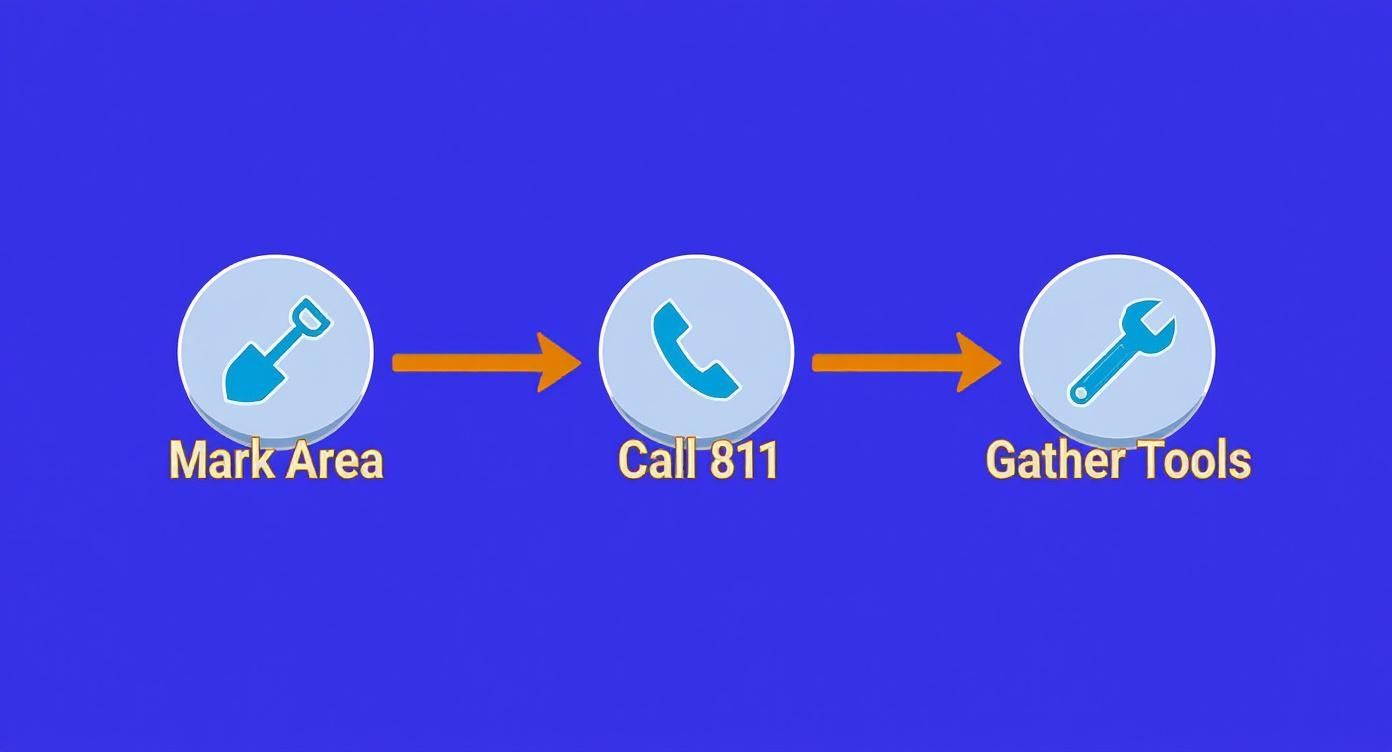
This process isn’t a suggestion; it’s a non-negotiable set of first steps. Mark your spot, call 811 to locate any underground lines, and get all your tools ready before you start.
With your hole finally dug, it’s time to mix the concrete. This part might seem intimidating if you’ve never done it, but it’s pretty straightforward. Just follow the directions on the bag, adding water slowly until it hits a thick, oatmeal-like consistency. If it's too watery, the base will be weak. Too dry, and it’ll be a nightmare to work with and might leave air pockets.
Pour the concrete into the hole in stages. After every foot or so of concrete you add, grab a stick or a piece of rebar and poke around in the mix. We call this tamping, and it helps get rid of air pockets, ensuring the concrete fills every single void for a dense, solid foundation. Keep doing this until the hole is full.
Pro Tip: Use a trowel to smooth the top of the concrete, giving it a slight dome shape that slopes away from the center. This little trick helps water run off instead of pooling around the pole's base, which goes a long way in preventing rust down the road.
The anchor kit is that metal bracket you'll embed in the wet concrete. It’s what connects the pole to the foundation, and getting it perfectly level is arguably the most critical step of the entire job. If that anchor is even slightly off, your whole hoop will be leaning.
Gently press the anchor kit into the top layer of concrete until it’s flush with the surface. Now, grab a spirit level and place it across the bolts, checking both north-south and east-west directions. Carefully tweak the nuts on the J-bolts until the bubble is dead center. Check it again. And then check it a third time. There are no do-overs once that concrete starts to set.
Now comes the hard part: waiting. Concrete needs time to cure and reach its full strength. Most brands will tell you to wait at least 72 hours before you even think about attaching the pole. Don't get impatient here. Mounting a heavy pole on weak concrete can destroy your entire foundation. For a more detailed look at this crucial phase, you can check out our complete guide on how to install an in-ground basketball goal.
Once the concrete is fully cured, you can finally get to the fun part—building the hoop. Start by assembling the pole sections on the ground. It's a good idea to lay them out on some soft grass or cardboard to keep from scratching up the finish.
Next up, attach the backboard brackets and the height adjustment mechanism to the main pole. Trust me, it’s a whole lot easier to do this while the pole is still horizontal.
Lifting the assembled pole and mounting it is absolutely a two or three-person job. These things are incredibly heavy and awkward to handle. With your helpers, carefully walk the pole upright and guide it down onto the anchor bolts. Get it secured loosely with the washers and nuts.
With the pole standing, you can attach the backboard and rim. The very last step is to put your level on the pole itself and use the leveling nuts on the anchor kit to make any final, fine-tuned adjustments. Once it’s perfectly vertical, tighten every nut down to the manufacturer's torque specs. Now, all that's left is to set the rim to the regulation 10-foot height and start playing.
So, you’ve opted for a portable or wall-mounted hoop. Smart choice. While you get to skip the concrete work, these hoops bring their own set of challenges to the table. They trade the rock-solid permanence of an in-ground system for convenience, but that doesn't mean assembly is a cakewalk.
Getting the assembly right is every bit as crucial for safety and performance. For portable hoops, the game is all about building a stable, unshakeable base. For wall-mounted models, it’s about making absolutely sure the wall can handle the stress of every layup and dunk.
Portable hoops are the go-to for most driveways, and for good reason. The assembly itself isn't rocket science—you’re mostly just putting the pole together, attaching the backboard and rim, and then marrying the whole thing to the base. A good first step is to lay all your parts out on a tarp or a big piece of cardboard. The last thing you want is to scratch up that shiny new pole before you even get it standing.
The single most important part of installing a basketball hoop of this kind is filling the base. This is your foundation. Get it wrong, and you risk the whole thing tipping over. You've got two options here: water or sand.
Pro Tip: If you go with sand, it must be bone dry. Even slightly damp sand will clump up and make it a nightmare to pour into that tiny fill hole. Grab a bag of play sand from any home improvement store—it's perfect for this.
Once the base is filled and heavy, the rest is just a matter of following the instructions. Really pay attention when you’re bolting the pole to the base. Getting those bolts cranked down as tight as possible is the key to minimizing that annoying pole wobble.
A wall-mounted hoop is a fantastic space-saver, but its safety hinges entirely on a secure installation. This isn't a part of the job you can afford to rush. The mounting bracket needs to be anchored directly into the center of your wall studs or into solid masonry like brick or concrete. Drywall alone won't cut it—not even close.
Your best friend for this task is a quality electronic stud finder. Don’t just knock on the wall and hope for the best. You need precision.
Why is hitting the center so critical?
A standard wooden stud is only 1.5 inches wide. If you drill your pilot hole even slightly off-center, the big lag bolt won't have enough wood to grab onto. That's a recipe for a wobbly, unsafe hoop.
After you've pinpointed the dead center of at least two or three studs (check your bracket's requirements), you’re ready to mount.
For more helpful pointers, check out these DIY tips for installing building hardware. With the bracket locked in, it's time to attach the backboard and rim. You’ll want a helper for this part; backboards are heavy and awkward. Once it's up, pull out your level one last time to check the rim.
If you hit a snag or just don't feel confident, our guide on how to assemble a basketball hoop has more in-depth advice.
Even the best-laid plans can hit a snag. A bolt strips out, the pole has a bit of a wobble, or a bracket just doesn't want to line up. It happens. The good news is that most of these installation headaches are completely fixable without tearing everything down and starting over.
Think of this as your courtside troubleshooting guide. Instead of getting frustrated when something goes wrong while you’re installing a basketball hoop, you’ll know exactly how to get the project back on track. A small mistake doesn't have to turn into a major project derailment.
This is probably the single most common complaint with portable hoops. You get it all set up, take a few shots, and the whole thing sways and wobbles. It’s not just annoying; it can be a real safety issue. Nine times out of ten, the problem is in one of two places: the base or the hardware.
Solution: Check the Base and Give the Bolts a Final Torque
First things first, look at the base. Is it really full? If you used water, make sure it’s topped off to the absolute maximum. If you went with sand (the better choice), it’s probably settled, leaving a big air gap at the top. Give the base a good shake and rock it back and forth to help the sand pack down, then add more until you can't fit another grain in there.
Pro Tip: Sand is around 45% more dense than water. It’s a bit more work to fill, but the extra stability you get is more than worth the effort.
Once the base is solid, grab your socket wrench. Go through and systematically tighten every single bolt—the ones connecting the pole to the base and the ones connecting the pole sections together. They often work themselves a little loose during the final steps of assembly. Make sure they are cranked down tight to the manufacturer's specs to kill that wobble.
This is a heart-sinking moment. You've patiently waited 72 hours for the concrete to cure, you mount the pole, step back, and… it's crooked. Don't panic! Most modern in-ground hoops are designed with a built-in fix for this exact situation.
Solution: Use the Built-In Leveling Nuts
That anchor kit you cemented into the ground isn't just a mount; it's an adjustment system. Grab a good spirit level and place it flush against the main pole. Now, look at the large nuts on the anchor bolts.
You'll want to slightly loosen the nuts on the "high" side of the lean and then slowly begin to tighten the nuts on the "low" side. As you do this, you’ll literally watch the pole pull itself into a perfectly vertical position. Make small, one-turn-at-a-time adjustments and check your level after each one. Once that bubble is dead center, you're golden. Tighten all the nuts down securely to lock it in for good.
In the heat of assembly, it’s all too easy to overtighten a bolt and strip the head, or to find that the backboard brackets just refuse to align with the mounting holes.
Solution: Replace Bad Hardware and Loosely Fit Everything First
If you strip a bolt, stop. Don't try to force it or make it work. The only safe move here is to take an identical, undamaged bolt from the kit to your local hardware store and get an exact match. Using compromised hardware is asking for trouble down the road.
For brackets that won't line up, the trick is to not tighten anything down right away.
Even with a solid game plan, you're bound to have a few questions before you start your basketball hoop installation. That's totally normal. Getting these last-minute details right is the key to making sure your new hoop is safe, up to code, and ready for countless games.
Let’s run through some of the most common questions we hear from homeowners before they break ground or drill that first hole.
The time commitment really hinges on which type of hoop you're putting in. A portable hoop is your quickest project, usually taking a handy person 2-4 hours from start to finish. A wall-mounted hoop requires a bit more precision to find solid mounting points, so expect that to take anywhere from 3-5 hours.
In-ground hoops are in a league of their own. The physical assembly of the pole and backboard might take 4-6 hours, but the real time-sink is waiting for the concrete to cure properly.
You absolutely must let the concrete foundation cure for a minimum of 72 hours (3 days) before you even think about attaching the pole. This step is non-negotiable for a safe, stable hoop that won't lean or fail.
If you'd rather leave it to the pros, you can expect to pay somewhere between $400 and $750 for the installation service alone—that doesn't include the cost of the hoop. The final price tag can shift based on a few things. In-ground hoops almost always cost more because of the labor involved in digging, mixing, and pouring concrete.
Other factors like your location and any tricky site prep can also affect the quote. If your driveway isn't level or the crew has to deal with really rocky soil, the price might creep up. It's an extra cost, but hiring an expert saves you a ton of time and gives you peace of mind that it's done right.
Yes, you definitely can, but there's a crucial catch. You can't just dig a hole through the asphalt and pour your concrete. Asphalt itself isn't nearly strong enough to anchor the foundation.
To do it correctly, you’ll need to use a jackhammer or a concrete saw to cut out a square of asphalt—at least 24×24 inches. Once that section is removed, you can dig your footing hole directly into the soil underneath. The concrete needs to bond with the soil to create a permanent, unmovable anchor for your hoop system.
This one really depends on where you live. For a portable hoop, the answer is almost always no, since it's not a permanent structure. But for in-ground hoops, the rules can get a lot stricter.
Some cities or Homeowners' Associations (HOAs) have specific regulations about permanent structures, especially how close they can be to sidewalks, property lines, or public rights-of-way. Your best bet is to make a quick call to your local building department and your HOA before you buy anything. A five-minute phone call can save you from a major headache and potential fines down the road.
Feeling like this project is a bit out of your league? The experts at Assembly Smart can take it from here. We offer fast, reliable, and professional assembly services to get your basketball hoop installed safely and correctly, so you can skip the stress and get right to playing. Get your free estimate today!
