-
CALL US:
- (866) 952-3456
A successful furniture move is won or lost long before the first box is lifted. It all comes down to the prep work. Your success truly hinges on three key tasks: taking a full inventory, measuring everything (twice!), and sketching out a basic floor plan for your new place. This isn't just busy work—it's the strategic approach that separates a smooth transition from a stressful, chaotic moving day.
Moving furniture is much more about smart strategy than it is about brute strength. A great move doesn't kick off when you start hauling boxes; it begins weeks in advance with some solid, thoughtful planning. This is where you lay the groundwork, making the critical decisions that will ultimately prevent chaos, save you money, and protect both your belongings and your sanity.
By putting a clear game plan in place, you can turn what feels like an overwhelming mountain of a task into a totally manageable project.
It really starts with looking at every single piece of furniture with a critical eye. Does it still have a purpose in your life? More importantly, will it even fit in your new home? Answering these tough questions now will save you from the classic moving day nightmare of trying to pivot an oversized armoire up a staircase it was never meant to climb.
Before you even think about packing, grab a notebook or open a spreadsheet and walk through your entire home. The goal is to create a detailed inventory of every single piece of furniture you own. This isn't just a list; it’s a powerful decision-making tool.
For each item, ask yourself a few direct questions:
This decluttering process is honestly liberating. It guarantees you only spend time, energy, and money moving the things you actually want and need. To keep everything straight, a comprehensive resource like this new home furniture checklist can be a lifesaver for tracking your decisions and planning for any new items you'll need.
Before you start planning, it's essential to know what you're working with. This checklist covers the basics to get you started.
| Task | Key Objective | Recommended Tool or Method |
|---|---|---|
| Complete Room-by-Room Inventory | To decide what to keep, sell, donate, or discard. | Spreadsheet app or a simple notebook. |
| Measure All Large Furniture | To confirm items will fit through doorways and into their new spaces. | Tape measure and a notes app on your phone. |
| Measure Access Points | To avoid "stuck in the doorway" scenarios on moving day. | Tape measure for doorways, hallways, and stairwells. |
| Draft a Basic Floor Plan | To pre-determine furniture placement and guide movers. | Graph paper and pencil, or a simple floor plan app. |
By tackling these tasks early, you set yourself up for a much smoother and more organized move-in day.
I can't tell you how many times I've seen it: the "it won't fit" moment. It’s the single most common, and completely avoidable, moving day disaster. A sofa wedged in a doorway or a king-size headboard that can't make the turn in a tight hallway brings the entire move to a screeching halt.
You can sidestep this entire headache with a simple tape measure and about ten minutes of focused effort.
Pro Tip: Jot down the dimensions (width, depth, and height) of all your largest furniture pieces. Next, measure the width and height of every single doorway, hallway, and stairwell in both your old home and your new one. This one simple check gives you definitive proof of what will and won't move easily.
This level of detail becomes non-negotiable for bigger moves, especially when you're crossing state lines. For anyone staring down a significant relocation, it's worth reading up on an expert guide covering how to prepare for moving out of state, as the logistics go way beyond just the furniture itself.
Finally, you'll want to sketch out a simple layout of your new home. You don't need fancy architectural software—a plain piece of paper works perfectly fine. Your goal is to decide where each major piece of furniture is going to live before you even arrive.
This gives your movers, whether they're paid professionals or your buddies, crystal-clear instructions. Instead of constantly asking, "Hey, where do you want this?" they can place items directly in their final spots. This saves you the back-breaking work of shuffling heavy furniture around long after the moving truck has pulled away. It’s this kind of foresight that makes all the difference between an organized, efficient move-in and a cluttered, exhausting one.
Staring down a massive wardrobe or a king-size bed frame with a handful of tools can feel a little daunting. But let’s be real—strategic disassembly is often the only way you’re getting that thing through a tight doorway without leaving a trail of scuffed paint and splintered wood behind you. Breaking down bigger pieces into manageable sections is the secret to a successful move. It saves your walls, and it definitely saves your back.
Before you even think about loosening a single screw, get your toolkit ready. You don’t need a professional workshop. Just a few key items will handle about 90% of what you’ll find in most homes: a trusty power drill with a full set of bits, a solid set of Allen keys (an absolute must for flat-pack furniture), and a rubber mallet for those moments when a joint needs a little gentle persuasion.
First thing's first: give yourself some room to work. If you're tackling a big bookshelf, for example, lay a moving blanket on the floor. This simple step protects both your furniture's finish and your flooring from getting scratched up in the process.
Always start with the easiest parts. For that bookshelf, that means pulling out all the shelves. Simple.
Now, turn your attention to the frame. Work your way through it methodically, removing the screws that hold the top, sides, and back panel together. As you go, pay close attention to how everything connects. I always tell people to snap a few photos with their phone at each stage. Seriously, those pictures become an priceless visual cheat sheet when it's time to put it all back together.
For anything with complex hardware or a bunch of identical-looking parts, a foolproof labeling system is your best friend.
This methodical approach transforms what could be a frustrating puzzle into a simple connect-the-dots exercise. Taking an extra ten minutes to label properly can save you hours of confusion and stress in your new home.
Nothing stops a reassembly project dead in its tracks faster than a lost screw. The fix is incredibly simple: small, sealable plastic bags. As soon as you remove the hardware from a specific section, drop it all into a bag.
Then, use a permanent marker to label that bag with specific details. "Bookshelf – Top Panel Screws" is a lifesaver. "Screws" is… not. For extra security, I like to tape the bag directly to the largest corresponding piece of furniture. It’s hard to lose it that way.
If this all sounds like more than you want to deal with, it's worth exploring a professional furniture disassembly service. It can be a smart, time-saving move that guarantees every last piece is handled correctly.
Once everything is taken apart and labeled, you've hit the most critical stage of the move: protecting your belongings so they arrive in one piece. This is where you put a shield around every surface, guarding against the inevitable scuffs, scrapes, and rattles that happen in transit.
It’s tempting to just toss an old bedsheet over your dining table and call it a day, I get it. But taking a more deliberate, professional approach to moving house furniture protection is what separates a smooth move-in from a day of discovering dings and scratches you swear weren't there before.
Proper packing is about creating a protective cocoon, not just covering things up. The right materials are your first line of defense, and you don’t need a pro’s budget to get them. It's time to think beyond a single roll of bubble wrap.
Your packing arsenal should have a few key players. First, thick, padded moving blankets are absolutely non-negotiable for anything made of wood, metal, or glass. They provide a soft, heavy-duty cushion that absorbs impact like a champ.
Next, stretch wrap. This stuff is a lifesaver for holding those blankets snugly in place. It’s also perfect for wrapping up upholstered pieces like your sofa to keep them clean and dry.
Finally, don't sleep on the power of simple corrugated cardboard. You can cut sheets to add a rigid layer of protection over delicate surfaces that need extra reinforcement.
These three items are the foundation for getting your furniture safely from point A to point B. For a much deeper dive into specific techniques, our guide on how to protect furniture when moving has detailed steps for all kinds of different pieces.
Moving is a massive job, and the numbers back it up. The global moving services market—which covers everything from packing to transport—is on track to hit USD 111.23 billion by 2025. It just goes to show how much people value getting their stuff moved safely and professionally. You can see more on moving services market trends and what's driving the growth.
Different furniture pieces need different game plans. You can't just wrap a sofa the same way you'd wrap a glass tabletop; a one-size-fits-all approach is a recipe for disaster.
For a wooden dining table, start by taking the legs off if they're removable. Wrap the tabletop completely in moving blankets—don't skimp on the corners—and then secure it all tightly with a few layers of stretch wrap. The legs can be wrapped individually in bubble wrap or smaller blankets.
An upholstered sofa requires a different strategy. Here, the main goal is protecting the fabric from rips, snags, and dirt. Start by covering the entire thing with a moving blanket or a purpose-built plastic sofa cover. Then, use stretch wrap to encase the whole piece, which not only holds the cover in place but adds a crucial layer of moisture protection.
Glass tabletops are incredibly fragile and need special care. I like to create a "cardboard sandwich." Place a sheet of corrugated cardboard on each side of the glass, tape them together securely, and then wrap the entire package in a moving blanket. This combination of rigid and soft protection is the only way I trust to move glass.
This is where the rubber meets the road. Moving heavy furniture isn't about raw strength; it's all about technique and having the right tools for the job. Trying to brute-force it is a surefire way to get a strained back or a scratched-up doorway. A smart, methodical approach, on the other hand, gets you and your furniture to the finish line in one piece.
The basics are simple, but people forget them all the time: lift with your legs, keep that back straight, and don't rush.
Before you and a buddy even think about grabbing that solid oak dresser, clear a path. Seriously. Get any rugs, stray toys, or boxes out of the way. A completely clear walkway from the bedroom to the moving truck is non-negotiable. It’s a basic safety step that prevents a world of hurt.
Also, get on the same page with your moving partner. Constant communication is key. Simple things like calling out, "Lifting on three!" or "Watch that corner on your left," prevent the kind of missteps that lead to accidents.
Working smarter means having the right gear. These tools aren't luxuries; they're absolute essentials for moving heavy stuff without breaking your back.
You can rent or buy this stuff pretty easily, and it's a tiny investment compared to the physical toll it saves you. We cover even more tools and tricks in our guide on easy ways to move heavy furniture.
When you hit the stairs with something tall like a dresser, always use the "high-low" method. The person at the bottom of the stairs takes the low side of the furniture, and the person at the top holds the high side. This keeps the item level and balanced, which is exactly what you want.
Here’s a classic mover’s trick for tight corners: don't just push. Pivot. You can often stand a sofa or armchair on its end to get it vertically through a doorway, then just tip it back down once you’re in the clear. It feels a little strange the first time, but it works like a charm.
These aren't just random tips; they're the same principles the pros use every day. We're talking about the U.S. moving industry, a sector with a market size of around USD 21.3 billion in 2023. With over 16,851 moving companies out there, safe and efficient techniques are everything. You can explore more moving industry statistics if you're curious, but the main takeaway is clear: taking a page from their playbook will make your DIY move that much smoother.
Let's be honest, how you load the truck is the final boss of moving. You can wrap and pack everything perfectly, but a haphazard loading job can make all that effort meaningless. A smart strategy, on the other hand, turns the truck into a stable, well-organized puzzle, ensuring everything gets to your new home in one piece.
The golden rule is simple: heavy and large items go in first. Start by building a solid base at the very back of the truck, right up against the cab. This is where your heaviest pieces belong—appliances, sofas, solid wood dressers. Placing them here distributes the weight over the truck's axles, which is absolutely critical for a stable, safe drive. Think of it as laying the foundation for a house; everything else will rest on this first layer.
Once you've got that heavy base set, you'll want to think in tiers, working from the floor to the ceiling.
Long, awkward items like mattresses, headboards, and big mirrors should be placed upright along the long walls of the truck. Use moving straps to secure them tightly so they can't shift or topple over.
With those in place, you can start filling the gaps with medium-weight boxes and smaller furniture. The goal is to pack everything as tightly as you can, almost like a game of Tetris. You want to eliminate any empty space where items could slide around during transit. And remember to keep the weight balanced from side to side to keep the truck from swaying on the road.
Unloading is pretty much just loading in reverse. Start with the items closest to the door and work your way back. Have a clear plan and move furniture directly to its designated room. This avoids creating a cluttered staging area and saves you from handling everything twice.
This might seem like a lot of work, but it's essential. The global furniture market, which is projected to be worth around USD 750 billion in 2025, is deeply tied to the moving industry. That's a staggering amount of furniture being transported, and it really highlights the need for safe handling techniques.
Before anything even gets to the truck, you have to lift it correctly. This is ground zero for preventing injuries and damage.
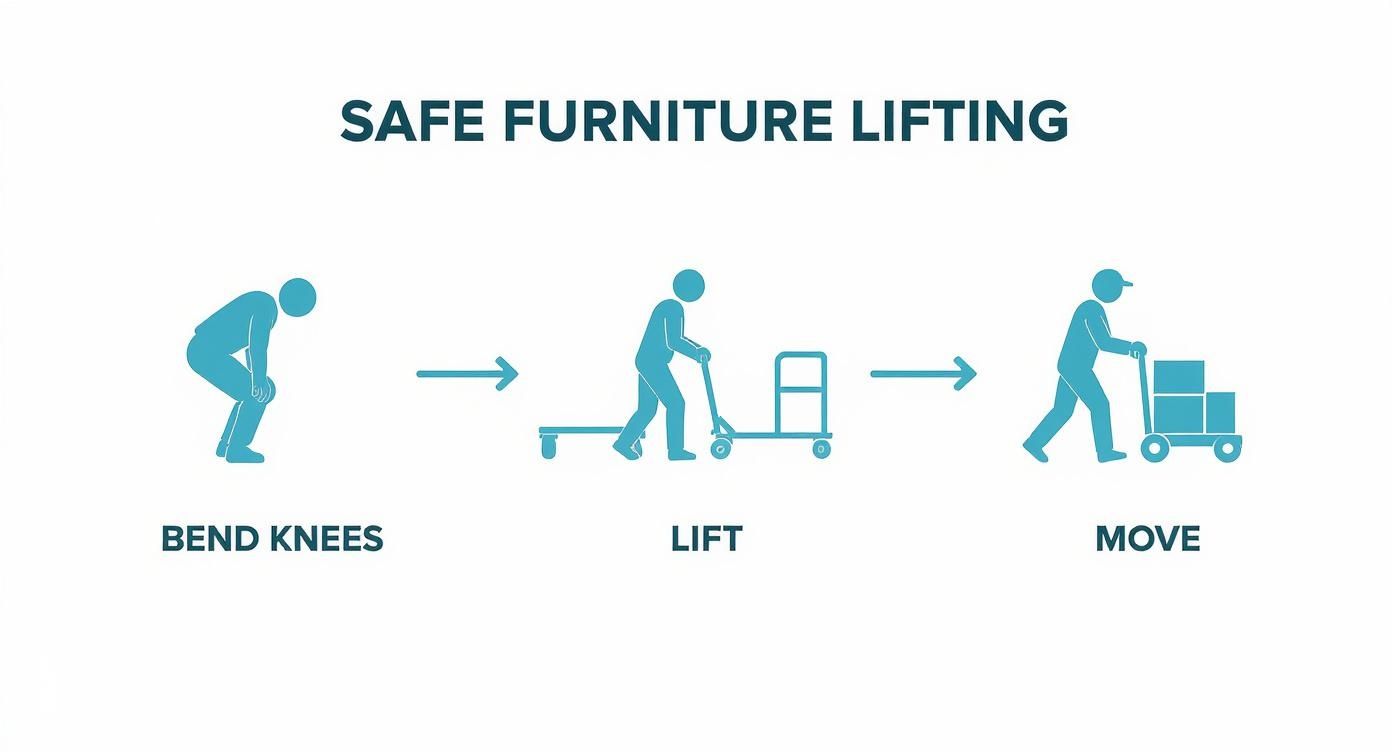
Following these basic ergonomic principles—bending your knees, using the right equipment, and moving with intention—is the first step. For those really delicate, valuable pieces, it's worth looking into the specifics of shipping antique furniture. Those specialized techniques can offer maximum protection.
Ultimately, a well-loaded truck and a systematic unloading process will make your move-in day organized, efficient, and a whole lot less stressful.
Even the most meticulously planned move can throw you a curveball. When you're in the thick of it, surrounded by boxes and half-disassembled furniture, a quick, clear answer to a nagging question can be a real lifesaver. It’s the difference between a minor speed bump and a full-blown moving day disaster.
Think of this as your go-to guide for those last-minute head-scratchers. We’ve been there, and we know what trips people up. From picking the right equipment to keeping your security deposit, these are the insights that make a difference when it really counts.
If you get only one thing, make it a furniture dolly. It’s the undisputed MVP of any move, hands down. For big, boxy pieces like dressers, media consoles, or filing cabinets, a simple four-wheeled flat dolly is a game-changer. You just load it up and roll. For taller items like bookcases or appliances, a two-wheeled utility dolly (often called a hand truck) gives you the leverage you need to tilt and go.
Seriously, a dolly saves your back, prevents those deep, gouging scratches in your floors, and makes the whole process faster and safer. It's a small rental or purchase fee for a massive payoff in time and energy.
Ah, the age-old debate: cost versus convenience. Let's be real—hiring pros is the way to go if you're dealing with a lot of high-value antiques, something ridiculously heavy like a piano, or you're moving long-distance. They've got the right trucks, the training, and most importantly, the insurance to cover things if something goes wrong.
On the other hand, a DIY move can save you a good chunk of change, especially for smaller, local moves. If you've got standard-issue furniture and a few friends who owe you a favor (and a pizza), you can definitely pull it off. The trick is to be honest with yourself about the time it will take, the physical toll, and the real risk of damaging your stuff—or your home.
Deciding between a DIY move and hiring pros is a major decision point. A professional service can transform a stressful weekend into a seamless experience, which is why so many people choose to enlist the help of experts to ensure their furniture is moved safely and efficiently.
A little prep work here goes a long way toward avoiding costly repairs. Spending just 15 minutes before you move the first heavy item can be the difference between getting your full security deposit back and getting a bill from your landlord.
Mattresses are just plain awkward. They flop around, they're hard to grip, and they seem to attract every speck of dirt between your old place and the new one. The best solution, by far, is a dedicated mattress bag. You can grab one at any U-Haul or moving supply store. These heavy-duty plastic covers protect against dirt, moisture, and rips.
Once it's bagged, the trick is to carry it on its side, almost like a giant taco, with one person on each end. This makes it more rigid and way easier to maneuver through doorways. When you load it onto the truck, always stand it upright against a wall and strap it in so it can’t tip over and crush your other things.
Feeling overwhelmed by the thought of disassembling and reassembling everything on your own? The experts at Assembly Smart can take that stress off your plate. Whether it's a new IKEA wardrobe or your existing bedroom set, our professionals ensure every piece is handled correctly, saving you time and frustration. Let us build your furniture so you can start enjoying your new home faster. Learn more about our assembly services at AssemblySmart.com.
