-
CALL US:
- (866) 952-3456
Securing furniture to a wall isn't just another weekend DIY project—it's one of the most important safety steps you can take in your home. It's a simple process of using anchors or straps to stop things like bookshelves, dressers, and TVs from tipping over. This is especially crucial if you have kids running around or live in an area prone to earthquakes. A few minutes of work here can prevent a lifetime of regret.
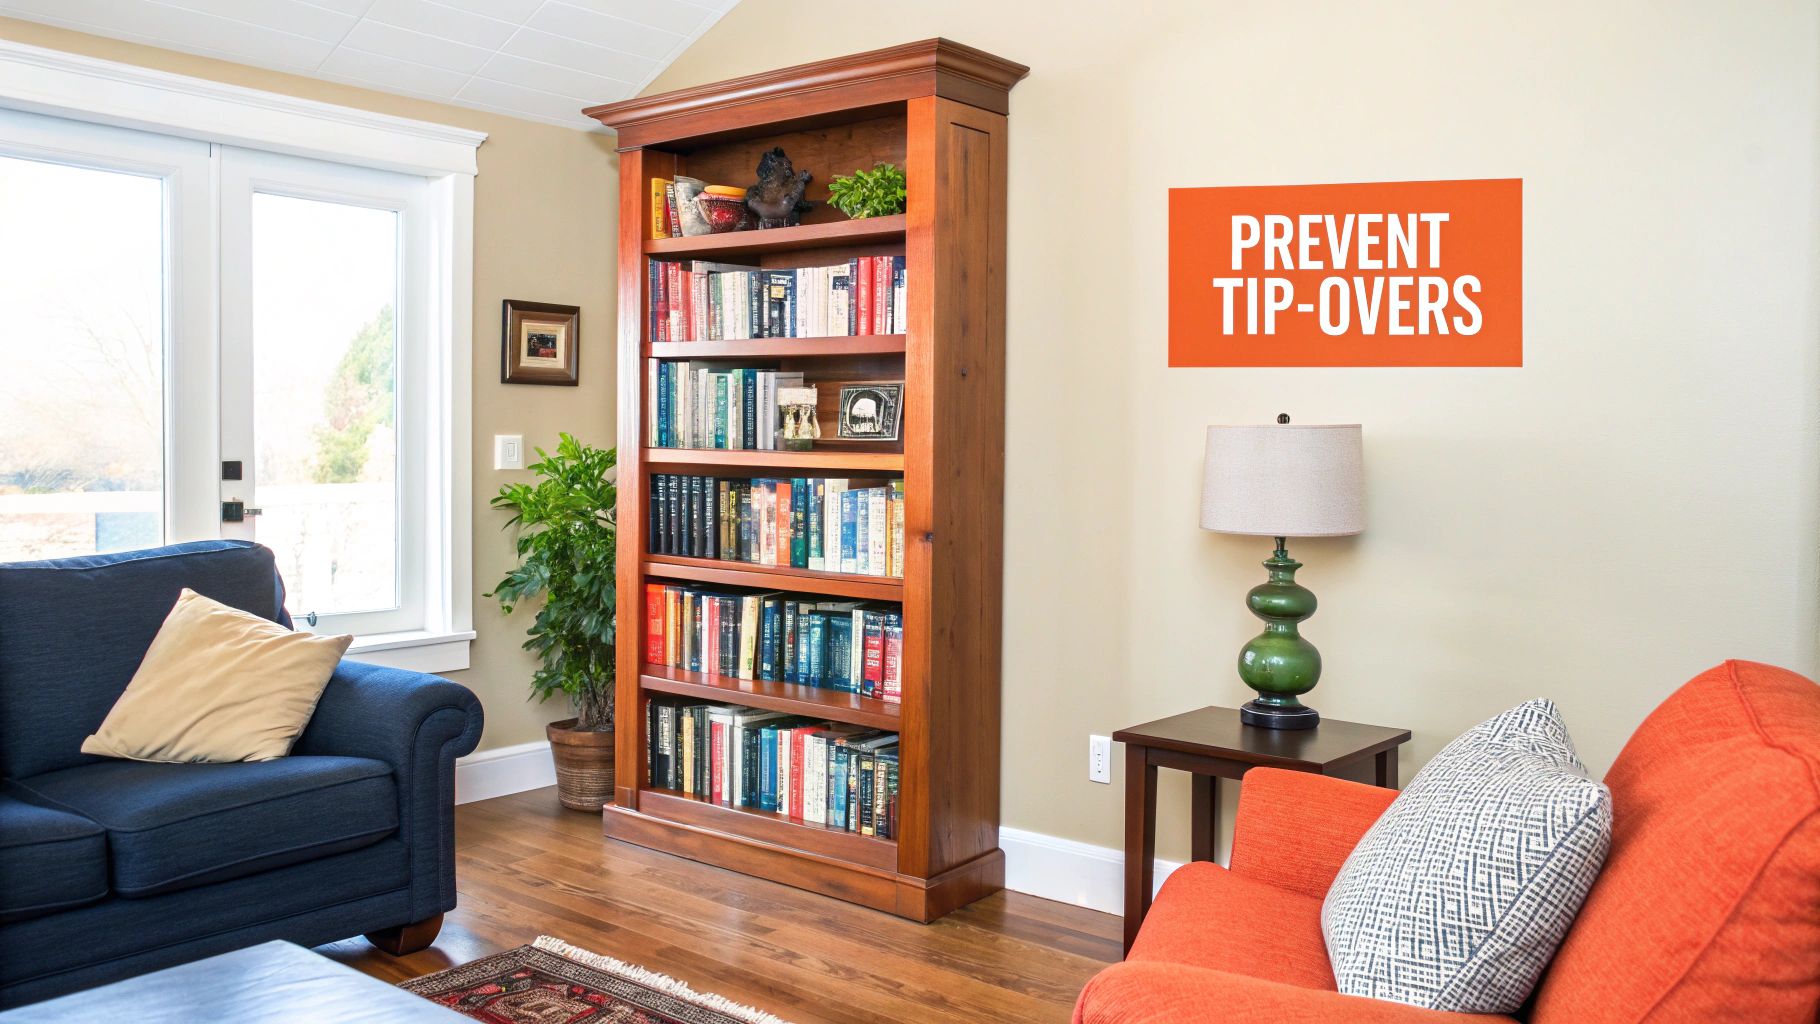
It’s really easy to look at a tall bookshelf or a heavy dresser and see it as a permanent, unmovable part of the room. I get it. But the truth is, a high center of gravity makes these pieces surprisingly unstable. All it takes is a toddler trying to climb, or even just an uneven floor, to create a serious hazard.
Think about it this way: when you open a top drawer packed with clothes, you're shifting the center of gravity forward. That simple, everyday action can be enough to make the entire unit dangerously unstable, turning a piece of furniture you trust into a massive risk.
The numbers on furniture tip-overs are genuinely shocking. According to the U.S. Consumer Product Safety Commission, around 43,000 people end up in the emergency room every single year from these accidents. A huge number of them are children under six. The main culprits are almost always the same: dressers, bookshelves, and TVs.
I tell all my clients the same thing: spending an hour anchoring your furniture isn't just checking a box. You're installing peace of mind and building a safer home from the ground up. It’s one of the most impactful things you can do for your family’s safety.
Anchoring furniture is an absolute must. The benefits are massive for such a small amount of effort and cost. It's all about being proactive instead of waiting for a disaster to happen.
The most common problem pieces I see are:
By taking the time to secure these items, you're getting rid of one of the biggest hidden dangers in your home. Our full guide on how to secure furniture to a wall walks you through the exact steps for different furniture and wall types, so you can handle this project like a pro.
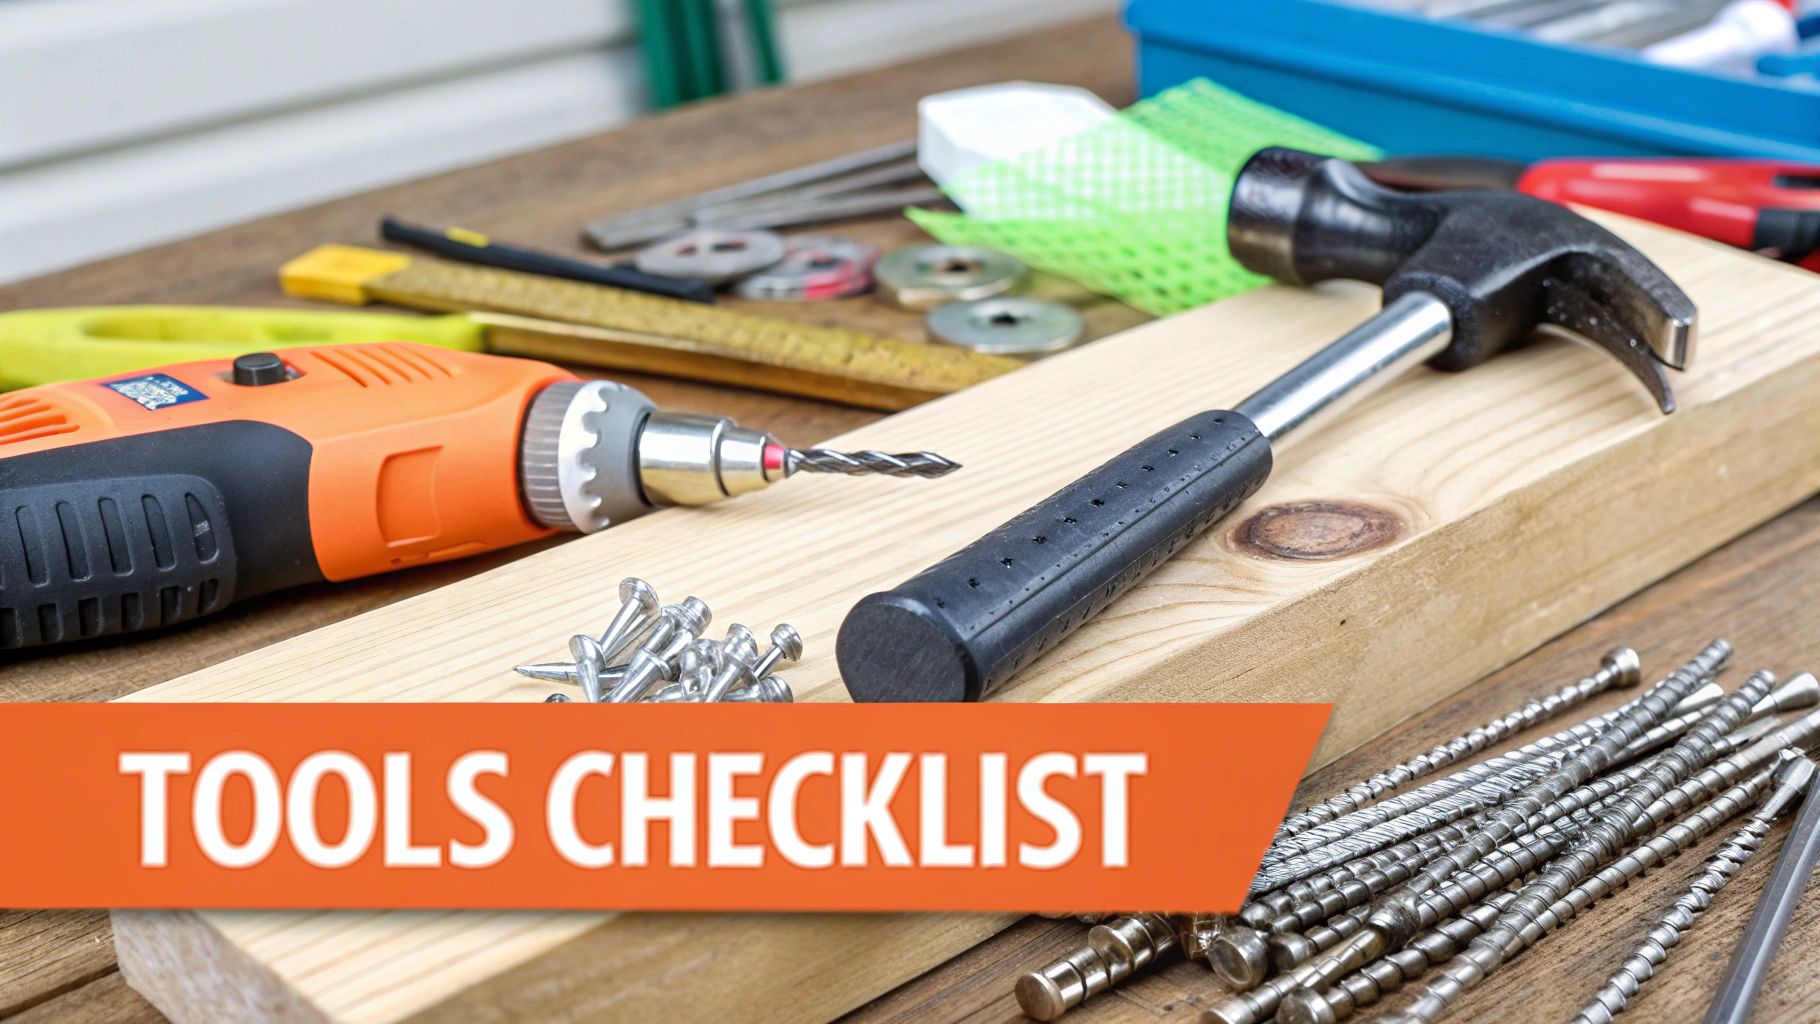
Getting your furniture secured to the wall properly starts long before you ever drill a hole. It really begins with picking the right gear for your specific situation. Don't just grab the first anchor kit you see; you have to think about what your furniture is made of (is it solid wood or particleboard?) and, most importantly, what kind of wall you're dealing with.
Matching the hardware to your wall type is absolutely critical. Drywall, plaster, and brick each demand a completely different approach. A simple plastic anchor that’s fine for drywall will just crumble inside an old plaster wall, and neither one is going to cut it for a heavy-duty job. Getting this right from the start saves you from those frustrating mid-project runs to the hardware store and ensures the piece is truly secure.
When it comes to your toolkit, the most important thing you can have is a good stud finder. For the best possible safety and stability, part of choosing the right tools is investing in a reliable stud detector. Anchoring directly into a wooden stud gives you the strongest hold, period.
Once you’ve found your studs (or determined you have to use a different method), you need to pick the right anchor:
A key thing to remember: the anchor kit that comes with your flat-pack furniture is just a starting point. It might be good enough, but you should always stop and ask if your wall type or the furniture's weight calls for something stronger. Never be afraid to upgrade the hardware.
Homeowners are the biggest drivers for secure furniture—making up about two-thirds of the demand as people look for storage that's both safe and stylish. This has really pushed manufacturers to design better, more user-friendly anchoring solutions that don't look clunky.
Choosing the right equipment truly is half the battle. If you're just starting to build out your toolkit, our guide to essential furniture assembly tools is a great resource to help you get everything you’ll need for this project and any others down the road.
Alright, you've got your tools and anchors laid out. Now for the most critical part of the job. How you secure furniture to a wall really comes down to what your wall is made of. Getting this right is the difference between a rock-solid installation and a false sense of security.
In most modern homes, you'll be dealing with drywall. When you're up against drywall, the name of the game is finding a stud. Think of studs as the skeleton of your wall; they provide the strongest possible anchor point. A common—and dangerous—mistake is relying on a simple drywall plug. It just won't hold up.
First things first, grab your stud finder and locate the center of the stud right behind where your furniture will sit. Mark it with a pencil. Then, get your furniture in position and mark a matching spot on its back panel. Aim high; an anchor near the top of the piece is going to be far more effective at preventing a tip-over.
The type of wall you have completely changes your game plan for drilling and what hardware you'll use. Each surface has its own personality, and you need to respect it to avoid a mess and get a solid connection.
Wooden furniture is still king, with the global market hitting around USD 460 billion in 2024. Considering how heavy popular items like wardrobes and dressers are, anchoring them is simply a non-negotiable safety step. You can see more about what's trending in the wall unit market here.
With your pilot holes ready, it's time to attach the hardware. I always find it easier to secure one end of the strap or bracket to the furniture first, then attach the other end to the wall. This is a moment for precision, not brute force.
Pro Tip: Tighten the anchor until it’s taut, but don't go overboard. You just want to get rid of any slack so the furniture can't build up momentum if it starts to tip. Overtightening can strip the screw, crack the wall, or damage your furniture.
Once it's installed, give the furniture a firm but gentle tug. It shouldn't move at all. That little test is your final confirmation that you’ve done the job right and made your home a whole lot safer for everyone in it.
When it comes to securing furniture, a one-size-fits-all approach just doesn't cut it. Thinking every piece of furniture has the same tip-over risk is a common mistake that can leave serious safety gaps in your home. The reality is that you have to tailor your anchoring strategy to the specific item—its size, its shape, and how it’s actually used.
For instance, a tall, narrow bookshelf has a high center of gravity, making it a prime candidate for tipping straight forward. Your best defense here is to get a strong anchor as close to the top as you can. This gives you the most leverage against its momentum. If you want to get a better sense of these unique risks, it can help to visualize different furniture types and think through how each might fall.
Now, a wide, heavy dresser is a completely different beast. A single anchor point right in the middle might stop it from falling forward, but it won't do much to prevent it from twisting or rocking side-to-side. This is especially true if someone opens a few heavy drawers on one side.
This is where experience comes in handy. The best practice for any piece of furniture wider than 30 inches is to use two separate anchor points. Spacing them as far apart as possible creates a much more stable, dual-point connection that resists both tipping and those dangerous twisting forces.
Don't just take my word for it. The data on this is incredibly clear and shows just how big of a difference this simple step makes.

As you can see, properly installing anchors can slash tip-over incidents by a whopping 75%. It's easily one of the most effective safety measures you can take in your home.
Matching the right anchor and technique to the right piece of furniture is what really makes this work. Here's a quick comparison of common items I see and the best way to secure them.
| Furniture Type | Primary Risk Factor | Recommended Anchor Type | Key Tip |
|---|---|---|---|
| Tall Bookshelf | High center of gravity, forward tip-over | Nylon Straps or L-Brackets | Anchor as high as possible into a stud for maximum leverage. |
| Wide Dresser | Twisting from unevenly opened drawers | Two separate anchor kits (straps or cables) | Use two anchor points, spaced wide apart, to prevent twisting. |
| TV Stand/Media Console | Heavy load, forward tipping | Heavy-Duty Steel Cables or L-Brackets | Secure the unit itself, not just the TV. Manage cords to prevent pulling. |
| Changing Table | Top-heavy, side-to-side rocking | L-Brackets or Furniture Straps | Ensure a solid connection that prevents any rocking motion during use. |
Thinking through these specific risks before you start drilling is the key to getting a secure installation that you can trust for years to come.
Let's break down the practical application for a few of these common household items. Thinking about their unique weak spots before you start will make the whole process smoother.
Here are a few quick tips based on my experience:
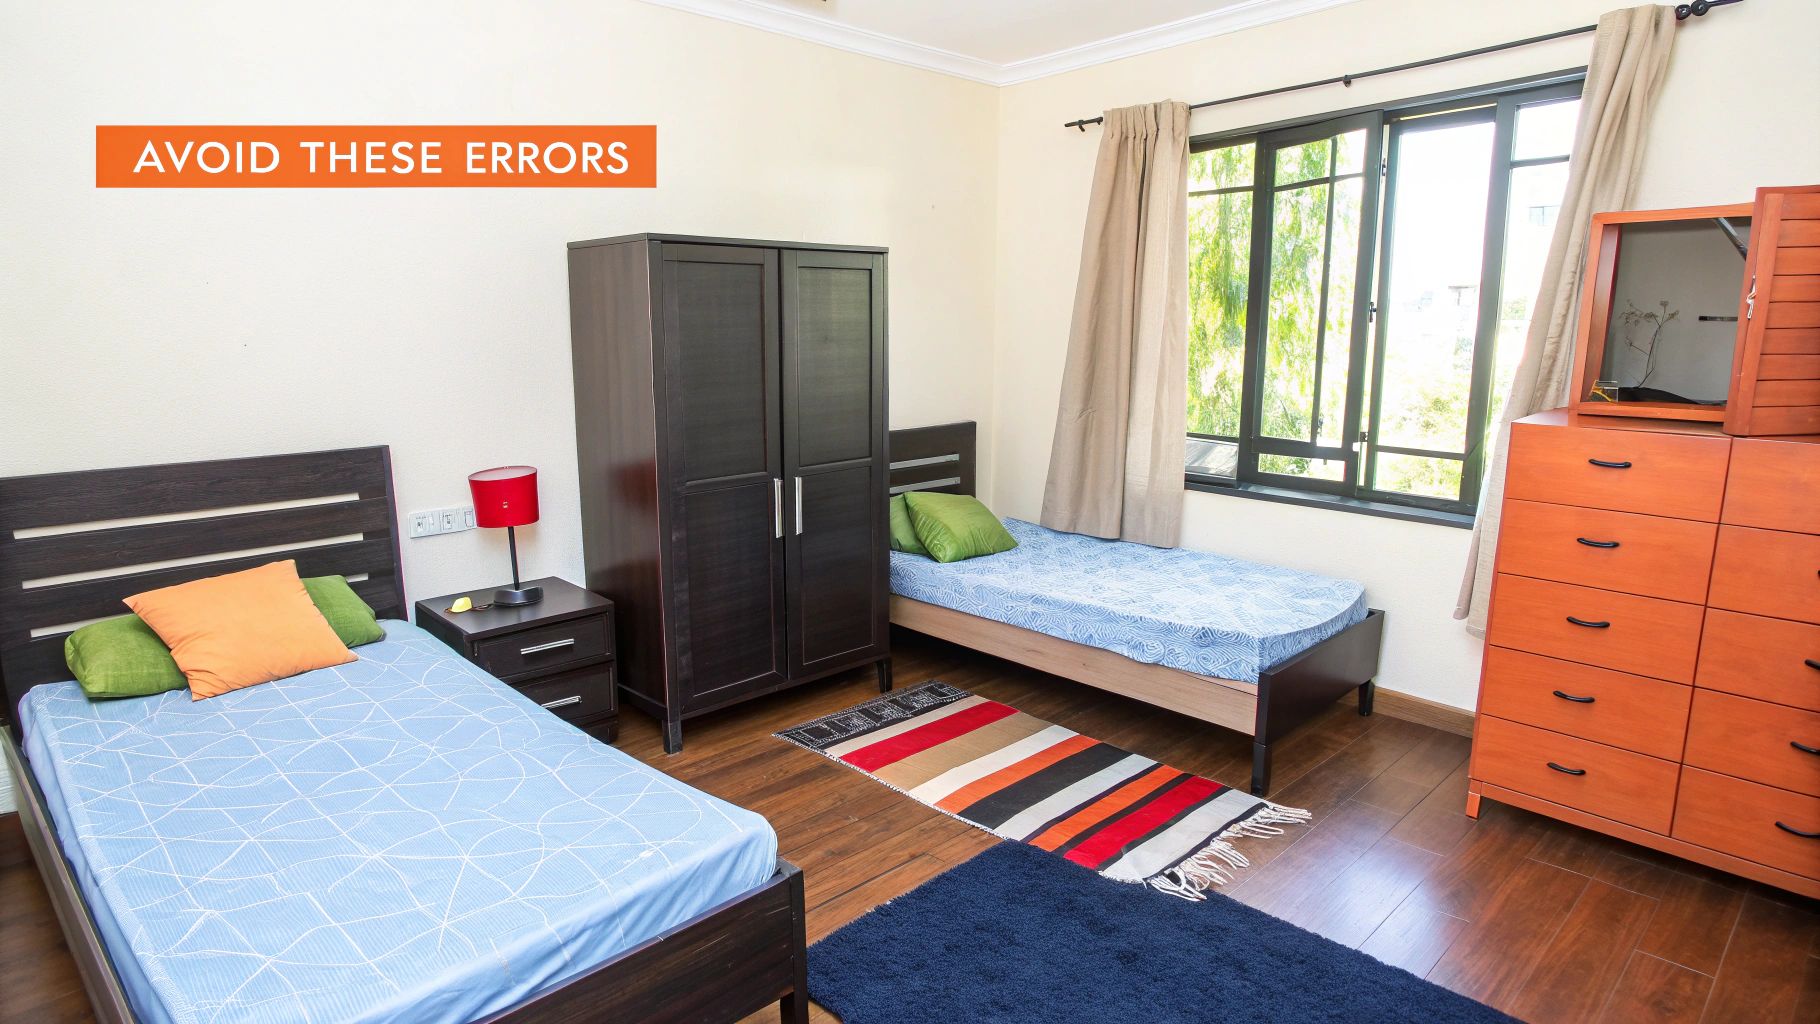
Even with the best of intentions, a few common slip-ups can make your anchoring efforts completely ineffective. I’ve seen it time and time again. Learning from these frequent DIY errors ensures you're not just going through the motions but are actually making your home safer.
Let's walk through some of the biggest mistakes I see people make when securing furniture to a wall.
One of the most critical failures is using screws that are just too short. A screw has to bite deep into the wall stud—I always aim for at least 1.5 inches of penetration—to create a hold you can count on. A short screw might feel snug at first, but it can easily pull out under the kind of force a tipping dresser can generate.
Another dangerous shortcut is using a standard plastic drywall anchor and calling it a day, especially without hitting a stud. Those little plugs are fine for hanging a picture frame, but they were never designed to bear the heavy, dynamic load of a piece of furniture. They will fail when you need them most.
Where you place the anchor is just as important as the hardware you use. If you attach the strap or bracket too low on the piece of furniture, you dramatically reduce its effectiveness. Think of it like a lever; the higher up you place the anchor point, the more leverage it has to stop the furniture from tipping forward.
To avoid these all-too-common pitfalls, just follow a few simple rules:
I have a simple rule of thumb: treat the anchor like a seatbelt. It has one job to do in an emergency, and you need to be 100% confident it will perform. Don't take shortcuts or guess—verify that every connection is solid and secure.
By sidestepping these common blunders, you can be sure that the time you spend anchoring your furniture results in genuine, lasting safety for your family.
It's one thing to read a guide, but it's another thing entirely to be on your knees, screwdriver in hand, when a tricky situation pops up. It happens to everyone. Let's walk through some of the most common questions that come up mid-project so you can get the job done right.
One of the biggest hang-ups I hear about is from renters. They're understandably worried about their security deposit.
Absolutely, and you should. Honestly, most landlords would rather you take this simple safety step. The tiny screw holes left behind by furniture safety straps are a breeze to patch up before you move out.
A little bit of spackle, a light sanding, and a quick dab of paint is all it takes to make the wall look brand new. This is almost always considered normal wear and tear. It’s a tiny, fixable issue in exchange for a massive gain in safety for your family and the property itself. Just give your lease a quick read-through, but don't let renting stop you from making your home safe.
This is a great question because it highlights a common mistake. For any piece of furniture that's especially wide, long, or heavy, one anchor is not enough. A single anchor point can act like a pivot, meaning the furniture can still twist or rock sideways, which defeats the whole purpose.
As a rule of thumb, use at least two anchor points for wide items like dressers, bookcases, or TV stands. Place them as far apart as you can, ideally near the outside corners of the furniture. This gives you a much wider, more stable base of support that resists both tipping forward and twisting.
If the furniture came with its own anchoring kit and specific instructions, always go with what the manufacturer recommends. They’ve designed it for that specific piece.
Yes. An emphatic, 100% yes. Any time you move the furniture away from the wall—even if it's just to vacuum behind it—you have to re-secure it. Once you loosen that strap or remove the screw, the anchor's integrity is gone.
Think of it like a seatbelt. You wouldn't unbuckle it for a minute on the highway and just assume you're still protected. The connection is only safe when it's fully installed and pulled taut. Taking a moment to re-install the anchor ensures it's ready to do its life-saving job.
Got a question that wasn't covered here? For more expert advice on home assembly and safety, feel free to check out our detailed FAQ page.
Don't have the time or the tools to get this done? Let the pros at Assembly Smart take care of it. We offer reliable, next-day furniture assembly and anchoring services to make sure your home is safe and secure, without any of the stress. Book your appointment today!
