-
CALL US:
- (866) 952-3456
A smooth treadmill setup starts long before the delivery truck pulls up to your curb. A little prep work can be the difference between a frustrating afternoon and an exciting start to your fitness journey. It's all about planning ahead—picking the right spot, clearing the way, and making sure your home is ready.
The last thing you want is a massive, heavy box sitting in your driveway with no clear plan for getting it inside. This initial stage is all about foresight. Given the boom in home fitness, this is a situation more and more people are facing. The global treadmill market was valued at around USD 6.07 billion in 2025 and is projected to hit USD 7.2 billion by 2035—a clear sign that home gyms are here to stay. You can dig into more data on this trend and its effect on delivery logistics over at businessresearchinsights.com.
Deciding where your treadmill will live is easily the most important choice you'll make. It’s about more than just finding an open space; you have to think about safety, usability, and the machine's own health.
Find a spot with a solid, level floor. If you place a treadmill on an uneven surface, it's going to wobble when you run, which is not only dangerous but also puts a ton of stress on the frame. Over time, that can cause serious damage. Hardwood, tile, or even a very low-pile carpet are your best bets. If you are putting it on a carpeted floor, it’s a good idea to look into some carpet protection strategies to prevent permanent indentations.
Key Takeaway: A level surface is non-negotiable. An unstable treadmill is a safety risk and can lead to mechanical failures that might not be covered by your warranty.
Before the delivery is even scheduled, get out a tape measure. You need to map the treadmill's entire path, from the front door to its final home. Measure the width and height of every doorway, hallway, and staircase on that route.
Now, check those numbers against the treadmill's boxed dimensions, which you can almost always find on the retailer's website. People often forget about tight corners, stairwell landings, or that one low-hanging light fixture in the hallway. A few minutes of measuring can save you from the disaster of a box that simply won't fit. The same logic applies to any large delivery; we cover similar tips in our guide on how to prepare for your furniture assembly project.
Once you've confirmed the path, double-check the final spot. You'll want at least two feet of clearance on both sides and a good six feet of open space behind the machine for safety.
To make things even easier, here's a quick checklist to run through.
This simple table breaks down the essential steps to take before your treadmill arrives, ensuring you're not caught off guard.
| Preparation Step | Key Considerations | Why It Matters |
|---|---|---|
| Select the Room | Is it well-ventilated? Is there a power outlet nearby? Will noise be an issue for others? | A well-chosen room improves comfort, safety, and how often you'll actually use the machine. |
| Measure Everything | Box dimensions vs. doorways, hallways, stairs, and tight corners. | Prevents the delivery-day nightmare of a box that's too big to get inside. |
| Check Floor Stability | Ensure the surface is solid and perfectly level. Avoid high-pile carpet. | An unstable floor can damage the treadmill's frame and motor and is a major safety hazard. |
| Clear the Path | Move furniture, rugs, and decor out of the way from the entrance to the final spot. | A clear path makes the delivery team's job faster, easier, and safer for everyone involved. |
| Protect Your Floors | Lay down protective coverings like cardboard, blankets, or specialized floor runners. | Prevents scratches, scuffs, and dings on your hardwood, tile, or laminate floors during move-in. |
| Confirm Space Requirements | Ensure 2 ft. of clearance on the sides and 6 ft. behind the final placement area. | Adequate clearance is crucial for safe operation and allows for easy access during maintenance. |
Taking a little time to work through this list transforms the delivery from a potential headache into a straightforward process, getting you one step closer to your first workout.
The big day is here, and that massive box is finally on its way. What happens next is all about clear communication and having a sharp eye. A smooth treadmill delivery and setup really starts the moment the truck pulls up, not when you first cut open the box.
First things first: know exactly what kind of delivery service you paid for. Is it a basic curbside drop-off, or did you spring for the full white glove service? This is a huge detail because it dictates what the delivery crew will and won't do for you.
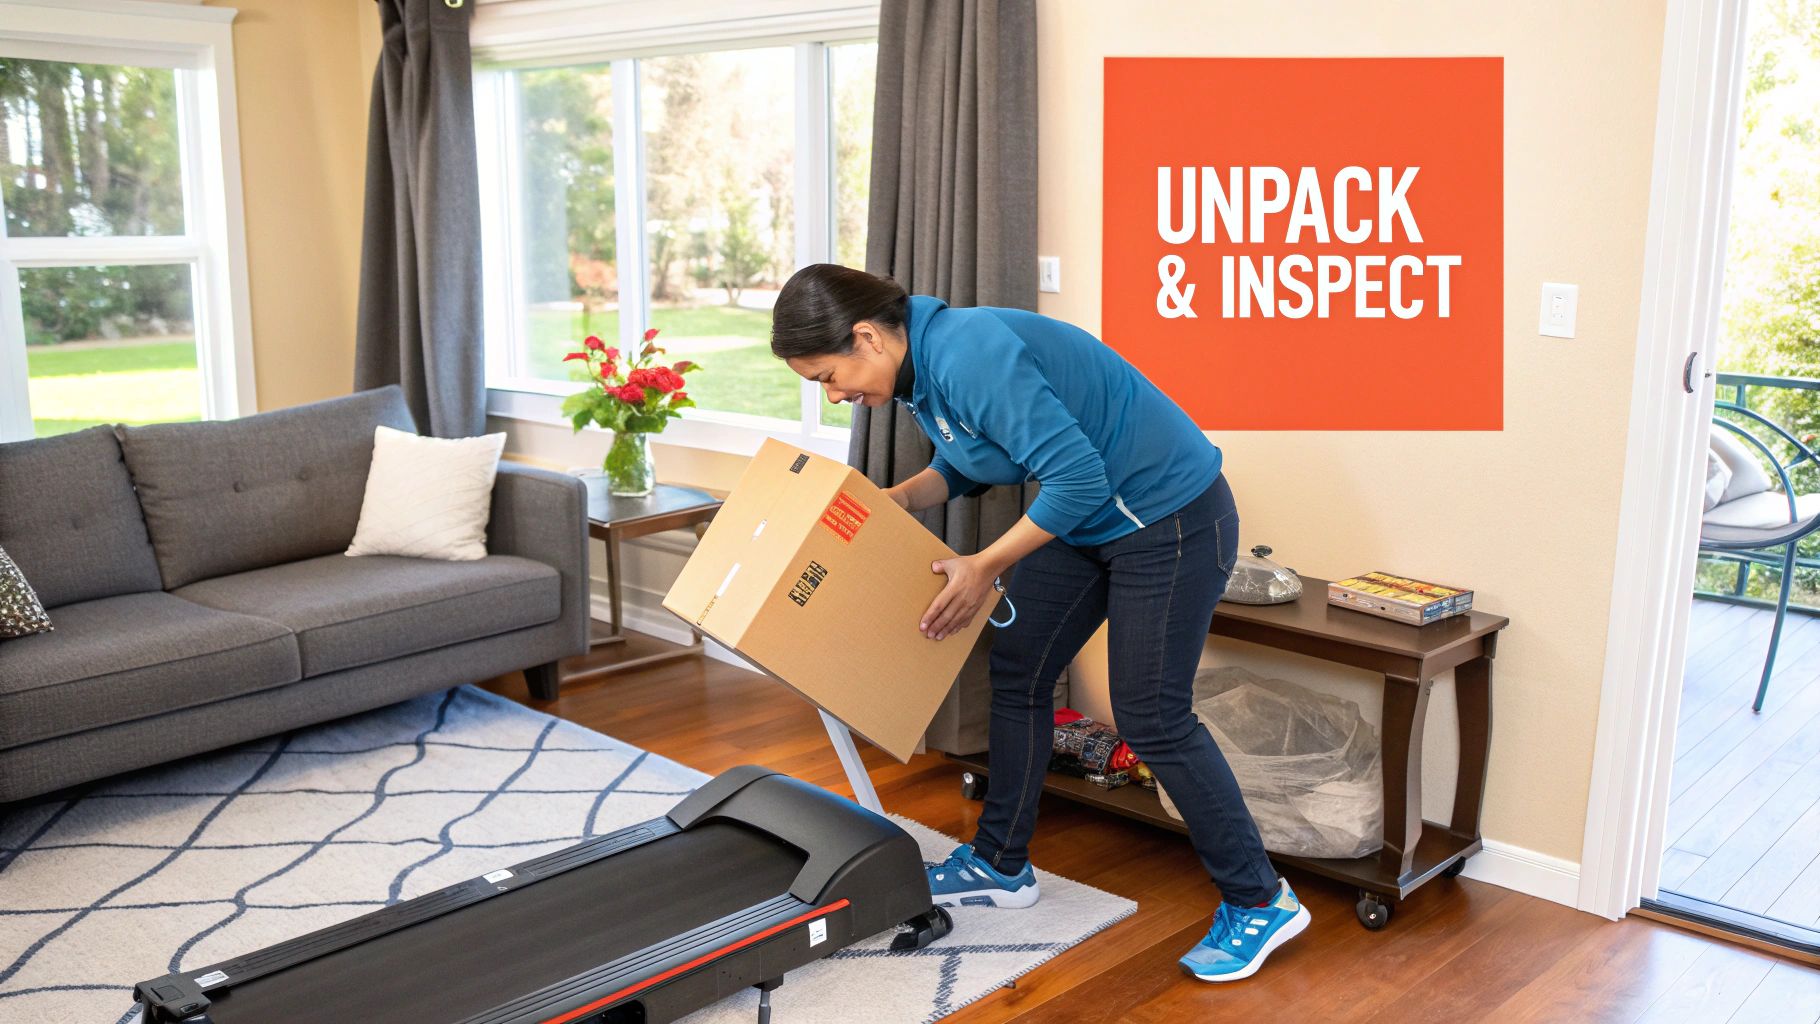
Don’t let the delivery drivers rush you. Before you sign a single piece of paper, give that box a good, hard look. This is probably the most important step of the whole delivery process.
Scan for any signs of damage from the journey. Are there big gashes in the cardboard? Are the corners completely crushed? Does it look like the box was opened and sloppily re-taped? Snap a few pictures of anything that seems off. Those photos are your best friend if you open the box and find a cracked console.
Pro Tip: If you see any damage to the box, make a note of it directly on the delivery receipt before you sign. Something as simple as "Box Damaged" or "Subject to Inspection" covers you if the machine inside is also broken.
If the box looks like it went through a warzone, remember that you can refuse the delivery outright. It’s often a lot less hassle to refuse it on the spot than to go through the process of returning a massive, damaged piece of equipment later.
A little friendly communication can go a long way, especially if you didn't get white glove service. The drivers have a specific job to do based on the delivery level, but being clear and polite can make a world of difference.
Tell them exactly where you'd like the box to go. Even if they're only paid for a threshold delivery, it never hurts to ask nicely if they can help get it a little further. Just be prepared for them to say no.
Remember, these boxes can easily weigh over 250 pounds. Trying to wrestle one on your own is a recipe for a pulled muscle or a damaged floor. If you're tackling the move yourself, it's worth checking out some tips on easy ways to move heavy furniture to learn how to do it safely.
Your main goal here is simple: get that treadmill to its final spot without any damage to your home, your back, or your new machine. By understanding your delivery terms and inspecting everything carefully, you’re setting yourself up for a successful assembly.
The heavy lifting is over, and now you’re staring at a giant box. The next step is turning that collection of parts into a ready-to-use fitness machine. This part of the treadmill delivery and setup journey can feel daunting, but with a bit of patience and a methodical approach, it's completely manageable.
My first piece of advice? Put the instruction manual’s confusing diagrams aside for just a moment. Start by carefully opening the box. I always recommend avoiding a box cutter with a long blade—it’s far too easy to accidentally scratch the console or, even worse, slice through a critical wire.
Once you have it open, take a few minutes to lay everything out. Most companies these days pack all the bolts, washers, and wrenches into a labeled blister pack, which is a lifesaver. Before you touch a single tool, cross-reference every part and piece of hardware with the list in your manual. Finding out something is missing after you’ve started is a real momentum-killer.
Here's where a lot of people go wrong: they try to muscle the treadmill deck—which can easily top 150 pounds—straight out of the box. That’s a surefire recipe for a strained back. Instead, let the packaging do some of the work for you.
You can actually cut away the sides of the box, leaving the heavy deck resting on the bottom piece of cardboard. Now, grab those big styrofoam blocks that were protecting the machine and use them to prop up one end of the deck. This simple trick gives you all the clearance you need to start attaching the base frame without having to wrestle with the deck's weight.
Key Insight: Don't throw away any packaging until you are completely finished with the assembly. Those styrofoam pieces are your best friend for propping up heavy components, and the cardboard is perfect for protecting your floors from scratches.
The massive growth in online treadmill sales has thankfully pushed manufacturers to make this whole at-home assembly process much smoother. With more people buying direct, companies are increasingly bundling delivery with professional assembly to make sure the equipment is put together safely and correctly. If you're curious about these industry shifts, you can learn more about the treadmill market's growth.
As you move on to attaching the console masts—those are the big upright arms—you need to be incredibly careful with the wiring. The single most common (and most expensive) mistake I see is people pinching the main wire harness that runs from the motor up to the console.
Here’s how to avoid that nightmare:
Here’s another pro tip that will save you a world of frustration: only hand-tighten all the bolts at first. Get the entire frame constructed, and then go back and fully tighten everything down. This gives you a little wiggle room to make sure every part aligns perfectly. If you tighten one section down too early, it can pull the whole frame out of alignment, making it impossible to get the last few pieces to fit.
This image gives you a bird's-eye view of the basic assembly sequence.
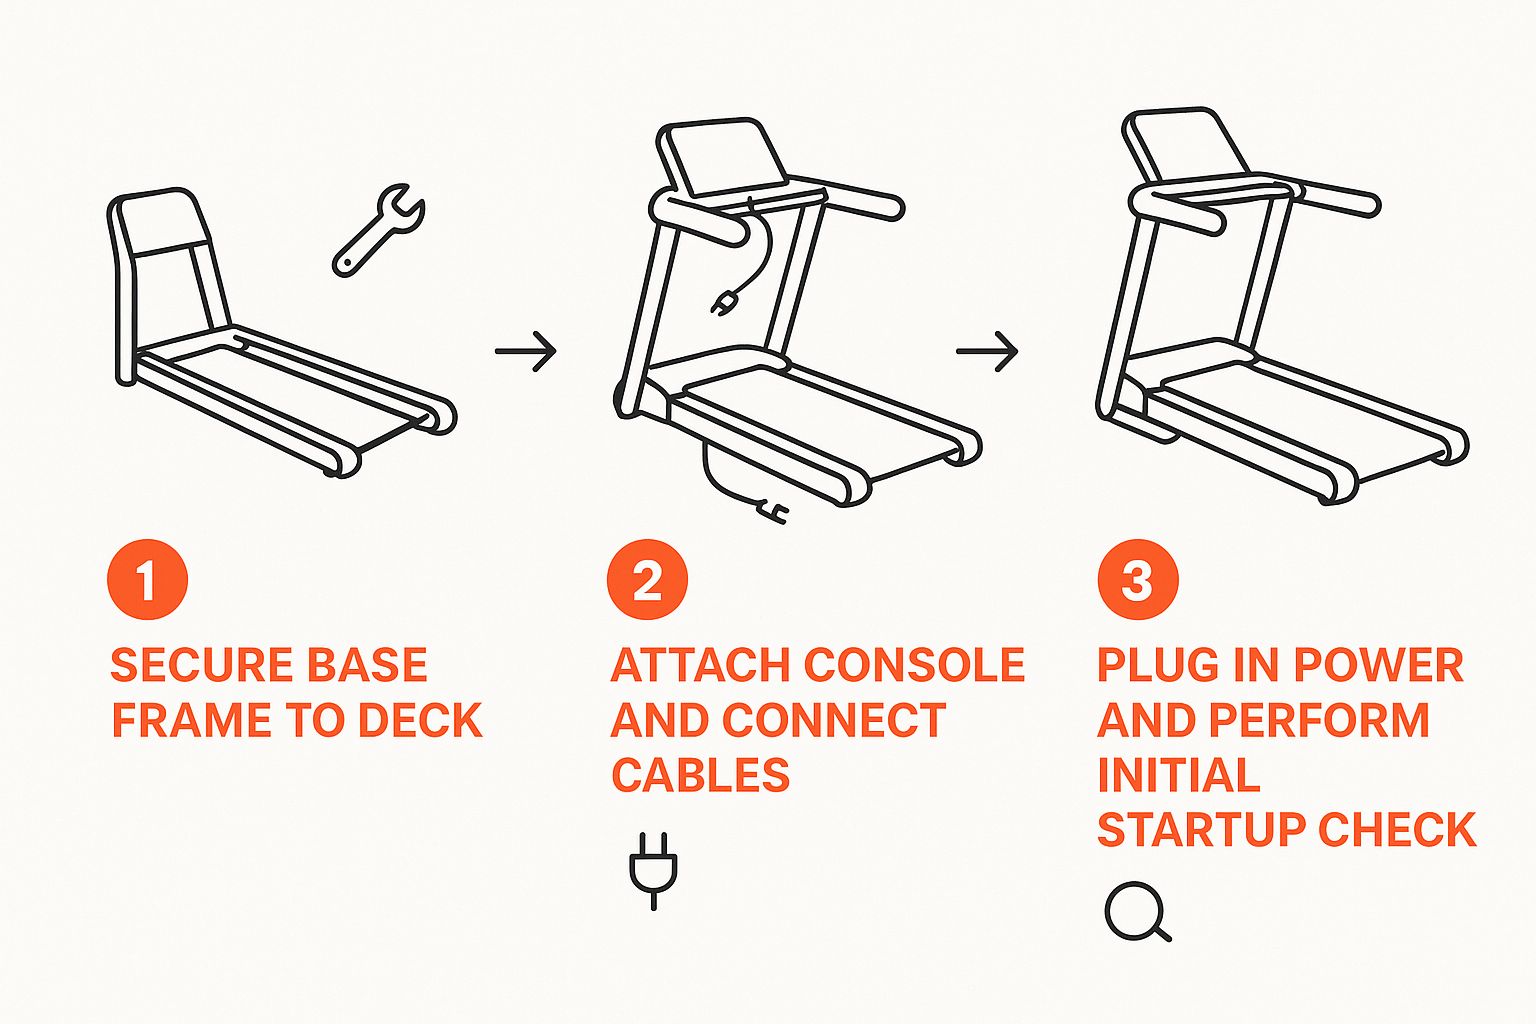
Seeing the process laid out like this confirms the core of any good build: get the frame attached, connect the electronics, and finish with a thorough safety check.
Taking your time and focusing on the small details will make all the difference. If you get started and feel like the task is just too much, don't worry. Our detailed guide on professional treadmill assembly services can walk you through other options for getting it done right.
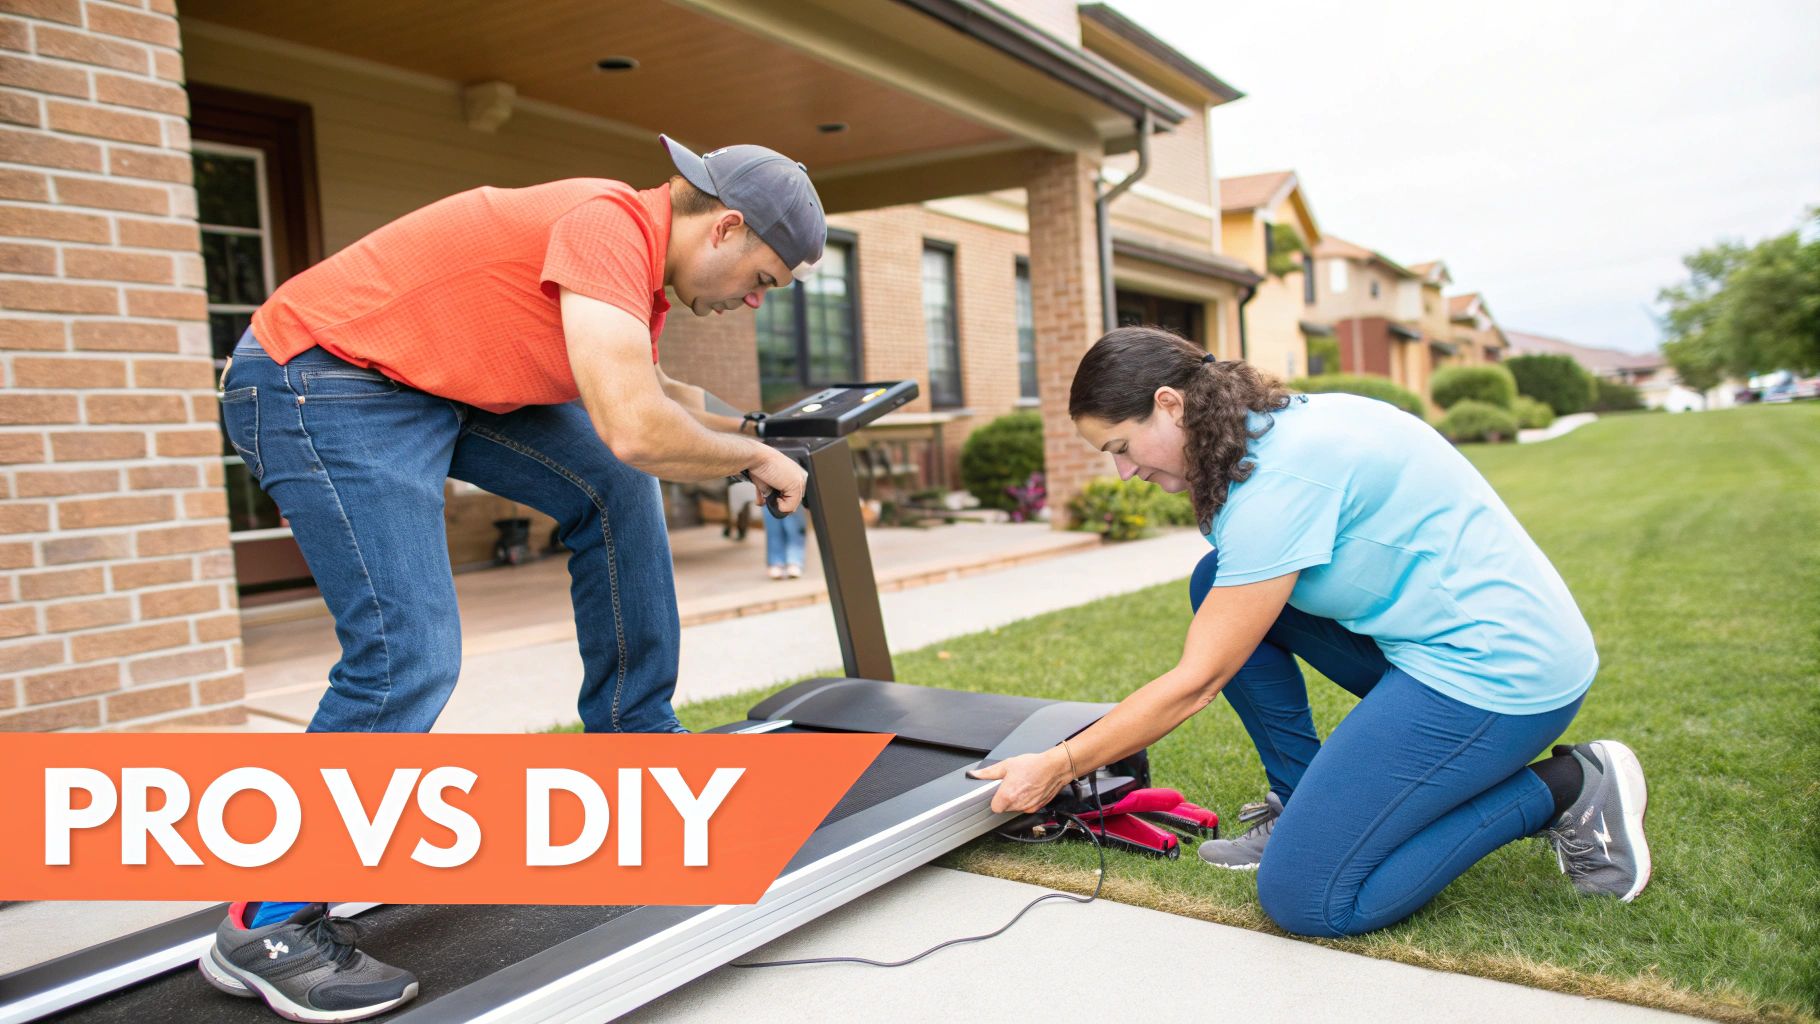
So, you’ve wrangled that massive box into the right room. Now comes the real moment of truth: are you going to build this thing yourself, or call in a pro? There’s no shame in either choice, and the best answer really depends on your own skills, patience, and how you value your time.
Going the DIY route can be incredibly satisfying, but let's be honest—it’s a commitment. You're looking at a few hours of your life, a fair bit of focus, and maybe some light frustration.
Before you even think about cracking open the box, take a hard look at what you’ve bought. A simple, foldable treadmill is one thing. A beefy, commercial-style machine with all the electronic bells and whistles? That's a completely different beast. The more complex models often need specific knowledge to get everything calibrated just right, which is standard practice for any professional treadmill delivery and setup service.
The big draw for a DIY build is, of course, saving a bit of cash. But don't forget to consider the "hidden" costs. What’s your time worth? What about the headache of trying to make sense of confusing diagrams? One wrong move—like accidentally pinching a wire or stripping a bolt—could not only damage your brand-new machine but might even void the warranty. That’s a pricey mistake.
This is where hiring an expert really starts to look appealing. These technicians assemble treadmills day in and day out. They’ve seen it all and know exactly where the tricky spots are for different brands and models.
To help you decide, let's break down the key considerations side-by-side.
| Factor | DIY Installation | Professional Setup |
|---|---|---|
| Cost | Lower upfront cost, but risk of future repair costs. | Higher upfront cost, but includes expertise and peace of mind. |
| Time | Can take 3-5+ hours, depending on complexity and skill. | Typically 1-2 hours. |
| Tools | You'll need your own tools, which might mean a trip to the store. | The technician arrives with every specialized tool required. |
| Warranty | Risk of voiding the warranty due to assembly errors. | Ensures the warranty remains valid. |
| Safety | Relies on your ability to follow instructions perfectly. | Guarantees proper assembly and safety checks. |
| Effort | Involves heavy lifting and can be physically demanding. | Zero physical effort required on your part. |
Ultimately, this table shows it’s a classic trade-off: your money versus your time, effort, and confidence.
While many home treadmills are designed for user assembly, some situations just scream for professional help. If you've invested in a commercial-grade machine, for example, getting an expert to set it up is almost a no-brainer.
The market for these high-end machines is massive—commercial models accounted for over 86.4% of treadmill ergometer sales in 2024, with fitness clubs making up over 82.6% of that demand. These treadmills are built like tanks to handle constant use, and their complex systems really benefit from a technician's touch. You can see how this trend shapes quality expectations by reading more on commercial treadmill setup standards.
Expert Insight: Think of professional assembly as an investment. The service fee is often a fraction of what you’d pay for a repair caused by a simple mistake, not to mention the frustration you’ll save yourself.
If you're feeling even slightly hesitant about handling heavy components or deciphering technical manuals, looking into professional gym machine assembly is a smart move. It turns the final step of getting your treadmill ready from a potential ordeal into a genuinely seamless experience.
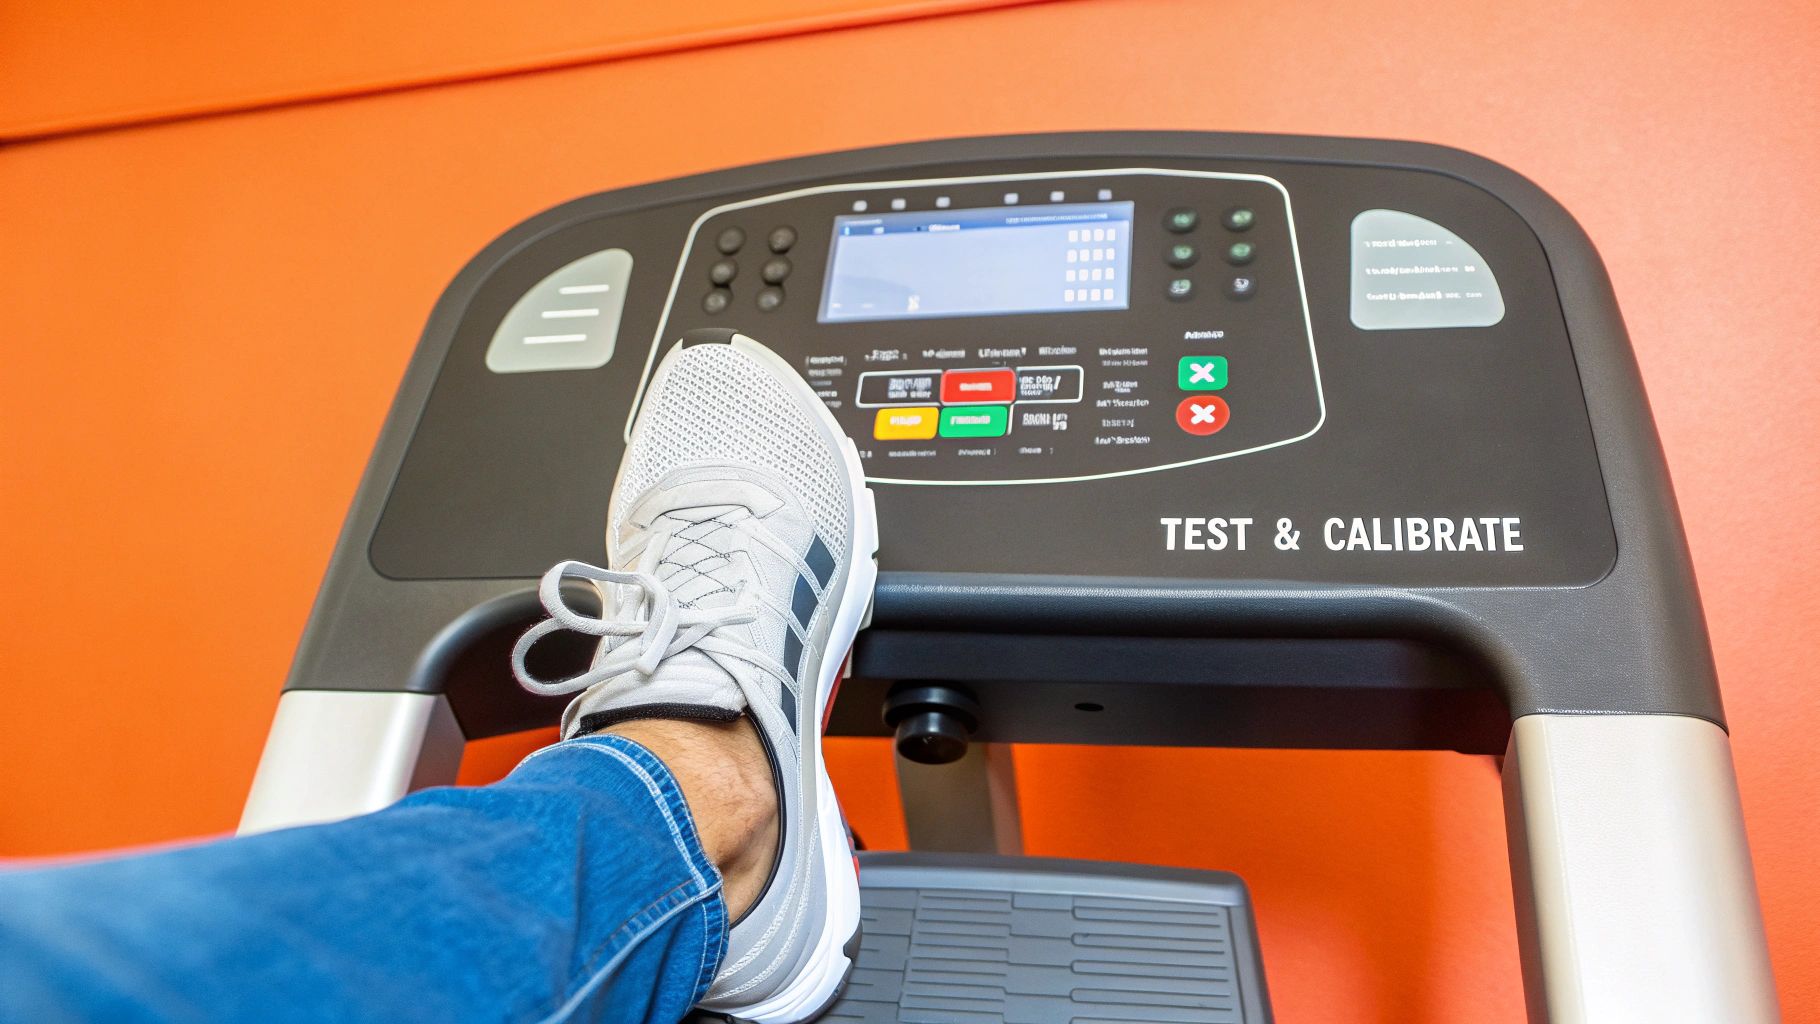
Your treadmill is finally standing on its own, fully assembled and ready to go. I know the urge to just hop on and break it in is strong, but a few crucial final checks are what separate a good setup from a great one. Taking a few extra minutes now will ensure your machine runs safely, smoothly, and lasts for years to come.
One of the most overlooked tasks is checking the walking belt. If it's not properly aligned or tensioned, you'll get premature wear and hear an annoying, thumping sound. To check the alignment, start the treadmill at a very low speed, around 1-2 MPH, and stand behind it. Just watch to see if the belt drifts to one side.
If it does, grab the Allen wrench that came with the treadmill and make small, quarter-turn adjustments to the rear roller bolts. Your manual will show you exactly which way to turn them. Keep making tiny tweaks until the belt runs perfectly centered.
Before its first official workout, lubricating the deck is an absolute must. Even if the manual says it was lubricated at the factory, I always recommend doing it yourself. This simple step dramatically reduces friction between the belt and the deck, which is the single best thing you can do to protect the motor from strain and potential burnout. Just apply the silicone lubricant as shown in your guide—it's usually just a few lines squirted underneath the belt.
With that done, it’s time for a quick systems check.
Key Takeaway: Skipping the initial lubrication and belt alignment can lead to costly damage that isn't always covered by warranty. These five minutes of prep work protect your long-term investment.
Almost there. Now for a couple of quick but important administrative tasks. First, find the serial number on your machine and go online to register your warranty right now. Don't put it off. This is your number one protection if something goes wrong down the line.
Next, create a simple maintenance schedule for yourself. I just put a recurring reminder on my phone's calendar to check the belt tension and lubrication every three months. This kind of proactive care is what prevents most common treadmill problems from ever starting.
Finally, you can tackle that mountain of cardboard. Break down the boxes and see what your local recycling guidelines are; some waste services have specific rules for large packaging like this.
Once your treadmill is safely installed and thoroughly checked, you're all set for that first run. If you're just getting started with fitness, you might be looking for some effective and safe beginner workout routines to get you going.
https://www.youtube.com/embed/XyPedy7HtzM
Even the most well-thought-out plan can leave you with a few lingering questions when your new treadmill finally arrives. It's completely normal, and sorting out these details beforehand can save you from a major headache later. Let's walk through some of the most common questions that pop up during the treadmill delivery and setup process.
One of the first things people ask is about the space around the machine. Is that recommended clearance just a guideline? Absolutely not. Having enough room around your treadmill, especially behind it, is critical for your safety.
Think of the area behind your treadmill as a non-negotiable safety zone. Most manufacturers will tell you to leave at least six feet of clear space. This isn't about making the room look nice; it's a practical measure to prevent serious injury if you were to trip and fall off the back of the moving belt. Skimping on this space is a risk you just don't want to take.
Another hot topic is electricity. The good news is that most home treadmills are built to run on a standard household outlet. However, these machines have powerful motors that draw a lot of current. That's why I always recommend plugging your treadmill into a dedicated circuit if you can.
This simple step can stop you from constantly tripping a breaker, which can happen if other power-hungry appliances like a vacuum or microwave are on the same circuit. And don't even think about skipping the surge protector. A quality one is your best defense against power spikes that can fry your treadmill's sensitive electronics, leading to a very expensive repair.
So, what happens if the delivery truck pulls up and the box looks like it lost a fight?
My Two Cents: Never let a delivery driver rush you. Taking a minute to inspect the box and make a note on the receipt is your best protection if you unbox it and find a problem.
This is the big one. Should you shell out the extra cash for professional assembly? Honestly, it depends. It comes down to how handy you are with tools, how complex your new treadmill is, and what your time is worth to you. For the heavier, high-tech models, I'd say it's a no-brainer.
Hiring a pro doesn't just save you a few hours of frustration; it guarantees every bolt is tight and every wire is connected safely. This is also a huge deal for your warranty, as damage caused by improper self-assembly usually isn't covered. If you're not confident lifting heavy components or following dense technical manuals, paying for assembly gives you peace of mind that everything is done right from the start.
Getting a new treadmill delivered and set up can feel like a lot to handle, but you don't have to go it alone. If you want to make sure your equipment is assembled safely and correctly without any of the stress, trust the experts at Assembly Smart. Our skilled technicians offer fast and reliable assembly services so you can jumpstart your fitness journey with total confidence. Book your stress-free treadmill assembly with us today!
