-
CALL US:
- (866) 952-3456
Success with your basketball hoop assembly starts long before you ever touch a bolt. Think of this pre-build stage as your strategic game plan. It’s what separates a project that takes a few hours from one that turns into a weekend-long ordeal, complete with frustrating setbacks and lost parts.

I've seen it time and time again: the biggest difference between a seamless build and a major headache comes down to preparation. Rushing in without a plan is the single biggest mistake you can make. Trust me, taking an hour to get organized first will save you three hours of work and frustration later.
First things first, pick the perfect spot. You're looking for a surface that's as level as possible—this isn't just for stability, it's crucial for fair play. Nobody wants a home-court advantage built into the driveway! Make sure you have plenty of clearance not just for the hoop itself, but for actual gameplay. Keep an eye out for overhanging tree branches, power lines, or the eaves of your roof.
Before you get your hands dirty, running through a quick checklist can make the entire process smoother. I've put together a table of the non-negotiable steps I take before any big assembly job.
| Task | Why It's Critical | Insider Tip |
|---|---|---|
| Site Selection | A level, clear area prevents wobbling and ensures safety during play. | Check for levelness with a long carpenter's level, not just by eyeballing it. |
| Methodical Unboxing | Prevents tiny-but-crucial parts (screws, washers) from getting lost in the grass or misplaced. | Lay out a large tarp first. It creates a clean, visible workspace for all your components. |
| Full Inventory Check | Discovering a missing bolt before you start is an inconvenience; discovering it mid-build is a crisis. | Use the manual's parts list and physically check off every single item. Don't assume it's all there. |
| Hardware Organization | Keeps your focus on the build, not on frantically searching for the right-sized nut. | Use small magnetic trays or even labeled Ziploc bags for the hardware for each step. It's a game-changer. |
Following this game plan sets you up for a much less stressful and much more successful build day.
Once you've settled on a location, it’s time to unbox everything. But don't just tear into the packaging like it’s a birthday present. Open the boxes methodically. My advice is to lay out every single component on a tarp or in a clear, open space. This simple step is the best way to keep small, critical pieces from disappearing into the lawn.
Now, grab that instruction manual and do a full inventory check. Compare every single piece you laid out against the parts list in the manual. It is so much better to find out you're missing a bolt now than when you're halfway through, trying to hold a heavy backboard precariously in the air.
Pro Tip: I swear by this: use small containers or magnetic trays to group your hardware. If you really want to level up your organization, label them by step number (e.g., "Step 1 Bolts," "Step 2 Washers"). This keeps you focused and moving forward.
This methodical approach is a core principle for any big project. In fact, many of these same strategies are just as important when you prepare for a furniture assembly project.
I can't stress this enough: you have to read the manufacturer's manual from cover to cover before you start. Don't just skim the pictures. An in-ground hoop has completely different foundation needs than a portable one, and a wall-mounted model has its own unique requirements. The manual is filled with specific warnings and step-by-step sequences you absolutely must follow.
Today's basketball hoops aren't as simple as they used to be. Many now come with complex features like adjustable-height systems, and they're built with materials like high-strength steel and tempered glass backboards. These innovations are great for gameplay, but they definitely add complexity to the assembly. Knowing ahead of time whether your model has an "EZ-assembly" design or requires you to pour concrete is fundamental. A little reading now will absolutely prevent costly and time-consuming mistakes down the road.
Let me give you some hard-won advice right up front: that tiny Allen key and flimsy stamped wrench they toss in the box? They aren't your friends. Trusting them is a one-way ticket to a frustrating, knuckle-busting afternoon. I’ve seen it happen dozens of times. A successful basketball hoop assembly all comes down to having the right tools ready to go before you even slice open the box. It’s truly the difference between a smooth build and a weekend-long headache.
Think of it this way: you wouldn't try to build a deck with just a screwdriver, right? The same logic applies here. Having a proper toolset easily makes every single step—from tightening the main pole bolts to wrestling with the backboard brackets—go 50% faster.
To save yourself from countless trips back to the garage or shed, it’s best to gather everything you need first. This isn't some exhaustive, "buy everything at the hardware store" list, but it’s what I consider the absolute non-negotiables for this specific job.
The whole idea of prepping your tools first is universal, whether you're putting together a hoop or tackling another big project. For example, a lot of the same organizational ideas are covered in our guide on IKEA furniture assembly. A little prep work always pays off.
Okay, let's get serious and talk about the most important part: your safety. A basketball hoop has heavy, awkward, and genuinely dangerous components. That tempered glass backboard alone can weigh over 50 pounds, and it is not easy to handle. This is not a solo project.
Critical Safety Takeaway: Assembling a basketball hoop is a two-person job, period. Trying to lift and align that backboard or the main pole by yourself is a huge risk for both personal injury and damaging your brand-new hoop.
Before you start turning wrenches, get on the same page with your helper. Wear a good pair of work gloves to protect your hands from sharp metal edges and nasty pinch injuries. When it's time to lift the backboard, communicate clearly. Remember to bend at your knees, not your back, and lift together in a coordinated effort.
Finally, as you're building, make sure the base of a portable hoop is temporarily weighted down or securely braced. The last thing you want is for the whole structure to get wobbly and tip over while you're working on it. Following these simple safety steps is what ensures your project ends with a high-five, not an unexpected trip to urgent care.
Alright, you've got your tools laid out and the spot picked. Now comes the real work: building the literal backbone of your new court. This part is all about putting together the main support pole, and I can't stress this enough—it's the most critical phase of the entire basketball hoop assembly. How you handle these next steps will directly impact how stable and safe your hoop is for years to come.
For a portable hoop, the first thing you'll do is connect the different sections of the main pole. These are heavy steel tubes, and they can be a seriously tight fit. Don't be shy about using a rubber mallet to gently nudge them into place. Just promise me you won't grab a steel hammer, or you'll risk denting the metal. Once the pole is one solid piece, you'll attach it to the base. Follow the bolt sequence in your manual religiously here; tightening them out of order is a surefire way to get a leaning tower of basketball.
This is a great time to lay everything out on a tarp or in the grass so you can see all your parts before you start connecting things.
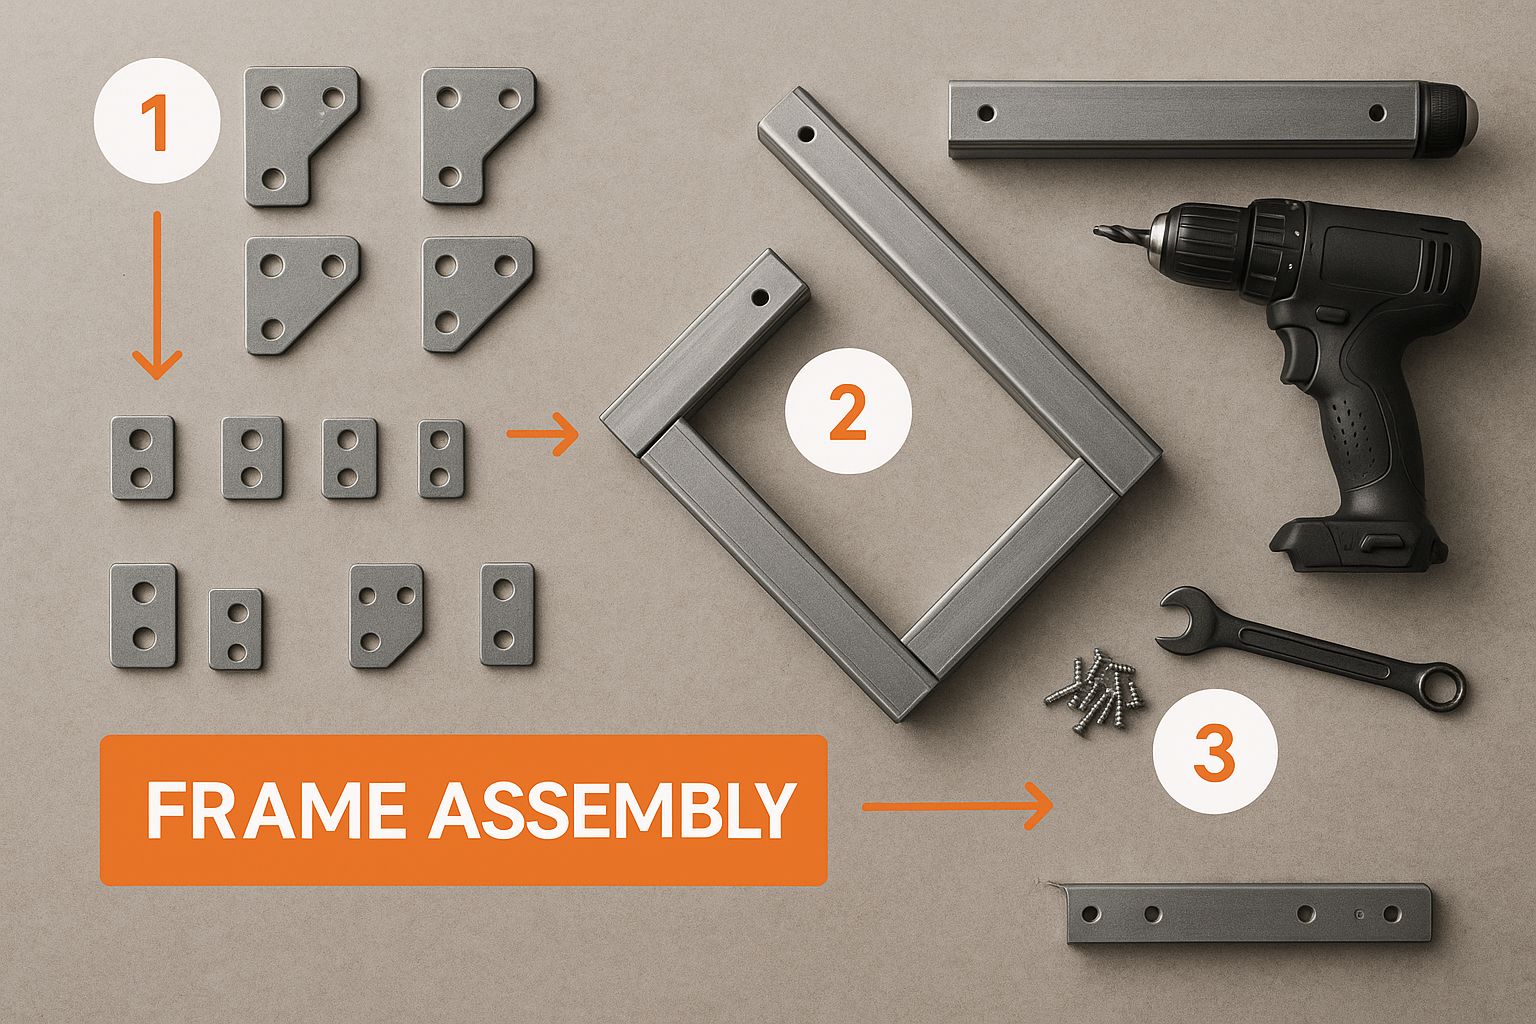
Spreading out the components like this helps you get your bearings and make sure nothing’s missing before you’re halfway through the build.
If you’re going the in-ground route, your first job is a lot more involved. You have to dig a hole for the concrete footing. Your instruction manual is your bible here—it will give you the exact depth and diameter, which is usually around 24 inches deep and 18 inches wide. Don't eyeball it. A proper foundation is the only thing that will keep your hoop from shifting or leaning over time.
Once the digging is done, it's time to mix and pour concrete. A hard-learned lesson for many a DIYer is that this part is a two-person job. Trust me, you'll want a helper and a wheelbarrow, because mixing multiple bags of concrete is serious work. After you pour, you'll set the anchor kit. This is the metal jig that the pole itself will eventually bolt onto.
My Most Important Tip: Grab your carpenter's level and check all four sides of that anchor kit while the concrete is still wet. Getting it perfectly vertical now is non-negotiable. If that concrete starts to set with a crooked anchor, you’re looking at breaking up the whole foundation and starting over. It’s a nightmare you want to avoid.
Now for the hard part: waiting. You have to let the concrete fully cure, which usually takes 48 to 72 hours. Don't get impatient. Attaching a massive, heavy pole and backboard to wet concrete is a recipe for total failure.
Whether your hoop is portable or in-ground, putting the pole together requires your full attention. The instructions will show you a specific way each section needs to face. This is because the bolt holes have to line up perfectly for attaching the backboard arms later on. It’s an easy thing to mess up.
Here are a few pointers from my experience to make this go a little smoother:
This foundation work isn't the most exciting part of the build, I'll admit. But getting it right is what ensures your hoop will stand tall and straight through countless games.
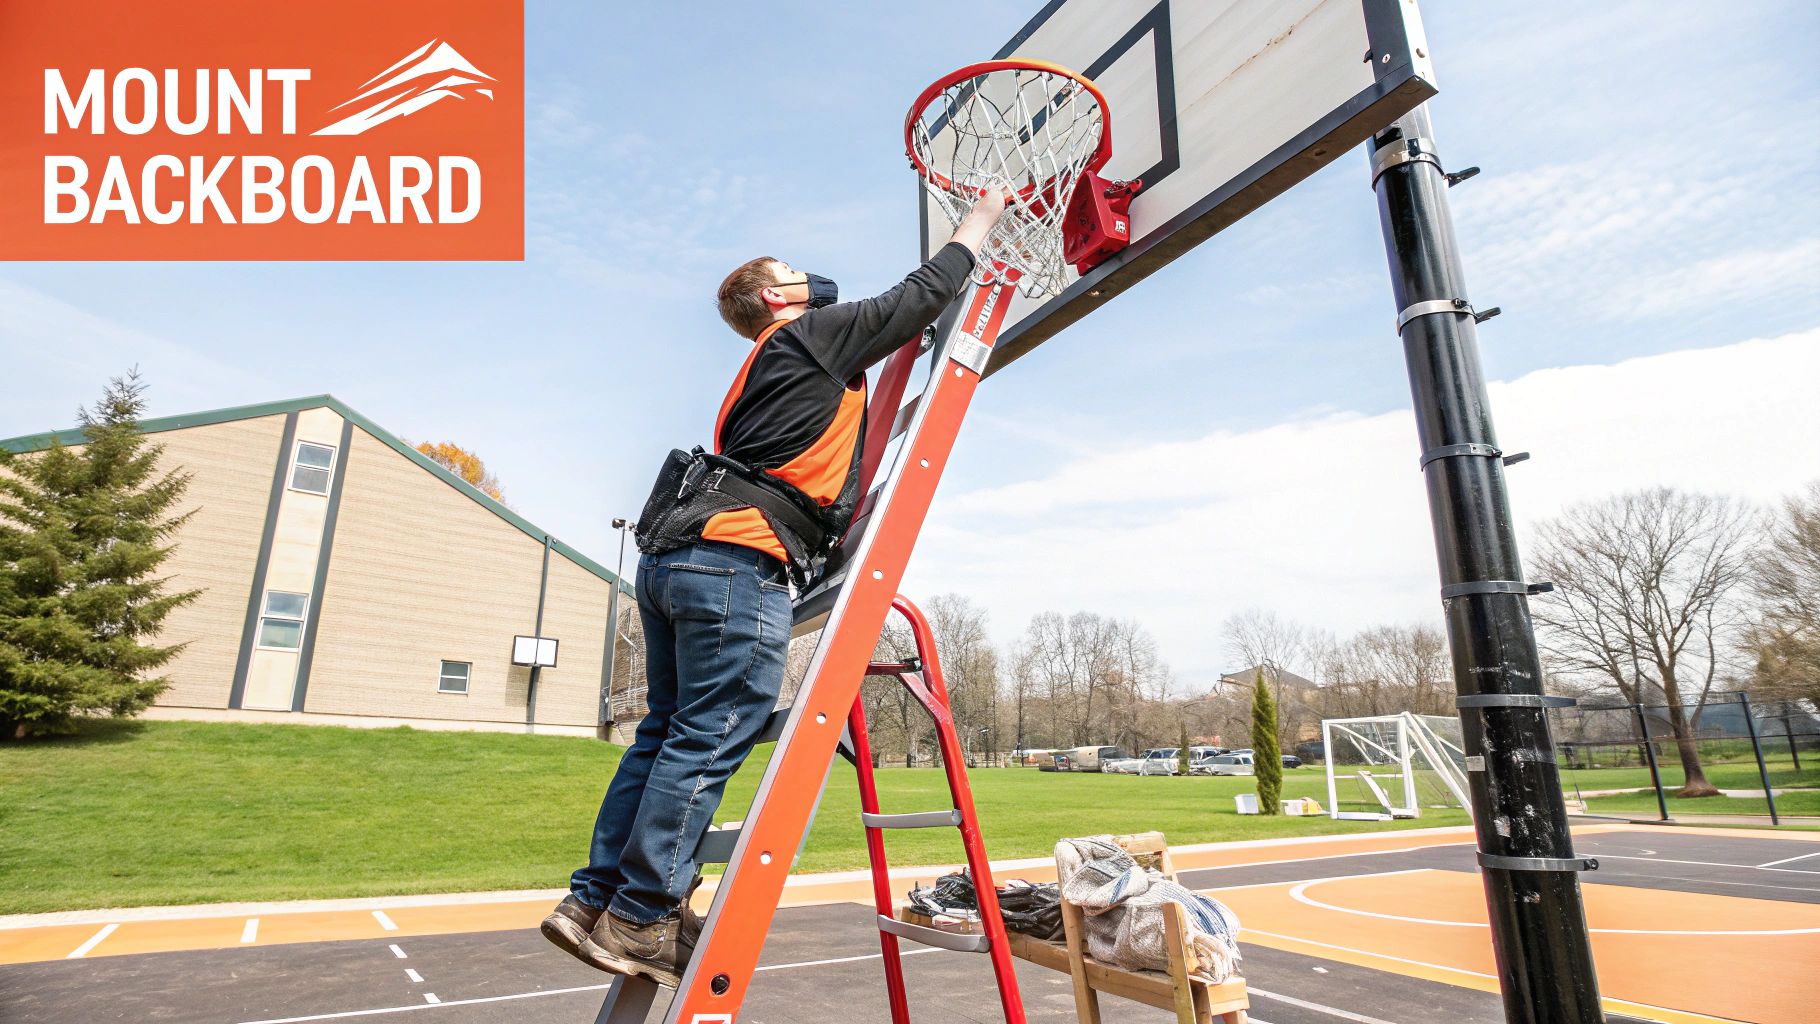
Alright, this is the moment of truth in any basketball hoop assembly. Lifting and attaching that heavy, awkward backboard is, without a doubt, the trickiest part of the whole job. I’ve seen it go wrong—one slip can mean a cracked backboard, a pulled muscle, or worse.
But don’t sweat it. With the right game plan, you can get this done safely and without the headache.
The best piece of advice I can give you is this: do as much work on the ground as you can. Before you even think about lifting that backboard, attach the arms directly to it while it's resting safely on your tarp. This simple prep step dramatically cuts down on the time you and your partner will spend struggling with it in the air.
Let me be crystal clear: lifting the backboard is a two-person job. No exceptions. It doesn't matter if it's a lighter acrylic model or a seriously heavy tempered glass one. Trying to be a hero and do this alone is just asking for trouble.
Before you lift, get on the same page with your helper. Figure out who will guide the backboard onto the main pole and who will be on standby with the hardware.
Ready? Lift with your legs, not your back. Hoist the backboard up and carefully walk it over to the support pole. The person guiding it needs to line up the arms with the mounting plate. The second the holes match up, the other person should slide a primary bolt straight through to hold it. Don't even worry about the nut yet—just get a bolt in there to take the weight off your arms.
Crucial Tip: Do not fully tighten any bolts until they are all in place. Hand-tighten each one first. This gives you the wiggle room you'll inevitably need to align all the other bolt holes. If you tighten one bolt too early, you put immense stress on the frame or glass, which is a common way people end up with a crack.
With the backboard mounted to the pole, you can finally breathe a little. The last big piece of the puzzle is attaching the rim. This part is usually more straightforward, but you need to be precise. After all, you want that rim to be perfectly level for a fair game.
Attach the rim to the backboard with the bolts, and again, just hand-tighten them for now. Now, grab your carpenter’s level and lay it across the rim. Nudge it until that bubble is dead center. Once it's perfect, go ahead and fully tighten the bolts down, following any specific sequence the manual tells you to.
Following these specific steps makes all the difference. If you’re looking for more tips on the whole process, from opening the box to the final check, take a look at our complete guide on how to assemble a basketball hoop. Taking your time on these critical connections ensures your hoop isn't just ready for play, but is safe for every shot and dunk.
Your hoop is finally standing tall, but don't break out the basketball just yet. We're in the home stretch, but this last 5% of the job is what really separates a good, solid build from one that’s going to give you headaches down the road. These finishing touches are what guarantee your hoop is truly game-ready and, most importantly, safe.
If you’ve got a portable hoop, the first big decision is what to fill the base with. You have two main choices: sand or water. Water is definitely quicker and less of a hassle to fill up, I'll give it that. But based on years of experience, I always, always recommend using sand.
Why? Sand is so much denser. This gives the base way more stability, making it much less likely to tip over during a heated game or get knocked around by high winds. Plus, sand doesn't freeze. Water expands when it turns to ice, and that expansion can easily crack the plastic base—a costly and frustrating mistake to deal with mid-season. It takes more elbow grease to get sand in there, but the payoff in safety and durability is a no-brainer.
Okay, now for what I consider the most critical part of the entire assembly. The hoop has been standing for a bit, bearing its own weight. Parts have settled, shifted, and found their final resting place. This is precisely why a final inspection isn't just a suggestion; it’s a non-negotiable safety step. Your mission is to re-tighten every single nut and bolt on the entire structure.
I like to start at the base and work my way up the main pole, putting a socket wrench on every connection. You want to pay extra close attention to the bolts holding the backboard arms to the pole and the ones securing the backboard itself. I promise you'll be surprised to find that bolts you thought were rock-solid an hour ago now have a little bit of give. Getting that final torque on everything makes the whole structure rigid and secure before it has to endure its first dunk.
Key Takeaway: Metal and hardware will settle and shift under the hoop's weight. A final, thorough tightening of every bolt after assembly is the single most important check for ensuring long-term safety and stability.
Once all the hardware is double-checked and tightened down, you get to the most satisfying part: putting on the net. Just carefully thread it through the hooks on the rim until it hangs nice and freely.
The very last check is to test the height adjustment mechanism if your hoop has one. Run it all the way up and all the way down. You're looking for smooth movement, with no catching or grinding sounds. If it moves easily, you know the lift system was installed correctly.
With these final checks complete, your basketball hoop assembly is officially finished. It's ready for that first game. If you're looking to complete the basketball theme, especially in a kid's room, you could even add fun accessories like a basketball ceiling light.
Features like adjustable height are a big reason why home hoops are so popular. In fact, the global basketball hoop market was valued at around $2.82 billion in 2024 and is expected to keep growing. This trend is fueled by more people playing the sport and all the innovations making home equipment safer and more versatile than ever before. You can learn more about these market trends on Verified Market Reports.
Even with the clearest instructions, a few questions always seem to pop up during a basketball hoop assembly. I get it. After building more of these than I can count, I've heard just about everything. Let's walk through some of the most common things people ask, so you can tackle your build with confidence.
One of the first things everyone wants to know is how long it's going to take. For a standard portable hoop, you should realistically set aside 3 to 5 hours, and that's with two people. It's a solid afternoon project. In-ground hoops are a different beast entirely. The initial assembly is a bit longer, maybe 4 to 6 hours, but the real waiting game is the concrete. You absolutely have to let it cure for 48 to 72 hours before you even think about mounting the backboard.
"Can I just do this by myself?" That's a question I hear all the time, and my answer is always a firm "no." I strongly advise against it. It’s not just about it being difficult; it's a major safety risk. Trying to lift the main pole or mount a heavy backboard alone is asking for trouble. You need a second person to manage the weight and align the parts without injuring yourself or damaging your brand-new hoop.
Expert Advice: If your in-ground pole isn't perfectly straight after the concrete has set, don't panic just yet. Check if your anchor kit has leveling nuts. You can often make minor adjustments by loosening the nuts on the high side and tightening them on the low side to correct a slight lean.
If you're feeling a little out of your depth, especially with a complex in-ground model, it's smart to consider professional help. Understanding the typical cost to install a basketball hoop can help you weigh your options and decide if hiring an expert is the right move. A small mistake with concrete can turn into a big, expensive fix.
The classic "sand vs. water" debate for portable bases also comes up a lot. My answer is always the same: sand. It's significantly denser, which makes the base far more stable and less likely to tip over during a heated game. More importantly, sand won't freeze, expand, and crack the plastic base during the winter—a common and costly problem I've seen with water-filled bases.
Basketball's popularity isn't just a local thing; it's a global phenomenon driving the market for home hoops. It’s pretty interesting to see where the growth is coming from. For instance, the Asia Pacific region held around 23% of the global basketball hoop market revenue in 2024, and its market is projected to grow at an impressive CAGR of 8% through 2031. This just shows how many people are getting into the game, which is why getting your home setup right is so important. You can find more details on these global basketball market trends on cognitivemarketresearch.com.
No matter what question comes up, taking a patient and methodical approach is the best way to get it done right.
Tired of confusing instructions and heavy lifting? Let the pros at Assembly Smart handle your basketball hoop assembly quickly and safely. Get your free estimate today!
