-
CALL US:
- (866) 952-3456
Building a vanity from scratch is a seriously rewarding project. It's one of those things where careful planning, a bit of measuring, and the right materials come together to create something truly custom for your home. You're not just assembling a functional item; you're building a piece of furniture that perfectly fits your space and your style.

Before you even think about cutting a single piece of wood, a successful DIY vanity starts with a solid plan. This is where you iron out all the little details that prevent those costly "oops" moments later on. Think of it as your blueprint for success.
This initial stage isn't just about making it look good; it's about pure function. I've seen it before—a beautiful vanity that looks great but blocks a doorway or makes the whole bathroom feel cramped. That's a failed project in my book. The first step is always to grab a tape measure and get to know your space.
Your tape measure is your best friend here. Get the width, height, and depth of the space, but don't stop there. You need to note the exact location of your existing plumbing, both the supply lines coming out of the wall and the drainpipe. These are usually fixed, so your vanity design has to work around them.
Then, think about the practical flow of the room. Ask yourself a few questions:
Once you have these numbers, sketch it out. It doesn't need to be a masterpiece. A simple drawing with dimensions will help you visualize the proportions and plan your cuts. As you're planning, think about the bigger picture. A great vanity is a key step to transform your bathroom into a spa-like retreat.
The materials you pick will determine how well your vanity holds up, especially in a humid bathroom. If you're planning on a painted finish, poplar is a fantastic, budget-friendly hardwood that’s easy to work with. For a stained look, you can't go wrong with the beautiful grain patterns of oak or walnut.
Building custom vanities is a huge part of home renovation, and it's a trend that's only growing. The bathroom vanities market was valued at USD 43.34 billion and is expected to hit USD 65.55 billion by 2030. That growth is all about people wanting durable, quality furniture in their remodels.
Pro Tip: Your budget needs to cover everything—lumber, plywood, hardware like hinges and drawer slides, screws, and all the finishing supplies. That means primer, paint, and polyurethane. It's always a good idea to add a 10-15% cushion for those little things you forgot or unexpected costs.
Finally, make a tool list. Having everything you need before you start saves a ton of frustration and trips to the hardware store. For a deep dive into getting your workspace ready, check out our guide on how to prepare for your furniture assembly project. Trust me, a well-thought-out plan is the most important tool you'll have.
The materials you pick are really the heart and soul of your vanity project. They don't just dictate the final look; they determine how well your creation will hold up against the daily steam and splashes of a bathroom. Honestly, making the right choice here is the difference between a piece you'll love for decades and one that starts looking rough in just a couple of years.
This decision shapes everything—your budget, the actual building process, and even the tools you'll need. When you decide to build a vanity, you're tapping into a huge trend. Homeowners everywhere are investing in customized, quality pieces for their homes. The global market for bathroom vanities is even projected to hit around USD 27.6 billion by 2035, all driven by our collective desire for spaces that are both beautiful and functional. You can learn more about this growing market and its trends.
Solid wood is a classic, but not all woods can handle the bathroom. Hardwoods like maple or oak are fantastic for face frames and doors because they're dense and tough. For the main cabinet box, though, I almost always recommend a high-quality plywood.
Baltic birch plywood, in particular, is the go-to for a lot of pros, myself included. Its layered construction makes it incredibly stable and way less likely to warp from moisture than a solid wood panel would be. It just gives you a rock-solid foundation.
Then there's Medium-Density Fiberboard (MDF). It's easy on the wallet and gives you a perfectly smooth surface for paint, which is great. But—and this is a big but—it's terrible with water. A single unsealed edge or a small nick in the paint can act like a sponge, causing the MDF to swell up and basically crumble. For that reason alone, I'd say steer clear of it for a bathroom vanity unless you plan on being incredibly meticulous about sealing every single surface.
Before you make a final call, it helps to see the options side-by-side. Each material has its place, but in a bathroom, moisture resistance is king.
| Material | Moisture Resistance | Average Cost | Best For |
|---|---|---|---|
| Baltic Birch Plywood | Excellent (when sealed) | Moderate | Cabinet boxes, shelves, and structural parts |
| Solid Hardwood | Good (requires proper finishing) | High | Doors, face frames, and decorative trim |
| MDF | Poor (swells and degrades with moisture contact) | Low | Dry areas only; not recommended for bathrooms |
| PVC Board | Waterproof | Moderate-High | Ultra-damp environments or modern designs |
As you can see, investing a bit more in something like Baltic birch plywood pays off in the long run by giving you a piece that won't fall apart at the first sign of humidity.
Once the cabinet is sorted, the countertop and hardware are what bring the style to life. Your options for the top are all over the place, from affordable laminate to seriously luxe quartz.
Hardware is basically the jewelry for your vanity. Drawer pulls, knobs, and hinges in finishes like brushed nickel, matte black, or brass are where you can add that personal touch that pulls the whole room together.
And hey, if you end up working with pre-made components, don't feel bad about getting a hand to make sure it's all done right. Our guide on IKEA furniture assembly has some solid tips that are useful for just about any flat-pack project.
A vanity's longevity is directly tied to its moisture resistance. Choosing materials like high-grade plywood over standard MDF and ensuring every cut edge is sealed with paint or polyurethane is non-negotiable for a lasting build.
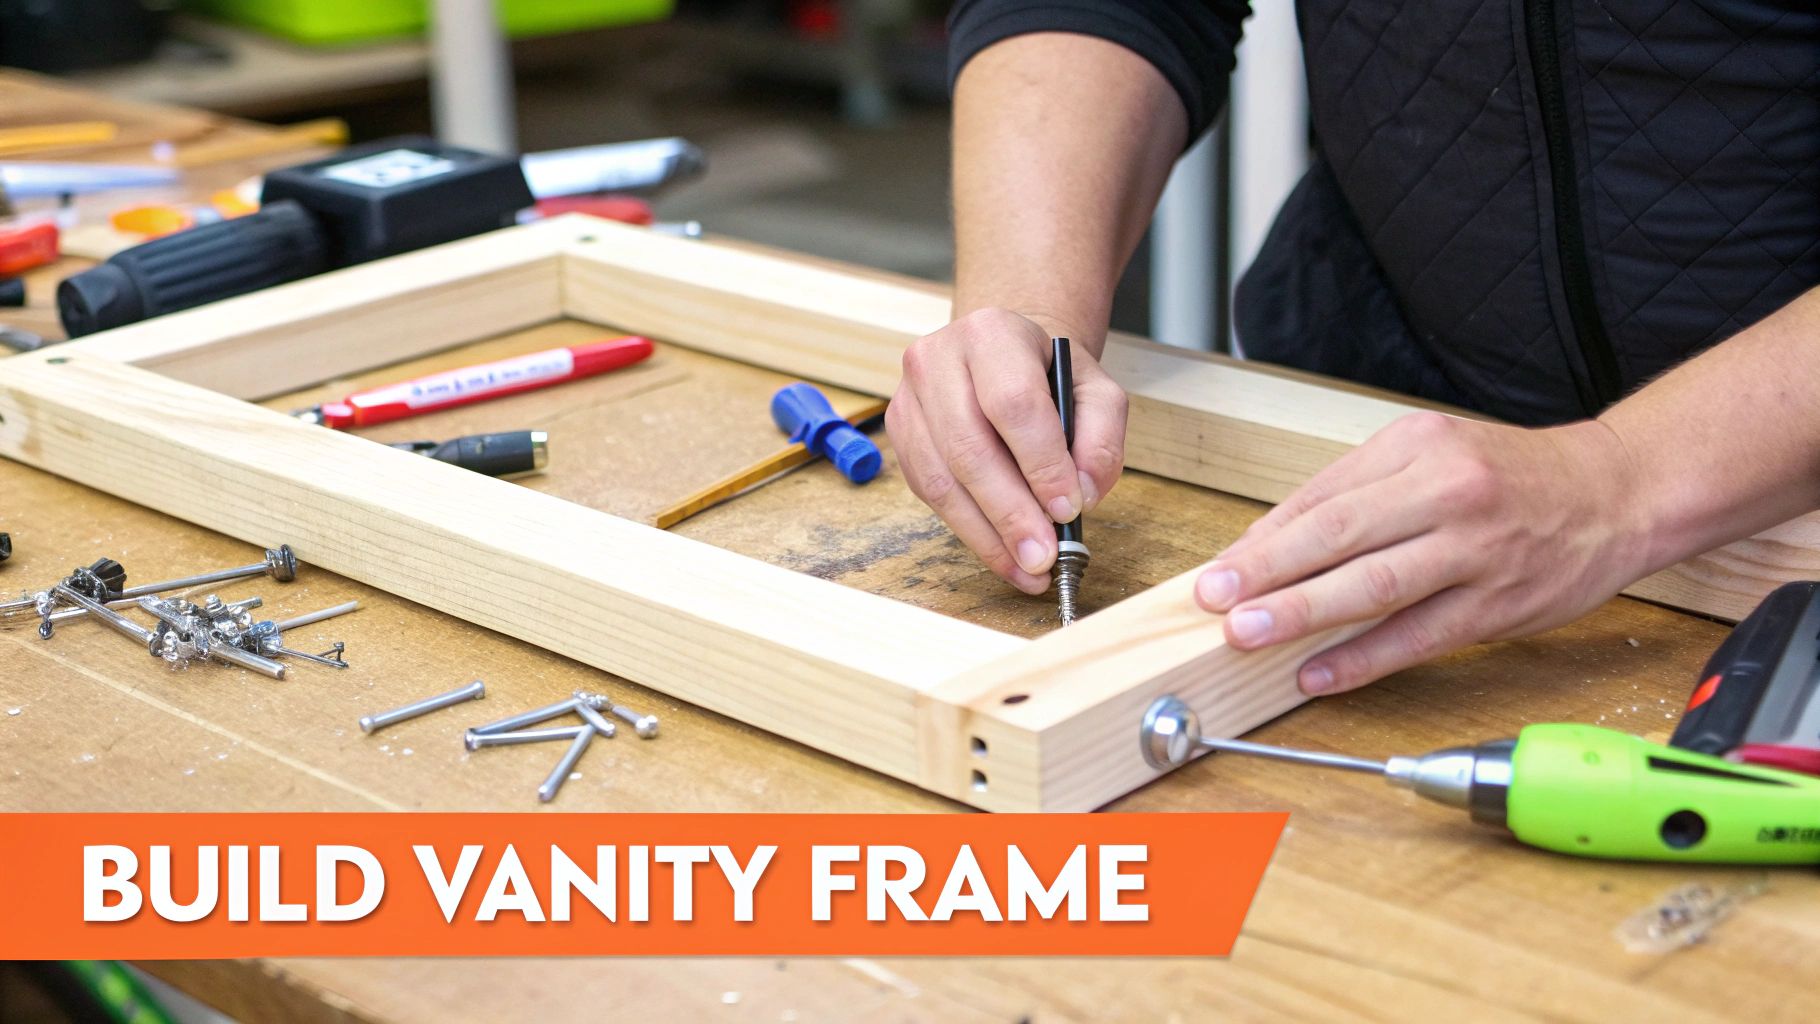
Alright, this is where the fun really begins. Your plans are about to jump off the page and become something you can actually touch. We're talking about building the cabinet box, or the "carcass" as it's often called. This is the skeleton of your vanity—everything else, from the face frame and doors to that beautiful new countertop, will attach to it.
Nailing this part is absolutely critical. A solid, square box means a strong, professional-looking vanity. A wonky one? Well, that's just a recipe for headaches down the road.
It all starts with making your cuts. Whether you’ve got a fancy table saw or you're using a circular saw with a straightedge guide, accuracy is the name of the game. You've heard it a million times, but it bears repeating: measure twice, cut once. Seriously, double-check every single dimension from your plans before that blade starts spinning. You’ll be cutting your main pieces from a sheet of 3/4-inch plywood—two sides, a bottom, and a back panel.
As you're getting the box planned out, don't forget about the sink. Thinking about how to install an undermount sink now can save you a world of trouble later, since it might affect the internal supports you need to build in.
This infographic lays out the groundwork for getting your space ready for any project.
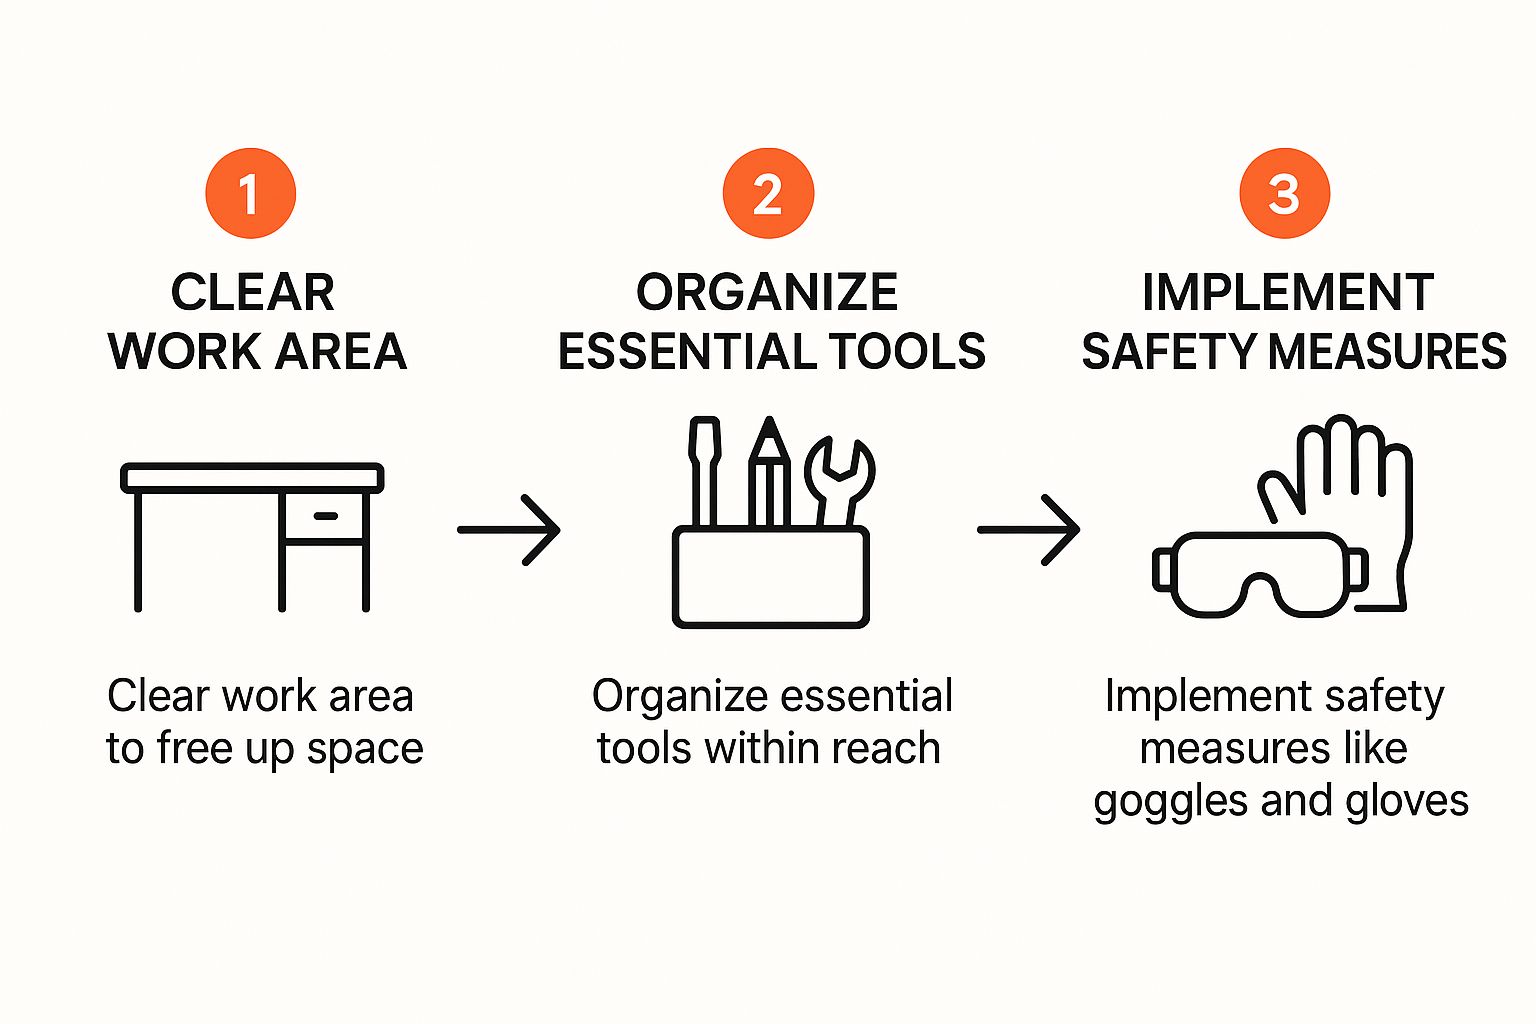
Having an organized and safe workspace isn't just a nice-to-have. It has a direct impact on how precise and clean your finished vanity cabinet turns out.
Once all your pieces are cut to size, it's time to put them together. If you're just starting out, the pocket hole jig is an absolute game-changer. It’s a straightforward tool that lets you create incredibly strong, hidden joints using just a drill and some special screws. It’s fast, simple, and you don’t need a shop full of complex equipment.
For those wanting to step up their woodworking game, cutting dadoes is a fantastic technique. A dado is basically a square groove you cut into one piece of wood for another piece to slot into. It provides amazing structural support and almost forces everything to stay perfectly aligned while you assemble it.
No matter which method you choose, always use a good quality wood glue on every joint before you add a single screw. A proper glue bond is often stronger than the wood itself, which is what gives your vanity the toughness to last for years.
I can't stress this enough: a cabinet that isn't perfectly square will fight you every step of the way when you try to hang doors or install drawers. It's a non-negotiable step to check for square before your glue has a chance to set.
Pro Tip: The diagonal measurement trick is the most reliable method, hands down. Just measure diagonally from one corner to the opposite one, then do the same for the other diagonal. If those two numbers match exactly, you've got a perfectly square box.
If the measurements are off, don't panic. You can just give the corner with the longer measurement a gentle push to rack the box back into alignment. Once it's square, lock it down with clamps to hold it steady while the glue dries or as you drive in your final fasteners. This simple check is what separates a frustrating build from a flawless one.
If the cabinet box is the skeleton, then the face frame, doors, and drawers are what give your vanity its personality. This is where your design choices really start to shine, and it’s also where good craftsmanship separates a project that looks "DIY" from one that looks truly custom-built.
The face frame is so much more than just decorative trim. It adds a ton of rigidity to the whole cabinet box and gives you a solid, flat surface to mount your doors and hinges. I almost always build mine from 3/4-inch thick solid hardwood like poplar or maple, which consists of vertical pieces (stiles) and horizontal ones (rails). Pocket screws are your best friend here—they make for a fast, incredibly strong assembly that even a beginner can master.
Here’s a tip I learned the hard way: always assemble the face frame as its own separate unit on a flat workbench before you even think about attaching it to the cabinet. This guarantees it's perfectly square on its own. A little wood glue in the joints before you drive the pocket screws will create a bond that will never, ever wiggle loose.
Once it's built, you can attach the frame to the front of the cabinet box. Use a combination of glue and clamps with a few finish nails, or run more pocket screws from inside the cabinet where they'll never be seen. The goal is to have the frame overhang the plywood box just a tiny bit on the inside, which creates a really clean, professional-looking lip.
The style you choose for your doors and drawer fronts completely sets the tone for the entire bathroom. Whether you’re going for a sleek, modern flat-panel look or something more timeless like a Shaker style, the basic construction principles are pretty similar.
Pro Tip: For perfect, consistent gaps around your doors and drawers, grab a deck of playing cards. Seriously. Just slide a few cards between the door and the face frame while you're installing the hinges. It's a simple, low-tech trick that ensures an even reveal on all sides, every single time.
Now for the final functional step: the hardware. For the drawers, you'll be installing drawer slides. Make sure you pick slides that match the depth of your cabinet and can handle the weight you expect them to hold. You’ll mount one half of the slide to the inside of the cabinet and the other half to your drawer box, making sure they are perfectly level and parallel to each other.
For the doors, you'll be installing the hinges. I'm a big fan of concealed Euro-style hinges because they're totally hidden when the door is closed and offer amazing three-way adjustability (up/down, left/right, and in/out). This adjustability is an absolute lifesaver, letting you tweak the door alignment until you get those perfect gaps you set up with your playing card spacers. When you build a vanity, taking your time on this last part is critical; smooth, perfectly aligned doors are the true hallmark of quality work.
The finish is what really makes or breaks a DIY project. It’s the final step that shields all your hard work from the moisture and abuse of a busy bathroom, turning a raw wood box into a real piece of furniture. It all starts with getting the surface just right.
Before you even think about popping open a can of primer, you need to make every surface feel silky smooth. I always start with a medium-grit sandpaper, something around 120-grit, to knock down any rough patches or little beads of dried glue. After that, I switch to a finer 220-grit to really polish it up.
This is also your last shot to deal with any minor flaws. A good wood filler can make nail holes or tiny gaps disappear. Just let it dry, sand it perfectly flush, and you're ready for the next phase.
A bathroom is a tough environment—all that steam and humidity can destroy a bad finish. So when you’re choosing your coatings for a painted vanity, you need a system that creates a bulletproof, water-resistant shell.
Getting that smooth, professional look is all about patience. When you build a vanity, rushing the finish can ruin all the careful construction you just did. After your primer dries, give it a super-light sanding with 220-grit paper. This one small step is the secret to getting that glass-smooth final coat.
The best results always come from multiple thin coats of paint, not one thick one. Thin coats dry harder, are less likely to drip, and won't show brush marks. It’s the key to getting that factory-finish look. Just make sure to let each coat dry completely before starting the next.
People want vanities that are both stylish and built to last, and that desire has kicked off some serious growth in the market. It shows how we've shifted toward wanting quality and personalization in our homes. In fact, the bathroom vanities market is expected to hit USD 15.45 billion by 2030, which shows just how important these pieces have become. You can dig into more of the market trends and projections on 360iResearch.
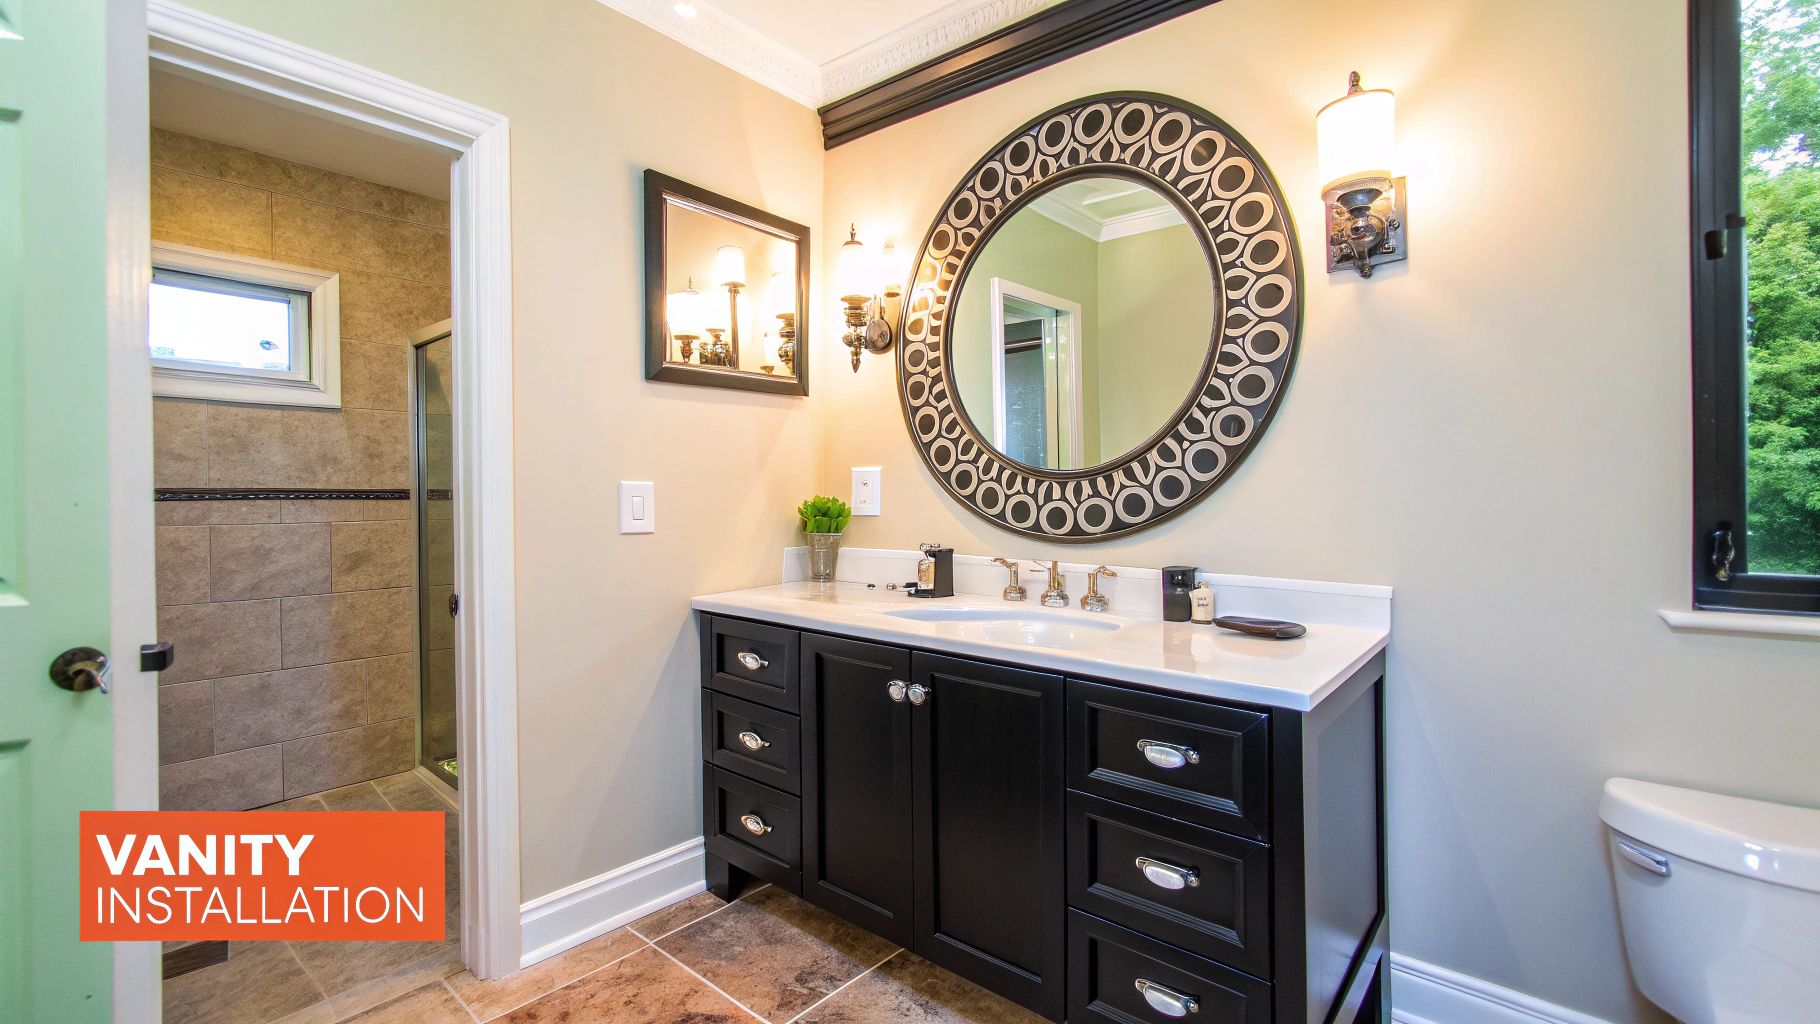
Once your final topcoat has had a few days to fully cure, you can finally install the countertop, sink, and all the hardware. If you notice a little bit of a wobble after adding all that weight, don't panic—it's usually an easy fix. Our guide on how to fix a wobbly table has some great tips that work just as well for vanities.
Starting a vanity project, especially for the first time, always brings up a bunch of questions. It's totally normal. Here, I'll tackle some of the most common things people ask, giving you quick, practical answers to get you past any roadblocks and building with confidence.
The best wood really boils down to your budget and whether you're planning to paint or stain the final piece. If you're going for a painted look, moisture-resistant MDF or a hardwood like poplar are fantastic, budget-friendly choices that give you a perfectly smooth surface for paint.
But if you want that beautiful, natural wood grain to show through, you'll want to look at hardwoods like oak, maple, or walnut. They're incredibly durable and each has its own unique character. No matter what you pick, the most important thing is to seal every single component properly to protect it from the bathroom's humidity.
Stone countertops like granite or quartz are seriously heavy, so the cabinet has to be built like a tank. The secret is building the main cabinet box—the carcass—from sturdy 3/4-inch plywood.
You'll also need strong joints. I recommend using pocket screws combined with a good wood glue, or if you have the tools for it, dadoes work great. To really beef it up, add some solid corner braces inside the cabinet and run support stretchers made of solid wood across the top, both front and back. This adds the rigidity needed to handle that weight without any issues.
You absolutely can. It's a common misconception that you need a full professional woodshop. You can get a high-quality result with just a few key tools. A circular saw with a straightedge guide, a good power drill, and a pocket hole jig will get you through most of the construction. And trust me, a random orbit sander will be your best friend for getting that smooth, ready-to-finish surface.
While a table saw or miter saw can make things faster and a bit more precise, you can definitely build a beautiful, solid vanity without them. The real keys to success are measuring carefully and taking your time during assembly.
Now, if your design gets a little more advanced and you're thinking about adding integrated lighting or power outlets, you need to be smart about the electrical side. For safety and to stay up to code, it's crucial to be familiar with understanding when a licensed electrician is necessary before you even think about touching the wiring.
Got more questions about the nitty-gritty of putting things together? Our comprehensive FAQ page for furniture projects is another great place to look.
Feeling like this project is a bit more than you bargained for? The expert team at Assembly Smart can take it from here. We offer professional, stress-free assembly services to make sure your new vanity is built perfectly, saving you the time and the headache.
