-
CALL US:
- (866) 952-3456
Building a gazebo really comes down to a few major phases: the initial planning and site prep, pouring a solid foundation, putting up the frame and roof, and then all the finishing touches. Getting it right is all about measuring twice (or three times!), and making sure everything is perfectly square and level before you move on to the next piece. A kit definitely makes things easier, but if you want something truly unique, building from scratch gives you that freedom.
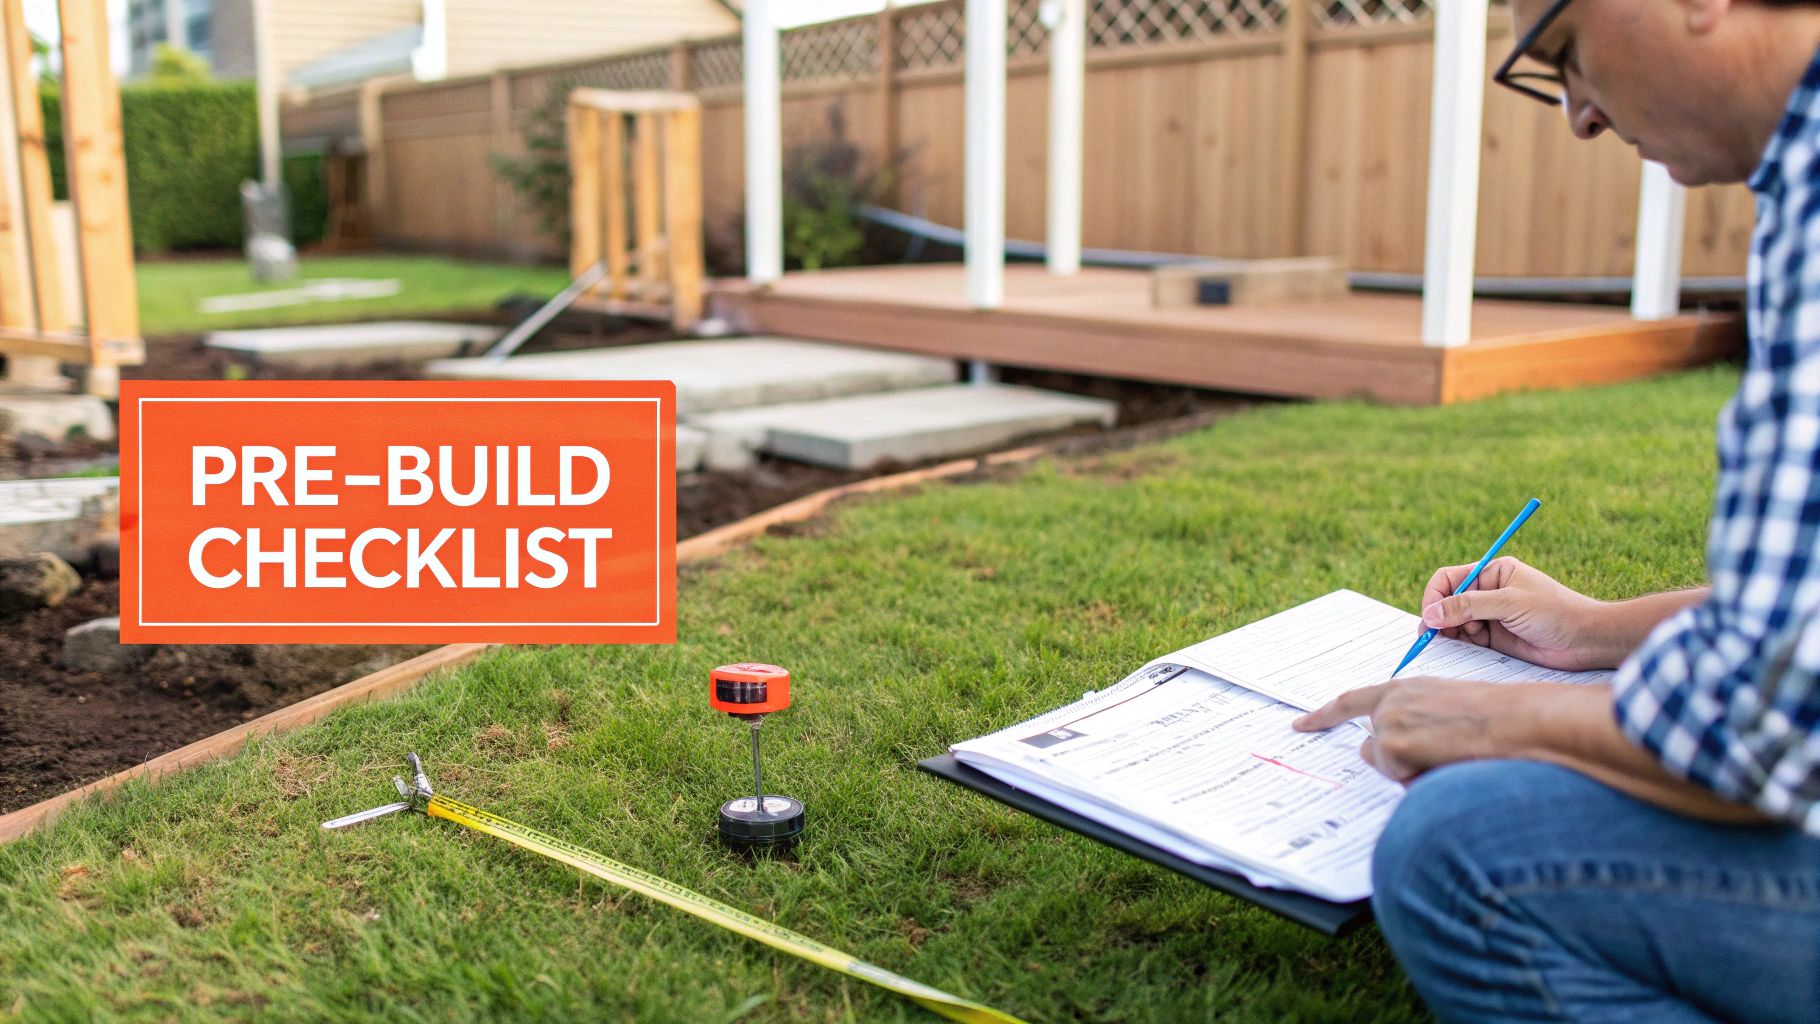
Before you even think about cutting a single piece of wood, the real work begins. The success of your entire gazebo project is decided right here in the planning phase. I've seen it time and time again—rushing this part is the fastest way to blow your budget and create a ton of headaches you could have easily avoided.
This is your project's command center. It’s where you lay the groundwork that will guide every other decision. A solid plan turns what feels like a massive undertaking into a series of clear, manageable steps.
Where you put your gazebo is about more than just finding a flat patch of grass; it will define how you use it and how your whole yard feels. Think about the sun's path across your yard. Do you want shade during the hot afternoon, or a sunny spot for your morning coffee? Also, step back and look from your house—how will it frame the view?
Don't skip this. Seriously. Your local town or county has rules for outdoor structures, and ignoring them is a recipe for disaster. Often, the rules are based on size. For instance, in many areas, any structure over 20 square meters is going to require a permit. That’s the case in about 75% of regions. Trying to fly under the radar can lead to hefty fines or, even worse, an order to tear the whole thing down.
Just hop on your local planning department's website or give them a quick call. It'll save you a world of trouble.
Think of it this way: a well-built gazebo isn't just a cost, it's an investment. A quality outdoor structure can add a 65% return on investment to your property's value. Suddenly, that permit fee doesn't seem so bad.
Interestingly, a lot of the initial legwork for a gazebo is very similar to other backyard projects. The prep steps are nearly identical to what's in this complete guide to building a shed on rural land.
Now for the big decision: how are you going to build this thing? You can go with a pre-designed kit or build a completely custom structure from scratch. There's no right answer—it just depends on your skill level, budget, and vision.
To help you decide, here's a quick breakdown of the pros and cons of each approach.
| Factor | DIY Kit | Building from Scratch |
|---|---|---|
| Skill Level | Beginner-friendly. Instructions are included. | Intermediate to advanced. Requires carpentry skills. |
| Cost | Generally more affordable and predictable. | Can be more expensive due to custom materials and plans. |
| Time | Faster assembly since parts are pre-cut and drilled. | Much more time-consuming. Involves cutting and planning. |
| Customization | Limited to the design of the kit. | Total creative freedom. You design every detail. |
| Tools Needed | Basic hand and power tools are usually enough. | Requires a full range of carpentry tools, including saws. |
A kit with its pre-cut materials and step-by-step instructions is a fantastic choice if you're new to this. But if you have a specific vision in mind, building from scratch is the only way to get exactly what you want.
If a custom build feels a little too ambitious, or even if a complex kit seems daunting, bringing in a professional is always an option. If you go that route, our guide includes a helpful contractor checklist: https://assemblysmart.com/contractor-hiring-checklist/
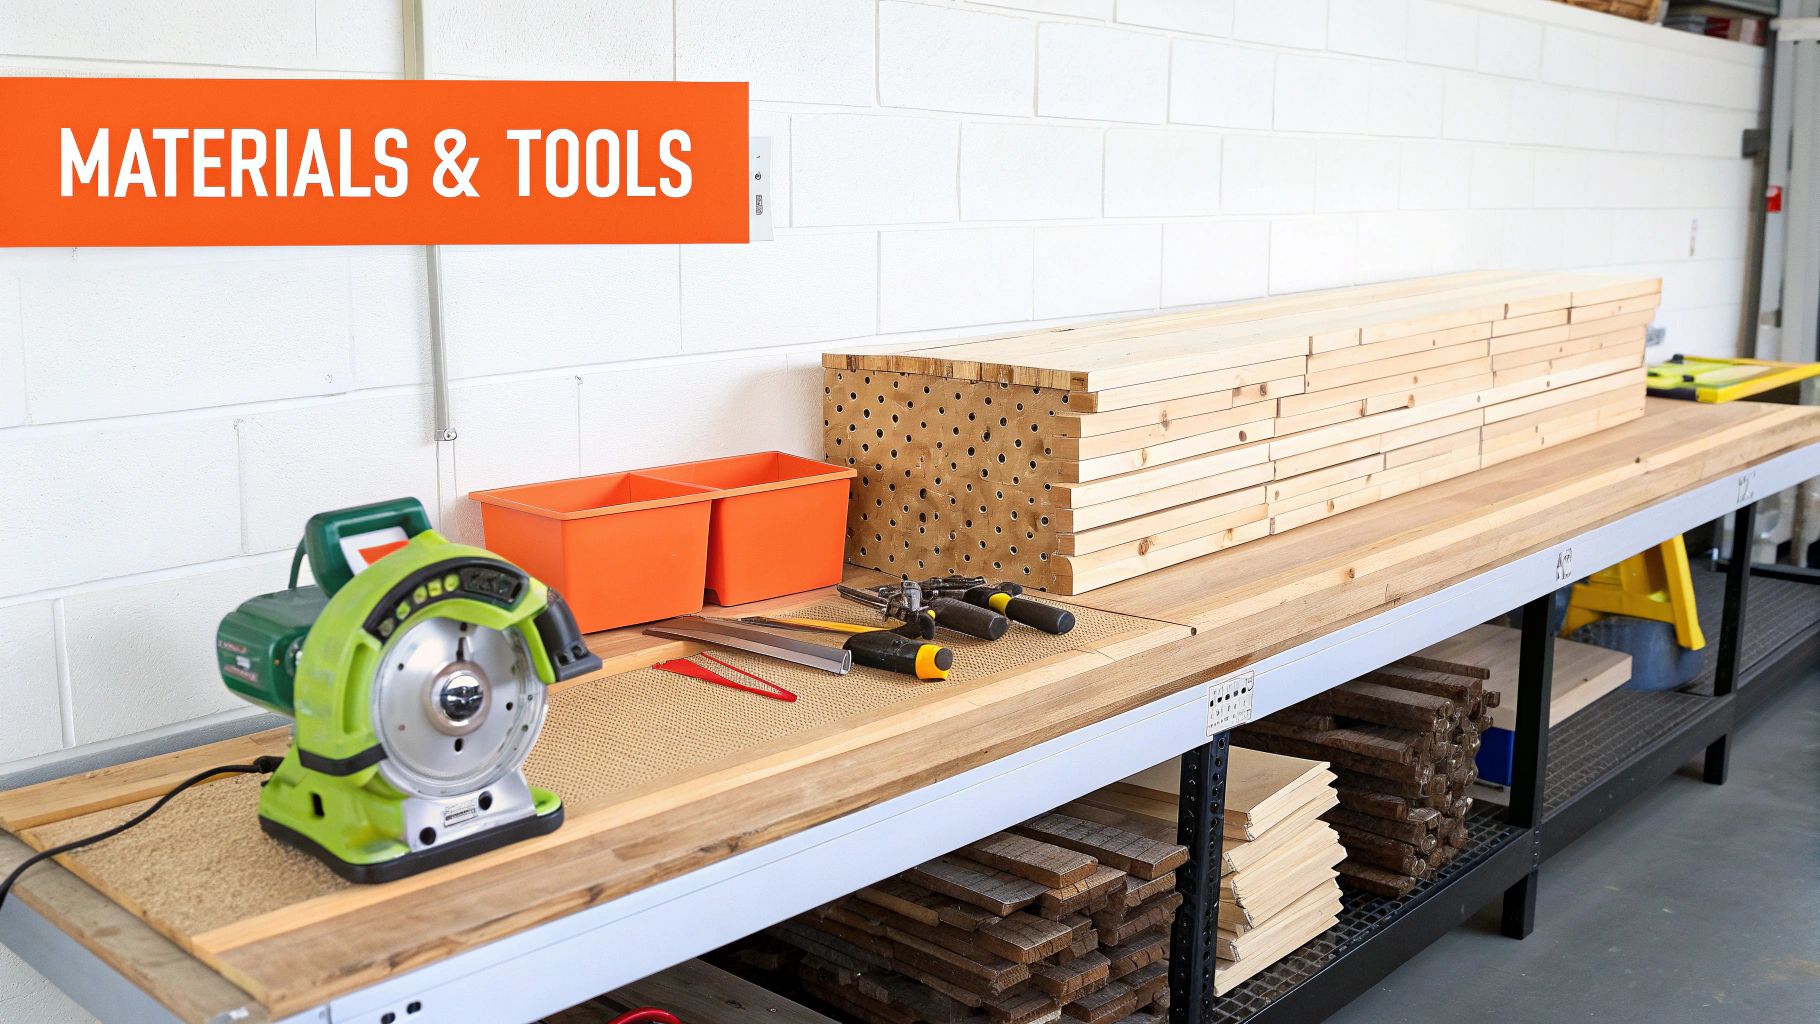
Alright, you've got your plans and you've picked the perfect spot. Now for the fun part: turning those ideas into a physical reality. This stage is all about gathering the materials and tools that will become your new gazebo. Getting this right from the start saves you from those frustrating mid-project runs to the hardware store.
Think of it like setting up your workshop for a big project. When every piece of lumber, every box of screws, and every tool is laid out and ready to go, the actual build becomes a whole lot smoother and, frankly, much more enjoyable.
The material you pick is the single biggest factor in how your gazebo will look, how long it will last, and how much work you'll have to put into maintaining it. While you've got more options than ever, good old-fashioned wood is still the classic for a reason.
Globally, 55% of gazebo builds still use wood for its timeless, natural appeal. That said, low-maintenance options like metal have seen a 12% growth in popularity, which makes sense for homeowners who value durability over a traditional look. The whole outdoor structures market, sitting at USD 2.26 billion in 2024, really shows how diverse people's tastes are.
Here’s a quick rundown of the usual suspects:
No matter what you choose for the main structure, remember that picking the right wood for specific parts is crucial. Our guide on the https://assemblysmart.com/best-wood-for-tables/ digs into this, and the principles apply to most outdoor projects.
Having the right tools is every bit as important as having the right lumber. You don't need a full-blown professional workshop, but a few key power tools are absolutely non-negotiable for a project of this size.
The Must-Haves
The Nice-to-Haves
A miter saw is a total game-changer for a gazebo build. It makes cutting precise angles for your rafters and decorative pieces incredibly fast and accurate. It can save you hours of tedious work compared to wrestling with a circular saw and a guide.
A classic rookie mistake is using the wrong saw blade for the cut you're making. This can lead to nasty, splintered wood or even burn out your saw's motor. Before you fire up the saw, it pays to double-check your setup. There's a helpful guide on choosing the best blade for every cut from the folks at Neasden Hardware that's worth a read.
To keep from wasting material and money, organize your shopping list into clear categories. Tally up your lumber needs from your plans, then add a 10-15% buffer for those inevitable "oops" moments.
When you take the time to gather everything in a methodical way, you’re setting yourself up for a build that’s efficient, safe, and ultimately, a success.
The real strength and longevity of your new gazebo isn’t in the fancy roof or the sturdy-looking posts—it's buried underground in its foundation. This is, without a doubt, the single most important part of the entire project.
Getting the foundation right ensures your gazebo will be stable, safe, and perfectly level for years. Rushing this stage is a surefire way to end up with a wobbly, unprofessional-looking structure that just won't stand up to the elements or the test of time. Everything that comes after, from the posts to the frame, depends entirely on the base you build now.
The kind of foundation you’ll need really comes down to your local climate, the soil in your backyard, and how big your gazebo is going to be. A small, lightweight gazebo on solid, dry ground has very different needs than a massive hardtop structure in a place with harsh, freezing winters.
Before you can even think about mixing concrete or setting blocks, you have to prep the site meticulously. The goal here is a perfectly flat and level surface. This is a game of precision, and taking your time will pay off in a big way later on.
Start by clearing the entire area of grass, weeds, and any rocks. You need to get right down to bare, compacted soil. Once it’s cleared, the critical task of leveling begins. Honestly, for many homeowners, getting a large patch of ground perfectly level can be one of the toughest parts of any backyard build. If you're new to this, our detailed guide on how to level ground for a swing set walks through the same core principles you'll need right here.
With the ground level, it's time to mark your layout. Use stakes and string lines to map out the exact footprint of your gazebo. Now, measure the diagonals of your layout from corner to corner. If they are exactly the same length, your corners are perfectly square.
Pro Tip: Don't just eyeball it. A large carpenter's square is good for checking corners, but measuring the diagonals is the ultimate test for a perfectly square layout. Being off by even an inch here will cause major headaches when you start putting the frame together.
If you’re going with poured footings, your next step is to start digging. How deep you need to go is determined by your local frost line—the point in the soil that freezes solid in the winter. Digging below this line is non-negotiable in colder regions.
A standard 10×10 foot gazebo build is a surprisingly big job. You could need around 9 tons of gravel for the base and as many as 16 separate concrete piers for rock-solid support. For true stability in cold climates, you have to excavate down to the frost line, which can be as deep as 1.2 meters in places like Canada. These kinds of details, often found in outdoor living market research, really drive home how important proper planning is. You can see more insights about outdoor living structure market statistics on imarcgroup.com.
For deck blocks or a slab foundation, you'll still want to dig out several inches of topsoil. This creates space for a base layer of compacted gravel, which dramatically improves drainage and prevents the foundation from settling unevenly down the road. A hand tamper or a rented plate compactor is a must-have tool for this step to make sure that gravel is packed down tight.
Getting this foundation perfectly square, level, and solid isn’t just a preliminary step—it is the very bedrock of your entire project.
Alright, your foundation is solid and perfectly level. Now for the fun part. This is where you finally get to see all that prep work pay off as the gazebo starts taking shape right before your eyes. Putting up the frame and roof is all about careful assembly—precision and safety are your best friends here.
Everything from this point on depends on how well you handle this stage. Every post needs to be perfectly straight, and every rafter needs the right angle. Don't rush it. The payoff is a rock-solid, beautiful structure you can be proud of for years to come.
First things first: setting the main support posts. These are the big vertical columns that will hold up the entire roof. Your mission is to get them perfectly plumb (that’s builder-speak for perfectly vertical) and securely bolted to the foundation anchors you already set.
This is definitely not a one-person job. You’ll need a friend to hold the post steady while you use a 4-foot level to check for plumb on two adjacent sides.
Do this for every single post. It feels a little repetitive, I know, but if even one post is slightly off, it will throw a wrench into every single measurement that follows, especially when you get to the roof.
We heard from one DIYer in Florida who built a hardtop gazebo and said it took two people two full 8-hour days just for assembly. His biggest piece of advice? Don't try to be a hero and do it in the middle of summer. Pick a time when the weather is on your side to avoid getting exhausted and making silly mistakes.
With all the posts standing tall and braced, it's time to connect them at the top. This is where the heavy beams (usually 2x8s or bigger) come in. They run horizontally from post to post, creating the top perimeter of the gazebo and supporting the entire roof structure.
Lifting these heavy beams is another moment where you'll be glad you have an extra set of hands. Use sturdy ladders and remember to lift with your legs, not your back.
Clamp the beams into place temporarily and check for level one last time. Only when you’re sure the frame is perfectly square and level should you fasten them permanently with heavy-duty structural screws or bolts.
This visual guide shows the essential steps for creating a stable base, which is crucial before raising the frame.
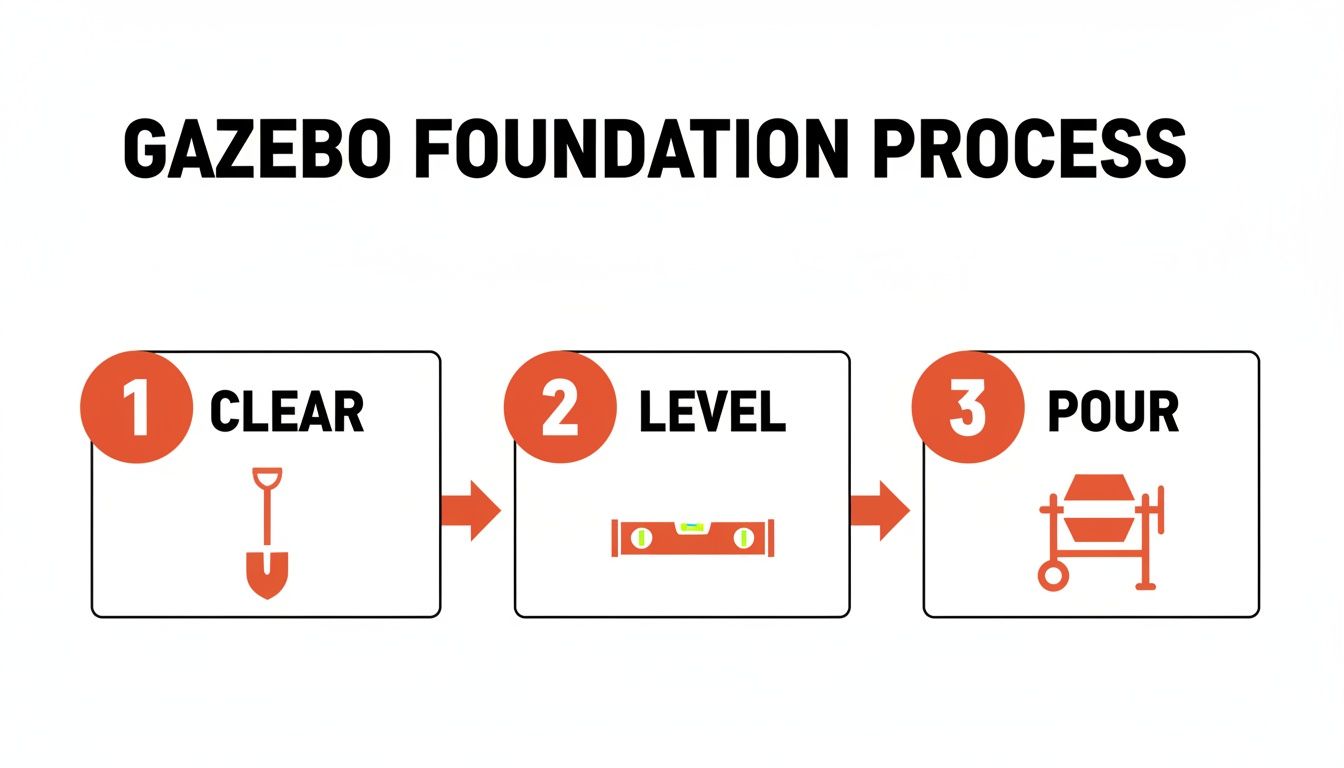
As the diagram shows, you need to clear the area, get it level, and pour your foundation before any of this framing work can even begin.
Building the roof can seem like the most intimidating part of the whole project, but it really boils down to making a series of precise, repetitive cuts. The trick is getting the rafter angles right to create your desired roof pitch. That angle is what helps the roof shed rain and snow effectively.
You'll generally be making two key cuts on each rafter:
For a classic hip roof or an octagonal gazebo, you’ll have a mix of common rafters and shorter hip rafters. Your gazebo plans should spell out the exact angles and lengths you need. A good miter saw is a lifesaver here—it makes these angled cuts fast and incredibly accurate.
When you go to attach the rafters, do them one by one, usually in opposing pairs. This helps keep the weight distribution even as you build. And whatever you do, don't just rely on nails or screws. Use hurricane ties or rafter clips. These little metal brackets are a game-changer for reinforcing the joints against strong winds. In many areas with severe weather, they’re actually required by code, and for good reason. It’s a small extra step that gives you major peace of mind.
With the main frame standing strong, your project is about to transform from a skeleton of lumber into a true backyard feature. This final construction phase is where the personality of your gazebo really shines through.
We're talking about the three key elements that make it a finished structure: the roof, the deck, and the railings. This is where you protect all your hard work from the weather while adding the functional and aesthetic details that make the space so inviting.
A gazebo's roof is its first line of defense against sun, rain, and snow. The job starts by installing sheathing—usually plywood or OSB panels—directly onto the rafters. This creates the solid, uniform surface your final roofing material needs.
A good rule of thumb is to stagger the seams of the sheathing panels for maximum strength, just like a bricklayer staggers bricks. Once that sheathing is secure, you'll add the underlayment. This is a waterproof barrier, typically a synthetic fabric or good old-fashioned tar paper, that acts as a crucial second layer of moisture protection. Don't skip it!
Next up, the fun part: the roofing material itself. Your choice here makes a big impact on both durability and style.
A critical pro tip: install a drip edge along the entire perimeter of the roof before you lay any shingles. This L-shaped piece of metal is your best friend—it guides water away from the fascia and prevents it from seeping back under the roofing, which is a common cause of rot.
With the roof overhead, you can now turn your attention to the surface under your feet. Building the floor, or deck, starts with installing the floor joists. These are the horizontal supports that run across the base of the gazebo, creating a strong grid that the deck boards will screw into.
Proper joist spacing, usually 16 inches on center, is key to preventing a bouncy or sagging floor. Using joist hangers is non-negotiable for creating strong, secure connections where the joists meet the frame.
Once the joist framework is complete, you can start laying the deck boards. For a clean, professional look, start from the outside edge and work your way in. Remember to maintain a consistent gap between boards—about the width of a carpenter's pencil is perfect—to allow for proper drainage and natural wood expansion.
This is where the demand for easy-to-assemble outdoor structures really becomes clear. The global pop-up gazebos market was valued at a whopping USD 2.5 billion in 2023, driven by people wanting quick results. But for a permanent structure like yours, longevity is the goal, meaning weather resistance is paramount. For instance, many metal gazebos use powder-coated steel frames that can last 5-10 years, with canopies rated at least IPX4 for rain protection. You can dig into more data about the global pop-up gazebos market on dataintelo.com.
After all the cutting, measuring, and fastening, the final step is to protect the wood. An unfinished gazebo is an invitation for rot, warping, and insect damage. Applying a quality finish isn't just for looks; it's essential for the structure's longevity.
Choosing the right sealant can feel overwhelming, but it really comes down to the look you want and the level of protection you need. Here's a quick breakdown of the most common options:
| Protective Finishes for Your Gazebo |
|---|
| A comparison of common wood finishes to help you choose the best protection for your new gazebo. |
| Finish Type |
| Clear Water Sealer |
| Stain + Sealer (Toner) |
| Solid Stain |
| Exterior Paint |
No matter which finish you choose, proper application is key. Always clean the wood surface thoroughly and make sure it's completely dry before you start. Applying two thin coats is always better than one thick, goopy one. This final step is what will keep your gazebo looking great for years to come.
Railings are more than just a safety feature—they define the space and add a huge amount of character to your gazebo. Most railing systems consist of top and bottom rails with vertical balusters (or spindles) in between.
Precision is your friend here. Cut all your balusters to the exact same length to ensure a uniform, professional appearance. Spacing them correctly is also crucial for safety. Most building codes require that the gap between balusters be no more than four inches to prevent small children from getting stuck.
This is also your chance to add any final decorative trim. Think about fascia boards to cover the rafter ends or corner molding to give the posts a more substantial, finished look. These small details can elevate the entire project from a simple structure to a true backyard centerpiece.
Even with the best plans in hand, every big DIY project has those moments that make you stop, take a step back, and scratch your head. Building a gazebo is certainly no exception. We’ve pulled together answers to the most frequent questions we hear, helping you think on your feet and make smart decisions when you hit a snag.
Think of this as your go-to guide for navigating those inevitable little hurdles. From swapping materials to fixing mistakes, we’ve got you covered.
This is probably the number one question we get, and the short answer is "yes, but you have to be smart about it." You can absolutely swap out pressure-treated pine for something like cedar, but you need to understand what that change means. Cedar looks beautiful and is naturally rot-resistant, but it's also a softer wood and will cost you more.
The real danger is in changing dimensions. If your plans call for 6×6 posts and all you can find are 4x4s, you can't just make a direct swap. You'd be seriously compromising the structural integrity of the entire build.
It happens. Even seasoned pros mismeasure now and then, so the first rule is: don't panic. If you cut a board just a little too short, you probably can't use it for its intended spot, but don't just toss it in the scrap pile. That piece might be the perfect length for a shorter railing baluster or a support block you'll need later.
Now, if you mess up a critical piece like a main rafter, you simply have to recut it. This is exactly why we always recommend buying 10-15% extra material—it’s your buffer for these exact moments.
There's nothing more frustrating than realizing a key structural piece is mis-cut late in the build. It’s always better to remeasure, recut, and get it right than to try and force a piece that doesn't fit. A small mistake here can telegraph into huge alignment problems down the line.
This is a huge concern for anyone who just invested in a brand-new paver or concrete patio and doesn't want to drill into it. The good news is you have some excellent options that don't involve a hammer drill. One of the most effective methods we've seen is using heavy planters as anchors.
We heard from one homeowner in Florida who set each gazebo leg into a heavy concrete planter, then filled it with a fast-setting concrete mix. Each planter weighed 40-50 lbs before she even added the concrete, creating an incredibly stable anchor. It's worked so well that her gazebo has stayed put through three hurricane seasons with wind gusts hitting nearly 100mph.
Let's be realistic. Sometimes life gets in the way, or a project turns out to be way more complex than you first thought. Recognizing when to call for help isn't a failure—it's a smart move. You've already done the tough part of planning and getting things started. Bringing in a professional to handle the final assembly can save you a ton of time, stress, and ensure the structure is safe.
The market is even shifting to address this. For instance, SUNJOY's upcoming June 2025 release of an 8×12 hardtop gazebo with built-in storage is designed to cut assembly time down to just 4 hours. This shows a real trend toward modular, professionally designed kits that simplify things for homeowners. You can read more about the trends in outdoor living structures from polarismarketresearch.com.
For custom builds or more complex kits, it helps to know what professional help might cost. You can get a clear picture by checking out our detailed breakdown of the average gazebo installation cost.
Feeling overwhelmed by the instructions or just running out of weekend hours? The expert technicians at Assembly Smart can jump in at any stage of your project. We’ll handle the heavy lifting and the tricky steps, making sure your new gazebo is built safely and correctly so you can start enjoying it. Get your free estimate today at https://assemblysmart.com.
