-
CALL US:
- (866) 952-3456
So, what exactly is an IKEA dresser hack? It’s when you take a basic, off-the-shelf IKEA dresser and transform it into a high-end, personalized piece of furniture. You’re essentially using an affordable, mass-produced item as a blank canvas for your creativity, turning it into something that looks completely custom for a fraction of the cost.
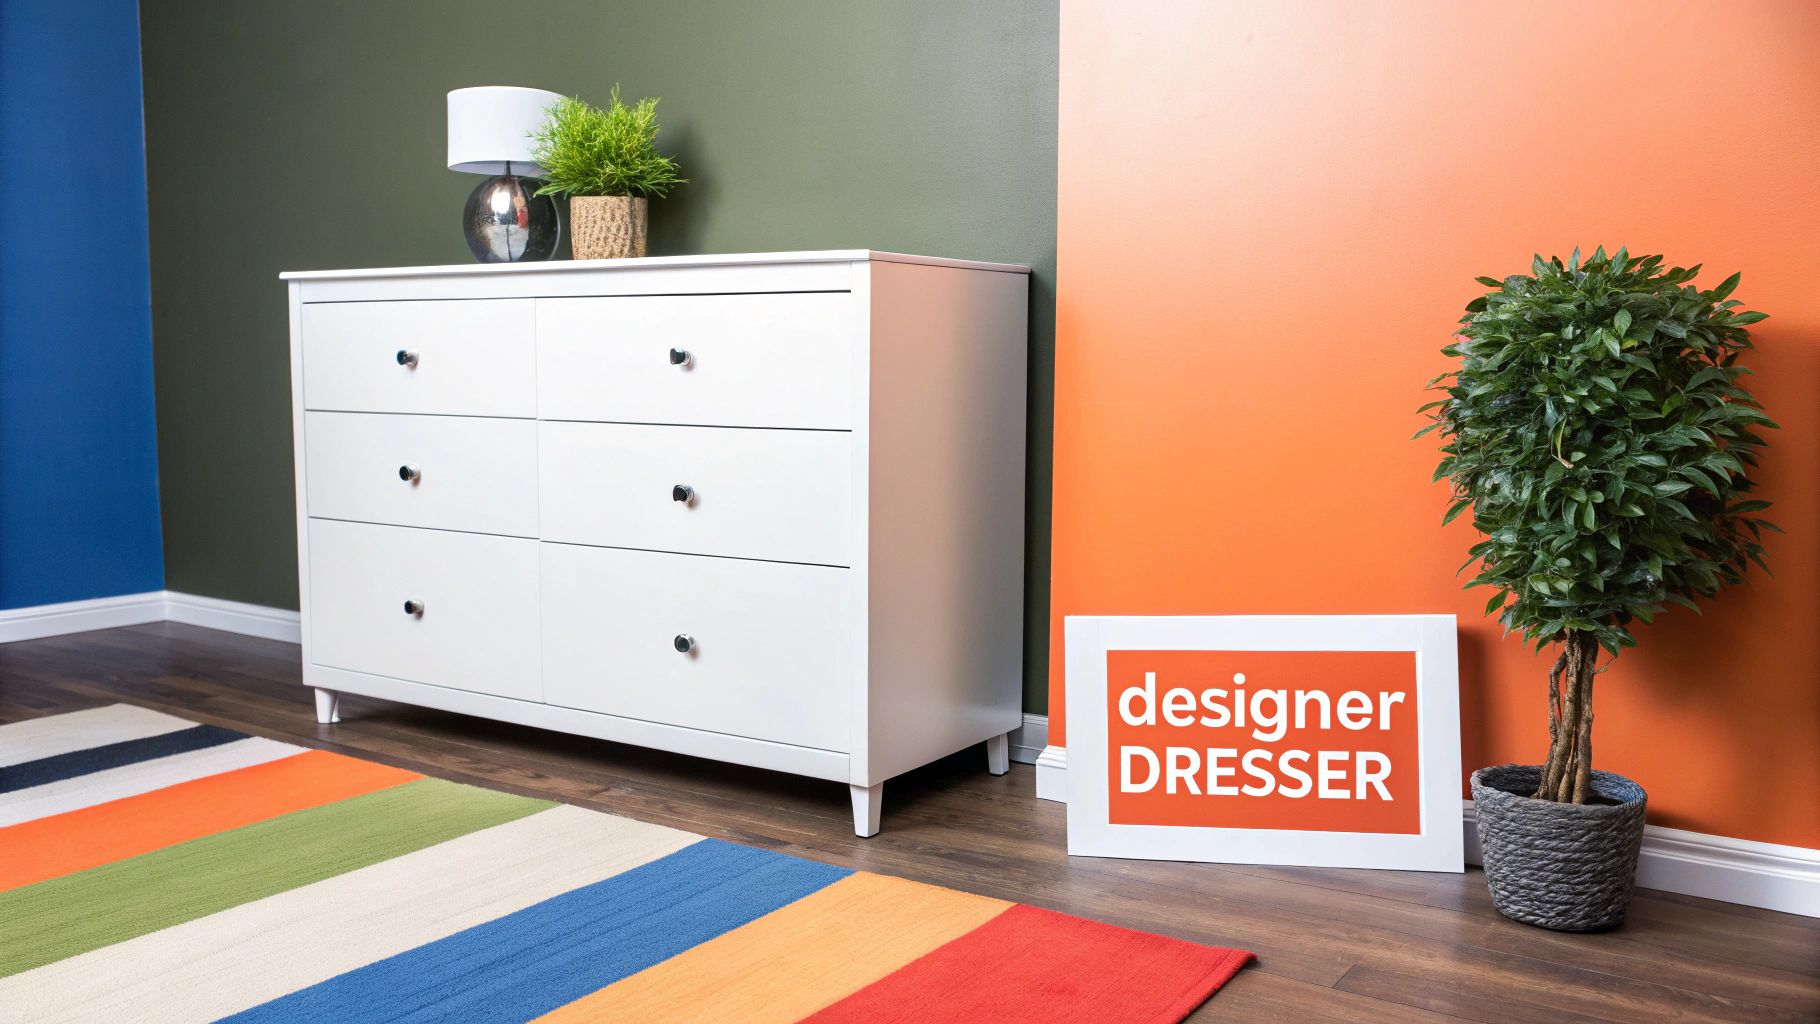
Welcome to the world of accessible custom furniture. Think of this guide as your starting point for turning a simple IKEA dresser into a creative masterpiece that looks like it was made just for your home. This isn't just another DIY project; it's a way to get that high-end, personalized look without the hefty designer price tag. Forget settling for generic furniture—this is your chance to build something that truly reflects your style.
IKEA furniture provides the perfect foundation for these kinds of projects. Models like the MALM, HEMNES, and TARVA are incredibly popular starting points, and for good reason. Their clean lines and simple construction make them exceptionally friendly for modifications. Whether you’re dreaming of a chic, minimalist piece or a bold, colorful statement, these dressers are the perfect blank slate.
The real beauty of an IKEA dresser hack is its versatility and accessibility. You absolutely do not need to be a professional woodworker to get a stunning result. The core structure is already built for you, which lets you focus on the fun, creative parts that will make the piece uniquely yours. This guide breaks down every step, making sure your project is a stunning success, not a frustrating chore.
Hacking IKEA furniture has some major perks:
Before you jump into a specific project, it can be really helpful to understand the broader principles of how to upcycle furniture with easy & creative DIY tips. Getting this wider context helps you think more creatively about materials and techniques you can use for your own IKEA hack.
The goal is to take a universally recognized product and infuse it with your personal story and style. It’s about making the ordinary extraordinary.
By following the right steps, you can create a durable, beautiful piece of furniture that no one will ever guess started as a flat-pack box. We'll walk you through the entire process, from initial planning and gathering supplies to the final finishing touches that ensure a professional-quality result.
A killer IKEA dresser hack doesn't start when you pick up a paintbrush or a drill. It actually begins much earlier, with a solid, well-thought-out plan. This is the single biggest thing that separates a piece that looks custom and professionally done from a DIY project that just… falls a little flat.
Think of this as your pre-project checklist. Getting everything lined up now makes the creative part smooth, fun, and free of those frustrating mid-project runs to the hardware store.
The first, most important decision is picking the right dresser for your vision. IKEA has a ton of great options that are practically begging to be hacked, but they are not all created equal. You really have to consider the material. A solid wood dresser like the TARVA, for example, is super forgiving and perfect for sanding and staining.
On the other hand, a laminate or particleboard piece, like the wildly popular MALM, needs a very specific kind of primer to get paint to stick properly.
Your choice of dresser will set the stage for the entire project. What's the final look you're going for?
And a crucial, often-overlooked step: measure your space! A beautiful hack is useless if the dresser is too big or small for the room. Before you even head to the store, check out our guide on how to measure furniture to make sure you get the dimensions right the first time.
Now, let's look at some of the most popular models people love to customize.
Choosing the right base model is half the battle. Some are perfect for a simple paint job, while others are built to handle more complex additions like wood trim or cane webbing. This table breaks down the go-to choices for IKEA hackers.
| Dresser Model | Material | Average Price | Best For Hacks Involving |
|---|---|---|---|
| MALM | Particleboard, Laminate | $100 – $250 | Painting, overlays, hardware changes |
| HEMNES | Solid Pine | $250 – $400 | Staining, painting, distressing |
| TARVA | Unfinished Solid Pine | $100 – $200 | Staining, painting, adding legs/trim |
| RAST | Unfinished Solid Pine | $50 – $70 | Small-space projects, staining, painting |
Ultimately, your choice depends on both your budget and how much prep work you're willing to do. A solid pine piece like the TARVA is a dream to work with, but a MALM can look just as high-end with the right prep and paint.
With your dresser picked out, it's time to gather your supplies. Trust me on this—having everything you need ready to go before you start is a game-changer.
Here’s a look at what you'll likely need:
The whole idea of hacking IKEA furniture has absolutely exploded. What started on a few DIY blogs has become a massive social media trend—the hashtag #ikeahacks has been viewed tens of millions of times. It just goes to show how people are taking affordable, mass-produced designs and turning them into unique pieces that perfectly fit their homes.
Pro Tip: Before you open a single can of paint, set up a dedicated workspace. Lay down a drop cloth, organize your tools, and make sure you have good ventilation. A tidy space almost always leads to a cleaner, more professional result.
Alright, you've got your plan and your supplies are all lined up. Now for the fun part—bringing that vision to life. This is where your flat-pack furniture starts its journey to becoming a custom centerpiece for your room. We'll go from assembly all the way through to those final, personal touches that make it yours.
Here’s a little trick that will save you a ton of hassle later on. If you're planning to paint the drawer fronts or add any kind of trim, don't attach them during the initial build. Go ahead and put together the main dresser frame and the drawer boxes, but leave those fronts separate. This makes them so much easier to sand, prime, and paint without having to tape everything off or work at awkward angles. For more general tips, our guide on how to assemble IKEA furniture can be a real lifesaver.
This visual guide breaks down the simple flow, from dreaming up your idea to getting your hands dirty with the prep work.

Each step really does build on the one before it, making sure that when you're finally ready to prep the surface, you've got a solid plan and all your materials ready to go.
I cannot say this enough: proper surface preparation is 90% of the work if you want a flawless, durable finish. Skipping this part is the single biggest mistake you can make, especially with those slick laminate pieces like the MALM.
The whole goal here is to create a surface that the primer and paint can actually grip onto. Without it, your beautiful paint job is destined to chip and peel.
The most common reason a DIY paint job fails is poor prep. Taking an extra 30 minutes to sand and prime properly will save you hours of frustration and repainting down the line.
With your surfaces prepped and primed, the real magic starts. Applying the paint correctly is what gives your IKEA hack that polished, high-end look. For anyone trying to streamline their project, learning how to paint furniture without sanding can be a huge time-saver, but you'll still absolutely need a high-adhesion primer for laminate.
For the best results, use a couple of different tools. A good quality angled brush is your best friend for cutting in on edges and corners. Then, for the large, flat areas like the top and drawer fronts, a small foam roller is your secret weapon. It gives you a super smooth, almost spray-like finish with minimal brush marks.
Plan on applying two to three thin coats, and make sure you let each coat dry completely according to the manufacturer's instructions. Don't rush it
Alright, you’ve mastered the basics of prepping and painting. Now it’s time for the fun part—the details that take a plain IKEA dresser and turn it into a statement piece that looks like it came from a high-end designer.
This is where an IKEA dresser hack really shines. You get to mimic expensive trends for a tiny fraction of the cost, infusing your furniture with texture, dimension, and a personality that’s all yours.
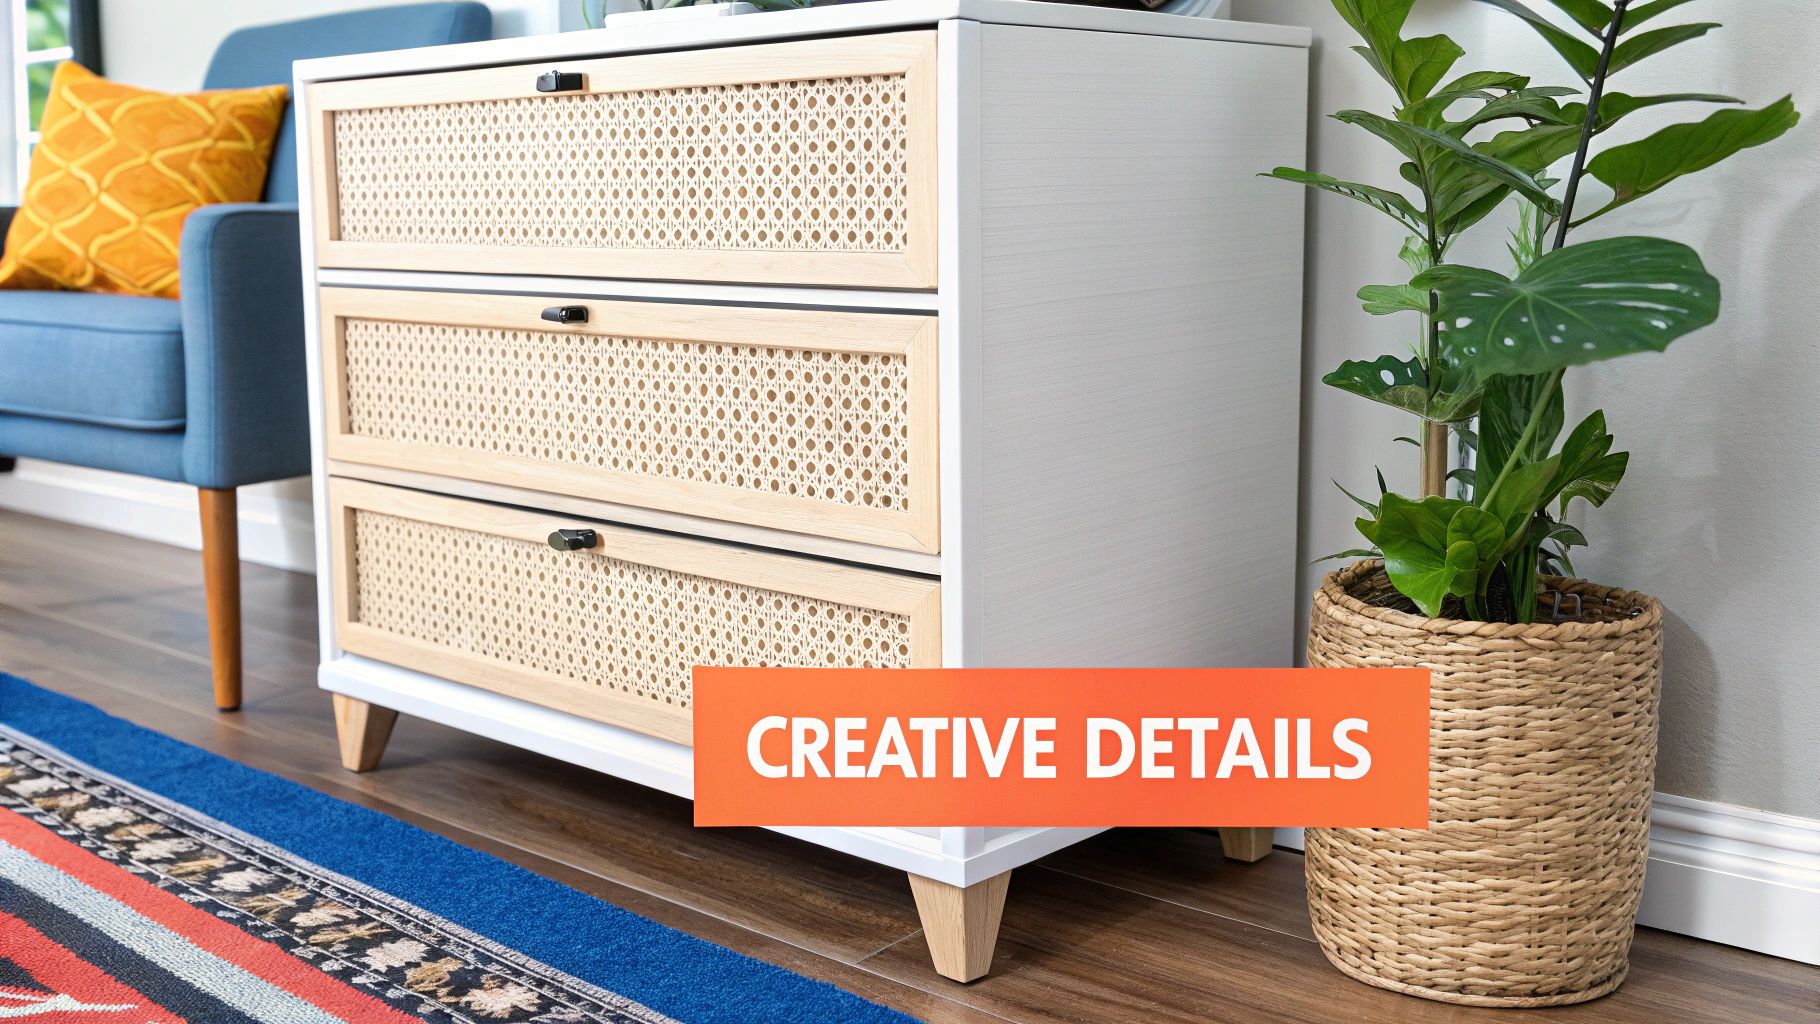
One of the most popular ways to elevate a flat-pack dresser right now is by adding textural drawer fronts. This single move adds so much depth and gives it a custom-built feel that completely hides its humble beginnings.
You have a few great material options for this:
The secret to a real standout piece is often in the mix. Imagine a deep forest green dresser with fluted drawer fronts, finished off with sleek, modern brass pulls. It's that combination of texture and finish that screams "custom."
Want to make a really dramatic change? Alter the dresser's fundamental shape. Simply getting it off its original base can make it feel lighter, more elegant, and nothing at all like the stock version you see in the store. This is a powerful move in any ambitious IKEA dresser hack.
For instance, adding a set of tapered wooden legs can give a boxy MALM a whole new mid-century modern feel. Or, you could build a simple plywood plinth base to give it a heavy, grounded, built-in look. These structural changes are often easier than they sound and have a huge impact on the final piece.
The online community built around these projects is packed with incredible creativity. The most popular IKEA hacks of 2022 showed just how versatile these products are, with people modifying everything from bookcases to desks. It just goes to show how IKEA’s simple designs provide the perfect blank canvas.
Don't just stop at a single solid color. Creative paint applications can add another layer of customization that makes the piece uniquely yours.
Think about techniques like color blocking, where you might paint the frame and drawers in bold, contrasting colors. Or you could use stencils to add a delicate pattern to the top or sides for a subtle bit of flair. The same principles that work for a dresser can be adapted for other furniture, too, as you can see in many creative IKEA loft bed hack ideas.
This is where the magic really happens. The final details are what take an IKEA hack from "okay" to "wow." You've put in all the hard work prepping and painting, and this last stage is all about making sure your dresser looks professional and can actually stand up to daily life. Sealing your work with a topcoat isn't just a suggestion—it's a must for durability.
Your choice of topcoat really matters. Each one gives you a different level of protection and a unique sheen, so picking the right one is key to nailing the final look.
The single biggest mistake I see people make is impatience. Rushing the drying times between coats of paint or topcoat is a surefire way to end up with a tacky, easily-dented finish. Just give your project the time it needs to cure properly. It's worth it.
Even when you do everything right, little issues can pop up. The good news? Most are an easy fix if you catch them early.
If you spot an annoying paint drip, don't touch it! Just wait until the paint is completely dry. Then, you can lightly sand the drip with some fine-grit sandpaper until it’s smooth and blend it in with your next coat.
Having trouble with hardware that won't sit flush? Nine times out of ten, it’s because the holes you drilled aren't totally clean of debris. Even a little bit of sawdust can make a knob or pull sit crooked, which can ruin the clean lines of the whole piece.
And once your masterpiece is done, don't skip the most important final step: safety. It is absolutely essential to learn how to properly anchor your dresser to the wall. This prevents any risk of tipping, which is especially critical in a home with kids or pets.
Sometimes, knowing what not to do is just as important as knowing what to do. After countless projects (and a few hard lessons learned), these are the big mistakes that can derail an otherwise perfect IKEA hack.
Thinking about taking on an IKEA dresser hack? It's a fantastic project, but if you're new to this, a few questions are probably popping into your head. Let's run through some of the most common ones that come up. Getting these answers sorted out will help you dive into your own project with a lot more confidence.
For a lot of first-timers, the biggest question mark is the material itself. It's no secret that many of IKEA's most popular pieces, like the classic MALM dresser, aren't exactly solid wood. That can feel a little intimidating.
You absolutely can! The real trick isn't about the paint you choose—it's all in the prep work. You can't just slap a coat of paint onto that slick, glossy surface and hope for the best. It just won't stick.
The secret is giving the paint something to grab onto. Your first move is to lightly scuff up the entire dresser with fine-grit sandpaper (something in the 120-220 grit range is perfect) just to knock down that factory sheen. After you've wiped away every last bit of dust, it's time for the most important step: a high-quality shellac-based or adhesion primer. This stuff is magic. It’s made specifically to bond to tricky surfaces like laminate, creating a solid foundation that will keep your paint from chipping or peeling later on.
Good news: you don't need a pro-level workshop to create a stunning IKEA hack. For most projects, especially if you're just starting out, a handful of key items will get the job done.
A power drill or driver is a massive time-saver for both the initial assembly and for adding new hardware later. Beyond that, you'll want to have these on hand:
And if you're thinking about adding some decorative wood trim, a basic miter box and a hand saw are all you need to get clean, precise cuts. No need to splurge on a big power saw.
Here's my two cents: Don't go cheap on your primer or your brushes. Quality materials make a world of difference in the final look and are well worth the small extra cost for a finish you can be proud of.
Think of hardware as the jewelry for your furniture—it’s the final touch that defines the style. Start by thinking about the vibe you're going for. Are you picturing a mid-century modern look with warm brass knobs? Or maybe something more contemporary with sleek, matte black pulls?
Next, get practical. Take a look at the existing holes on the drawers and measure the distance between them. The easiest swap is to find new hardware with the exact same center-to-center measurement. If you fall in love with hardware that doesn't match up, no problem—you'll just need to fill the old holes with a bit of wood filler, sand them smooth once dry, and then carefully drill new ones. Always, always measure twice before you drill!
Feeling inspired but maybe not quite ready to tackle the project yourself? Assembly Smart is here to help. We offer professional, in-home assembly services for all your IKEA furniture, ensuring a perfect build every time. Book your stress-free appointment today and let us handle the hard part.
