-
CALL US:
- (866) 952-3456
Installing a new in-ground basketball goal is a serious project, one that usually spans a few days from start to finish. You're looking at digging, pouring a hefty concrete footing, and then wrangling some heavy-duty components into place. The whole job really comes down to three main stages: getting the site prepped, pouring the concrete pier, and finally, assembling the hoop itself. The one non-negotiable part? You absolutely have to let that concrete cure for 72 hours. How well this all turns out hinges completely on the planning you do before a single shovel of dirt gets moved.
A smooth, successful installation starts way before you break ground. Think of this as your pre-game huddle—this is where you map out your strategy to sidestep any fumbles later on. People who rush this part often end up with a leaning pole, a hoop that doesn't meet local codes, or, even worse, a dangerous run-in with an underground utility line.
Taking the time to get your game plan right means the whole process will be smoother, and you'll end up with a rock-solid hoop that's ready for years of action. Home courts have become a hugely popular upgrade, and it's easy to see why. The global market for these hoops is actually projected to hit almost USD 3.79 billion by 2033.
Deciding where to put your hoop is probably the single most critical choice you'll make. It impacts everything—gameplay, safety, even how your property looks. Don't just eyeball a spot that seems okay; you need to think through the practicalities first.
Before you do any digging—and I mean any—you have to call 811. This is a free national service that gets your local utility companies to come out and mark where their underground lines are. We're talking gas, electric, water, and internet cables. Accidentally hitting one of those isn't just a costly mistake; it's incredibly dangerous.
Safety First: Calling 811 is not optional. In many places, it's the law. It's the only way to be certain you're digging safely. Plan on making this call at least a few business days before you plan to start, as it gives the utility companies time to get to your property.
Never assume you can just stick a permanent hoop in the ground without checking the local rules. Many towns have setback requirements that dictate how far a structure has to be from the street or your property line. On top of that, if you're in a neighborhood with a Homeowners Association (HOA), you'll almost certainly need to get their blessing first. Skipping this step can lead to fines or even being forced to tear the whole thing down.
For a clearer picture of what the entire project might set you back, take a look at our guide on the costs to install a basketball hoop.
There’s nothing more frustrating than having to stop a project midway through to run to the hardware store. Get everything you need gathered and organized before you begin. For some solid general advice on site prep for any kind of in-ground installation, the tips in A Practical Guide to the Installation of Bollards are actually quite relevant and helpful.
Here’s a quick rundown of the essential gear you’ll need to have on hand.
Having all your ducks in a row before you start makes the whole process smoother and safer. Use this checklist to make sure you've got everything you need before you break ground.
| Category | Item | Notes |
|---|---|---|
| Digging & Concrete | Post-hole digger or shovel | A post-hole digger is much easier for a deep, narrow hole. |
| Wheelbarrow | Essential for mixing concrete and moving dirt. | |
| Concrete Mix (bags) | Check your hoop's manual for the exact number of bags required. | |
| Water Source & Hose | You'll need it for mixing the concrete. | |
| Measurement & Leveling | Tape Measure | For setting the hole depth and anchor placement. |
| Carpenter's Level | A 2-foot or 4-foot level is best for plumbing the pole. | |
| Assembly Tools | Wrenches & Socket Set | You'll need a variety of sizes for the bolts. |
| Rubber Mallet | For tapping parts into place without causing damage. | |
| Step Ladders (2) | Crucial for safely lifting and attaching the heavy backboard. | |
| Safety Gear | Safety Glasses | Protect your eyes during assembly and concrete mixing. |
| Work Gloves | Protect your hands from blisters and concrete burns. |
With your tools ready and your plan in place, you’re all set for the first major step: digging the footing.
The heart of any in-ground basketball goal is its foundation. This isn't just about digging a hole and dumping in some concrete; it's about creating an anchor that will absorb every dunk, stand up to rough weather, and keep your pole perfectly straight for years to come. I can't stress this enough: getting this part right is non-negotiable. A weak footing is the one mistake that’s nearly impossible to fix later on.
Success here really comes down to being precise—digging to the correct depth, getting the concrete mix just right, and most importantly, setting that anchor kit with perfect alignment. Think of it like building a house; a flawless foundation ensures everything on top of it is stable and secure.
This visual guide lays out the essential first steps, from picking your spot to making that critical call to check for underground utilities, all of which happen before you even touch a bag of concrete.
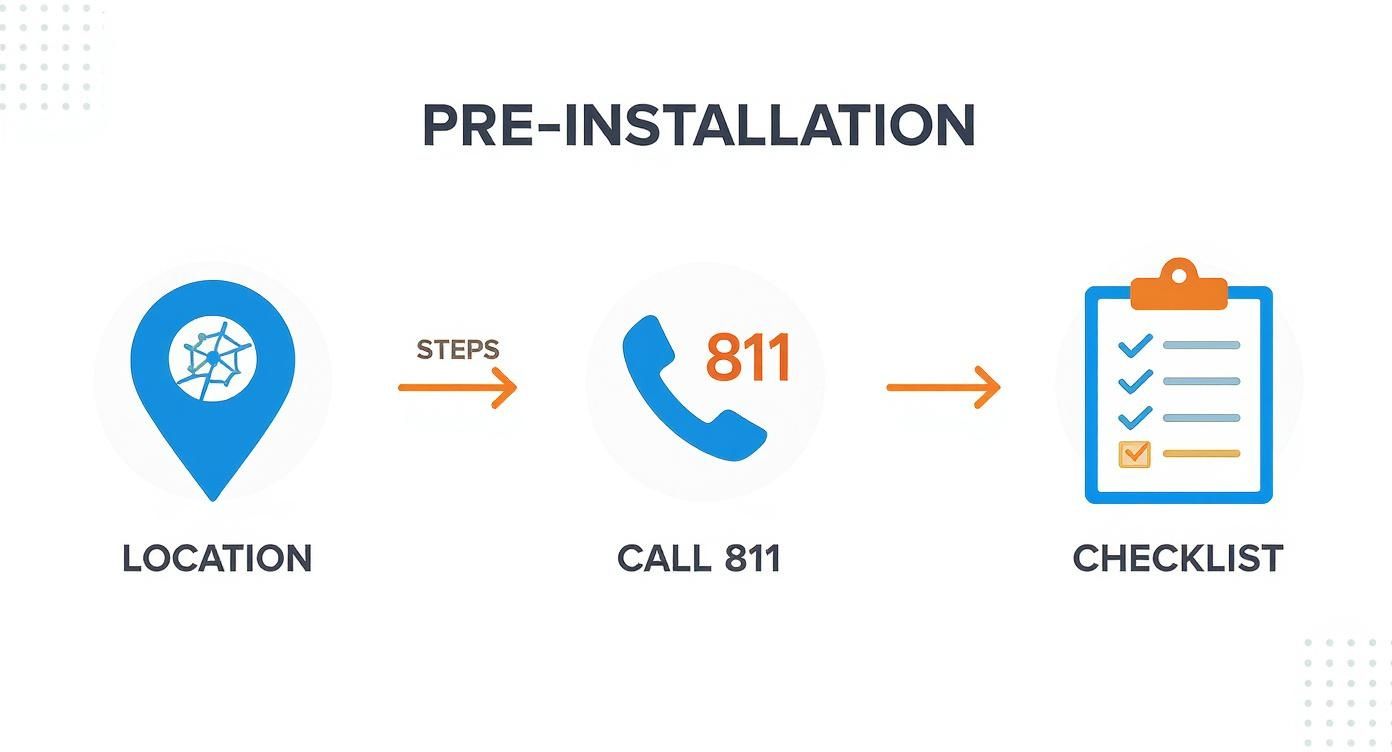
As you can see, the real work starts with smart site selection and safety checks. They're the true bedrock of the entire installation.
Before you even think about mixing concrete, you need to dig the hole, and its dimensions are critical. Don't eyeball this. Your hoop’s instruction manual is your bible here, as it will specify the exact diameter and depth needed for your particular model.
Generally speaking, most in-ground hoops require you to dig a hole 2 to 3 feet deep, which gets filled with concrete to lock the pole in place. The stability of those heavy-duty square tube steel poles, which you see on higher-end systems, depends entirely on this solid mass of concrete.
Mixing concrete isn't just a matter of adding water until it looks right; it’s a chemical reaction. You're aiming for a consistency similar to thick oatmeal or peanut butter—stiff enough to hold its shape but wet enough to flow into every nook and cranny around your anchor kit.
A mix that’s too watery will be weak and porous once it cures. On the other hand, if it's too dry, you’ll have a nightmare trying to pour it, and you risk creating air pockets, which are major weak spots in the foundation.
Pro Tip: I find it’s easiest to mix the concrete in a wheelbarrow, doing one or two 80-pound bags at a time. Add water slowly, mixing it in thoroughly with a hoe after each addition. You can always add more water, but you can't take it away.
This is the moment of truth. The anchor kit is that metal jig with threaded bolts where the main pole attaches. It has to be set into the wet concrete perfectly level. If it's off by even a fraction of an inch, you'll end up with a leaning basketball pole.
This skill of getting a perfectly level base applies to a lot of outdoor projects. In fact, we talk about the very same principles in our guide on how to level ground for a swing set.
Once the anchor is perfectly level, your job is done for the day. But the concrete is just getting started on its most important task: curing. Curing is the chemical process where concrete hardens and gains its strength—it’s not the same as just drying out.
Patience here is everything. The stability of any post set in the ground depends on its foundation, and as this homeowner’s guide to fence post repair explains, many issues with posts come from improper curing. Rushing this step is a recipe for a wobbly, unsafe basketball goal.
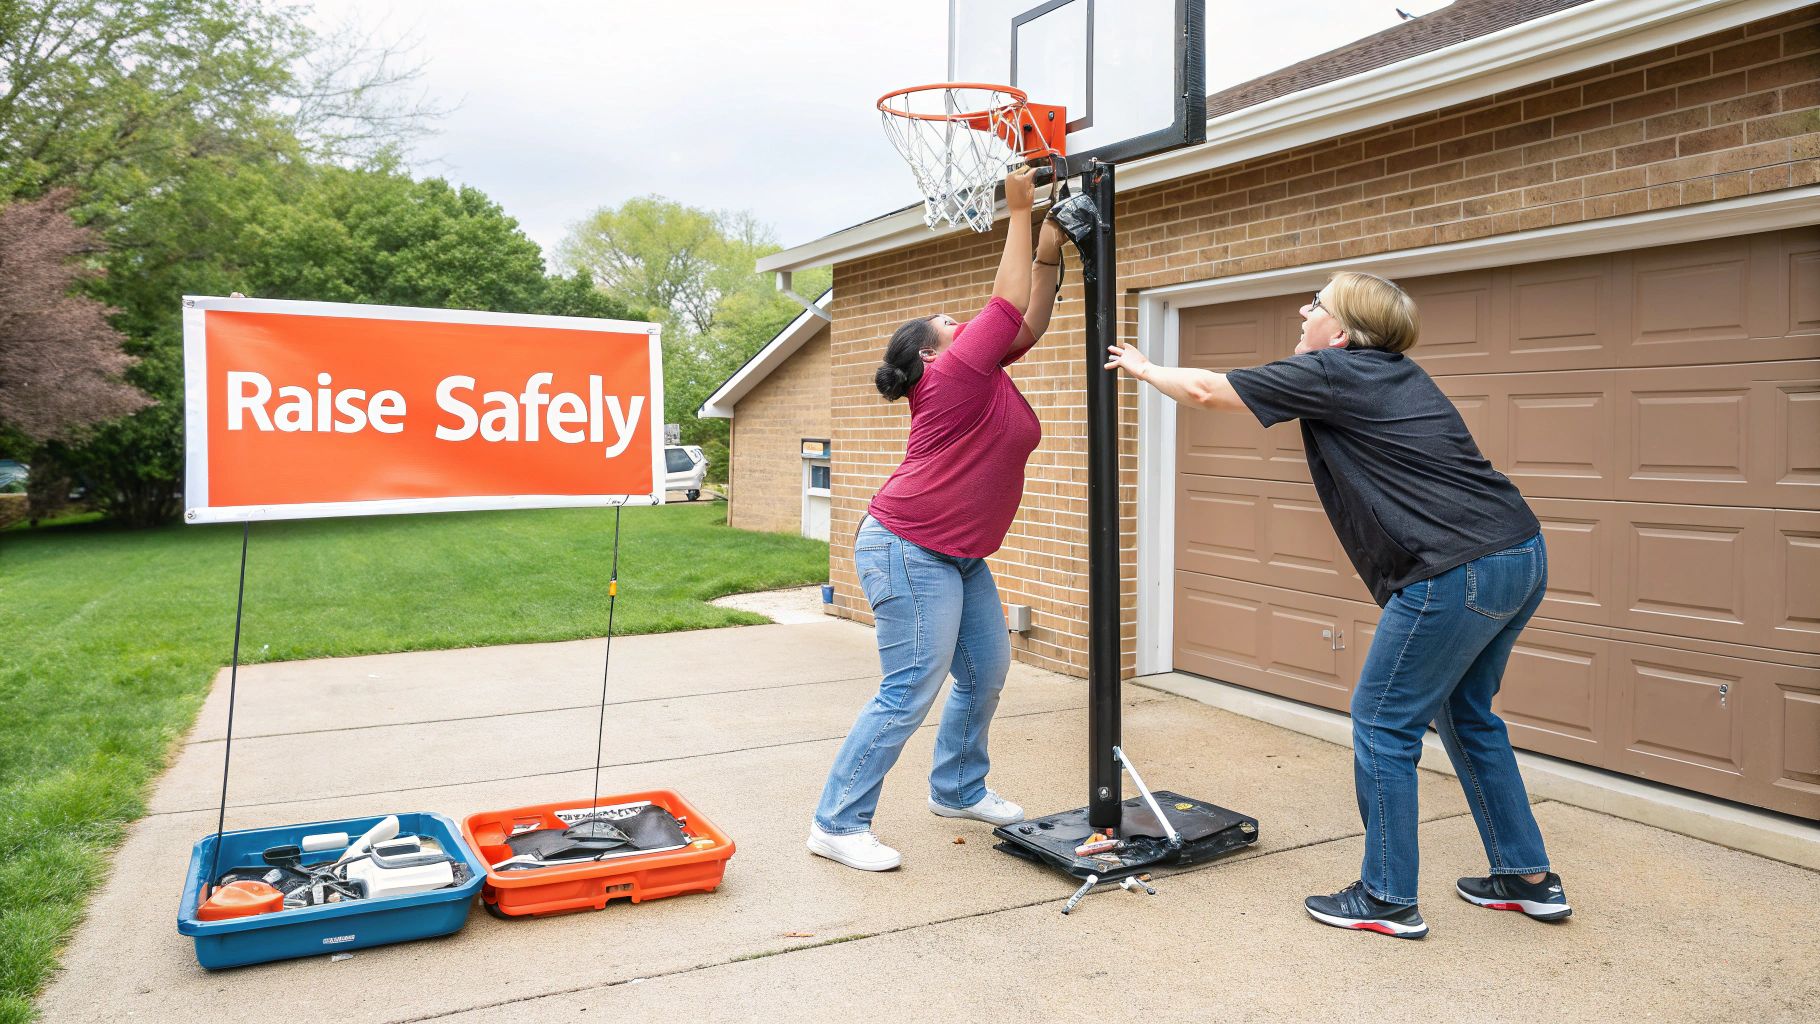
After what feels like an eternity of watching concrete dry, the big day is finally here. This is the moment your project goes from being a hole in your yard to a real-deal basketball goal. And trust me, this is where having a helper goes from a good idea to an absolute must for getting it done right and, more importantly, safely.
We're going to break this down into a few manageable chunks. First up, we'll get the main pole mounted onto the anchor plate you so carefully set. After that, it’s all about the detailed work of putting the backboard and rim together before the main event: lifting the whole unit into place.
This part of the job calls for some real attention to detail, but follow the process, and you’ll get it done without a single scratch on your new hoop or, more importantly, any injuries. Let's get to it.
The first order of business is getting that heavy main pole onto the anchor bolts. Most modern in-ground hoops use a system with four big anchor bolts and a set of leveling nuts, which is a fantastic design. It’s what lets you get the pole perfectly vertical even if your concrete surface isn't laser-level.
Get started by threading one leveling nut and one washer onto each of the four anchor bolts. Try to get them all to roughly the same height. Now, grab your helper. Carefully lift the main pole and slowly guide it down over the bolts until it’s resting on the washers and nuts.
Key Insight: Those leveling nuts are your secret weapon for a pro-level install. Even a tiny lean in the pole will stick out like a sore thumb once that huge backboard is attached, so don't rush this part.
With the pole sitting on the nuts, grab your carpenter's level and place it against the side. You need to check for plumb (perfectly vertical) on two adjacent sides of the pole. If it’s leaning, just turn the leveling nut on the low side to raise it up, or the nut on the high side to bring it down. Make small adjustments until the bubble is dead center on both checks.
Once the pole is perfectly plumb, pop a washer and a top nut on each bolt. Just hand-tighten them for now; we'll come back and torque everything down later.
This next phase is much easier to do on the ground. Trying to juggle heavy parts on top of a ladder is just asking for trouble. Find a good spot on your driveway and lay down a big piece of cardboard or an old moving blanket. This gives you a clean, soft surface to work on and prevents any scratches.
Carefully unbox the backboard, rim, and all the extension arms, and lay everything out on your protective blanket. Your instruction manual is your bible here, since the assembly can be pretty different from one brand to the next.
It really helps to have a good sense of how everything fits together. For a deeper dive, our guide on how to assemble a basketball hoop offers some extra tips that can be a real lifesaver.
Okay, this is it. This is easily the most demanding and riskiest part of the entire job. The backboard and rim assembly is heavy—often over 100 pounds—and incredibly awkward to handle. Do not even think about doing this by yourself. You need at least two strong adults, and if you’ve got a big 72-inch backboard, a third person is a very smart idea.
First, make sure your stepladders are on solid, level ground. You and your helper will each need one.
Once those main bolts are in, you can relax a bit. The pole is now holding the weight. Now you can install the rest of the hardware to lock it down. The final step is to go back and tighten every single nut and bolt on the whole structure, starting with the anchor nuts at the base and working your way all the way up to the rim.
You’ve done the heavy lifting, the concrete is cured, and the main structure is up. Now comes the part that separates a decent hoop from a professional-grade setup. This isn't the time to rush; these final tweaks and safety checks are what ensure your goal is perfectly dialed in and safe for years of competitive play.
Think of this as the fine-tuning stage. We're going to get that rim to the perfect height, make sure the backboard is dead-on square, and tighten every last bolt. This is where all that hard work pays off, and you end up with a hoop that plays as good as it looks.
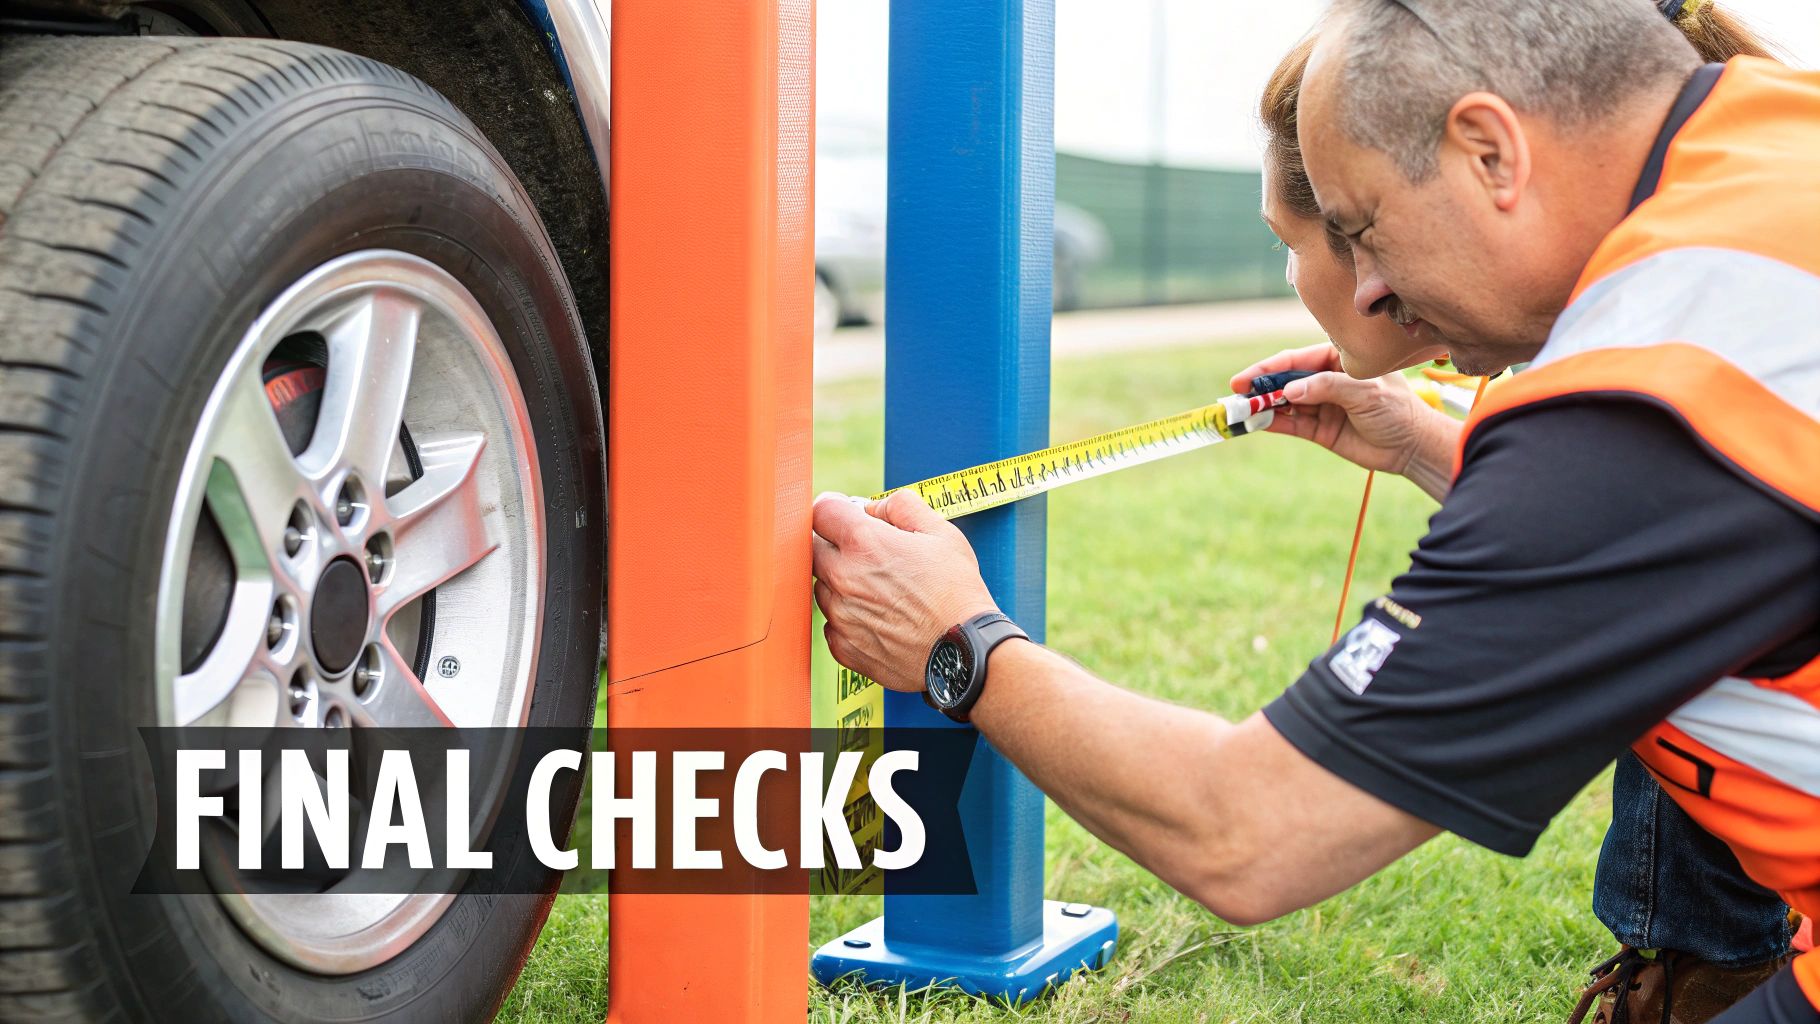
First things first, let's get the height right. The regulation height for NBA, NCAA, and high school hoops is exactly 10 feet from the court surface to the top of the rim. Anything else just won't feel right.
Crank the goal all the way up to its highest setting. Grab a tape measure, and get a friend to hold the end on the ground, directly under the front of the rim. You'll want to measure to the top edge of the metal rim itself, not the bottom of the net.
If it’s not hitting 120 inches on the dot, use the adjustment crank for tiny corrections until it's perfect. Once you’ve nailed it, I always recommend running the hoop down to its lowest setting and then back up to 10 feet again. This just confirms the mechanism is working smoothly and stopping where it should.
Even if your pole is perfectly plumb, you might find the backboard has a slight tilt once it's mounted. It happens. Now's the time to fix it. Step back about 20 feet and just eyeball it—does it look like it's leaning one way or the other?
Now, grab your carpenter’s level. Place it on the top edge of the backboard, then against the side, to check both horizontal and vertical alignment. If it's off, look for the adjustment bolts on the extension arms. You can usually just loosen these slightly, nudge the backboard into place, and then tighten them back down.
Pro Tip: Trust your eyes as much as the level. Many driveways have a slight slope for drainage. In that case, a perfectly level backboard might actually look crooked against the playing surface. The real goal is to make it look and feel square to the court.
Before anyone even thinks about shooting, it's time for a final, critical safety inspection. This is non-negotiable.
One of the last—and most important—things to add is a good pole pad. During an aggressive drive to the hoop, it's easy for a player to run into the pole. A thick, quality pad provides that critical cushion to prevent a nasty injury.
This is an absolute must if you've got kids who will be playing. Make sure you fasten the pad securely so it doesn’t slide down over time. With that final touch in place, your new in-ground hoop is officially ready for action. Go sink that first shot
Even when you measure twice and follow the instructions to the letter, things can go slightly wrong. It happens. When you're wrestling with heavy steel and quick-setting concrete, a tiny mistake can feel like a total disaster. But don't worry—most of the common snags you’ll hit when installing an in-ground hoop have a pretty straightforward fix, especially if you catch them early.
The main thing is not to panic. A pole that’s leaning a bit or a bolt that won’t cooperate is frustrating, for sure, but it’s almost never a project-ending catastrophe. Let's walk through the problems I see most often and how you can get things back on track.
This is, without a doubt, the most frequent issue people run into after getting the main pole up. You stand back to admire your handiwork and… yep, it’s got a definite lean. This is exactly what the leveling nuts on your anchor kit are for, so it's an easy fix.
Resist the urge to just crank down on the top nuts on one side. That's not the right way to do it. Instead, just follow this process:
So, what happens if you realize the anchor bolts themselves are a bit crooked after the concrete is rock solid? This is a trickier spot to be in, but it’s usually still salvageable. The leveling nuts are designed with a good amount of play to handle minor imperfections in the concrete.
But if a bolt is so out of whack that the pole's base plate won't sit flat, you can often use a stack of high-quality galvanized steel washers. Just slide them under the leveling nut on the low bolt to effectively raise that corner's starting point.
Crucial Takeaway: Remember, the goal is for the pole to be plumb (perfectly vertical), not for your concrete pier to be a work of art. The whole anchor system is designed to compensate for small irregularities in the foundation.
It’s a huge momentum-killer to open your hardware pack and find a stripped bolt or realize a critical nut is missing. If this happens, stop what you're doing and take a full inventory of everything. Pushing forward with the wrong hardware isn't just a bad idea—it's a serious safety risk.
Get on the phone with the manufacturer's customer service right away. Most good brands are great about this and can get replacement parts shipped out to you pretty quickly. If you're in a pinch, you might find a matching high-grade bolt at a specialty hardware store, but you must ensure it's the exact same size, thread, and grade (usually Grade 5 or Grade 8 steel). A slight wobble in furniture is annoying, but a wobbly basketball goal is downright dangerous. For perspective, learning how to fix a wobbly table is a great lesson in why using the right, tight-fitting components is non-negotiable for stability and safety.
Even with a step-by-step guide, it's totally normal to have a few lingering questions before you start digging up your yard. Putting in a professional-grade basketball goal is a serious project, and getting some clarity on the common sticking points can make all the difference. We’ve been there, so let's tackle some of the most frequent questions we hear from homeowners.
Getting these details sorted out ahead of time is the best way to keep your project moving smoothly, on budget, and turn a potentially stressful weekend into a really rewarding one.
The whole process is really a two-day job, but here's the catch: those two days can't be back-to-back. You absolutely have to factor in the concrete curing time, and there's no way to rush it.
All in, you should plan for the project to span about a week, even though most of that time is just letting the concrete do its thing.
The amount of concrete you'll need is determined entirely by the hole dimensions laid out in your goal's instruction manual. Skimping on concrete is a huge safety mistake that will absolutely compromise the hoop’s stability down the road.
As a general ballpark figure, a typical footing that’s 24 inches across and 48 inches deep will take somewhere between 12 to 15 bags of 80-pound concrete mix. I always tell people to buy one or two extra bags. It's much better to have a little left over than to run out when your hole is half-full.
Pro Tip: These numbers are just an estimate. Always, always follow the manufacturer's exact specifications for your model. It’s the only way to guarantee a safe and rock-solid installation that will last for years.
Yes, you can definitely install an in-ground goal next to a sloped driveway, it just takes some extra attention to detail when you’re pouring the footing. While the playing surface itself needs to be relatively flat, the spot where the pole is anchored can be on a bit of an angle.
The trick is making sure the top of the concrete footing is poured perfectly level, no matter what the ground around it is doing. When you set the anchor kit into the wet concrete, you have to level it meticulously. Most modern anchor systems have built-in leveling nuts that let you make those final, tiny adjustments. This feature is a lifesaver, allowing you to get the pole perfectly vertical even if your concrete base isn't perfectly flat.
Feeling a little out of your depth? The pros at Assembly Smart can take care of the entire installation for you, from digging the first shovel of dirt to tightening the last bolt. We'll make sure your new goal is installed perfectly and safely. Get your free estimate today!
